Upper Mohawk Lake – Breckenridge CO 9/1/12

Spruce Creek Trail -> Continental Falls Trail-> Mohawk Lakes Trail:

Starting Elevation:  Approximately 10,400 ft

Final Elevation:  Approximately 12,120 ft ( 1700 ft gain)

Trip Length:  According to the trail head and all research, 7 miles round trip ( 3.5 out and 3.5 back)  According to my fitbit 8.5 miles.  We really took our time and took a ridiculous amount of pictures, if not for our awe-delay we would have been done in 4 hours likely….however we managed to spend about 2 extra hours just taking in all the spectacular sights at so many different points.

Trail Uses:  Hiker, Biker & Horses

Degree of difficulty:  Moderate to Difficult due to altitude and the last 1.5 miles.

Bathrooms:  No, as in none anywhere along the way or at either end of the trail. ( A challenge for those of us who cannot randomly pee outside and don’t want to get dehydrated)

Pets:  Yes, and on six-foot leash under control at all times.  I don’t care how well-behaved your pet is, use the leash.  I was almost knocked over twice by unleashed dogs at tough parts of the hike and the owners seemed to think it was “cute” that the dog was so excited to get to the end. Yeah, not from my perspective.

I have confession, I picked this hike for 2 reasons, first ( and probably the reason with the most weight) I needed a change of scenery for a few days and Breckenridge is one of my favorite places to spend time.  Second, this hike was one many other people said was amazing and they were all right!  The above reflection picture was one I caught while we were still on the lower part of the hike.  I have always loved pictures like this where you can get a perfect reflection in the water, this was my first time doing it myself!   So when I proposed this hike to my husband I tried to focus on how it would really help with getting us better at higher elevation hikes to keep us on the road to our first 14ner by next summer.   But really I was thinking, “Yay, a break from my own 4 walls and a hot tub”!  Oh and of course looking forward to a new adventure, really I swear….

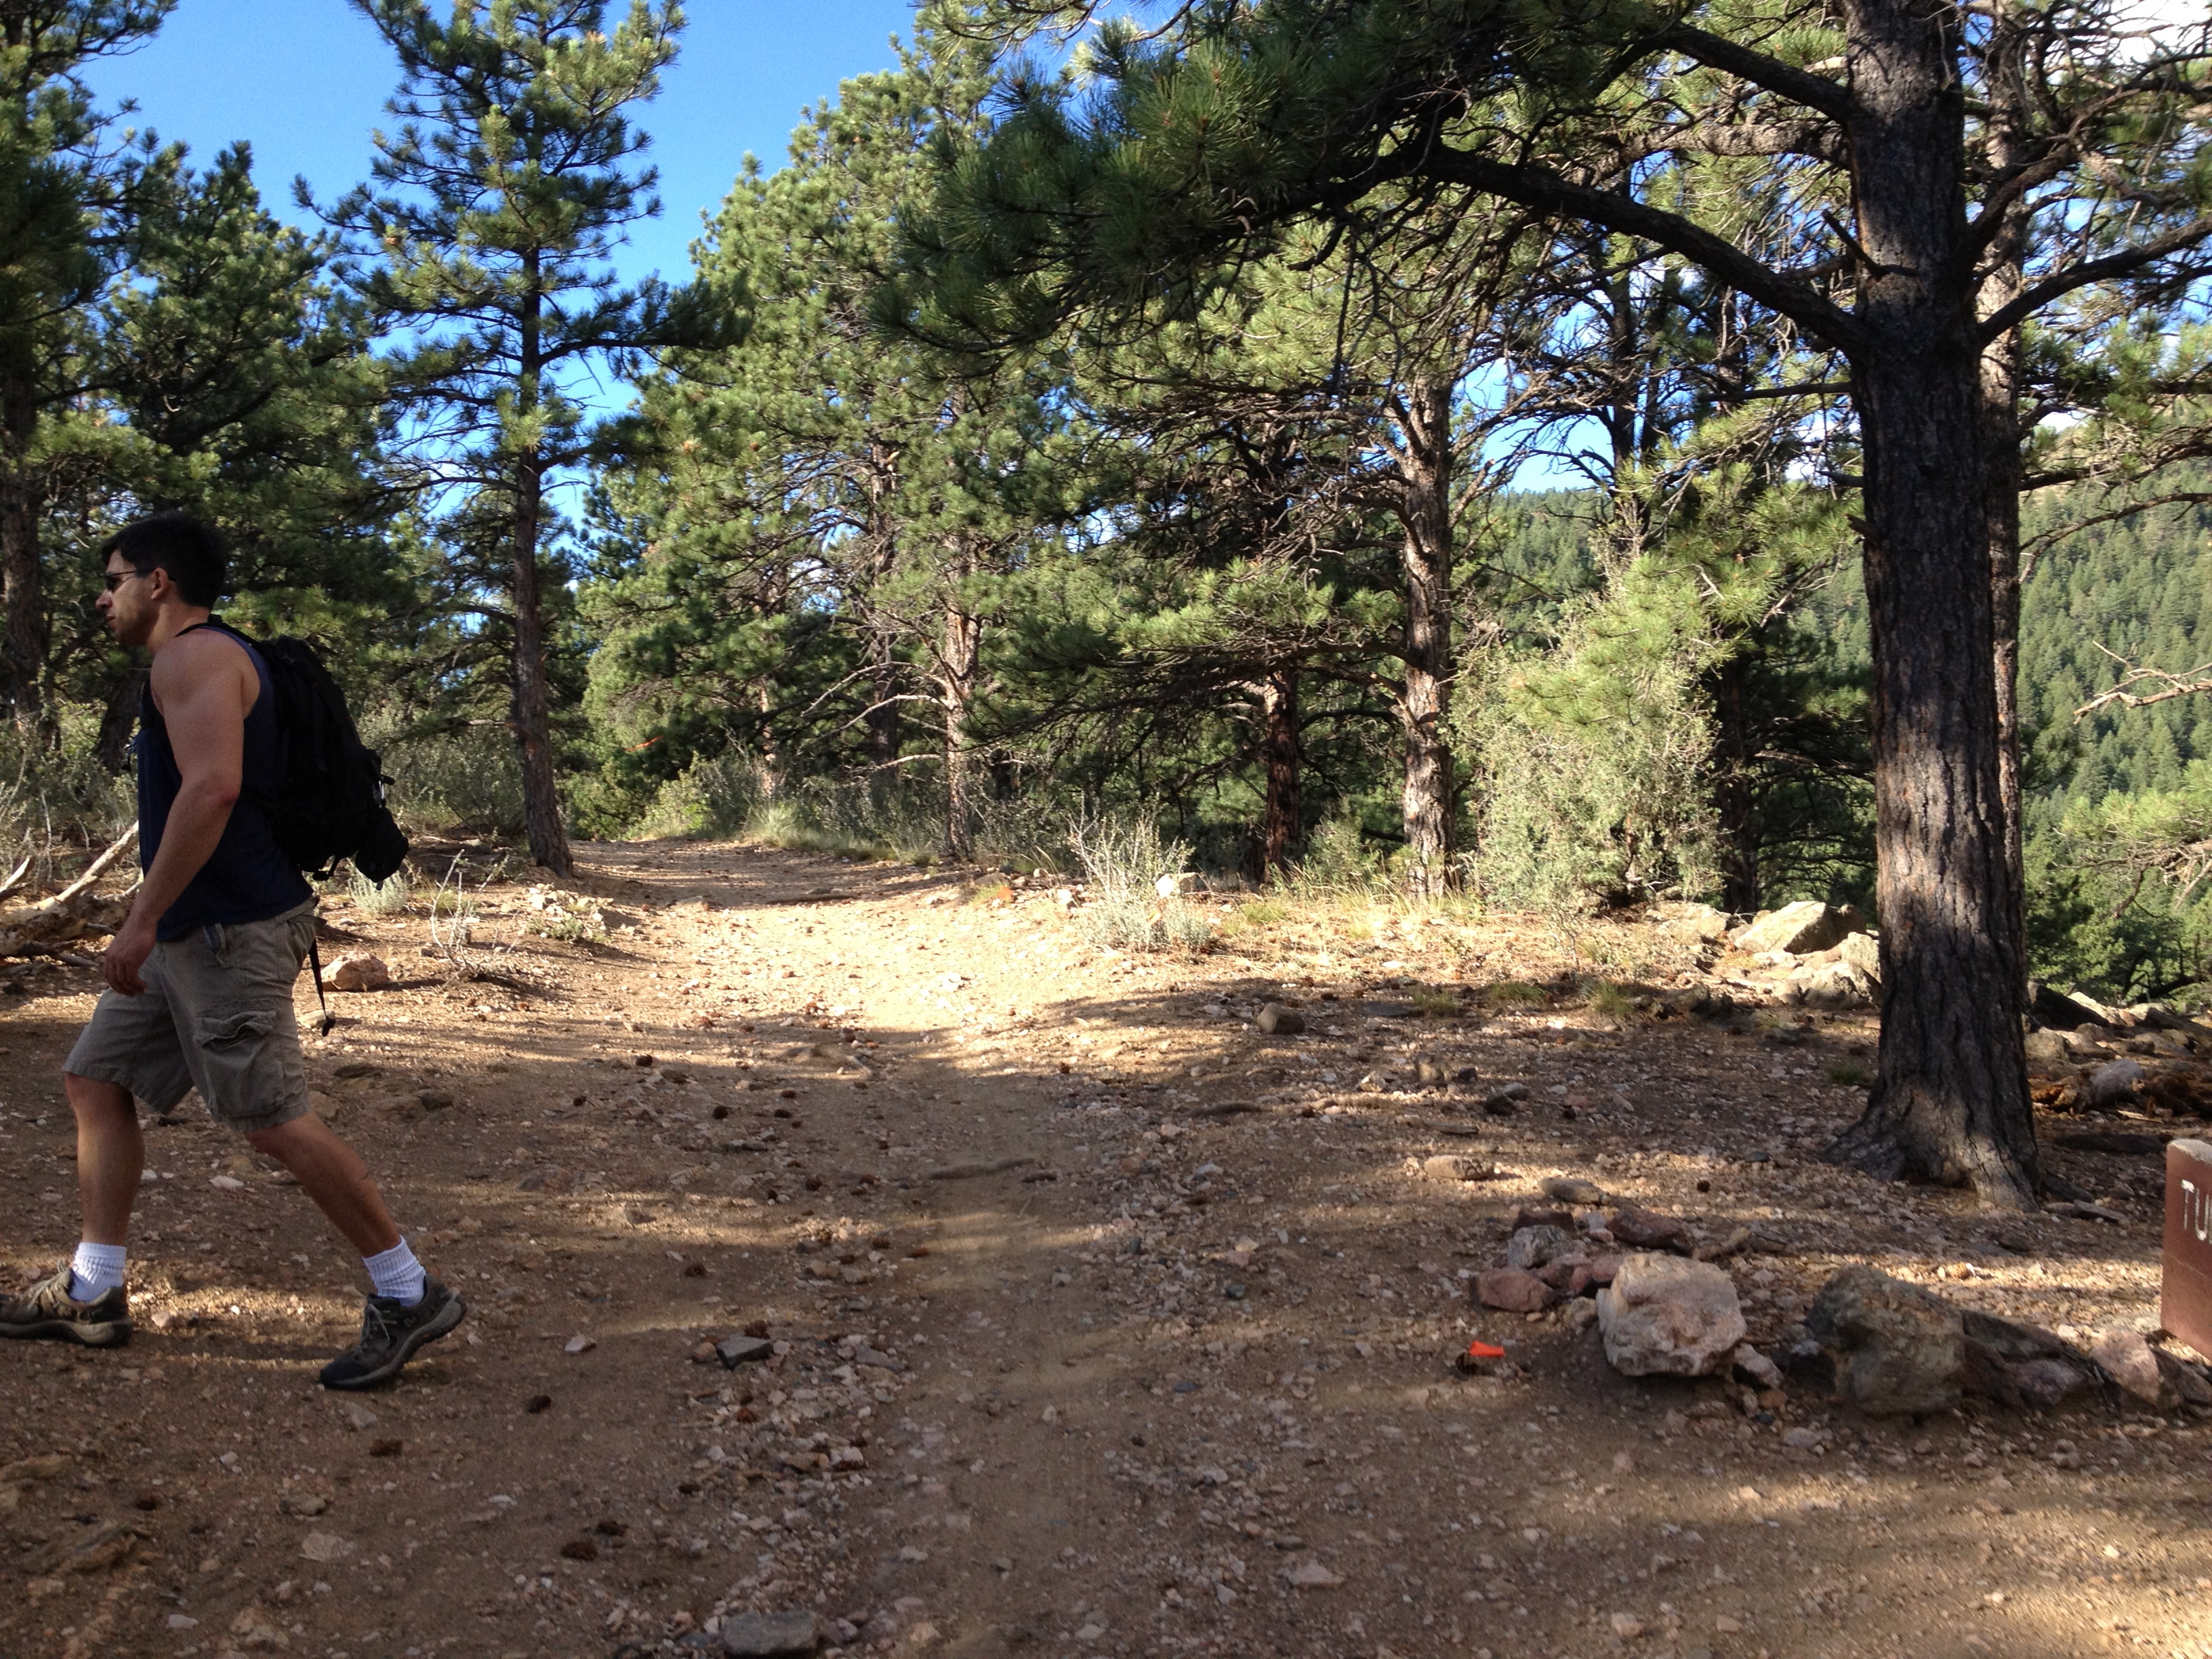
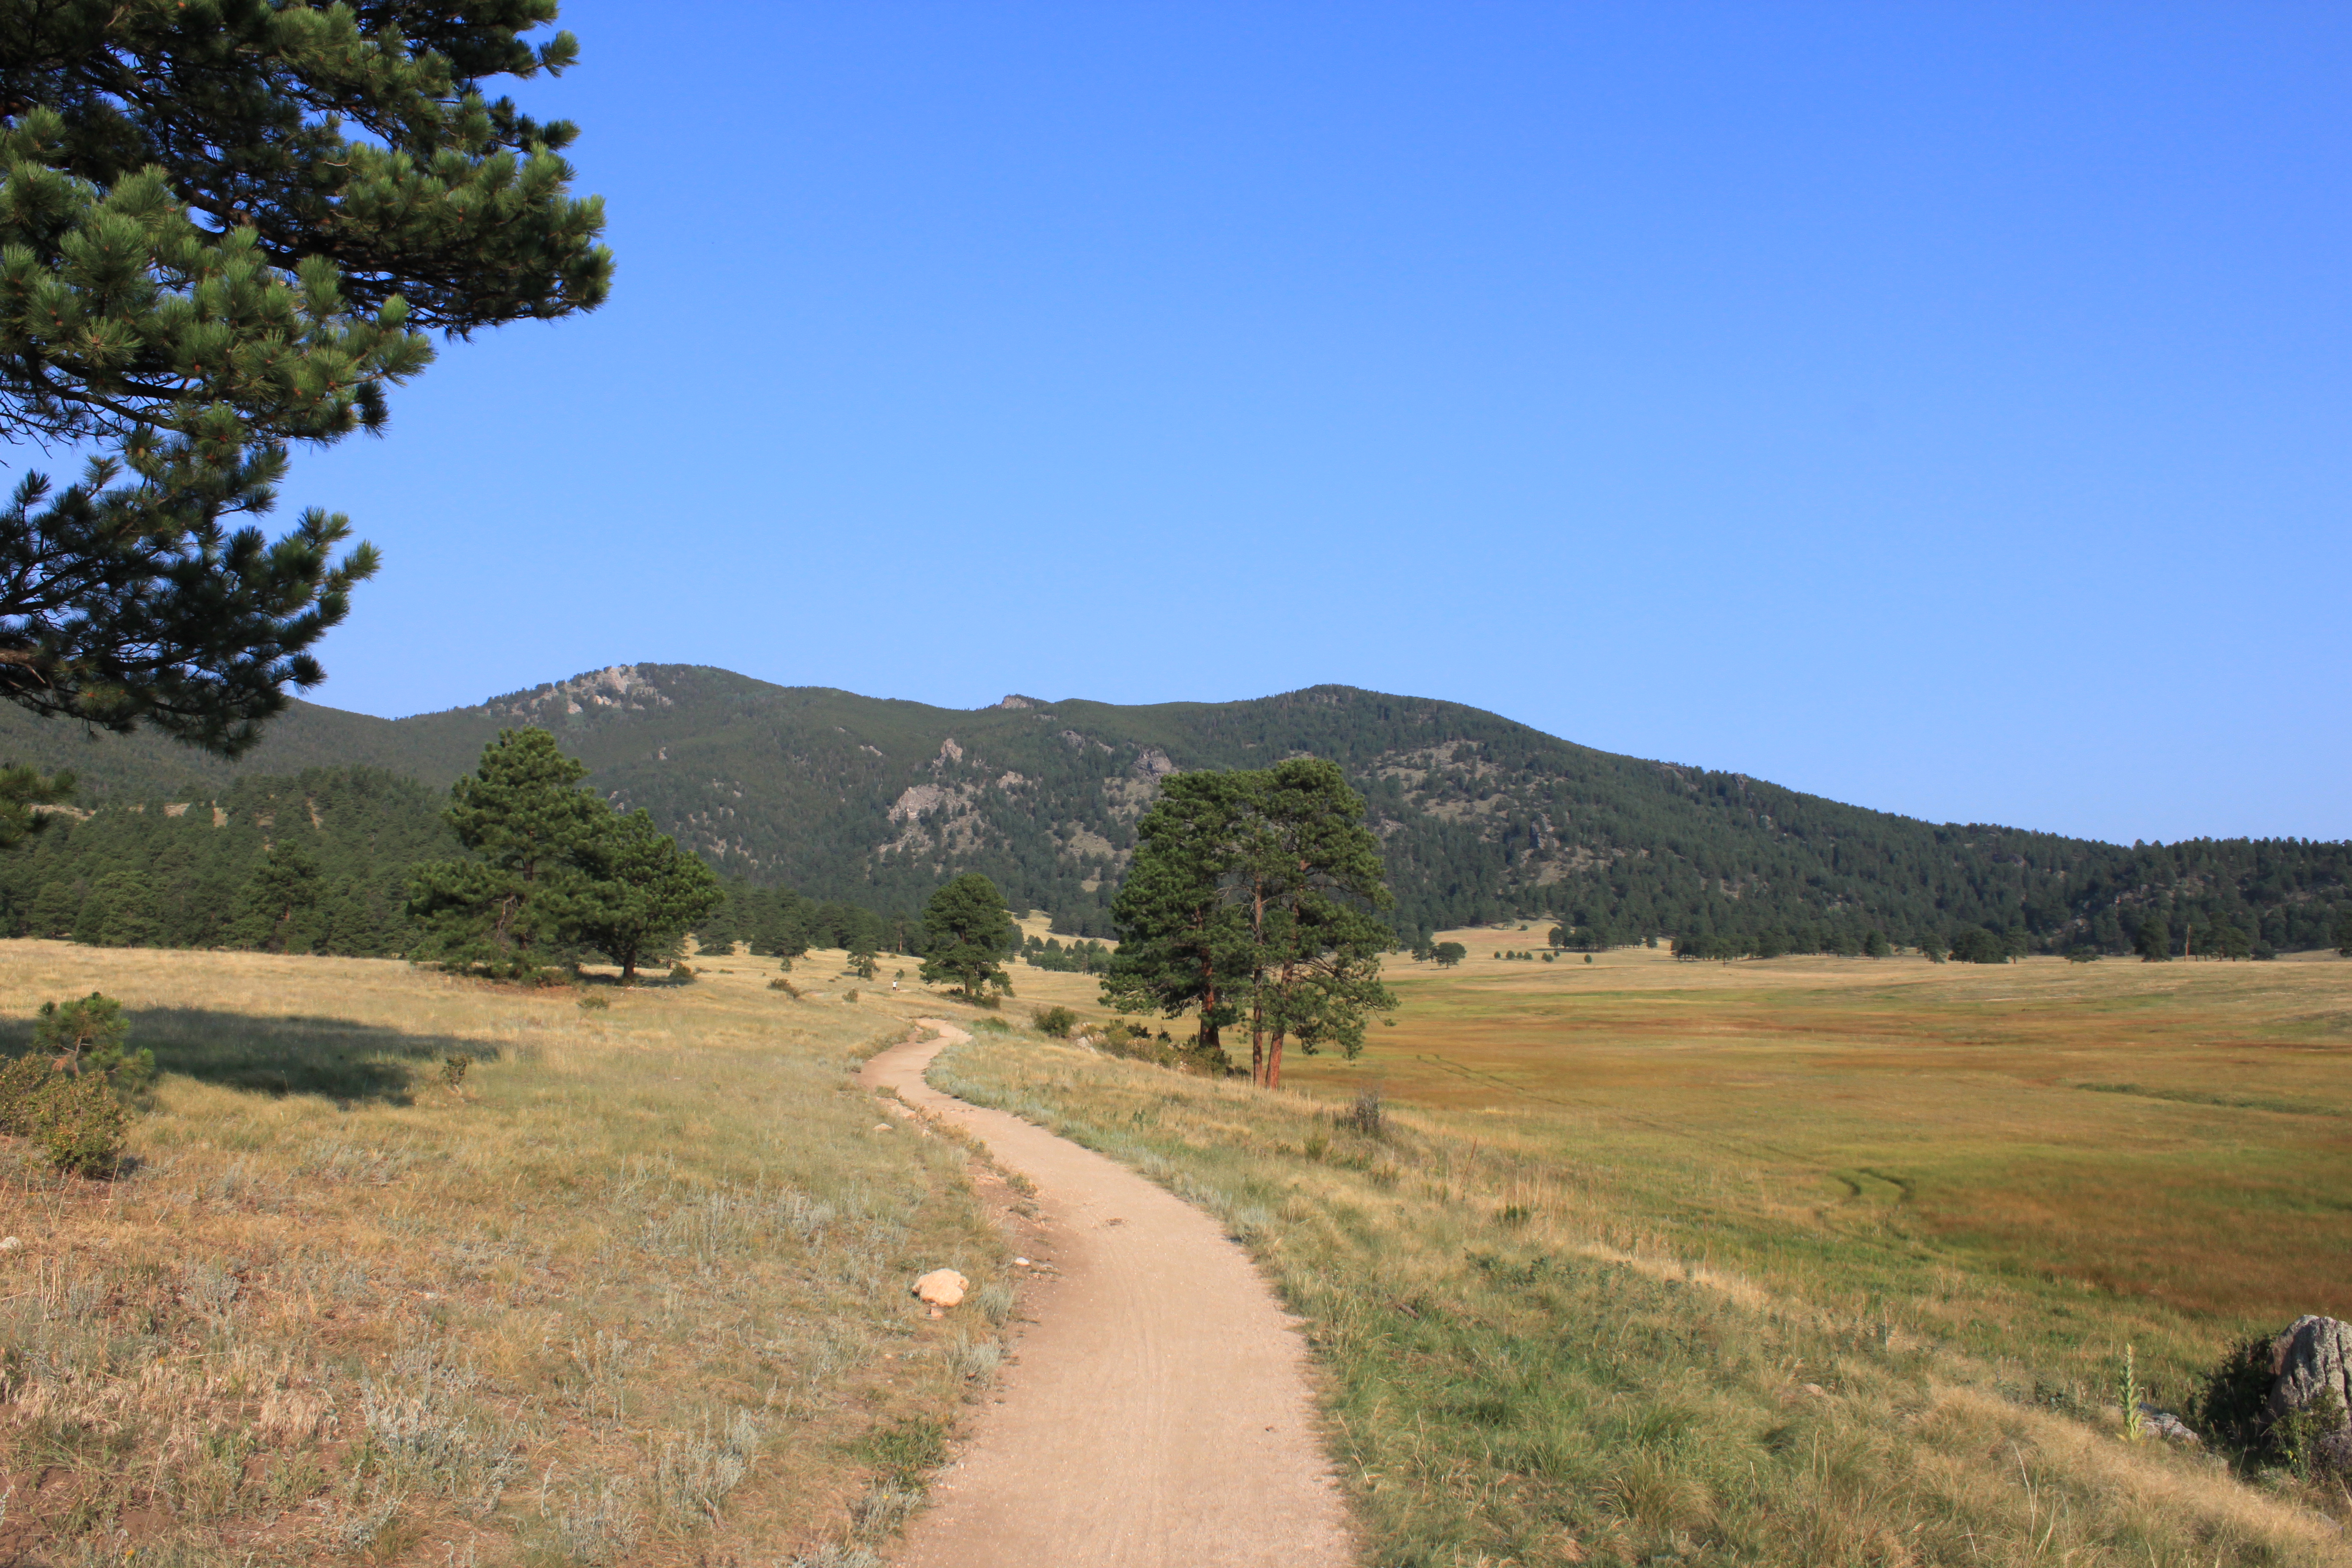
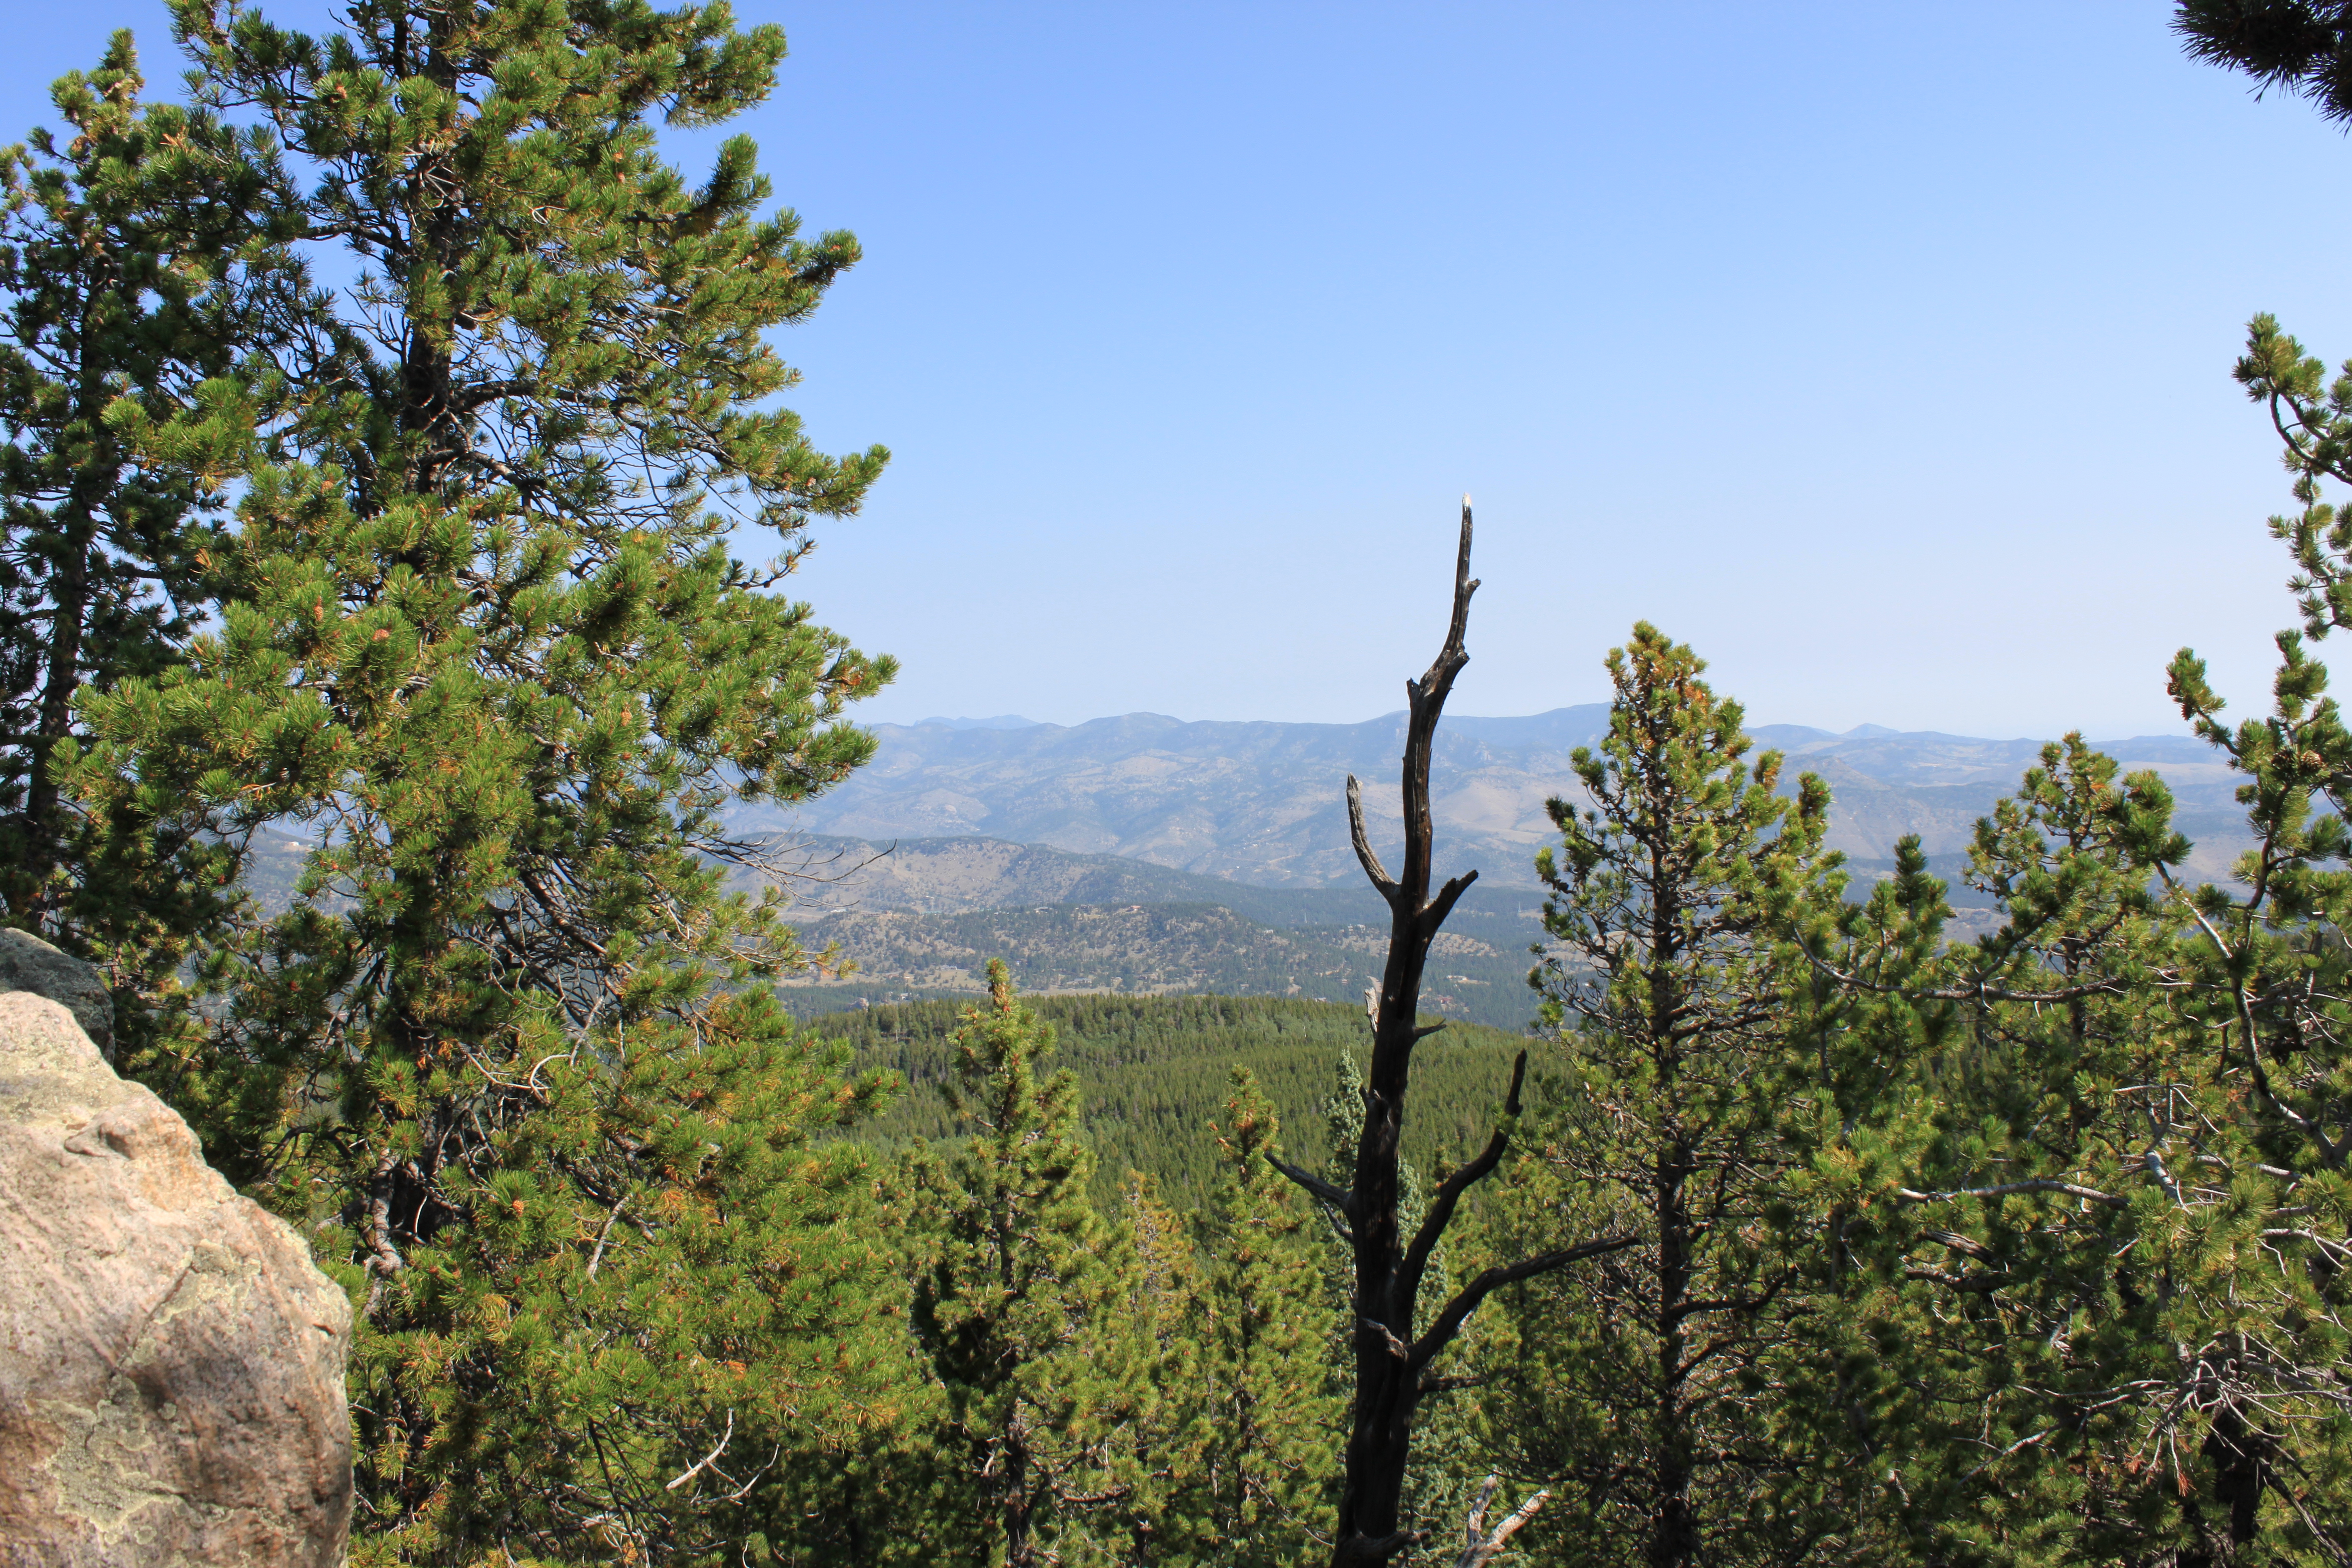
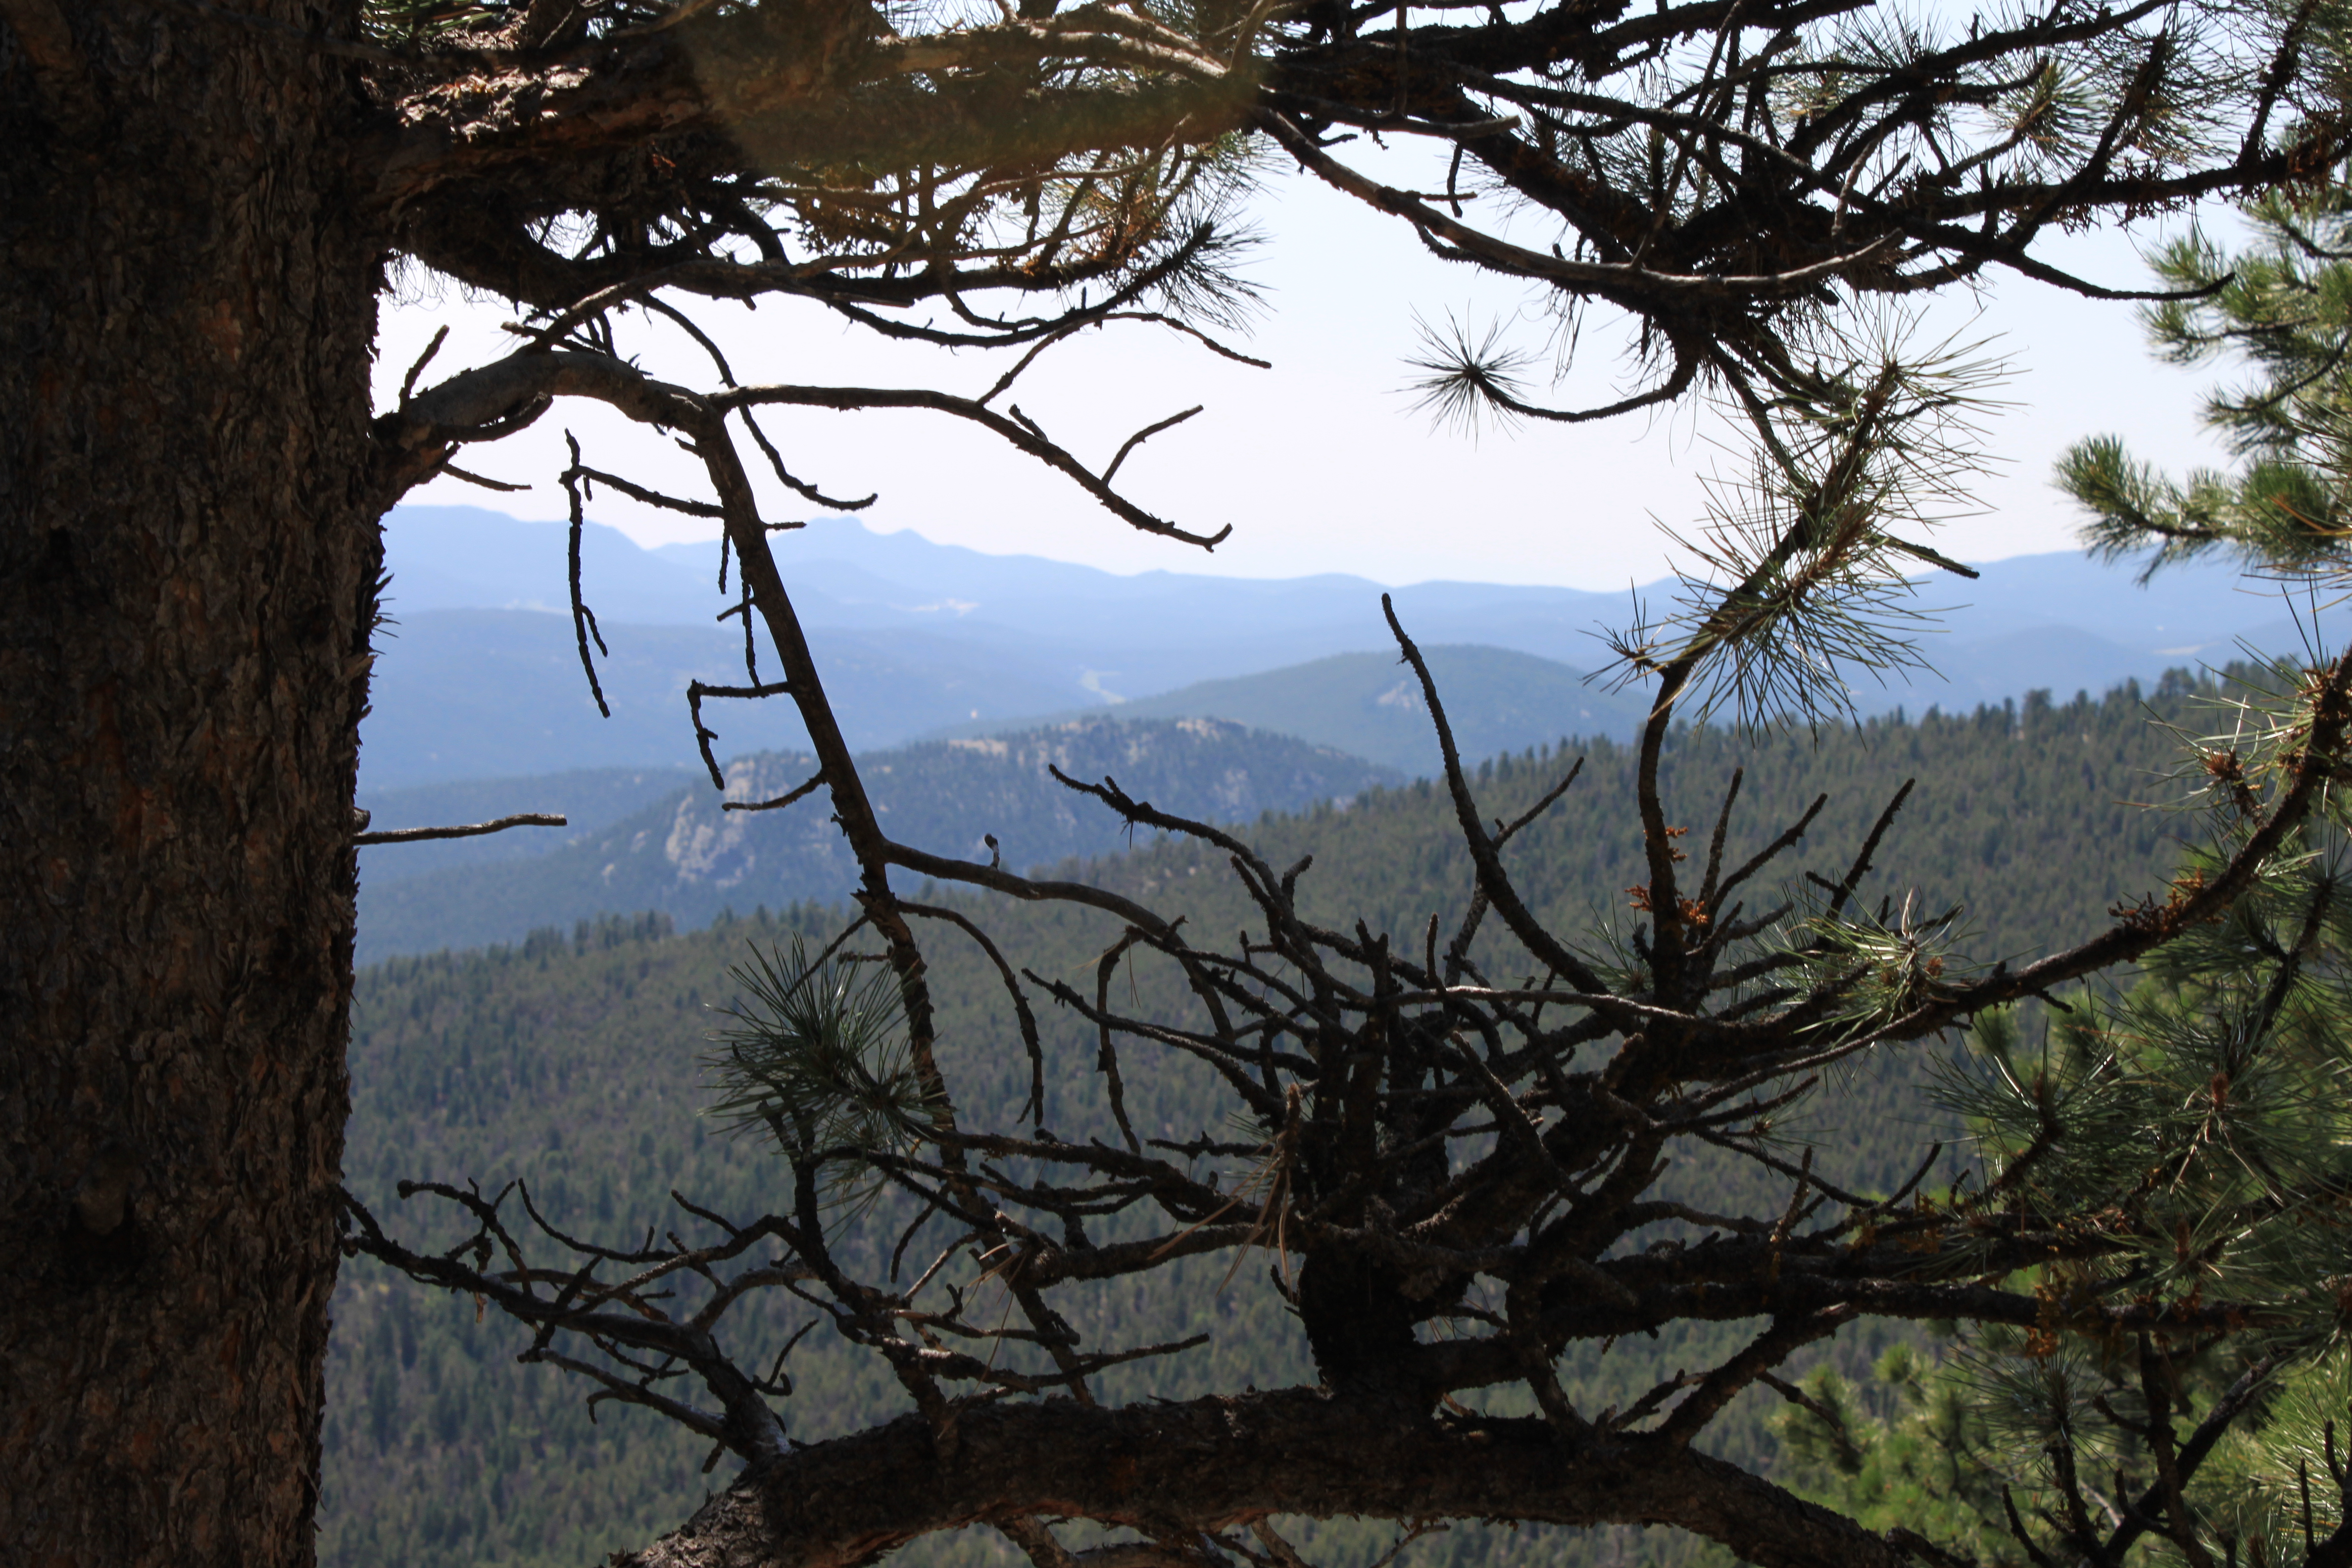
Ok, let’s talk trail.  This is a high altitude trail in the mountains, which means we were starting higher than we had ever even hiked up to before, 10,400 ft so we knew we would need to take our time in order to deal with the higher altitude.   The other challenge, and this one is true of all summit hikes at this altitude, is that weather comes in fast here so be prepared.   We tried to be on the trail by 7 but we were moving slower then we wanted and didn’t get started until 8AM.  I knew by the weather reports that there was a good chance rain would roll in around noon.  The trail head is not very far from Breckenridge, the road in, Spruce Creek Rd, is a well maintained dirt road through a residential area with the trail head a little over a mile in.  You can’t miss the parking lot, on the other side of the parking lot is a 4×4 road which if you wanted to do the summit only you could drive up it as far as you can go and do the final 1.5 miles ( 3 miles roundtrip)  up only.  You can also hike up this 4×4 road, if you prefer that type of hiking to the forested Spruce Creek trail.

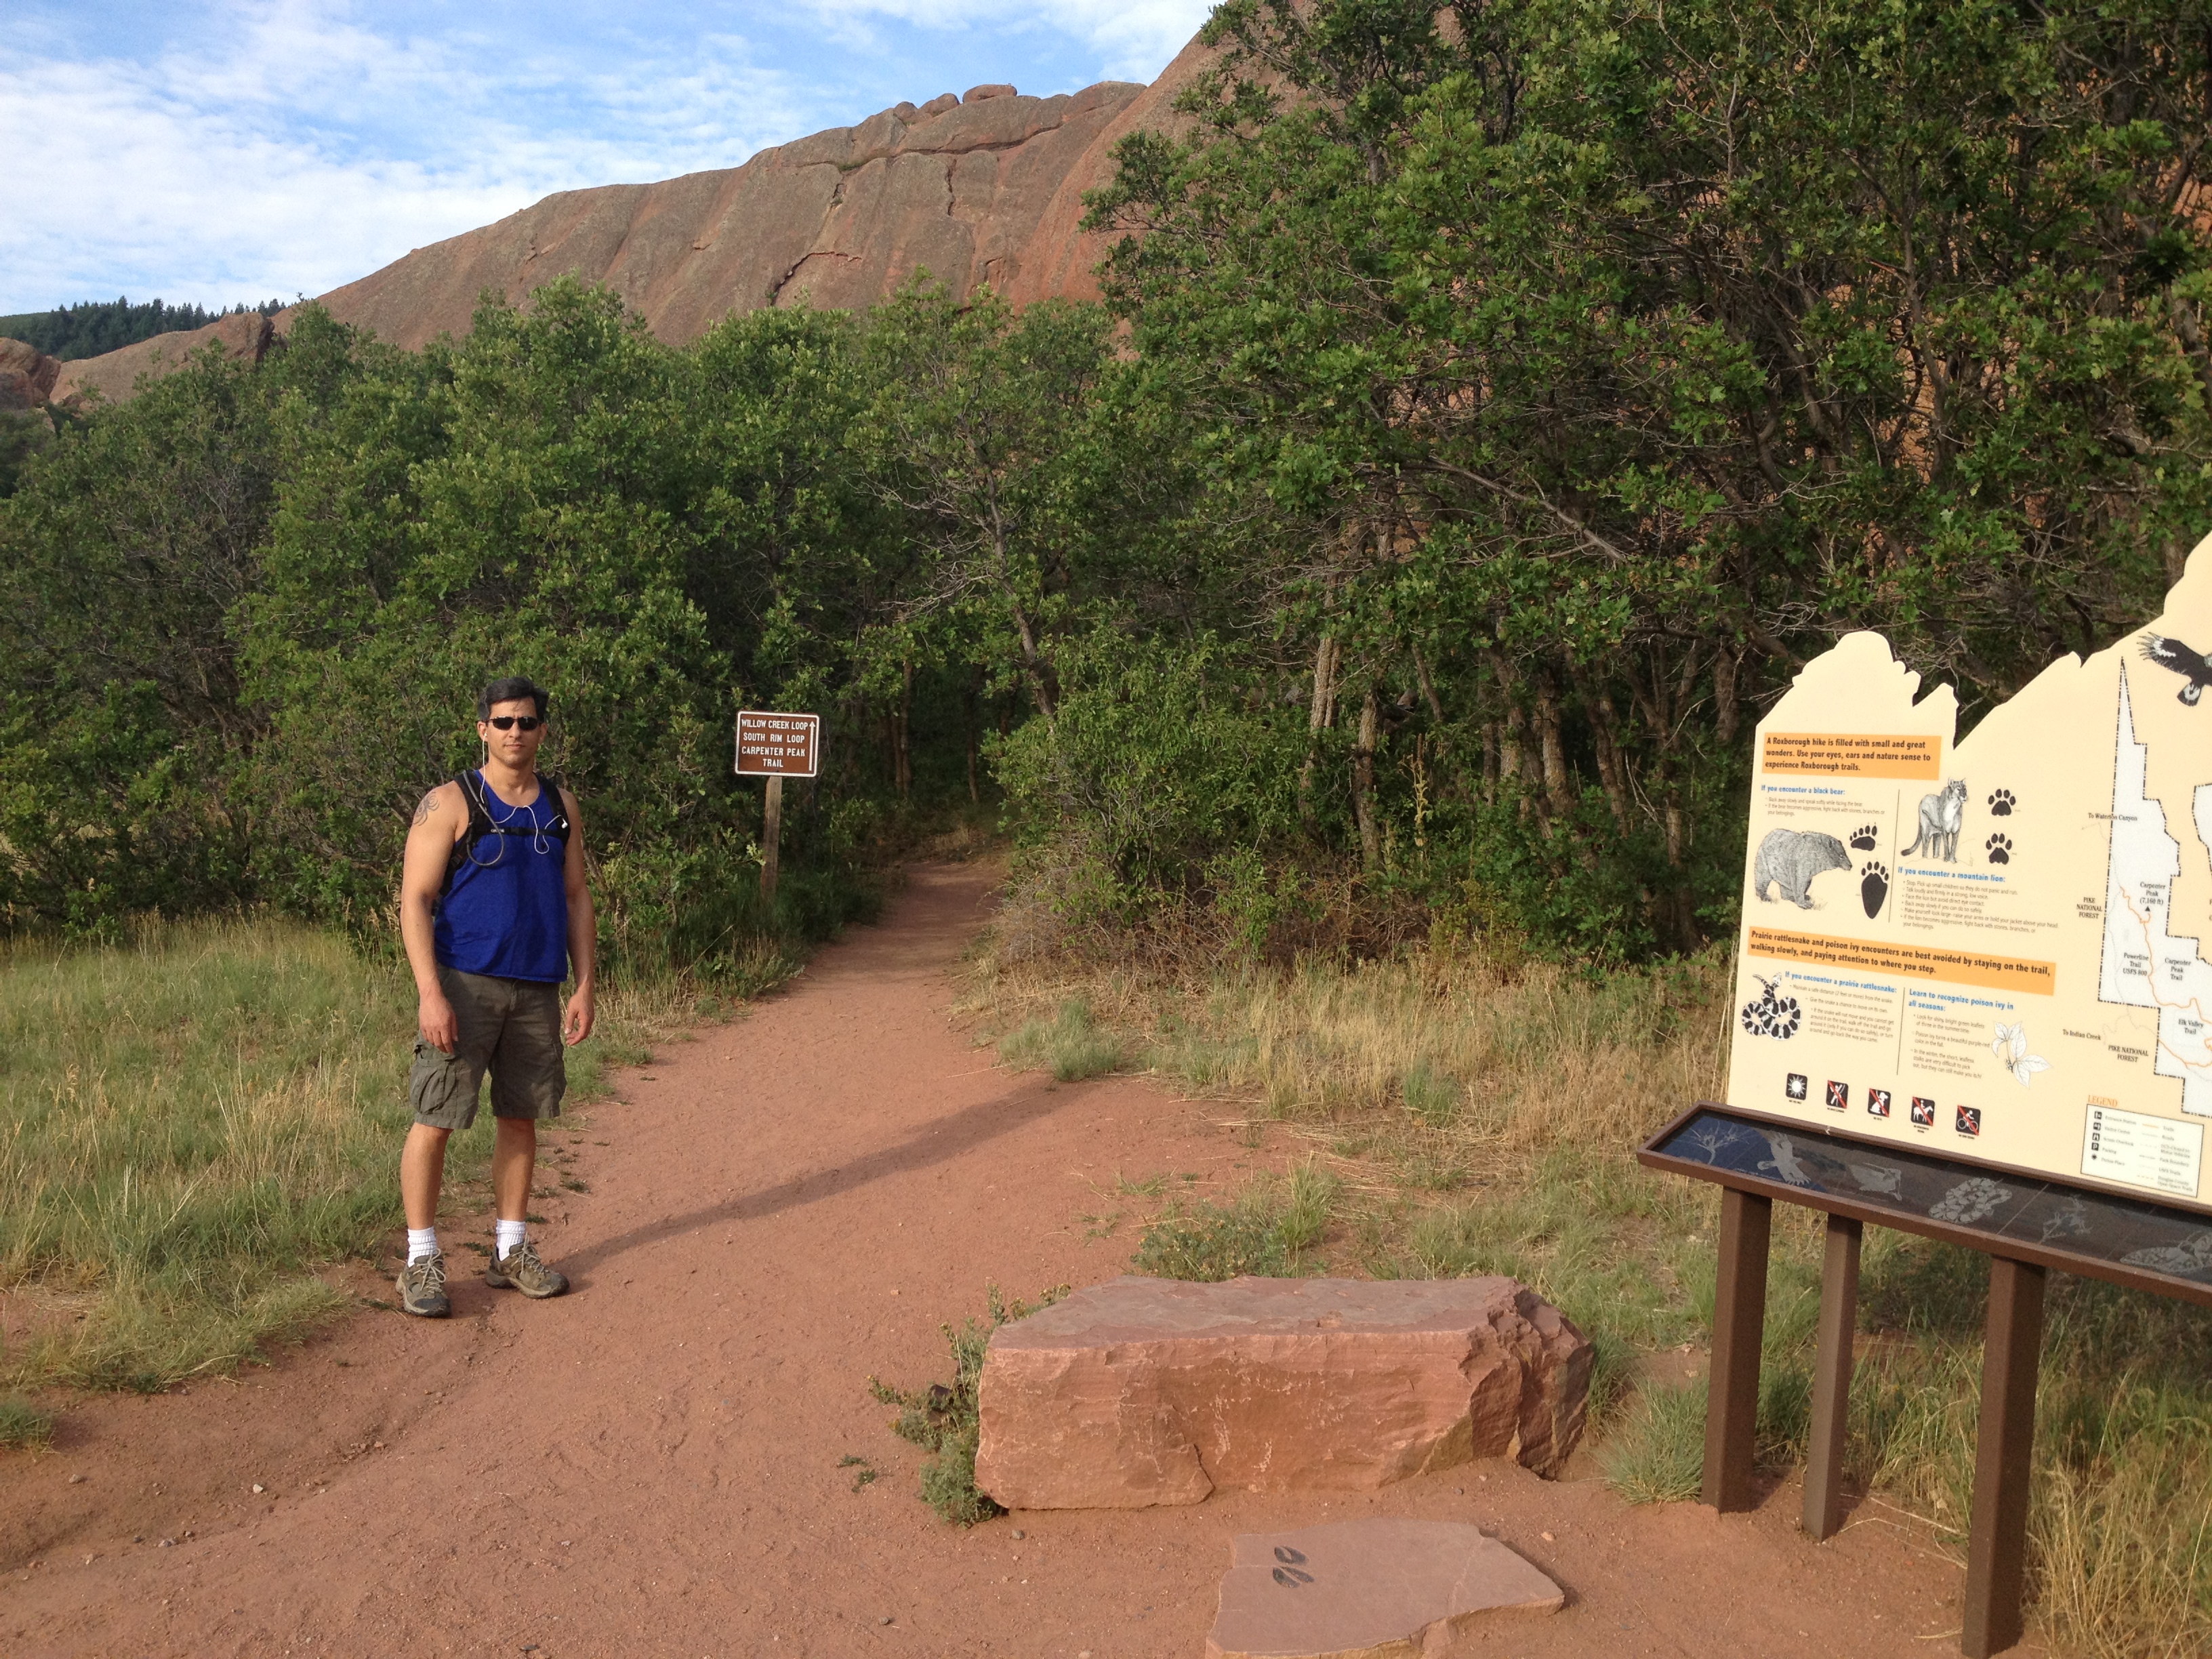
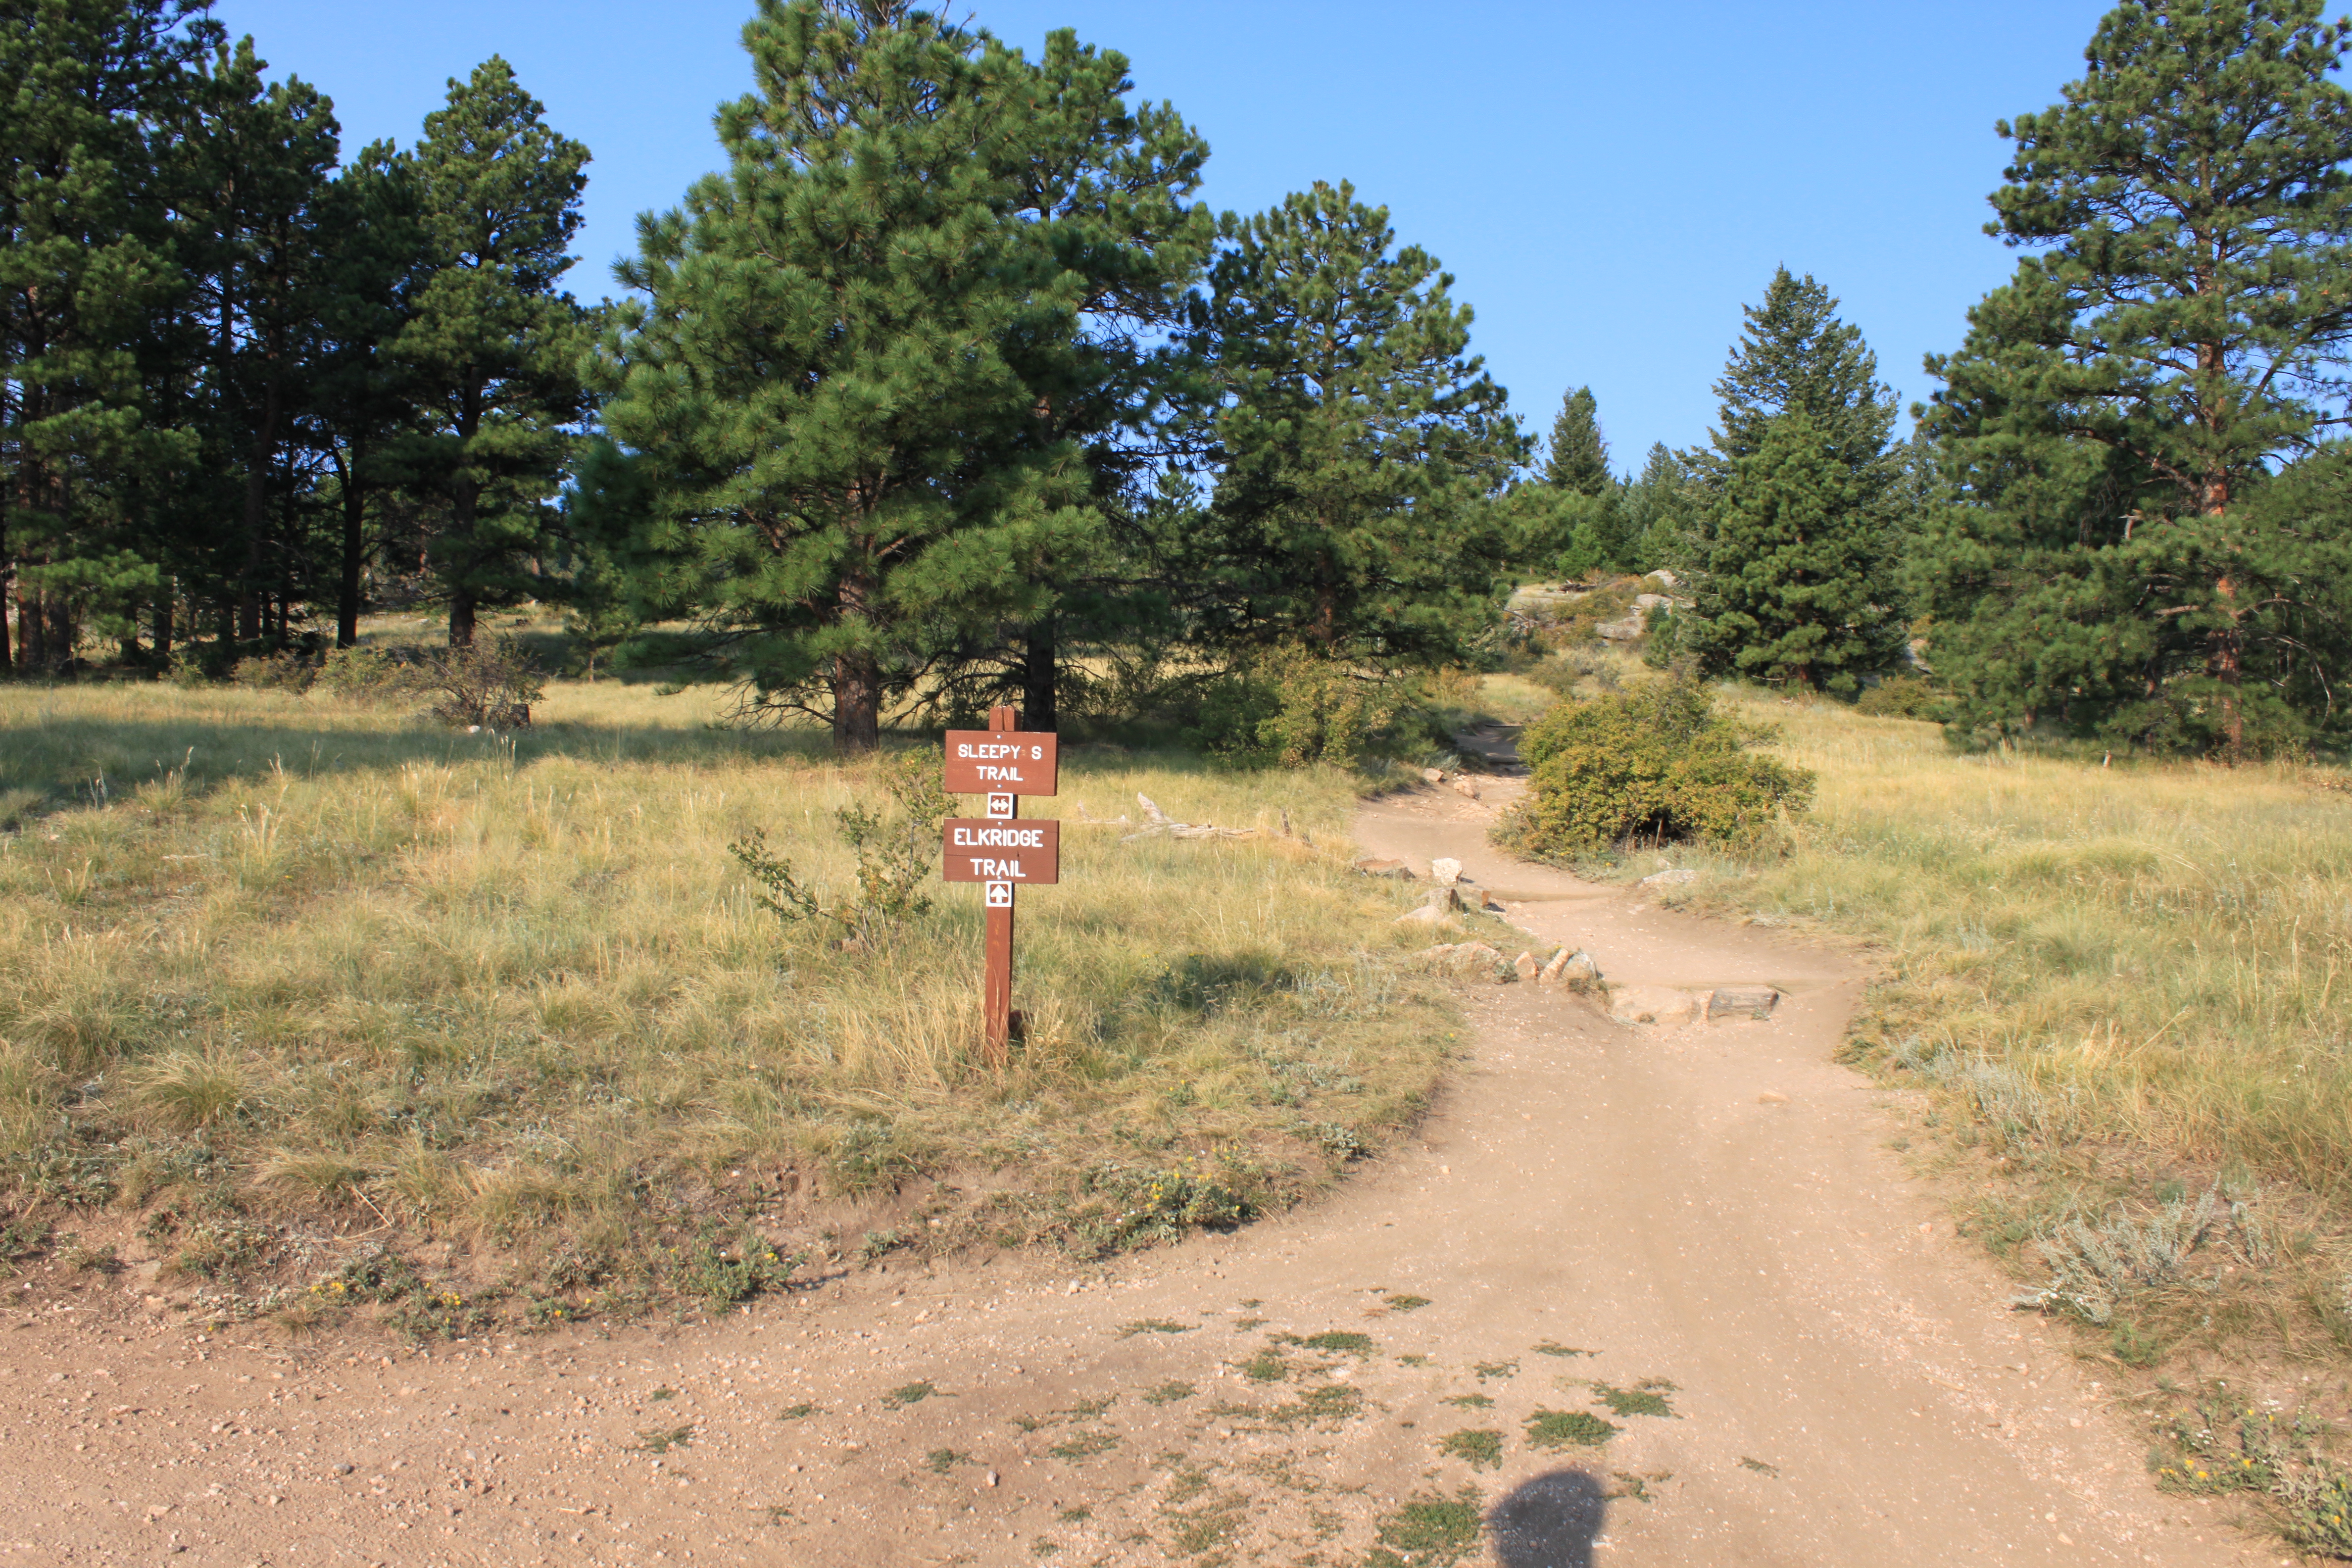
We took the Spruce Creek trail head:

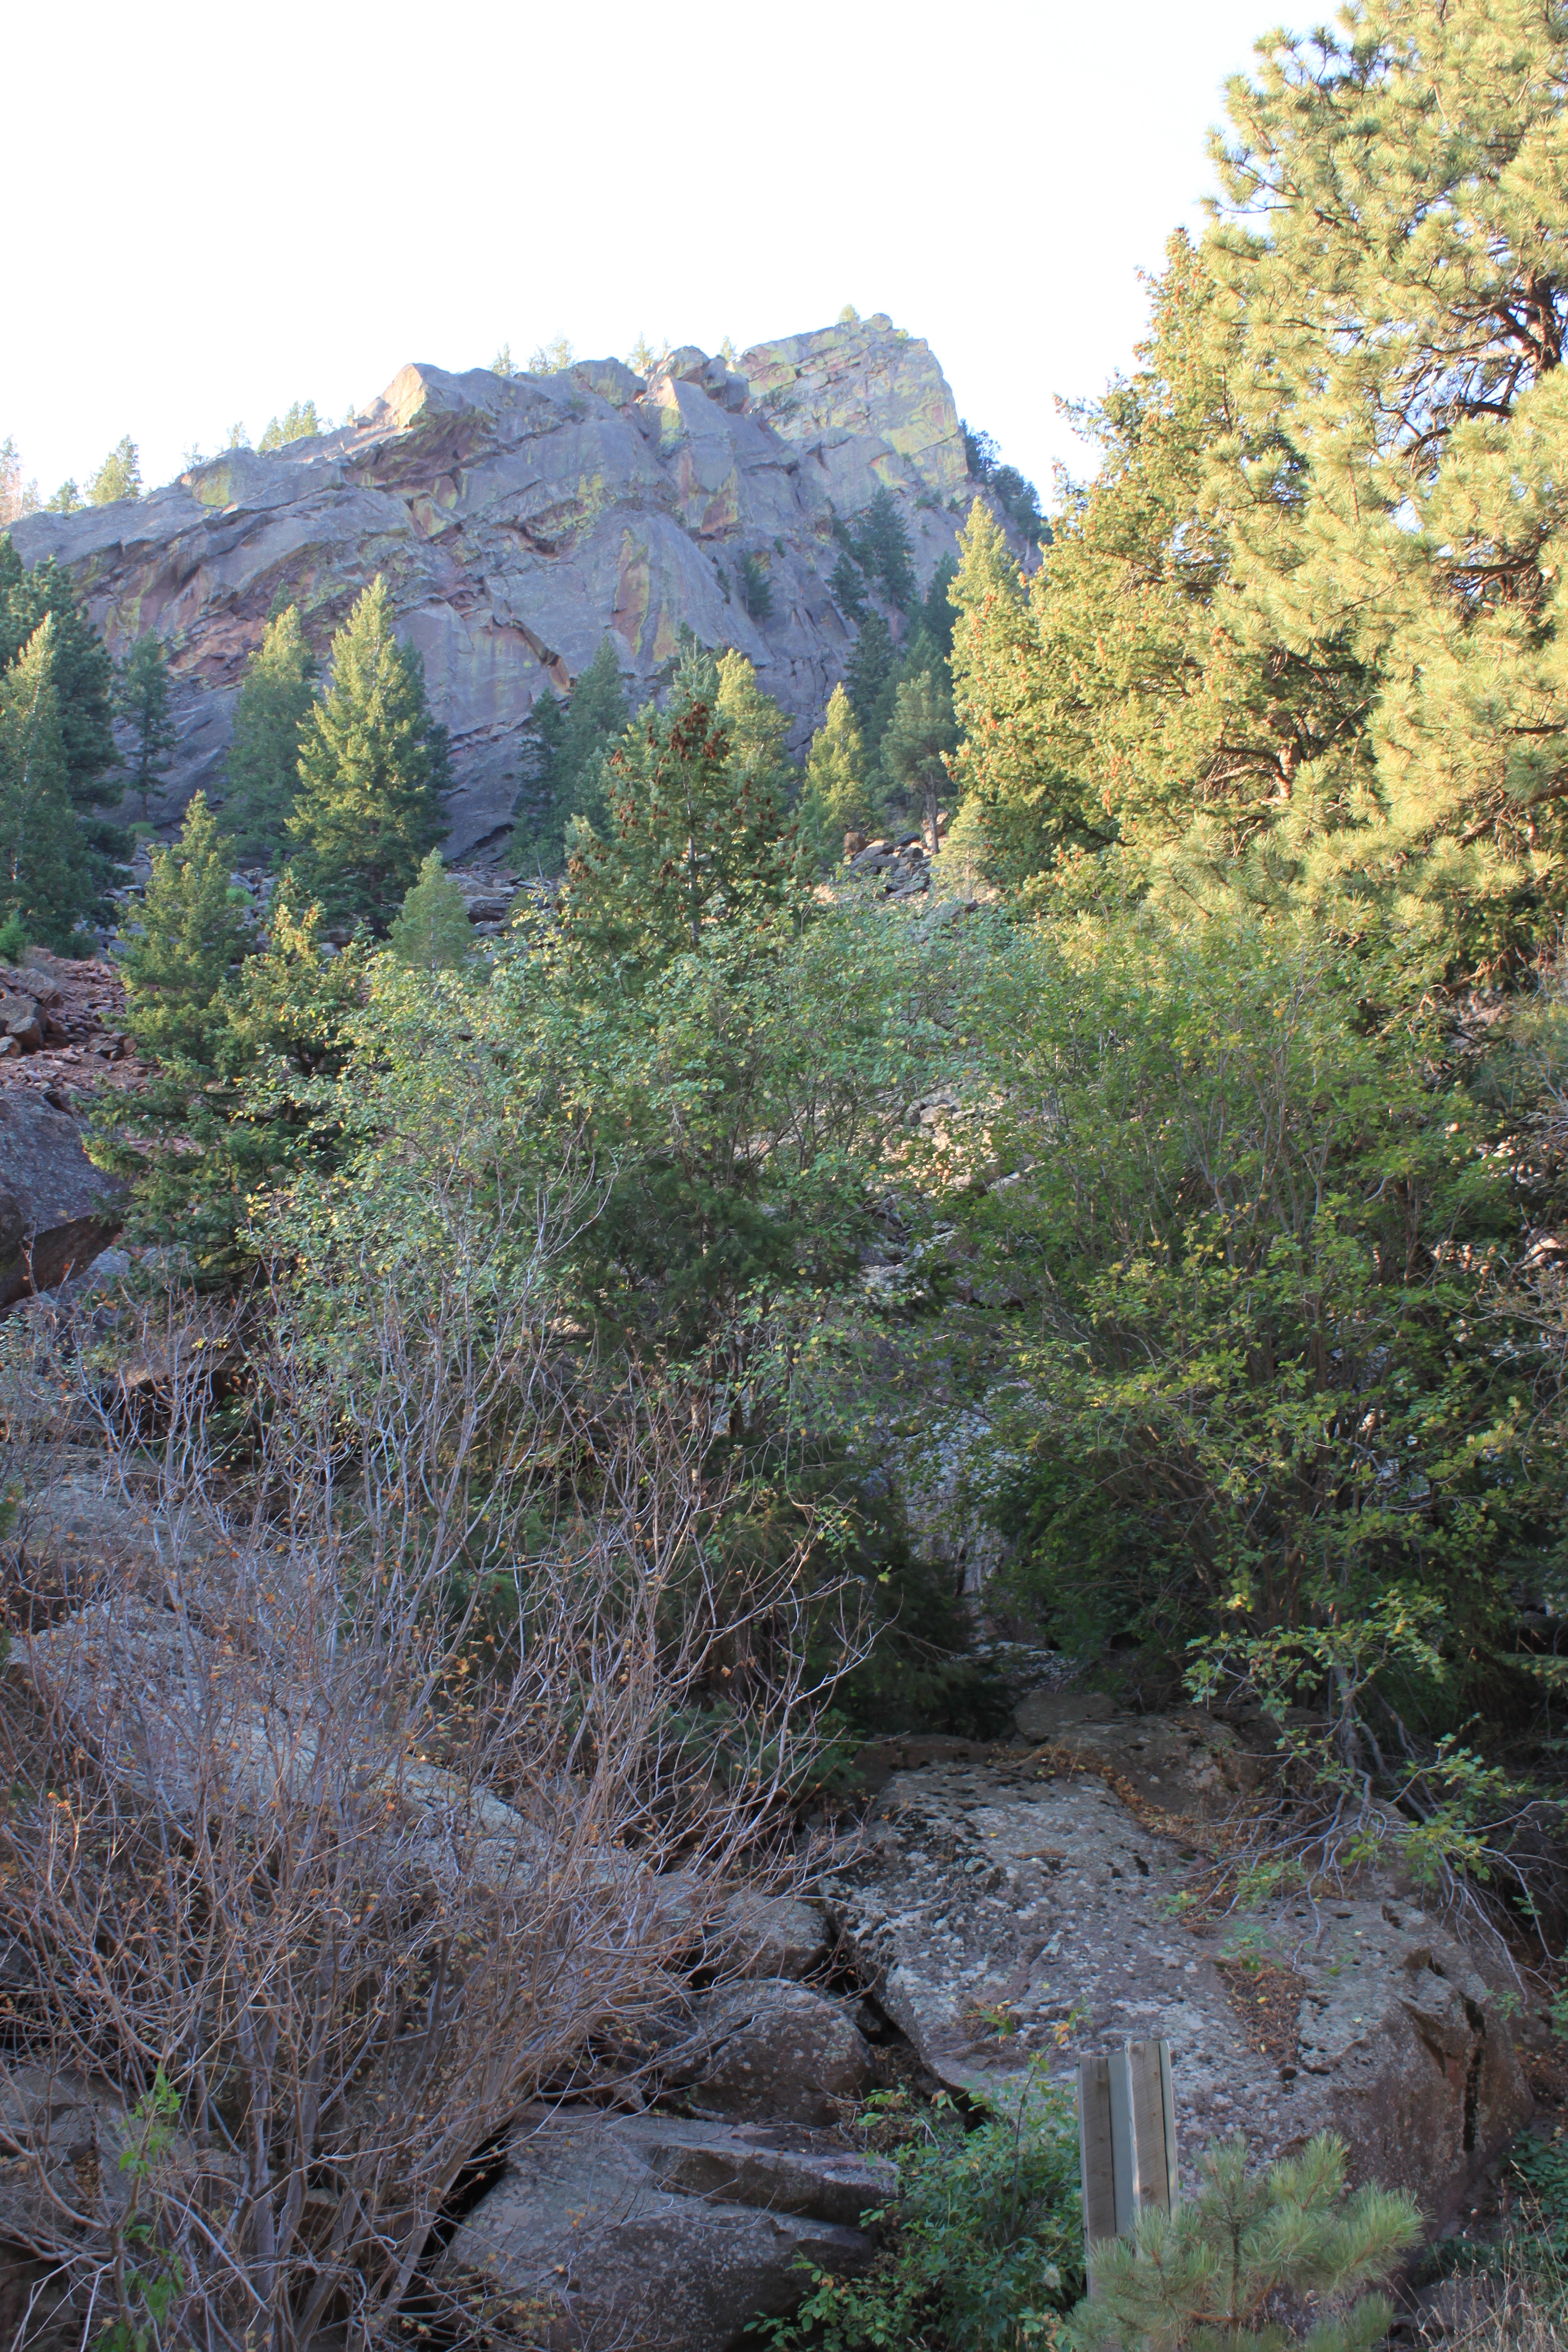
While Aaron was dealing with a wardrobe malfunction, I actually read the trailhead board mainly because it looked like one of the people getting to hike was a hunter and I wasn’t sure if this was a hunting area and/or a hunting area.  It wasn’t as far as I could tell.  What I did learn was that the Spruce Creek trail is marked by squares carved into the trees, which did come in handy throughout this early part of the trail.   There are also blue diamonds placed along the trail as well.   The first 2 miles is through this beautiful wooded forest is so different from what we had been hiking through along the foothills.  I actually felt like I was in all those Grimm fairy tales where it seems all the magical stuff happens.  It starts out going along a stream, which you will cross over a few times.  I have to post a few pictures here, just because it was so pretty:

We were getting pretty excited at this point because we knew the Mohawk Lakes trail was not too far away.  What we didn’t expect was the small pond shortly past this intersection, it was reflecting Mount Helen perfectly.  We killed a solid 20 minutes taking pictures of this.  I felt so proud to have actually captured these images, although is was more likely the quality of camera then any talent of mine….

So the next trailhead is not too far from here and we popped out of the wooded coverage onto the 4×4 road I mentioned earlier.  We saw a couple hiking up the road and they said it was very exposed so on the way back they would take the way we came from to avoid extra sun exposure.  The wooded trail was shaded and so nice and cool the whole way.

Just follow this road around the curve, there is fence and the trail picks up again just past that on the left:

From here the incline increases greatly, the couple we met on the road was still with us and they both had hiking poles.  This is a good time to point out that if you have poles and want to do this hike, bring them along maybe not a big deal at this point but later on they will be so helpful….  It is not to far to the next split, you have Mayflower lake on the right and then the Mohawk Lakes and Continental falls on the left…go left!

Ok, from here on out it is quite a hike.  There are the lower falls, then the Continental falls and then all long the way are remains of the old mining operation.  We took about 30 minutes taking pictures at the lowers falls and when we popped back out to the trail our beautiful blue sky was starting to get cluttered with clouds.  At this point we made the decision to focus on getting to the top to avoid weather changes and then we would take our time going down capturing more images.  Here is what the lower falls had to offer:

So from here you get back on the trail at some old cabins, one is restored and used by hikers who get stuck when weather comes in too fast.  Something to keep in mind when planning to do this trail, make sure you are prepared for any weather.   We had on layers of clothes and more in Aaron’s backpack just in case.  It is always easier to take off clothes then to try to figure out how to get warm when things change.

From here we tackled the last part of the trail, and I read everything I could find on this hike there was a constant term used to describe this last part….a scramble and I don’t know about you but I have no idea what a scramble is.  I googled it and it was a climbing term that recommended bringing a rope.  I could only find 1 picture of this scramble and it was the very beginning where it is a series of large rock(s) you have crawl up but then it is not AS bad as I had imagined.  I was determined to get pictures but on the way down…. unfortunately Mother nature had a wicked sense of humor after we headed back down.  Every time I pulled out my camera it started raining and hailing, yep hailing!  I wanted to kick myself for not taking the time to capture the “scramble”, but here is my advice take your time and look around.  They have adjusted the trail recently, before you would scramble up along the falls using the cable left over from the mining operation to pull yourself up.  The new path is not easy but it is easier, it would have been nice to have poles to help navigate it and add some stability for my poor knees that are fighting with all my extra weight already.  Now it takes a series of steep switchbacks over lots of rocks and boulders up to the lower Mohawk lake ( I think) which a is a beautiful destination on its own.

Along the left of this lake the trail continues up to the next lake and at the time I thought this was upper Mohawk lake from all the pictures I saw but I am not so sure any longer it could be Mohawk lake and we failed to make it to the upper lake.   But it is where we stopped and spent almost an hour taking pictures because it looked like everything I saw for Upper Mohawk lake:

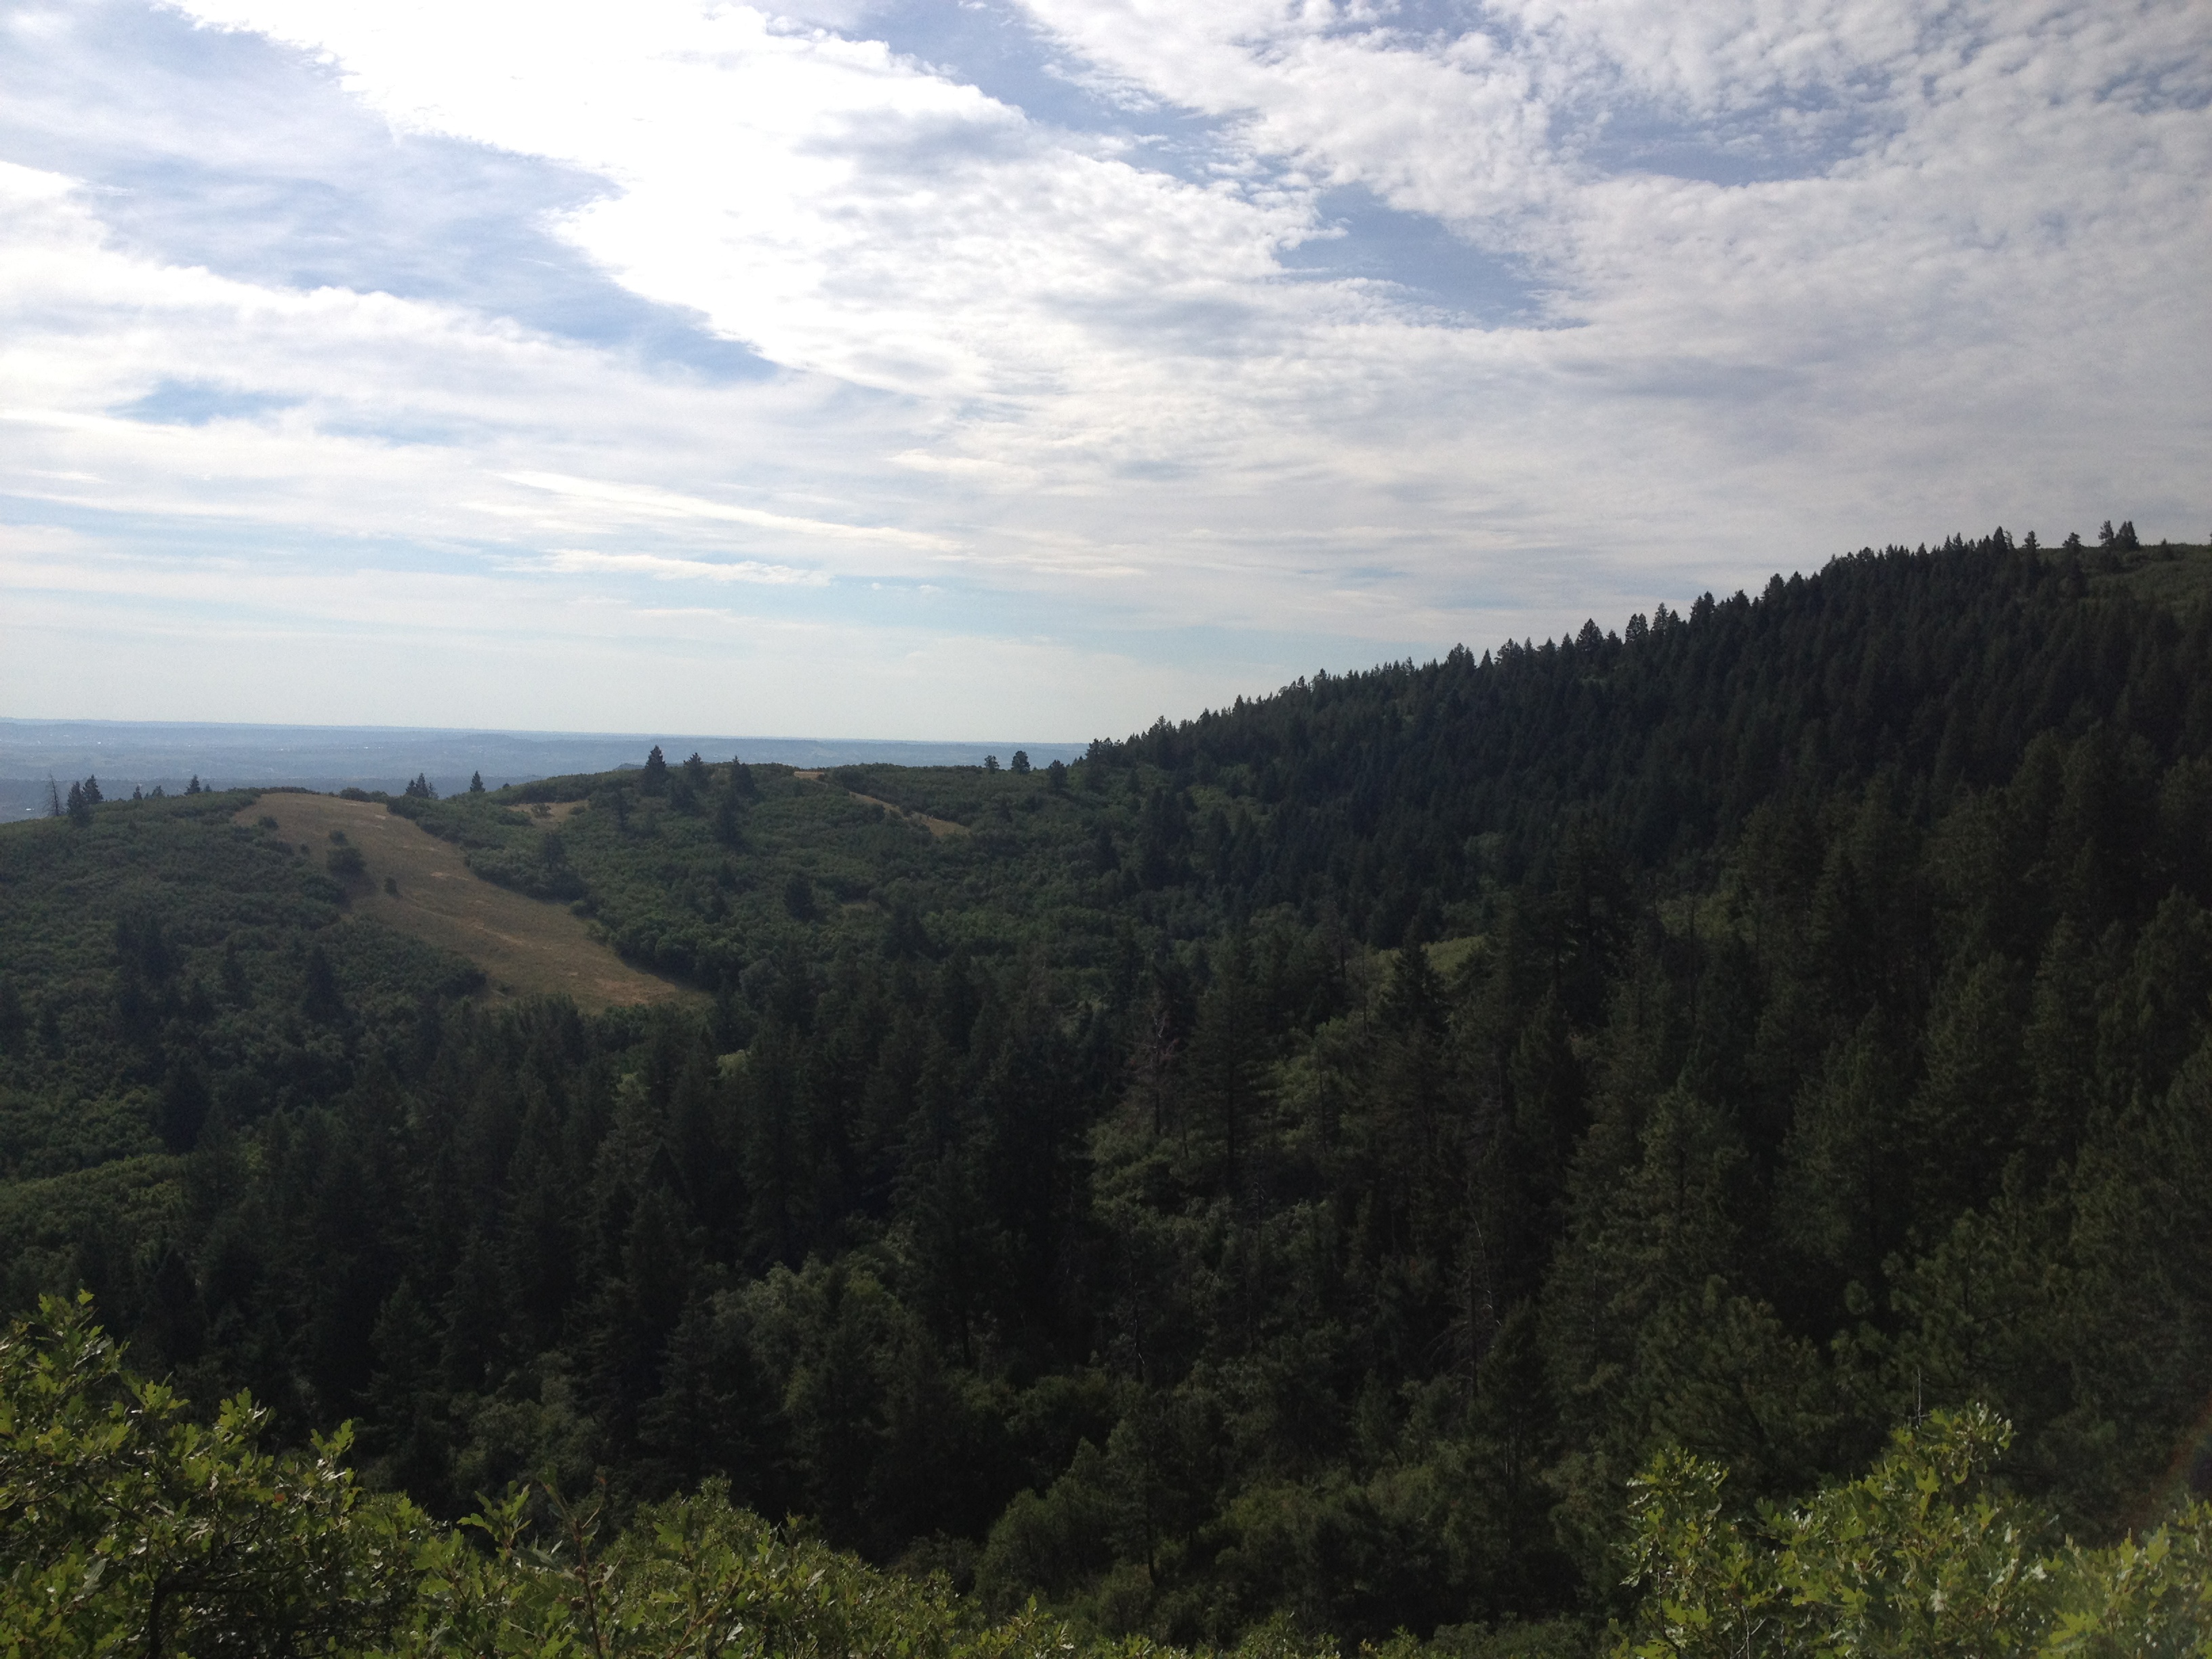
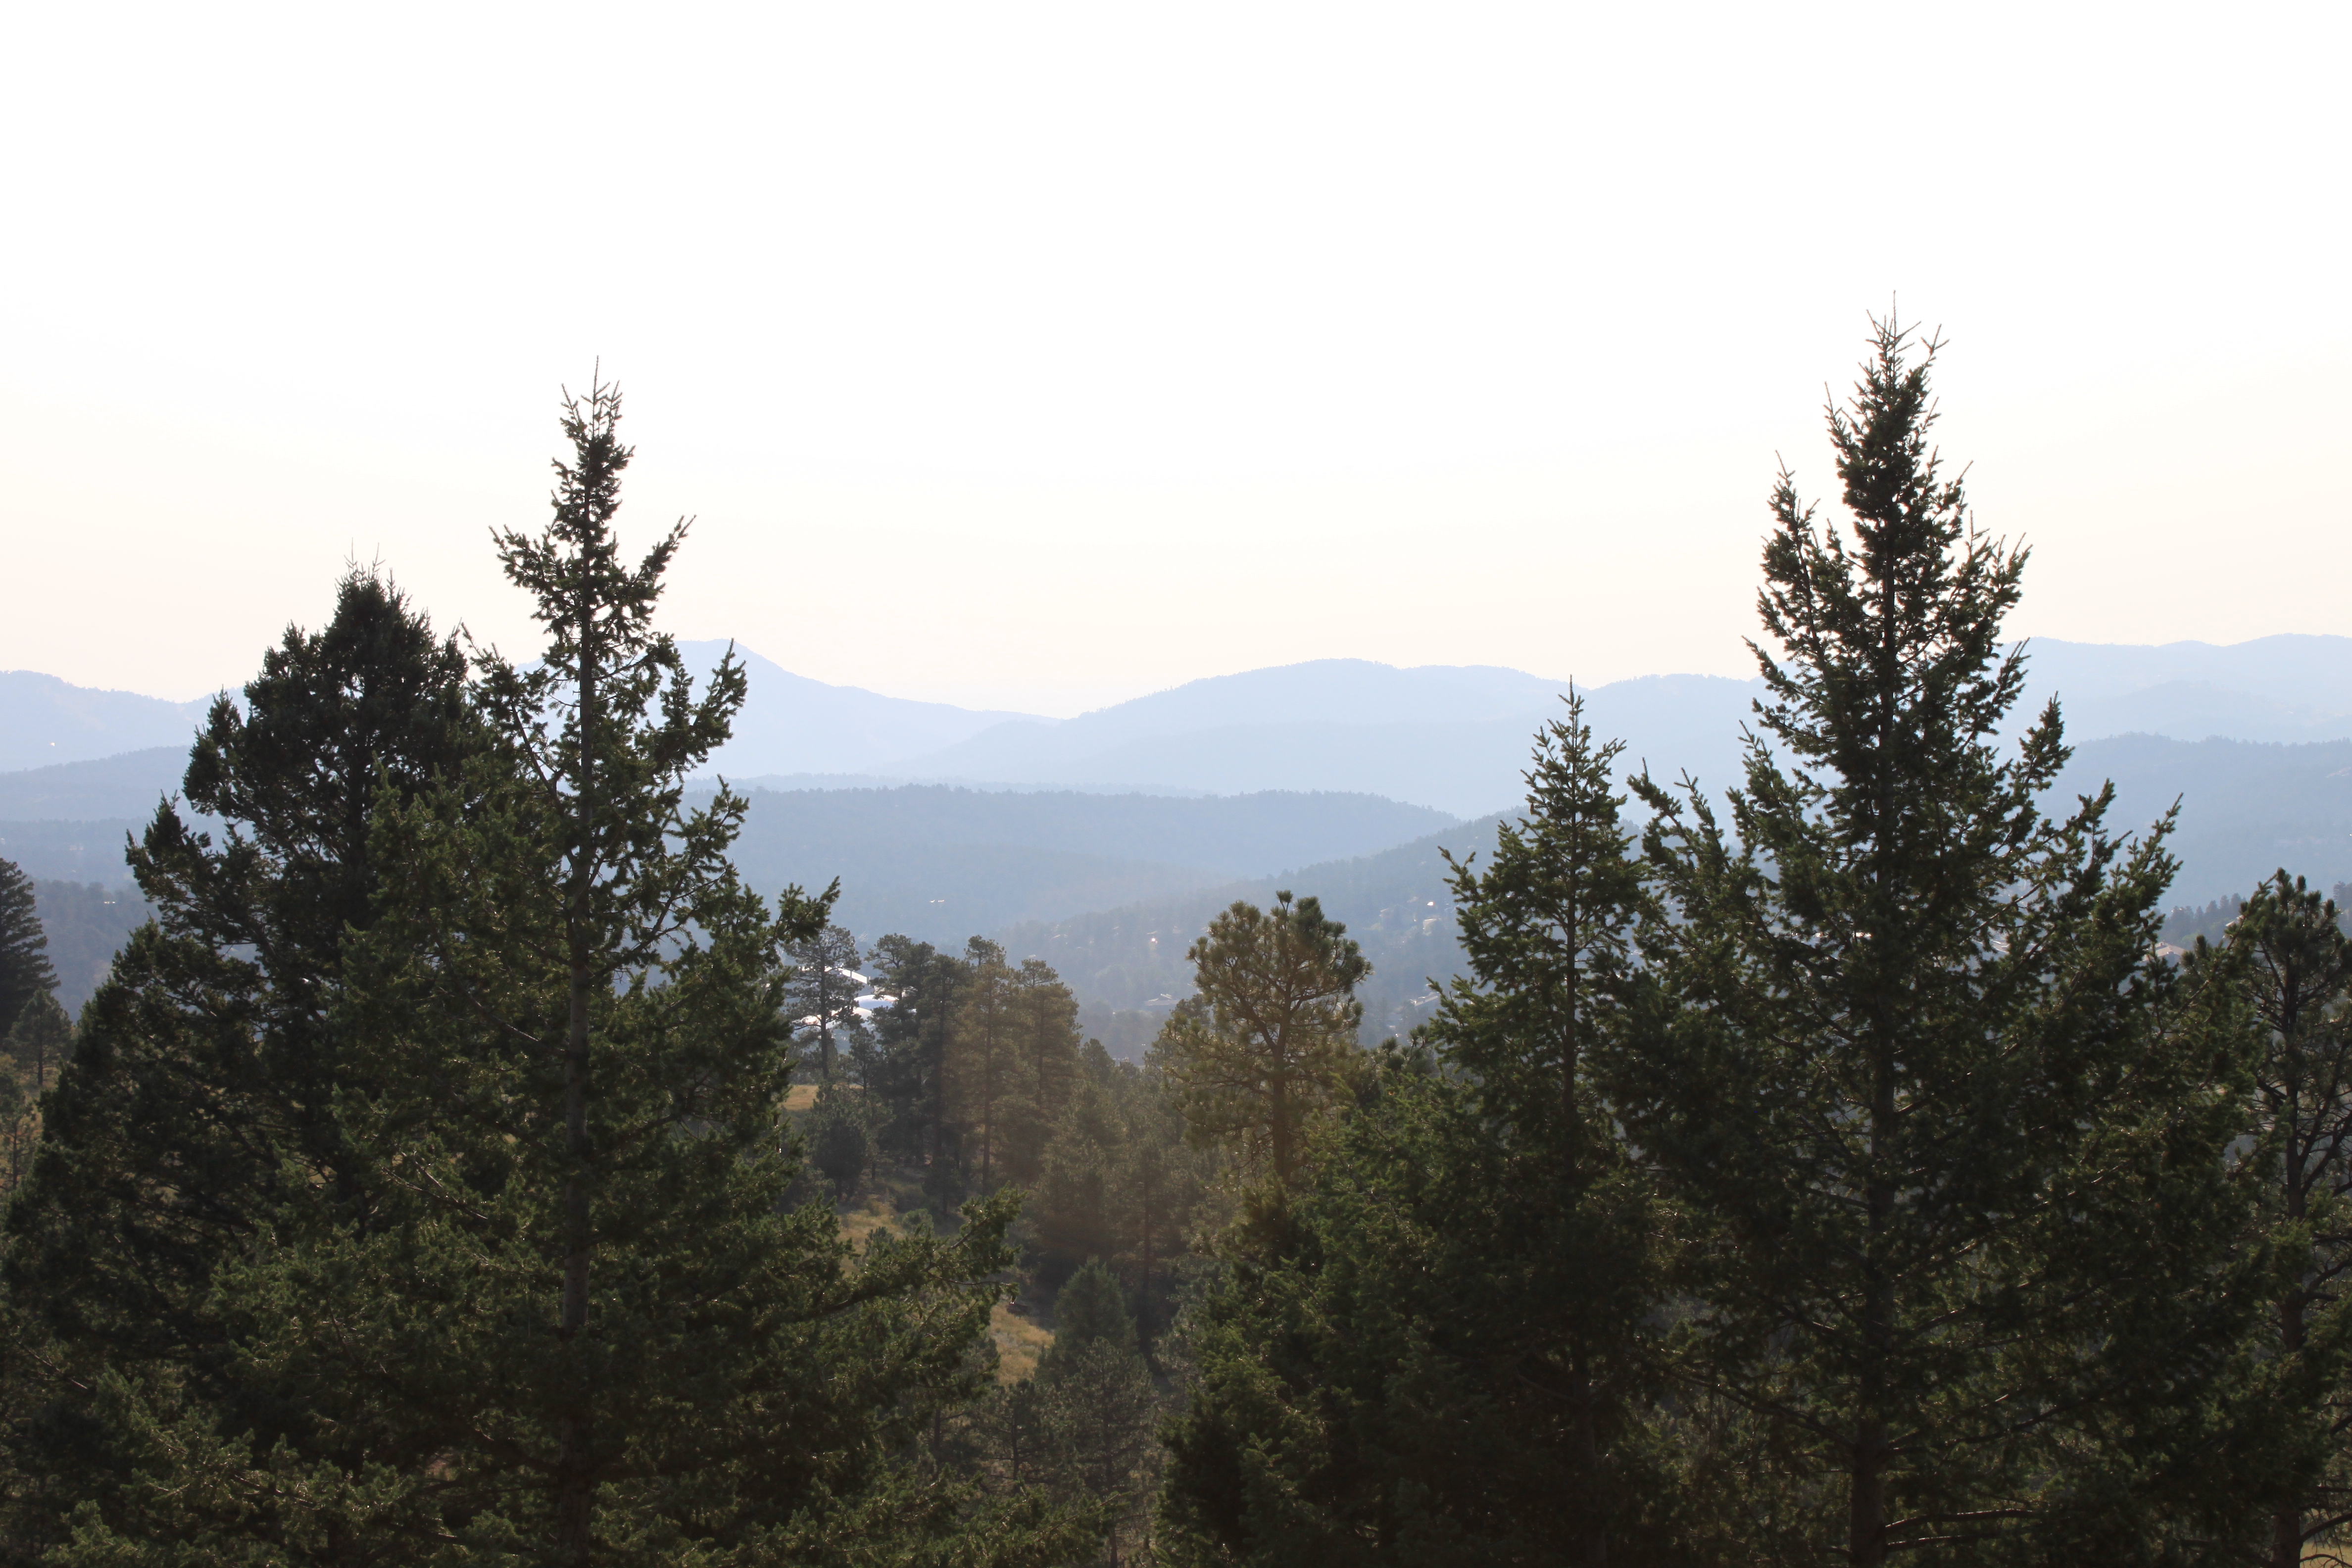
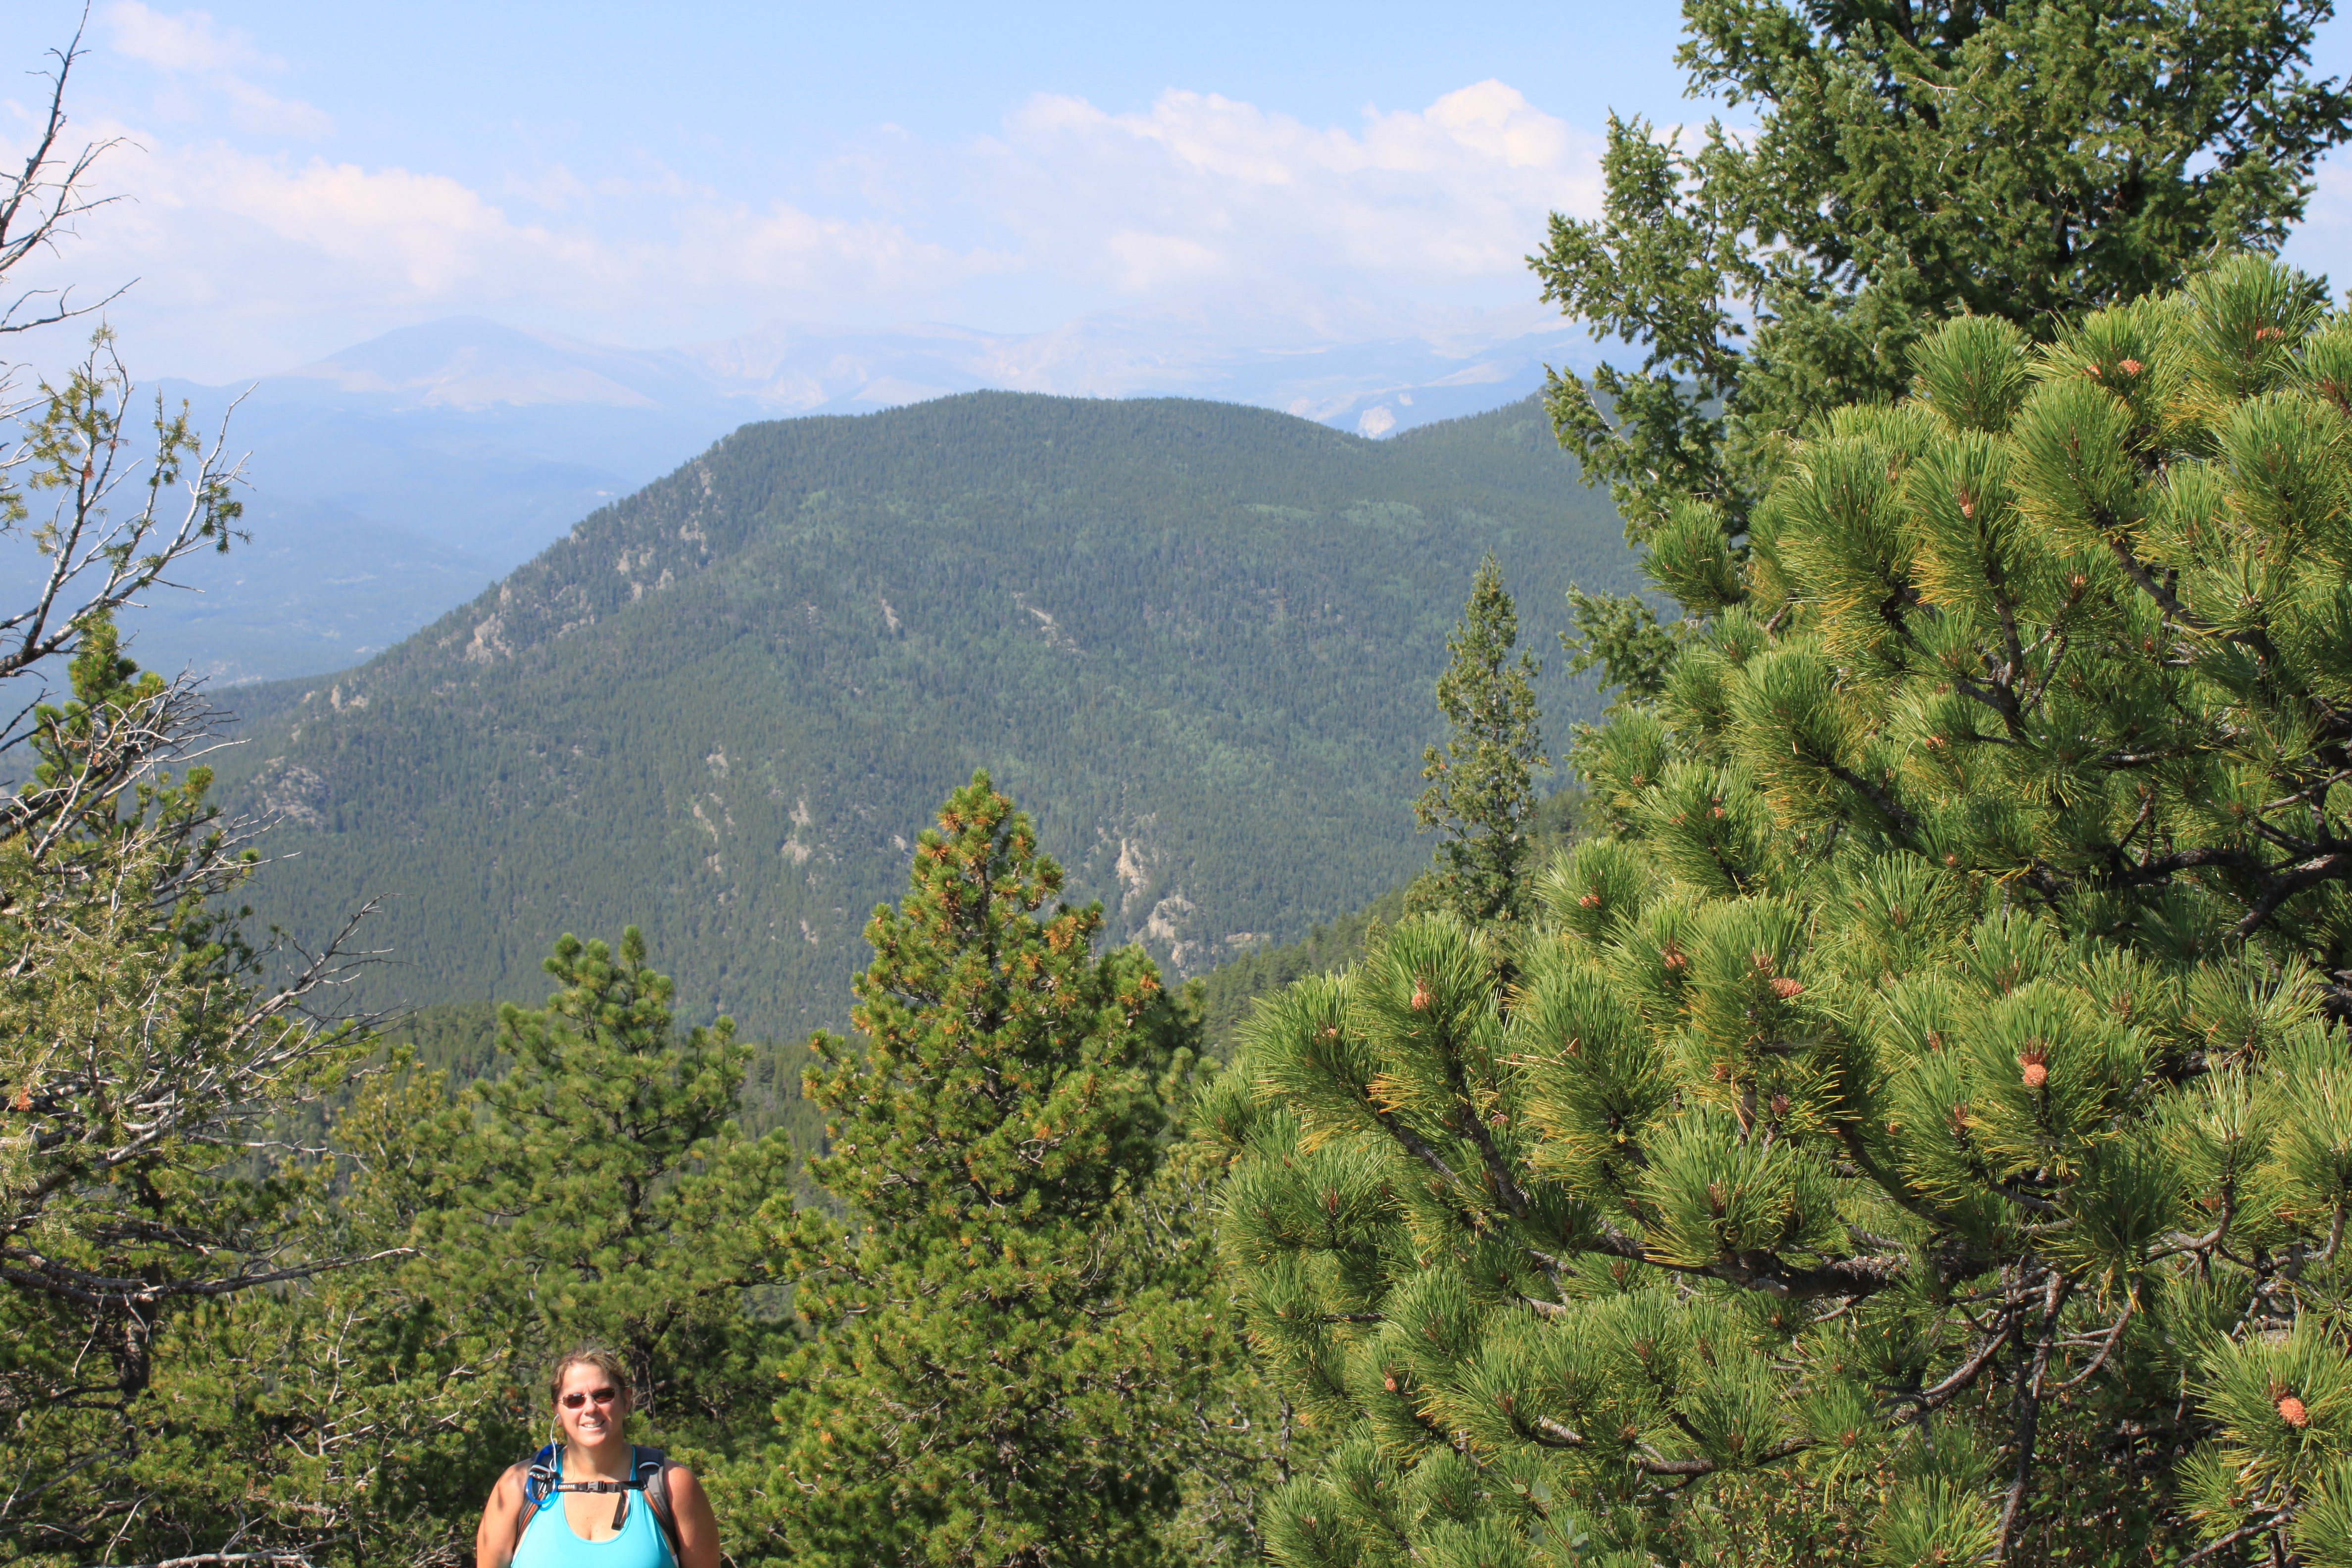
Where this other hiker is located is where the path comes up to the next lake, you can also see behind her the trail that goes up to at least 3-4 more lakes.  I understand from this lake on it is pretty challenging to get to the remaining lakes and actual rock climbing skills would come in handy.  We stopped here and took pictures like crazy people.  The views were just amazing, everything we moved to Colorado for.  We could see Breckenridge in the distance along with the surrounding mountains and ranges.

We are really proud of ourselves on this one, it was a new and exciting challenge.  Unfortunately we took too long at so many different points during the morning, we headed down at 11:30 with our cameras out and it started to rain big alligator tears sized drops.  We captured a few things but had packed away our cameras because of the rain.  Then we started down the scramble he sun came out and went to the top of the continental falls, took out our cameras to catch how beautiful they were and it started hailing.  We stayed there for a while thinking it would stop and then finally gave up and as soon as we got back to the trail the sun came out blazing hot….I think you get the point, it was like this the rest of the way down until we actually gave up pulling out the camera and then I think it drizzled only one more time.

This is a spectacular hike, I think it should be on everyone’s bucket list as it has some of everything that makes Colorado so special.   Take your time doing it and don’t ignore the changing weather, it was a tough time getting down the scramble when it was wet.  Start early and know the weather for the day.  It is really only a summer hike although I have read it can be a good snow shoe route, really the beauty is best now!  I think snow shoeing would be quite a challenge, one I am not ready for yet.

How to get there:

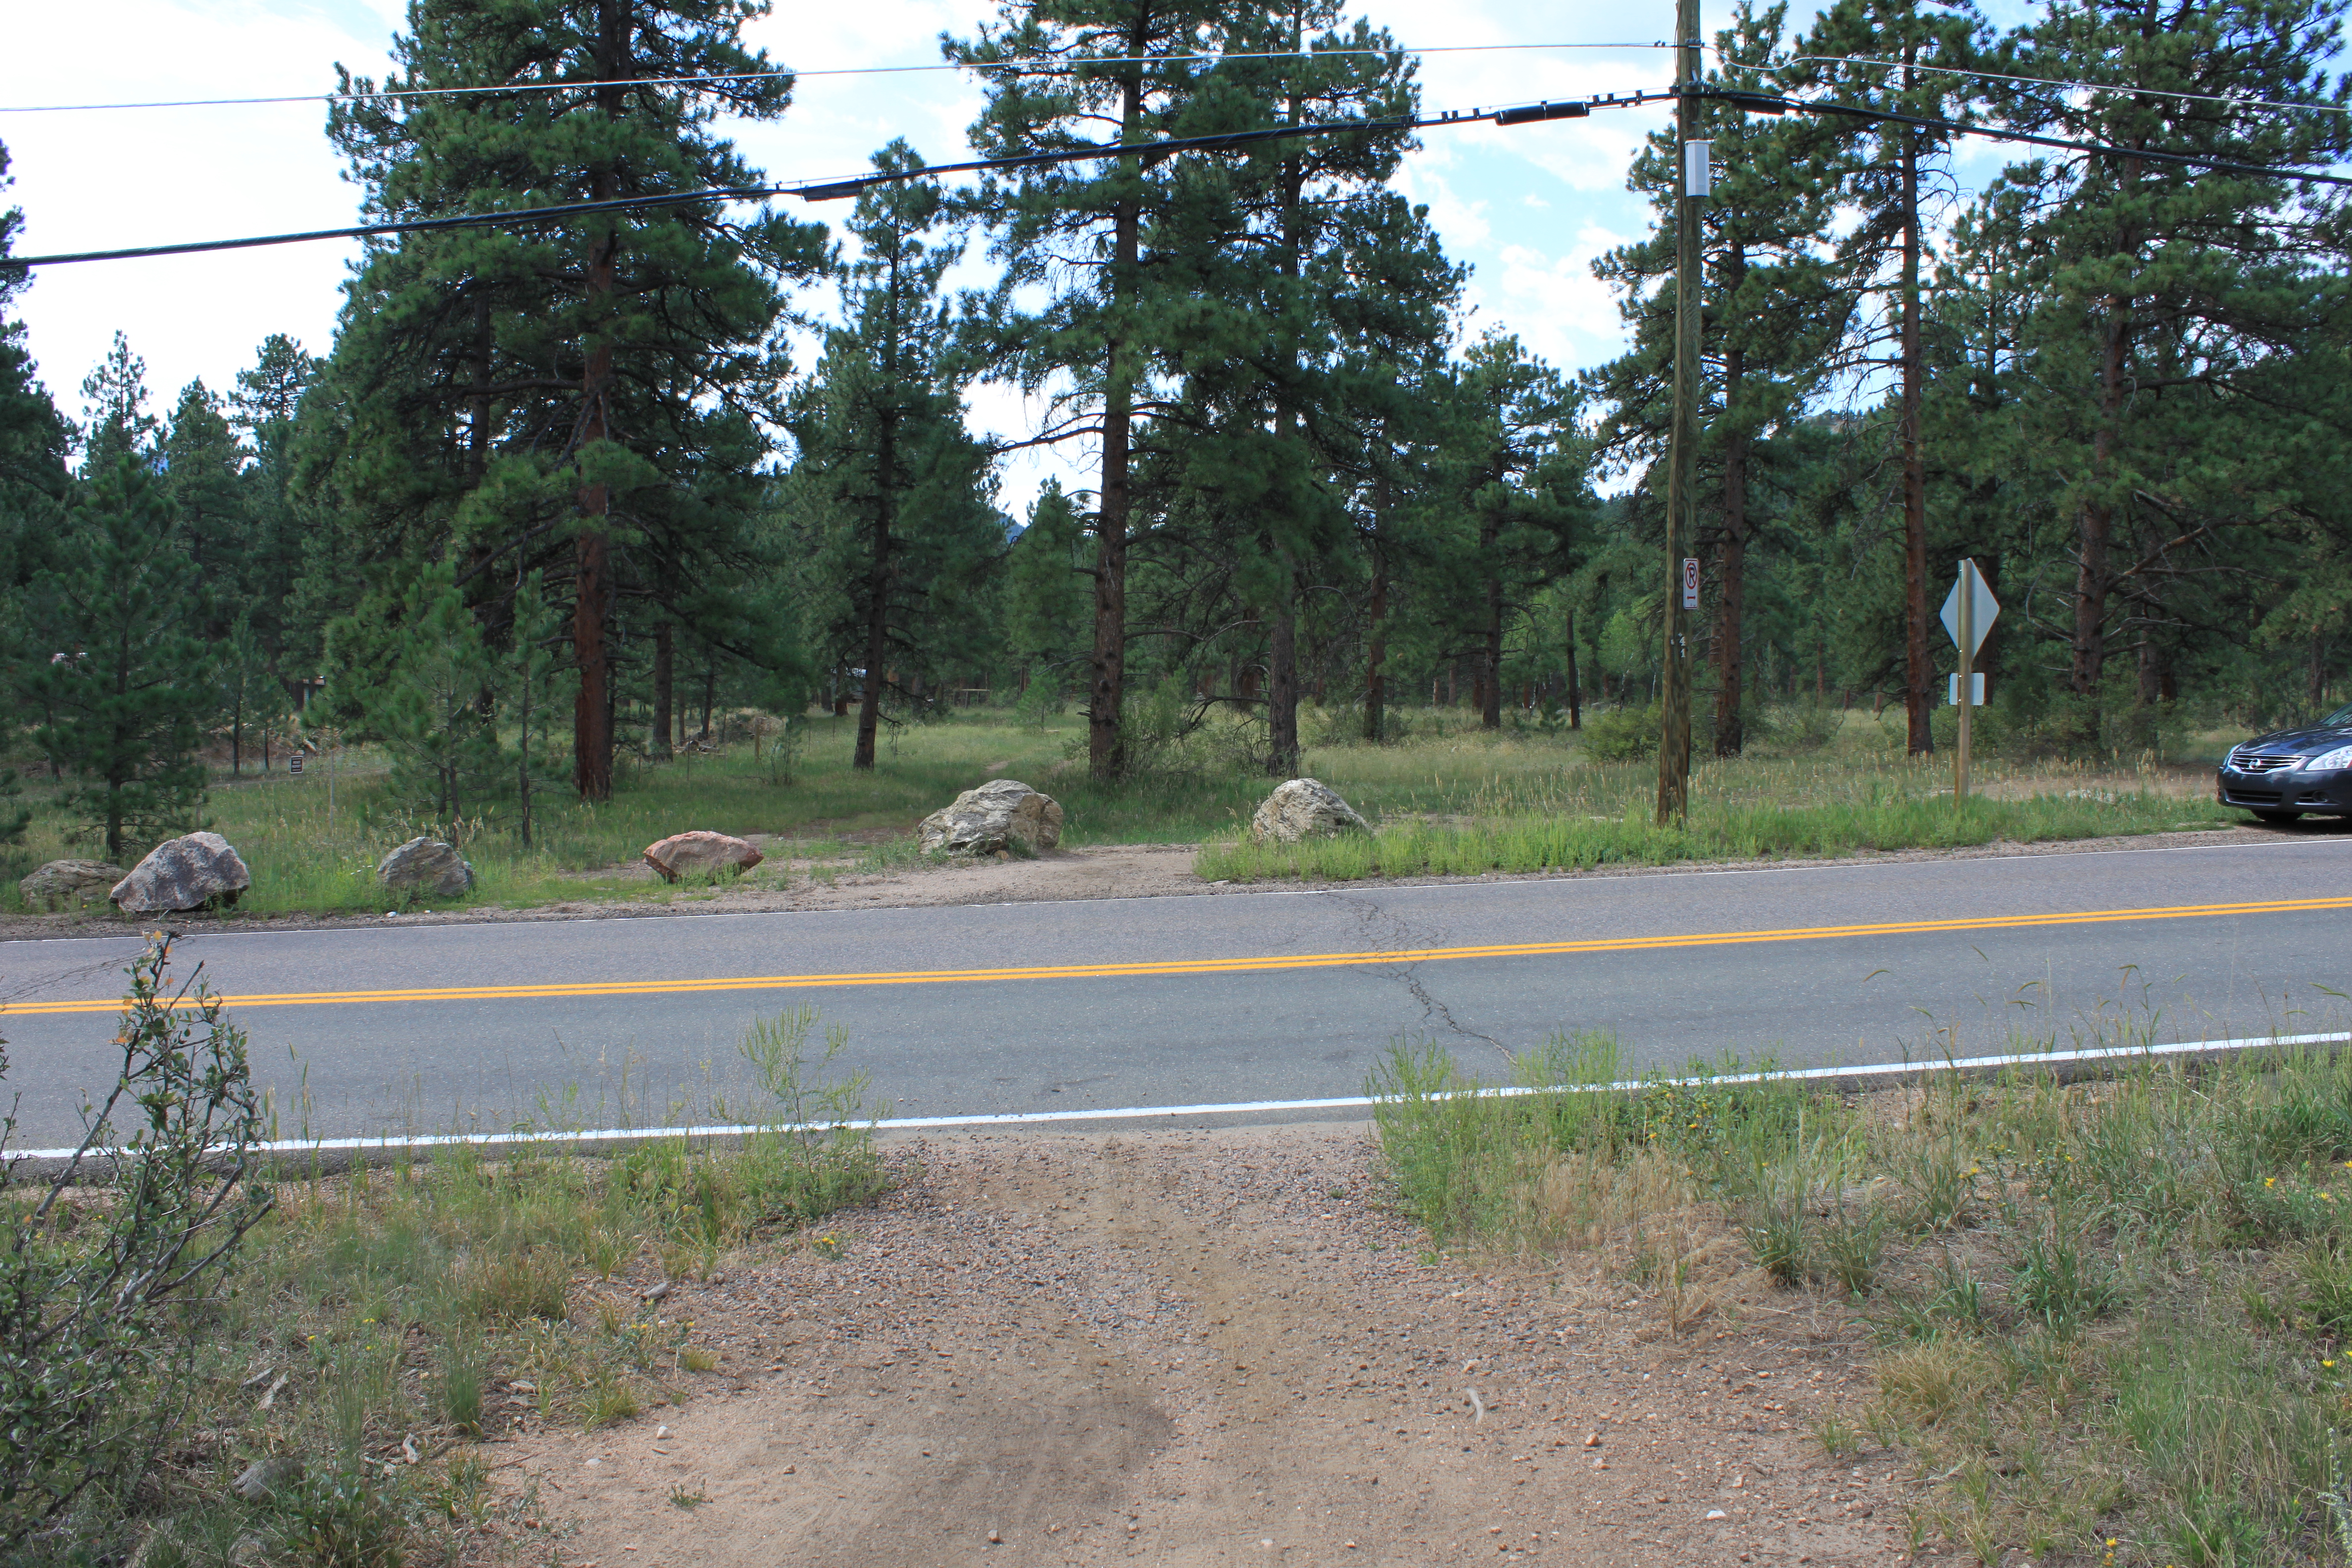
From Breckenridge, drive south on U.S. Highway 9. From the last stoplight in Breckenridge to Spruce Creek Road is about 2.4 miles, turn right on Spruce Creek Road. Drive about 1 mile to a well-marked parking area and trailhead.

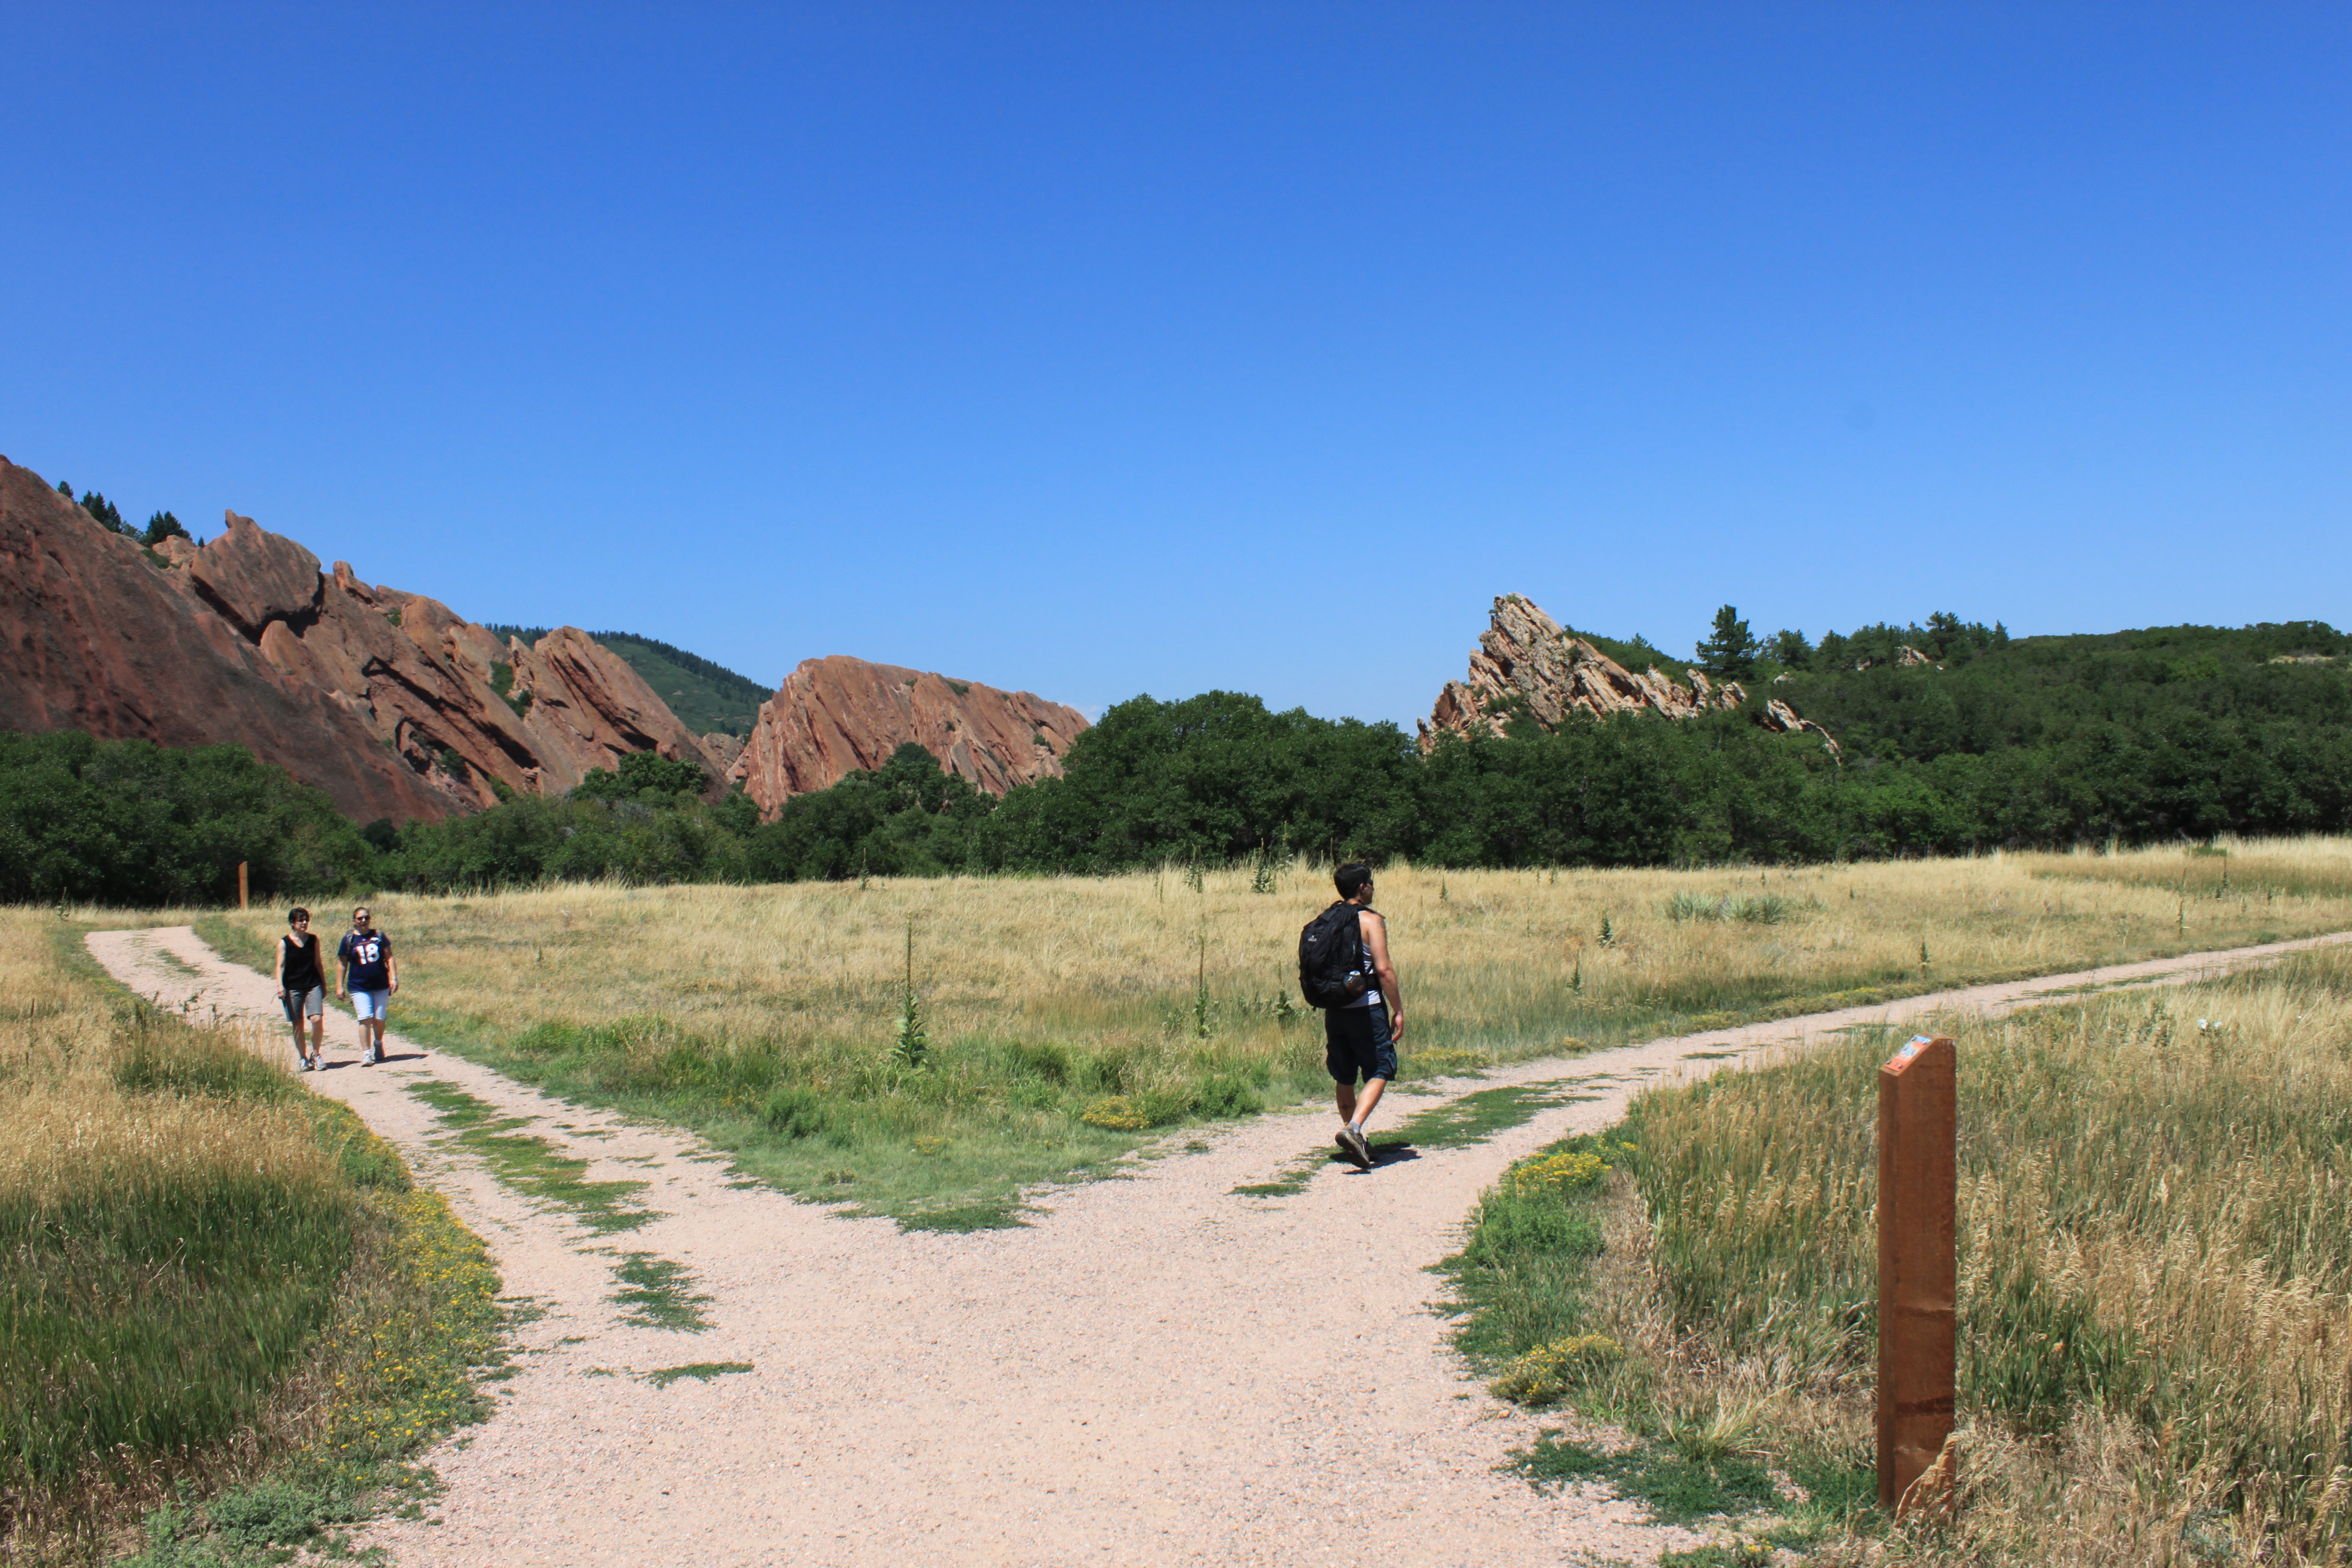
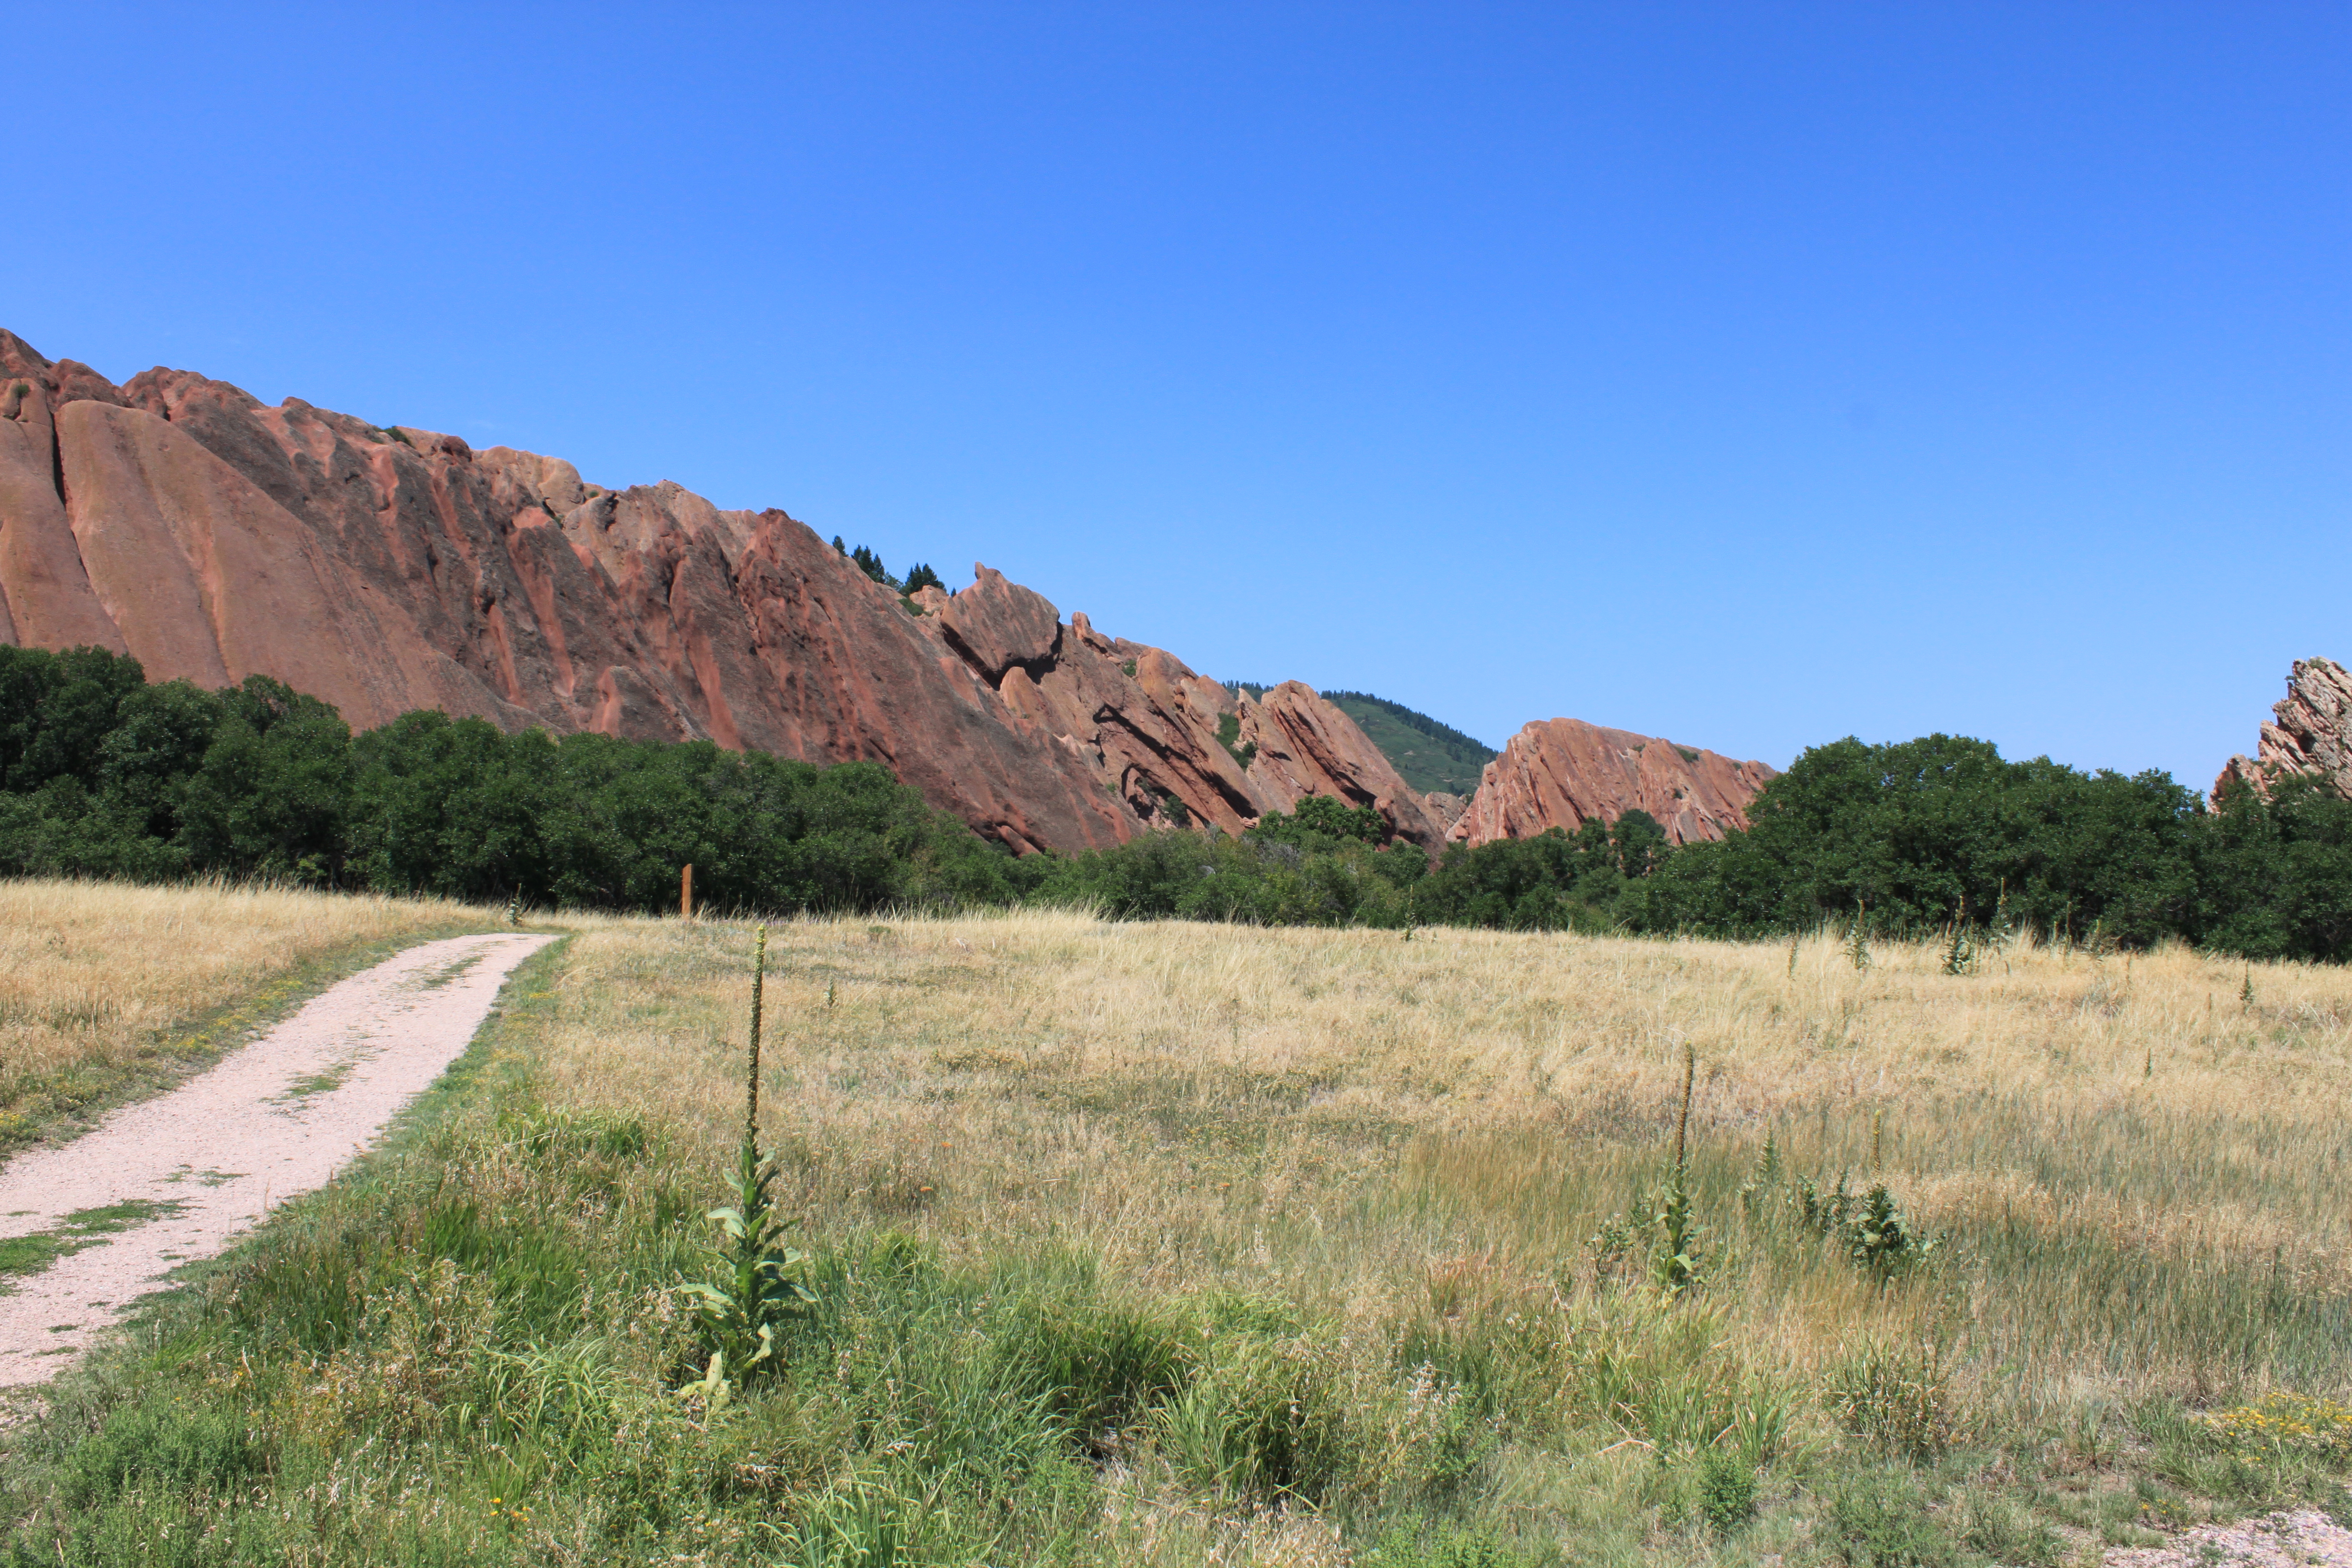
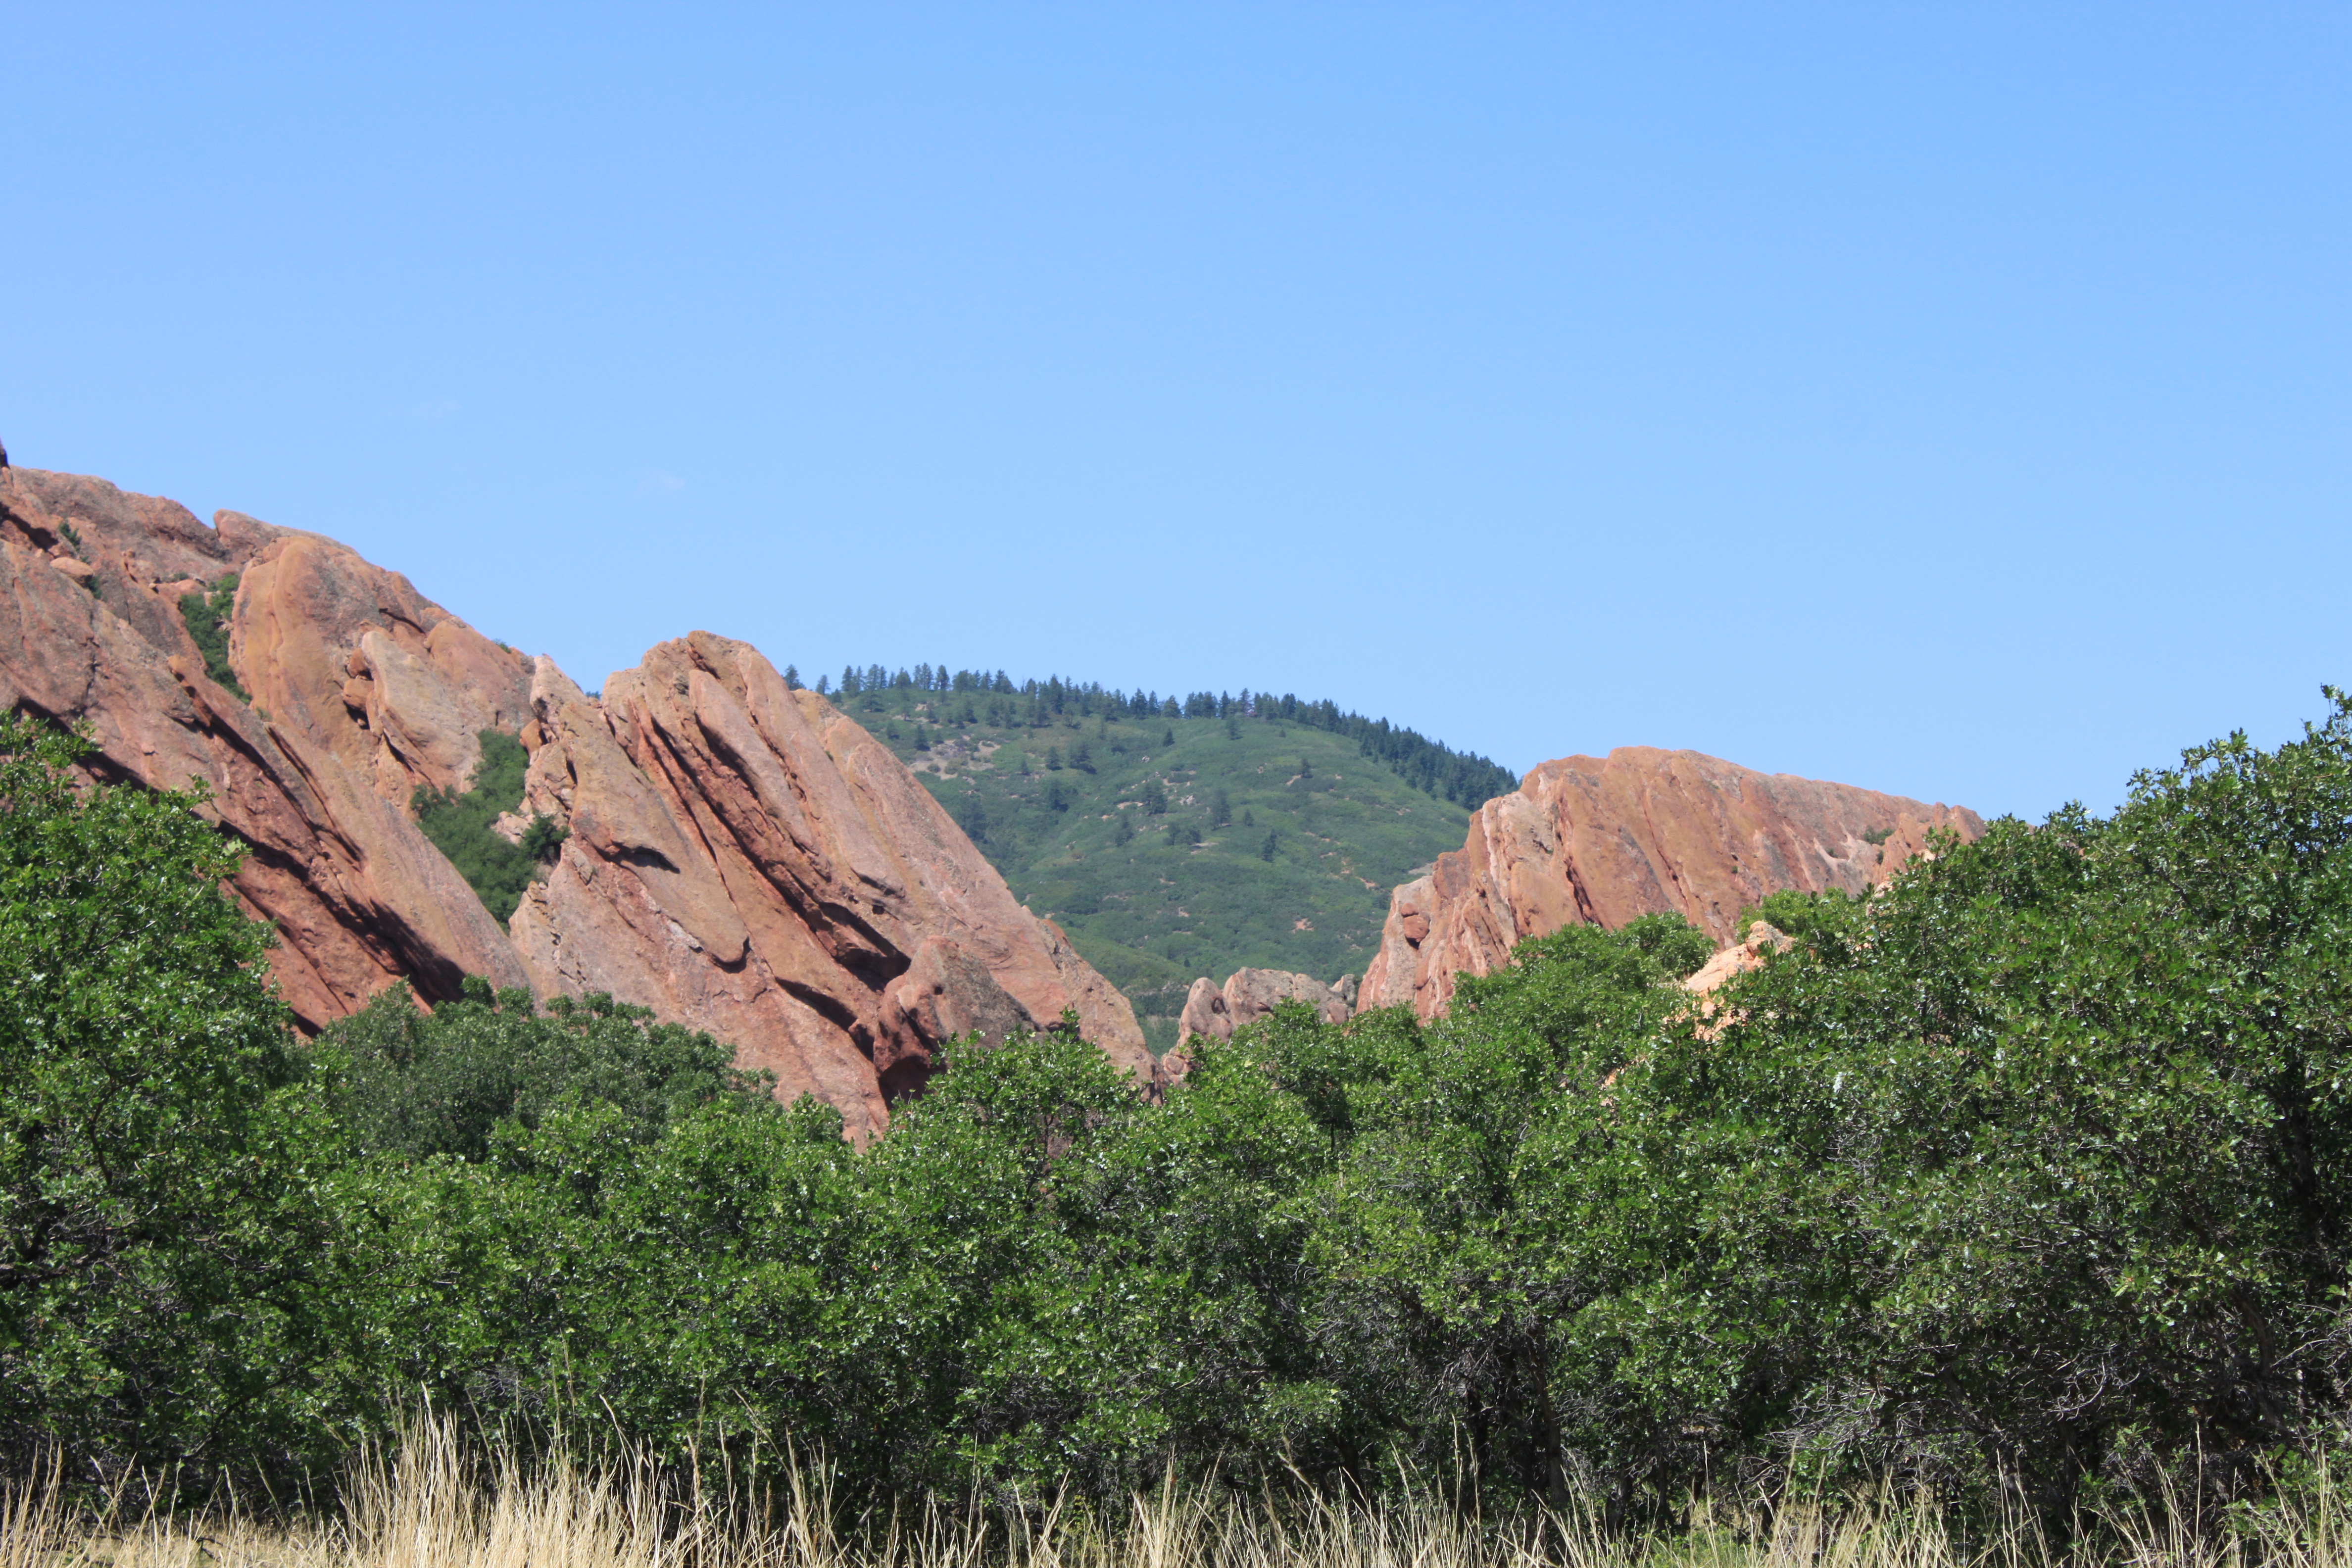
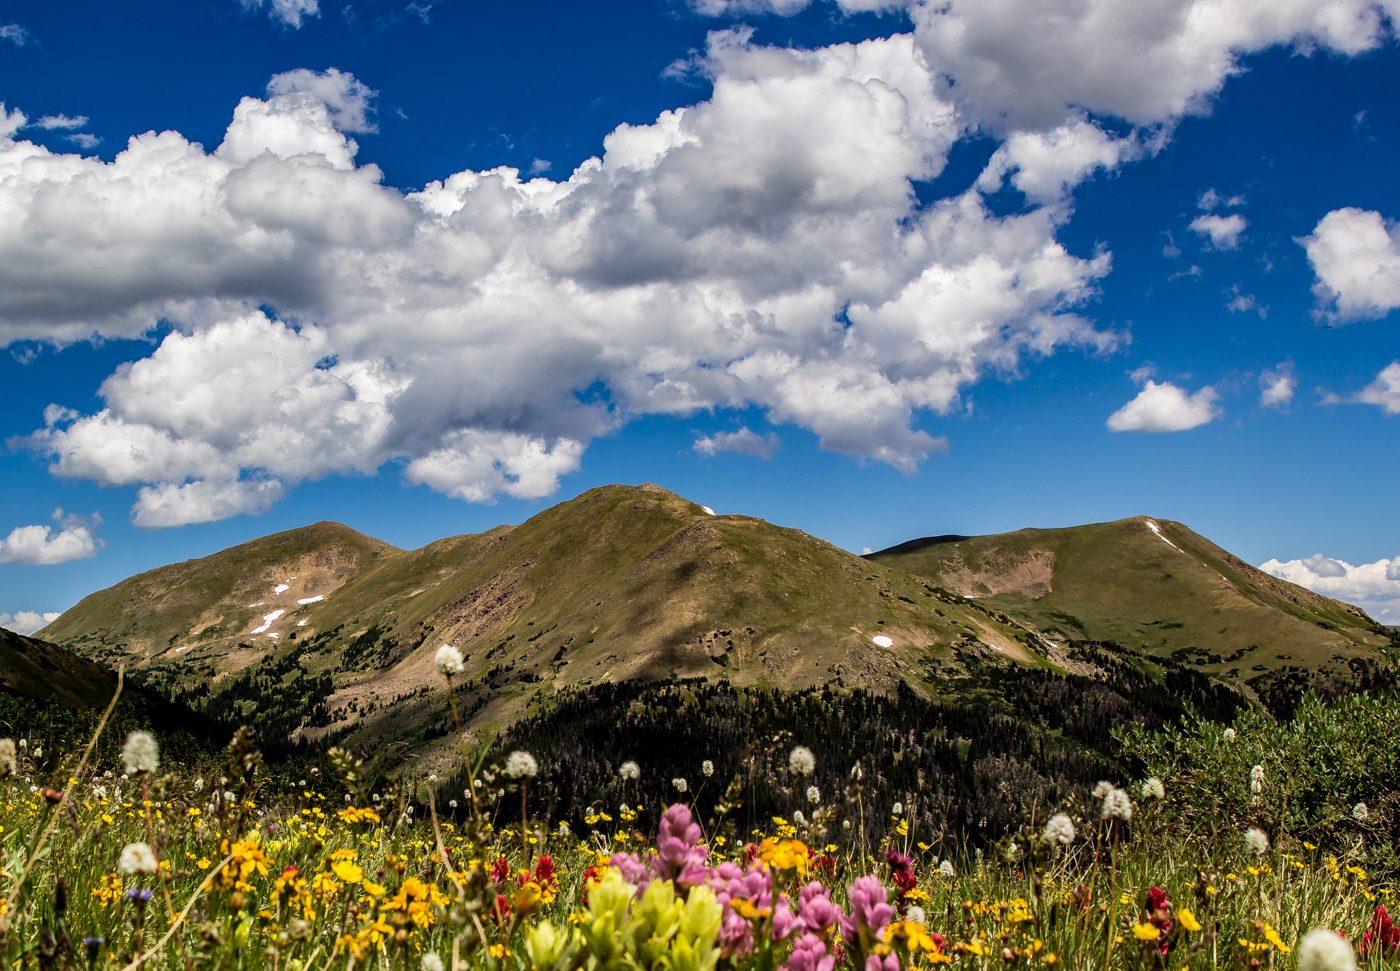
Here are just some more pictures from the day:

Weigh in Day – 8/31/12 35.4 LBS down 54.6 LBS to go!!!!

Finally!!!! After 3 weeks of no weight loss, I lost something this week.  I had planned on doing all these changes to get off the plateau but it never happened.  The only thing different this week was that I had my first reflexology appointment to try to help with my plantar fasciitis, which has been plaguing me for the past 2 years.  I also got mostly back on track with our workout schedule too.

I have come to learn ( after gaining and losing hundreds of pounds) that I just need to do what works for me and not listen to all the hype.  I would love to be a healthy eater and have wished for years that veggies tasted more yummy and less like dirt, but they still taste like dirt to me.  The fact is, outside of the only vegetables that aren’t healthy for you ( corn & potatoes), I cannot choke them down.  I try to make deals with myself to at least eat one bite which usually ends with a face being made at my hubby or whomever is lucky enough to be sitting across from me.  This bad habit of mine always causes much discussion among every person I try to be honest with.  So a few months ago I was in a restaurant and this man came in and told his dinning companion very loudly at least 6 times that he could not have any vegetables.  I was intrigued, what possible ailment would prevent a person from eating vegetables, I mean seriously I would love to use that instead of they taste like dirt.  I wanted to ask him, but at the same time his volume of confession along with his repetition  led me to believe he was hoping someone would ask him.  I just decided to use the excuse that I am allergic to veggies, and lets just throw in fruit for good measure.  It’s not right and I know that, but in order to be successful, I have to be honest.  Hopefully they will make a veggie pill soon enough so I can take it and use that as an excuse.

For the record, I have gone to culinary school so I know how to cook them and make them taste good….for everyone else; but the only way they even get close to tolerable for me is soaked in butter and/or cheese then possible deep-fried.  Which of course kills the reason to eat them in the first place.  

Today what is working for me is straight calories in straight calories out.  I am focusing on physical activity to counteract a tough day.  I know this won’t work forever and as I lose more weight I will need to make more diet changes, but I will ride this out as long as I can!

For today, Yay me!!!!  I am pretty excited to about tomorrow’s hike 35 pounds lighter than I was that 2nd weekend in March when I first started this journey!!!

Eldorado Canyon Trail – Eldorado State Park 8/25/12

Eldorado Canyon Trail and a little bit of Walker Ranch Loop
Starting Elevation: 6000 Ft
HIghest Elevation:  Approximately 7400 Ft
Trip Length: 7.2 miles according to the map( 3.6 in and 3.6 out), my fitbit said 8.5, took us about 3.5 hours
Trail uses: Hiking & Horses
Fees: $8 per day or get an annual state park pass for unlimited access ( $70)

Degree of difficulty: Moderate/Difficult
Bathrooms: The Visitor center, at the trail head and the parking lots at the entrance by the rock climbers
ADA accessible: No
Pets: Yes, and on six-foot leash under control at all times

View of where we are going, well at least part

Image

When we first bought our Annual State park pass, we made the deal that we would need to visit a State park at least 12 times in the course of the year to ensure it paid for itself.  So after doing Roxborough, I was checking out the all the state parks to see what I wanted to do next.  Eldorado Canyon State Park was it but the trail rating made it seem unreachable, that and the trail descriptions I found.  This hike is not a straight up straight down and at the time I was just trying to get in shape to go straight up and straight down, but I decided after doing Bergen peak last week that it was time to check out Eldorado Canyon State Park.

We slept terrible Friday night and so got up extra early to head out for the hike, which is good because yesterday was the Pro Cycling Race and it would cross over the one road into and out of Eldorado State Park.  I am used to using an address to find a location, but I couldn’t find one anywhere for here and now I know why.  To get to the park we drove through the town of Eldorado Springs, which surprisingly has no paved roads and hand written signs saying slow down, speed limit is 10MPH.  And just when I thought it must be the wrong way, there on someone’s fence was a sign for the state park pointing us ahead.  Which is good, because I was certain the road would lead right to someone’s house.

This state park is also a huge rock climbing destination and there was a bunch of rock climbers gearing up at 7:15AM.  The drive back to the trail head is spectacular, in fact we had to stop a lot and capture the amazing views and so our early start went down the drain in the 45 minutes we spent ohhhhing and ahhhhing.

Image

Ok let’s talk trail, It is right off the parking lot very close to the visitors center and it is steep:

The state park people have put in a lot of stairs to help get up this climb, both made of rock and some with wood starts.  Some of these steps are a big step up and my chubby legs were working hard to get up them.  So be prepared to do some hard core lunges.  As we climbed up this first ascent, it was hard to keep our eyes on the trail because the views were so amazing!  There are train tracks on the other side of the canyon and we actually saw a train going by on the way back.  You also can see the Continental Divide peaking over the closer mountains at this point.  I did get pictures but the haze from fires in surrounding states makes it hard to see:

There are some rocks or rock piles that you have navigate through and then find the path on the other side, something I had read about before we came and was concerned.  But they are not as bad as I had imagined, it just required taking a little extra time and finding good footing.

After the first ascent, the trail does go down a little and then up again.  All along the path are these amazing huge boulders covered in lichen and the views of the canyon are just wonderful…..Then it goes down some more and back up again, this is a bigger decline and ascent then the second one but not too bad.  This is what I decided must be the second summit and it is the last one before the longest decent to the end of the trail and the beginning of the Walker Ranch trail loop.  It is confusing spot, it looks there are 3 trails, one on the left that clearly is about the scenic views, one straight ahead that looks like it goes down gently, and one on the right that has a greater decline.  To get to the end, it’s the one on the right.  Although many people turnaround here and head back instead of facing the final decline and the subsequent ascent back,  if you can go down  do it because it is so worth it.

When we reached the Walker Ranch trail loop, we took a suggested extra .10 miles on the left part of the loop from the trail head and this was the best part of the whole hike.   It was the South Boulder Creek, and there were rapids and small falls everywhere.  It was a great victory lap or us.

Before I go crazy with all the amazing creek shots, I am just want to sum this up.  After spending 45 minutes taking pictures and climbing over rocks to get the best shots, we turned around and headed back to the visitors center.

You can do the full Walker Ranch trail loop, it is 7 miles which would give a total trip of 14 miles but we just aren’t there yet.  The total trip took us 4 hrs 15 minutes, but if I take out the 45 minutes of picture-taking it was 3.5 hours roundtrip.  On the way there we came across only 2 runners, on the way back it was much more crowded but not as crowded as other hikes have been. ( directions are below the pictures)

Here is how you get there:

Directions

From Boulder
Eldorado Canyon State Park is located about five miles southwest of Boulder. Take Broadway / State Highway 93 south from Boulder, turn west (right) onto Colorado 170 and then continue about three miles to the town of Eldorado Springs. Highway 170 dead-ends at the town and a dirt road continues. The park is located at the end of the dirt road on the left. Our book store / visitor’s center is one mile west from the park’s entrance.
From Denver
Eldorado Canyon State Park is about thirty miles from Denver. Take I-25 north to State Highway 36, go west towards Boulder. Exit at “Louisville-Superior” (you will also see signs for Eldorado Springs and Highway 170) and turn south (left) at the light. Follow signs to Eldorado Springs/ Highway 170 (turning right on Marshall Road/Highway 170). You will turn into the Superior Marketplace, as Highway 170 travels around the marketplace and eventually leads you 7.4 miles to Eldorado Canyon. Highway 170 dead-ends at the town of Eldorado Springs and the road continues as a dirt road. The park is located at the end of the dirt road on your left. Our book store / visitor’s center is one mile west from the park’s entrance.
From Golden
Eldorado Canyon State Park is about seventeen miles from Golden. Take State Highway 93 north towards Boulder. Just south of Boulder, take State Highway 170 west (left) towards Eldorado Springs. Highway 170 dead-ends at the town and a dirt road continues. The park is located at the end of the dirt road on the left. Our book store / visitor’s center is one mile west from the park’s entrance.

Weigh in day 8/24/12 – Still 33 lbs down and 57 to go

I think it is official, I have a hit a plateau.  Three weeks and no weight loss.  I have had challenges over the course of the past 3 weeks but still I thought this week was the week I would lose again.  So I guess it is time to shake it up.

Up to this point I have been following a pretty basic plan, calories in calories out.  After trying out every diet under the sun, including the straight liquid hollywood diet you can buy at CVS or Walgreens, I have come realize that it is not about dieting but a lifestyle change. I am trying to just eat smaller portions and keep within the calories that Loseit! says I need to in order to drop weight.

I am also working out, because in order to be able to do the hikes I want I need to be in some type of shape to even finish.  I am working out Monday thru Thursday mornings on our Elliptical for 50 minutes.  When we get home from work we do weights and then take a 2-4.5 mile walk after a light dinner.  Saturday are our hiking days and on Sunday we play tennis and take a short walk.

Next week will mean something new will have to change.   Wish me luck!

Carpenter Peak Trail – Roxborough State Park hiked 7/14/12

Permitted uses: Foot
Miles paved: 0
Miles non-paved: 6.4 ( Took us about 3.5 hours to complete)
Total distance: 6.4
Usage: Medium
Degree of difficulty: Moderate
Elevation: 7,160 (at peak) starts at approx 6100

Pets: No

Fees:  $7 for a day pass or get annual pass for a year of unlimited park uses….

Bathroom: At the Visitors center across from the trail head

This is the harder hike at Roxborough State Park and it starts out to the left of the Park map across from the visitors center:

Image

We got here especially early, yet again, because it was going to be a scorcher that day so we started out at about 7:15AM and finished at 10:30AM and it was already up to 90 degrees when we finished.  But back to starting, we got there so early there was almost no one there and right at the beginning of the trail was this beautiful doe eating breakfast.  I am pretty sure she was like you crazy humans, I am so not moving until I am done, because I was able to catch her with my camera:

Image

There are a lot of mule deer here and we have been lucky to catch lots of them, especially when you show up early before the crowds get there.

The trail is nicely marked and wide enough to pass but not to walk side by side at this point.  It is .6 miles to the road across from Carpenter Peak trail head.  This is a steady climb through switchbacks and this is mostly exposed so lather on the sunblock and pack a lot of water.

Image

The tree cover starts up just as the next trail break arrives:

Image

This is just below the ridge of the mountain we are climbing, here are the views from the top of this part:

Image

From here we went down a little and walked through a lot of cover, the trail gets very narrow here so even passing requires stepping into the foliage.  I kinda wished I was wearing pants, even though it was such a warm morning. The other down side to this part ( and the beginning for that matter) if it rains or has rained don’t do this trail, it is a mud pit.  Go over to Deer Creek Canyon and do that trail, because the rain doesn’t destroy the trail.

So we walked along the ridge and then climbed back up to the peak:

Image

Image

The views are amazing up here, it is a great place for a picnic.  We stayed up for a few minutes and enjoyed the beauty and then we headed back down.  It is a straight in, straight out hike no loops.  The way down was much more crowded than going up, but not as crowded as the other trails in the park.

I have been to Roxborough in the spring and summer so far and it was great to hike both seasons.  I suspect it is a good year round selection of trails….just watch out for the muddy days.

How to get there:

Directions

From Wadsworth
Take Wadsworth south past Chatfield State Park. Turn left on Waterton Road (just before the entrance to Lockheed Martin.) Continue on Waterton Road—crossing the South Platte River, until it ends at North Rampart Range Road (1.6 miles) Turn right (south) on North Rampart Range Road. Continue south past Roxborough Village and the Foothills Water Treatment Plant. (2.3 miles) At the intersection of North Rampart Range Road and Roxborough Park Road (just before the entrance to Arrowhead golf course), turn left onto Roxborough Park Road. Take the next right on East Roxborough Drive(about 50 yards away) to enter the park.
From Santa Fe
Head south on Santa Fe (Highway 85) to Titan Road. (4.2 miles south of C-470 intersection) Turn right (west) on Titan Road. Continue heading west on Titan Road. It will curve and begin to head south—becoming North Rampart Range Road (3 miles). Continue south on North Rampart Range Road past Roxborough Village and the Foothills Water Treatment Plant (3.5 miles). At the intersection of North Rampart Range Road and Roxborough Park Road, turn left onto Roxborough Park Road. Take the next right on East Roxborough Drive(about 50 yards away) to enter the park.

Mt. Falcon – Jefferson County Open Space Hiked 7/28/12

Turkey Trot Trail -> Castle Trail -> To the top Parking lot and then back down the Castle Trail -> Turkey Trot Trail

Starting Elevation:  Approximately 6400

Highest Elevation:  Approximately 7600

Trip Length:  8.2 miles based on the trail map, my fitbit said 10 miles.  It took us approximately 3 and half hours. 

Trail Uses:  Turkey Trot is hiker only, but Castle is Multi-use Hiker, Biker, Horses (Oh and a crazy person going down on a unicycle.)

Fees:  None

Rating: Moderate – difficult due to length and steady incline

Bathrooms: Yes at each parking lot.

This hike is right outside of Morrison and you can see Red Rocks clearly as you climb Turkey Trot.  We started at the East Parking lot

Image

 It was going to be insanely hot on the day we did this hike, so we got to the trail head at about 7:15 AM….Just as all the people who were doing the race were starting warm up.  Its my luck lately, there was a 15K race that morning.  So we started as quickly as we could up Turkey trot:

Image

 We were hoping that maybe the race would use the Castle trail and we were right, only they started an hour after we did so when we got to the trail turnoff for the Castle trail we were right in the middle of their ascent.  If this ascent is not  your thing, you could make a complete loop by heading down Castle trail for an almost 3 mile hike. 

ImageImage 

Once we got onto the Castle trail, the incline was a little tougher on this part, but the views were beautiful

Image

 And after we let a few more runners pass us, we were treated to an amazing sight on the rocky, technical path…..there was someone coming down the path on a unicycle, seriously a unicycle.  We had to stop in our tracks and stare, if only I had been quick enough to take out my camera or phone to get official proof.  I am sure it is a sight I will never see again.

We climbed up the trail to this trail spike off and then it evened out a little bit:

Image

 We stayed Castle trail past Walkers Dream and climbed a little higher where the views were even better up here and most west-facing.  There are even ruins up here from an old ranch, but right at that spot in the path there was a water station for the race so we just kept on moving:

Image

 Were almost to the top and most of the runners had passed us, finally, we continued up to the Parking lot up at this part of the open space ( to use the bathroom). Enjoyed the view for a little bit and then started back down…..As it turned out we timed it perfectly so we were headed back down with most of the runners ( sigh):

Image

 This is a great hike, although pretty exposed so in the summer it best done early in the morning or early evening.  There are a whole set of trails at the top parking lot, and they attract a lot of people and seem to be mostly easy with maybe a few moderate trails.  I am pretty sure if you don’t end up here on a race day going from the bottom parking lot up, the traffic is usually light and maybe you too will see the guy on his unicycle ( still amazed).

We will definitely come here again, I think it will be better in spring or fall possibly even a good winter path given the sun exposure. 

How to get there:

West Trailhead 21004 Mount Falcon Road, Indian Hills CO 80454  To access the park, take the Indian Hills turn-off from U.S. Highway 285, follow Parmalee Gulch Road for 5 miles to Picutis Road, then follow the signs to the west parking area.  East access 3852 Vine Street, Morrison CO 80465 is available from Colorado Highway 8 south of Morrison.  Turn west on Forest Avenue and north on Vine Avenue.

Bergen Peak – Elk Meadow Park 8/18/12

Sleepy “S” -> Elk Ridge Trail -> Meadow View Trail -> Bergen Peak Trail -> Bergen Peak Summit -> Too Long Trail -> Meadow View Trail -> to Elk Ridge Trail -> Sleepy “S”

Starting elevation: 7600 Ft (Approx)

Ending Elevation:  9708 Ft

Trip Length:  10.5 Miles, based on the trail map 12.5 based on my fitbit pedometer.  It took us 5 hours to complete.

Trail Uses:  Multi-use trail; hikers, bikers & horses

Pets Allowed:  Yes on leash, however there is an off leash area at the south-west parking lot

Fees:  None

Rating:  Moderate ( books & web) Personally-> Difficult due to length

Bathrooms:  Yes – At the parking lots

View of our goal from the beginning

Image

I can’t lie, I have been nervous about this hike all week.  It is the furthest we have hiked in conjunction with an actual climbing of a mountain, 9.5 miles ( I thought but was wrong).  Plus it was the most elevation gain we have done, 2000+.  AND it was the highest we have hiked.  So needless to say, when we pulled into the parking lot I was a bundle of nerves hoping I had prepared enough to this point.

Ok here is the best part of living in Colorado, it was 88 yesterday and this morning when we left it was 54 degrees. When we got to Evergreen it was 60 degrees and when we left 5 hours later it had only climbed to 70 but we were in tank tops and shorts for the entire hike. I have been watching the weather in Evergreen all week because this peak is high enough that weather is major factor and any chance of a storm could change our hike dramatically.  I knew that there was a chance of afternoon storms in the area so we were out the door at 6:55AM and starting on the trail at 8AM.   Here is the other thing we have to start doing now that the weather is changing, I made sure my sister had my hike details and texted when we started and when we finished.

This is the weird luck I seem to be having lately, there was a race going on when we got there.  This is the third time this has happened to us on a new trail.  Today it was on the just the lower trails so we got out of the way pretty quick, but not before we saw these 2 little kids, 10 & 12 maybe, kicking all the adults butts it was awesome!  They had to be brother and sister and they looked like they had been running in races for a while, made me wish I had started doing that kind of activity when I was kid but it was all Barbie dolls, bikes and running behind the mosquito spray truck for me in a flat suburb of Chicago.

Ok lets talk trail, we started out from the parking lot on the Sleepy “S” Trail for half a mile:

Image

Image

This part is pretty easy and it is all along the meadow.  The best part is seeing our goal of the summit ahead of us. Plus it was such a beautiful morning, if not for the haze from fires in neighboring states, it would have been perfect.   We took this to the Elk Ridge trail for another half of mile:

Image

This is where the ascent really starts, it’s not too much but felt like about a 3-5 % incline.  We took this to the Meadow view trail and turned south on it for just .2 miles and then hit the Bergen Peak trail.

Image

We already were seeing beautiful vistas at this point

Image

The Bergen Peak trail is the one on the right that looks sort of intimidating with its incline:

Image

It is really nicely covered at this point too, so while we were sweating the shade helped keep us cooler.  Plus there was a nice breeze about half way up.  One thing I read a lot about was the wind at the summit, so we had long sleeve shirts in our water packs/backpacks if necessary.

Image

Ok, so the Bergen peak trail is a climb and while there are a lot of nice flats on the switchbacks, it was truly a long slow climb.  We came about half way through to a lovely picture spot

Image

Image

As we continued on the trail we walked through a part of the trail that is designated as a Division of Wildlife  hunting area and has all these signs so you know….Us non-hunters were a little nervous not having any idea if it was a hunting a season, so I am pretty sure this was the fastest part of the trail for us.  Pretty quickly we found ourselves out of that area and there was the summit trail looking inviting and yet still more to climb:

Image

So this climb up is marked as a 1 mile spike but I have read other places that is more like 1.5 and I agree with this. There is a scenic outcropping that is north facing but the tree cover makes it hard to get a good picture of the north view of the mountains.  We still checked it out and let some bikers get past us.  BUt this one picture is worth showing:

Image

Most of the trail to this point had been pretty empty, outside of the race of course, but we saw the most traffic up here.  As we made our way to the summit, it was rocky and a lot of trees all around and then suddenly we turned a corner and it was just beautiful.  There were so many people up here just taking in the beauty.  It was all Mt. Evans, the surrounding mountain ranges and the town of Evergreen down below.  I actually changes lenses on my camera to really capture it all.  I had hoped it would help get past all the haze, but I don’t think I quite captured the amazing beauty at the top.  The next pictures are just of the summit:

Image

Image

Image

Image

Here is where are parked, 2100 feet up and 6 miles of a hiking away.

Image

And then we went down…. So. Far. Down.

We wanted a full loop and in looking at the trail(s) map it was 6 of one, half a dozen of another.  So we went down Too Long Trail, which is a nice set of switchbacks but this is where all the bikers were hiding we saw at the top but not on the way up on the Bergen Peak trail.  And as a bike hater, I get it, it looks fun and terrifying to me as we hiked down.  If I could find a way to get past my irrational fear of a bike to do it, I imagine I would be going weeeeeeeee all the way home…..

It was a tough hike down at this point for me.  I was pretty tired and my knees seemed to feel every step of descent but I also felt really good about what we had accomplished.  Oh and let’s face it, I had to use the bathroom so bad I wish I had a bike just to get down fast.  It took us almost 3 hours to get to the top but only 2ish hours to get down.

Image

At the bottom of Too Long, we hit the Meadow VIew Trail again and then took that a mile south back to the Elk Ridge and then finally Sleepy “S”, which I practically ran it get to the bathroom at the end.

AGAIN, this was a tough hike.  I look at it as a stamina builder, because let’s face it 14ners will be really tough even if they don’t have the mileage we did today.  Plus at the end of the day I finished which I will always celebrate.

Try this hike if you can and hopefully not on a hazy day like we had, it is why Colorado is so amazing.  The majesty of the mountains and the semi-mild climate, makes it paradise for us.

Weigh in day 8/17/12 33lbs down 57 to go.

Ok so Fridays are my weigh in days and they are also my cheat days…..

This was a really tough week, I am 5 months into my life style change and I just wanted to eat everything in sight.  I wanted to go to Target and get a couple of bags of Doritos and Cheetos and go to town on then. I am a salty binge eater and Frito Lay is my Achilles heel!  So my whole battle this week was to not go over my daily calories and just not gain weight.  I hit one of those goals……

The good news is, I have now lost a total of 33 pounds, the not so great news is that I hit that milestone last week.  But I am celebrating the fact that I didn’t give up and I didn’t pour out the whole gallon so to speak.  So while I didn’t lose any weight, I didn’t gain any either and I am ok!

My tools right now are all pretty low-cost, I am on a tight budget so I can’t join weight watchers right now.  I had a facebook friend who lost 50 LBs last year and she used this application called Lose It!  So I decided to check it out.  It is a basic calories in and calories out program, it helps you track your intake and then tells me how many calories I burn with each activity.  It asked me how many pounds I wanted to lose a week and then tells me what my daily calorie allotment is based on my current weight to achieve my weekly goal.  It also tracks my progress to my ultimate goal originally it was 75 pounds but I managed to gain 15 pounds before I actually started using it.

The other thing I got, I spent $100 on and I just got it 3 weeks ago.   It is called a FitBit, and it is a pedometer/calorie burn counter.  It is the best pedometer I have used so far, I can wear it on my bra if I wear a dress and it still gets accurate data.  My friend Julie turned me onto it, her employer is rewarding their employees who use it to improve their health.  It also tracks how many flight of stairs you go up and grades your overall daily activity with goals for all of this.  The first time I used it was for a hike I did 3 weeks ago, Mount Falcon ( Details coming soon) and it was a tough hike, the stairs tracker said I climbed 192 flights of stairs, it turned out to be exactly the kind of motivation I needed to help me stay on track.  It also synchs with the Lose It! application so I get credit for extra activity I maybe didn’t log.

Anyway, a week of struggles and successes so I will chalk it up as an ok week.

Alderfer/Three Sisters- Evergreen Mountain trail(s) 8/11/12

Evergreen Mountain Trail East ->The Summit -> Evergreen Mtn West-> Wild Iris Loop-> Bluebird Meadow Trail -> Silver Fox-> Ponderosa-> Evergreen Mtn East

Starting Elevation: 7400

Highest elevation: 8536 ( At the Summit)

Trip Length: 6.3 miles ( with Scenic view overlook included = .4 miles) It took us 2 hrs 45 minutes.

Trail Uses:  Multi-use trail; hikers, bikers & horses

Pets Allowed:  Yes on leash

Fee(s): None

Bathrooms: Yes at the parking lots

Image

This is our second trip on this trail and both times it was awesome.  It is a popular trail and while most hikers stick to the Three sisters loop, the Evergreen mountain trails are really the highlight for us.  It is also great in the summer because the trail has great tree coverage so you have nice shade and cool breeze when it is good and hot.  Here is the tricky part, if you are an early riser ( which I am not but trying so hard to become one) get here by 7-7:30 as the parking lots get full early and you cannot park on the road near the entrance.  We saw many people getting ticketed by the Evergreen Police and they were stopping new arrivals from trying to follow suit.  Being a little picky here but I prefer the East Parking lot, it is all shaded and after a long hot hike it is heaven to come back to a car that is not 100+ degrees from sitting in the sun the whole time.

Ok so lets talk trail, start out going out of the East parking lot cross over the Road:

Image

This goes about .3 mile until you pass another trail head for Ranch view trail, which is an option for the return trip back to the parking lot if you don’t want to take the Wild Iris trail over to the west parking lot for our choice in ending our loop.

Stay to the left on the Evergreen Mtn East trail and head up to the summit.  It is a steady climb up but there are some nice breaks on the switchbacks of flatness to help you catch your breath and suck down some water.  There is  a nice lookout point about halfway up the mountain that is worth stopping and taking in the view at:

And here is where we are headed……

Today the path felt really inspiring, especially with the coverage of all the trees:

When we got to the summit, there were 4 bikers having a moment….one of them had a mechanical issue and the other 3 looked really annoyed with him so I pulled a picture from our first visit to show you the trail signage.  Be prepared I was using my phone and it looks like Aaron was not too sure what was going on:

It is easy to walk right past the summit trail and continue on to the Evergreen west trail and the summit is the whole reason to do this hike in the first place.  So make sure to look around at this point and take the hard left up the summit trail.  The nice part is that this is the last little bit of climbing you really have to do on the hike.   So the next few shots are of the beauty you can see at the summit, it is a great place to rest and have a snack or just tplain bask in the peace and stare at Mount Evans in the distance.  We came upon 5 bikers all sitting and enjoying the morning view.

After going around the summit loop, we went and checked out the Scenic spur which overlooks the town of Evergreen.  I did take a picture of the trail head but I was fascinated by the hard lesson being learned by one biker from another…..One was texting ( yeah not sure how that is possible going up this trail) and she wiped out taking down the biker who was heading downhill.  So I was being nosey and listening to the fight brewing instead of making sure my camera focused nicely.  Pretty sure the texter could have used some harsher language thrown at her, but apparently the wipee was a nicer person then I.

Anyway here are some shots of the scenic view:

So from here we finished the Summit loop and then took the West Evergreen mtn trail down.  We came up to the Wild Iris loop and took it across the field to the Bluebird Meadow trail which starts at the West Parking lot.

So we are heading back to the parking the wildflowers were plentiful so the next few pictures are of the those and then our last few signs we passed on the way back:

I have read that this is also a great place to hike during the shoulder seasons, just be ready for snow or for the weather to change quickly.   It has quickly become one of favorites!

Getting There
To access the park, travel south of Evergreen, Colorado on Highway 73.  Turn west on Buffalo Park Road, approximately 1 mile to the east parking lot.  The physical address for this east trailhead is30299 Buffalo Park Road.  A second parking lot is located another 1/2 mile along Buffalo Park Road and the physical address for this larger lot is 31677 Buffalo Park Road.  Motorized vehicles are confined to the parking areas and roadways.

Roxborough State Park – Fountain Valley Trail 8/4/12

Fountain Valley Trail
Trail Name: Fountain Valley Loop Trail
Permitted uses: Foot
Miles paved: 0
Miles non-paved: 2.3
Total distance: 2.3
Usage: High
Degree of difficulty: Easy to Moderate
Elevation: 6,100
ADA accessible: Minimal.

Bathrooms: Yes at the visitors center and parking lots.

So we combined this trail with the South Rim trail, the 2 trails together give a good 5.3 mile hike and I like to do this one on light hiking days or on a weekend we do 2 hikes and this one is the for the 2nd day of hiking.  This one has much more traffic and I think it probably has the most volume at the park.  The views are really beautiful, the path is wide and it has a few overlooks that give just spectacular views of why this park is great.   It starts just north of the visitor’s center.

The path has an immediate overlook on the west side of the path and this overlooks the fountain valley trail. It is worth checking it out.  Then go straight on the path to the loop head and you can go either way:

Image


This is a very simple loop so I am just going to post the pictures of the loop and the views:

Image


Image


Image


Image


Image


Image


So this is how you get to Roxoborough from 470:

From Wadsworth
Take Wadsworth south past Chatfield State Park. Turn left on Waterton Road (just before the entrance to Lockheed Martin.) Continue on Waterton Road—crossing the South Platte River, until it ends at North Rampart Range Road (1.6 miles) Turn right (south) on North Rampart Range Road. Continue south past Roxborough Village and the Foothills Water Treatment Plant. (2.3 miles) At the intersection of North Rampart Range Road and Roxborough Park Road (just before the entrance to Arrowhead golf course), turn left onto Roxborough Park Road. Take the next right on East Roxborough Drive(about 50 yards away) to enter the park.
From Santa Fe
Head south on Santa Fe (Highway 85) to Titan Road. (4.2 miles south of C-470 intersection) Turn right (west) on Titan Road. Continue heading west on Titan Road. It will curve and begin to head south—becoming North Rampart Range Road (3 miles). Continue south on North Rampart Range Road past Roxborough Village and the Foothills Water Treatment Plant (3.5 miles). At the intersection of North Rampart Range Road and Roxborough Park Road, turn left onto Roxborough Park Road. Take the next right on East Roxborough Drive(about 50 yards away) to enter the park.