January 2021 – Here we go again Reconstruction in process.

It’s been very a long while since I have logged in, blogged, hiked AND I gained back EVERY SINGLE POUND I swore would never find itself back on my body. Its here raising havoc, mocking me and I am ready to start the weight loss journey all over……again.

While 2020 was a literal nightmare for us all, the 4 years before were also pretty awful personally and I coped how I have taught myself to cope……with bad eating habits and alcohol.

My hip injury in 2014 parlayed into a series of knee surgeries on my already loser knee. After a partial knee replacement in 2018, I was pretty excited about the hiking future and working hard to get on trails every weekend again. Then the bottom fell out on everything. My husband got sick, so sick. He spent a year plus in bed, not mention all the hospital stays, bucket loads of pills, tears, anguish and after a crazy number of plot twists he is finally on a very slow road to recovery.

Then 2020 hit. I don’t think I need to recount that one for anyone since we have all been held hostage by a variety of terrible events. All while being locked in our homes trying to do the right thing and watching loved ones die, deteriorate or get lost in bizarreness of this new reality. Either from COVID or because of the restrictions in place because of COVID. I personally lost my Mom, she didn’t die from COVID but as result of the restrictions, her death was especially hard. She was older at 80 and in independent living in November 2019 when she shattered her femur. It turned out to be a life ending bone break but a slow painful one that was made all the worse as the skilled nursing facilities locked down with no visitors allowed. There is a lot to unpack in all that awesomeness that while key to my personal deterioration, is not really about hiking.

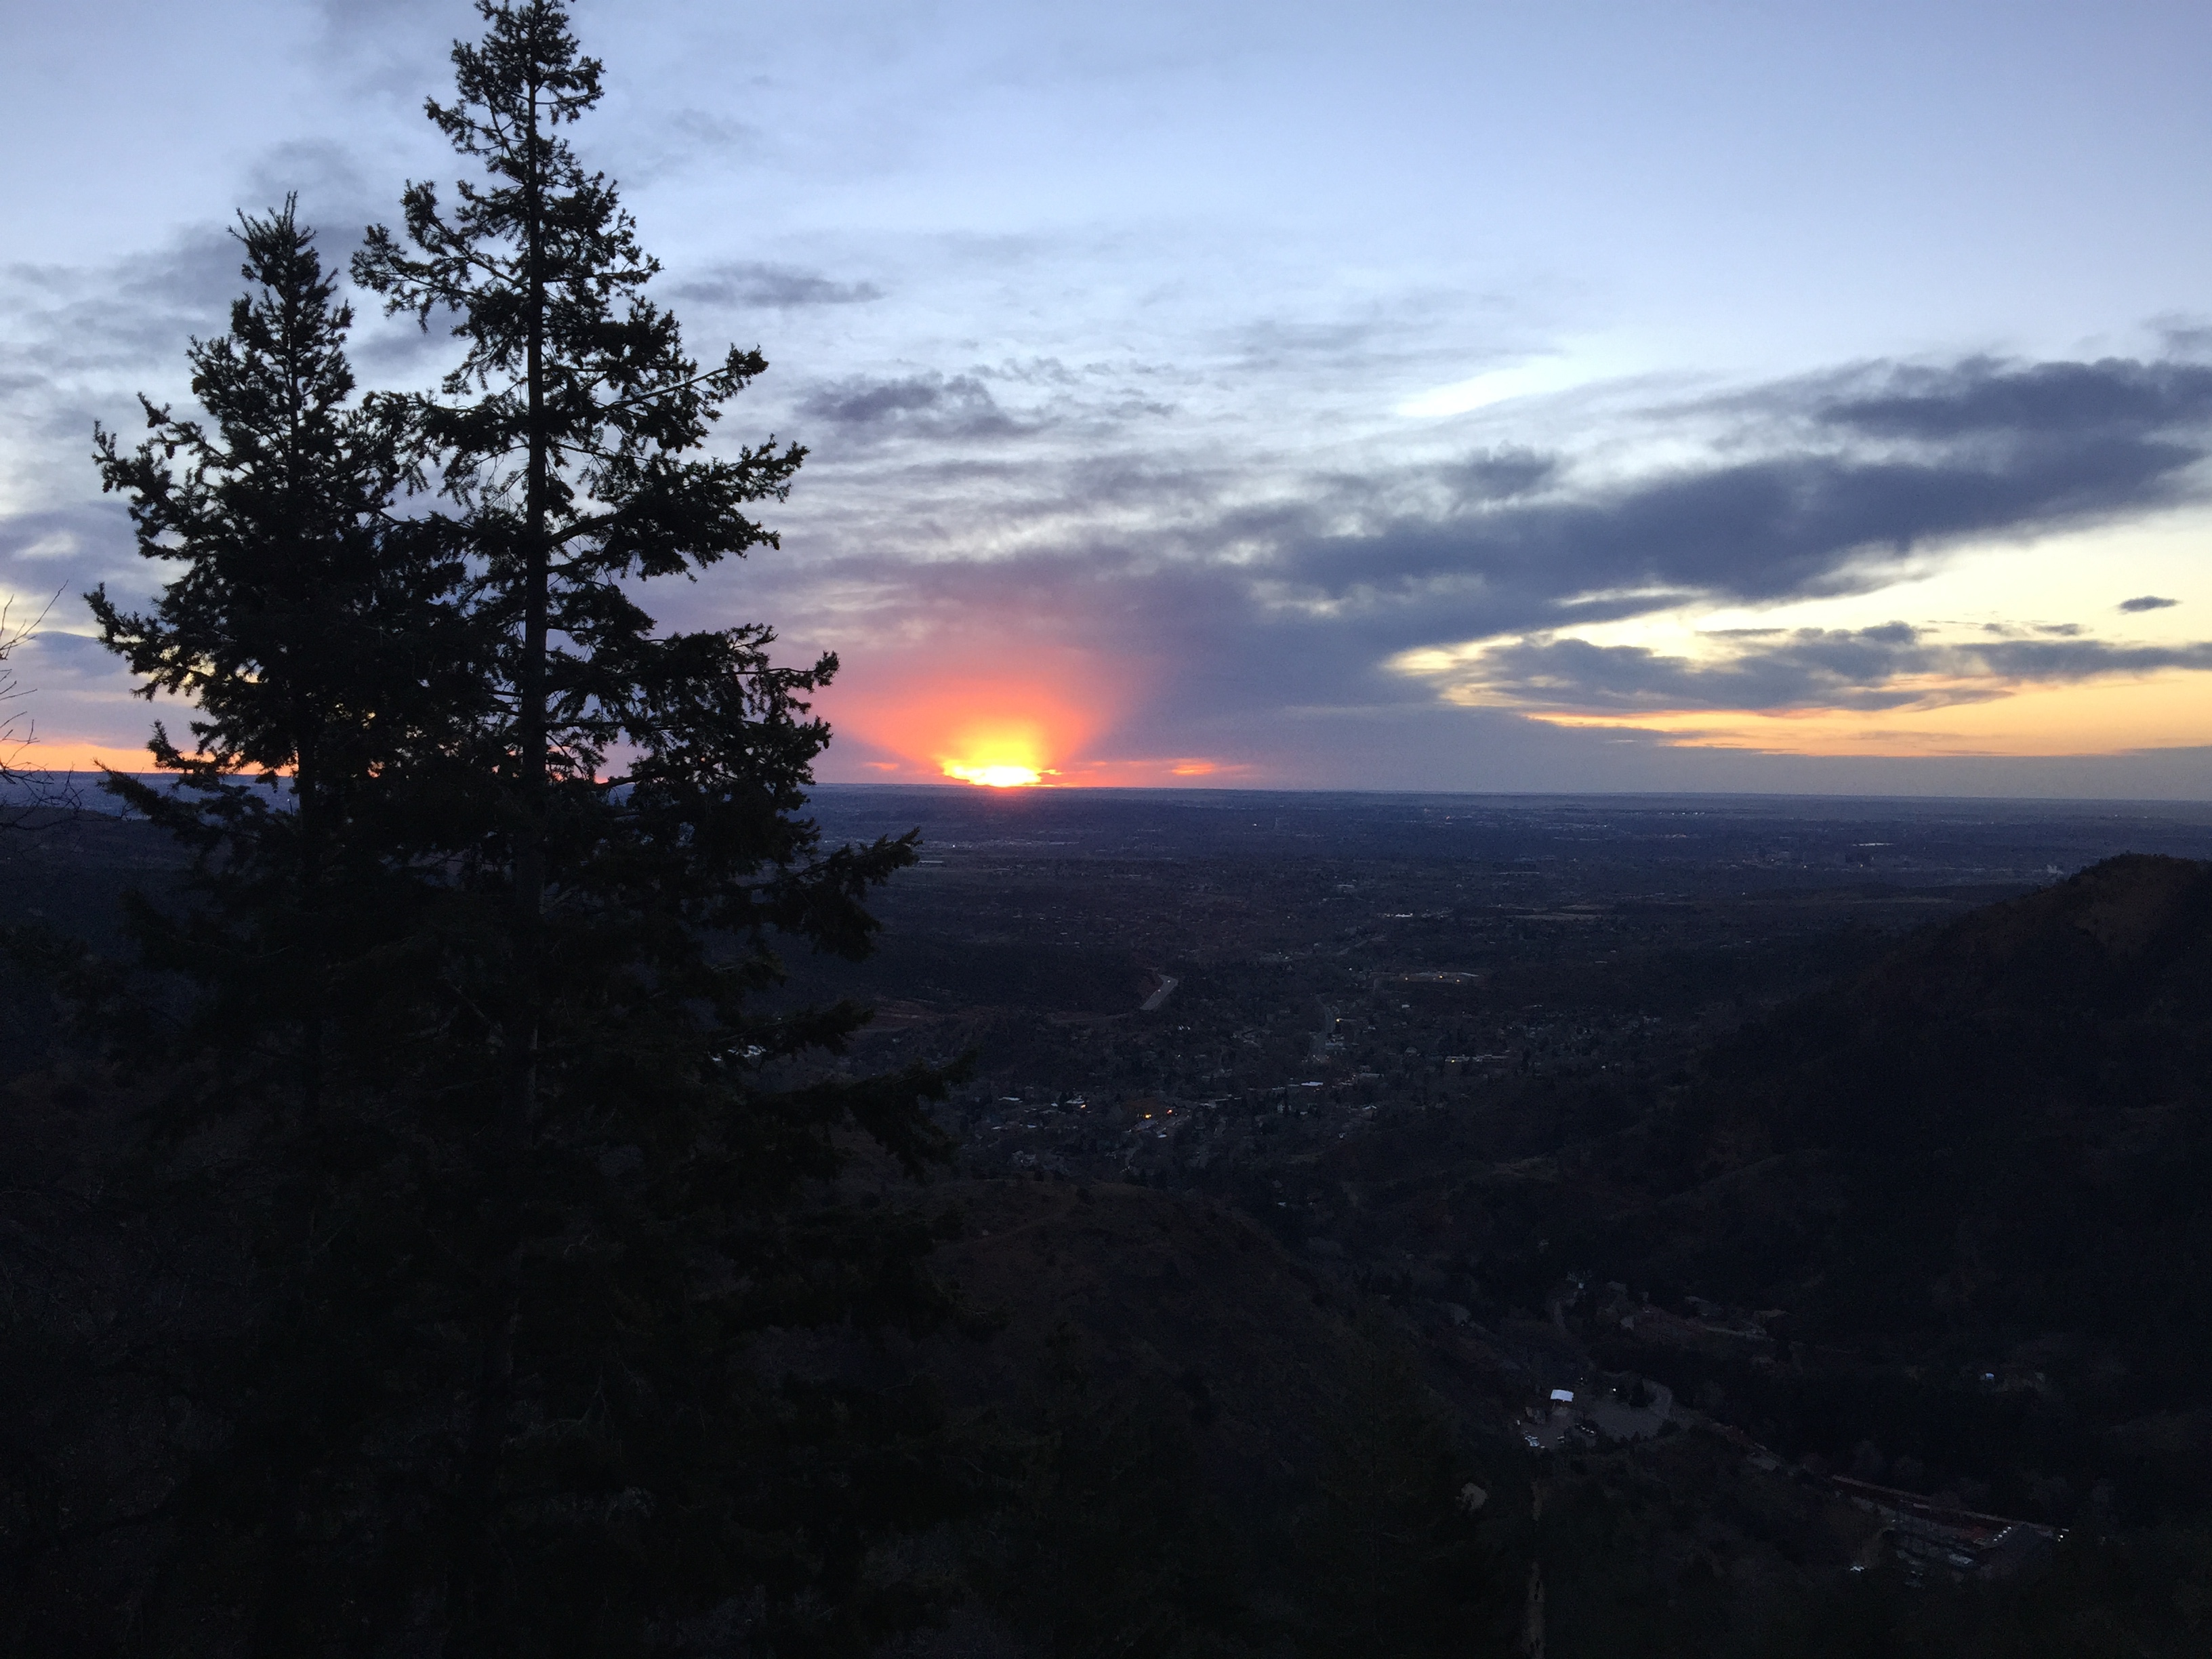
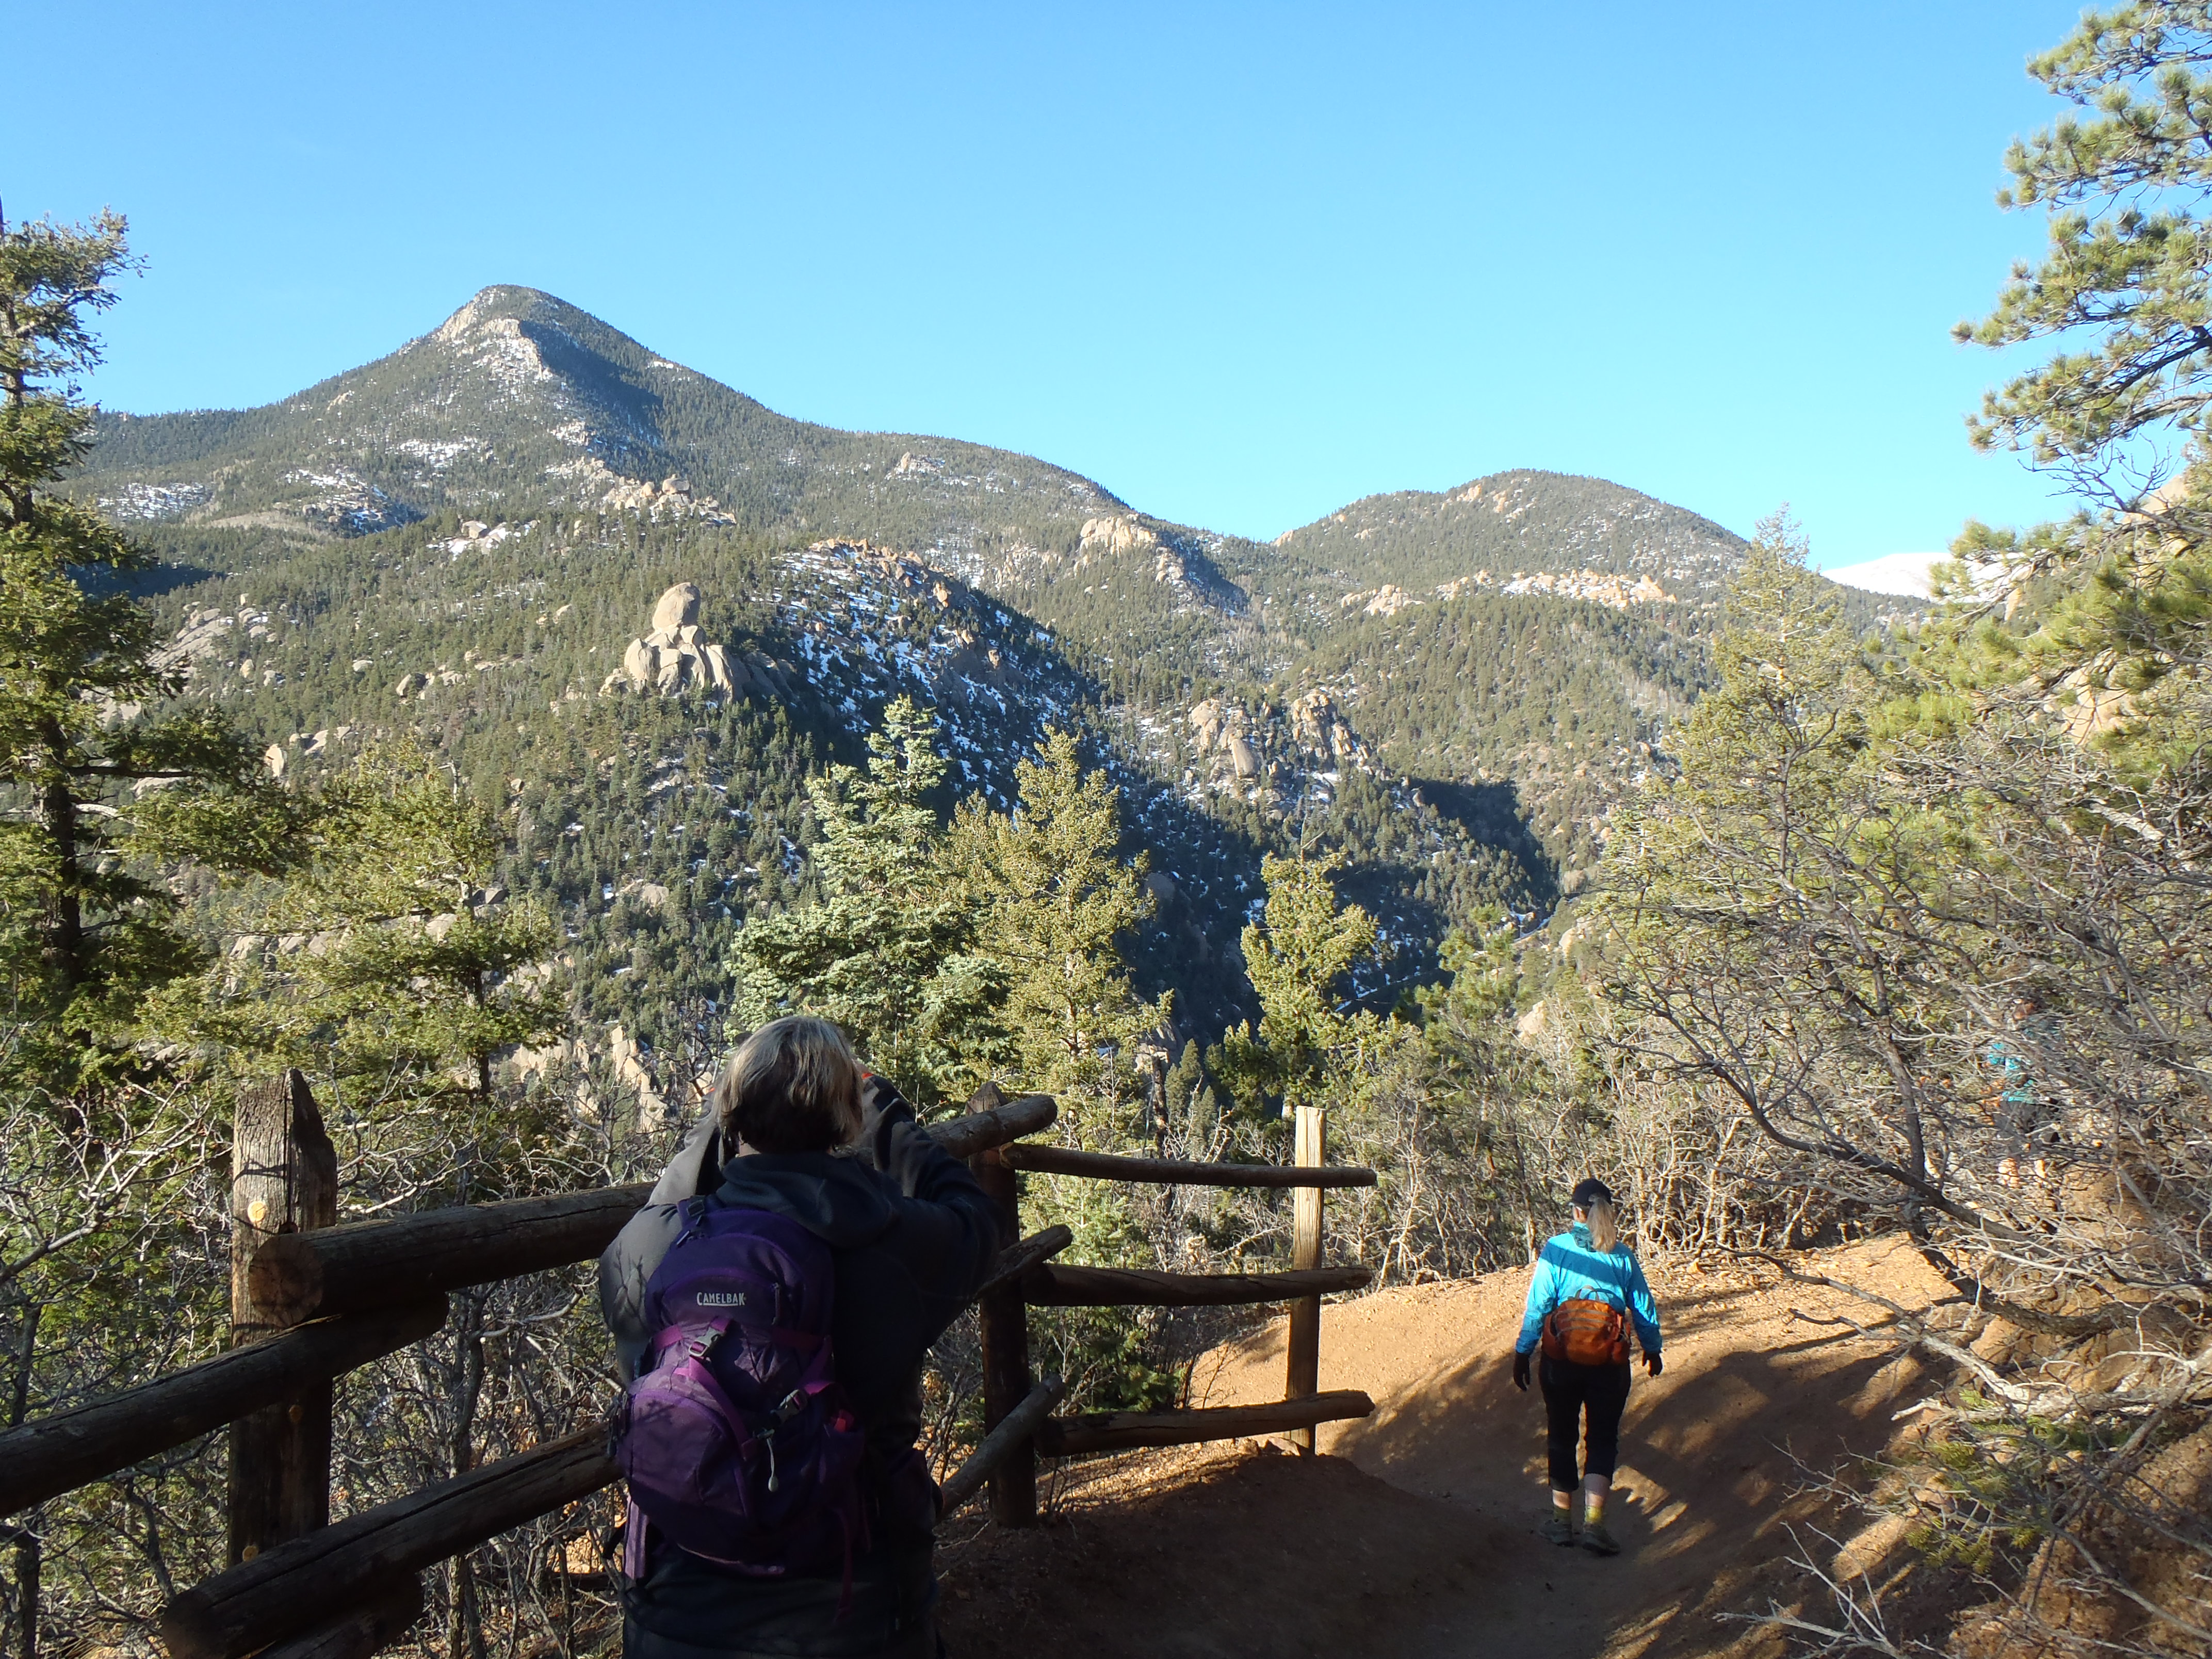
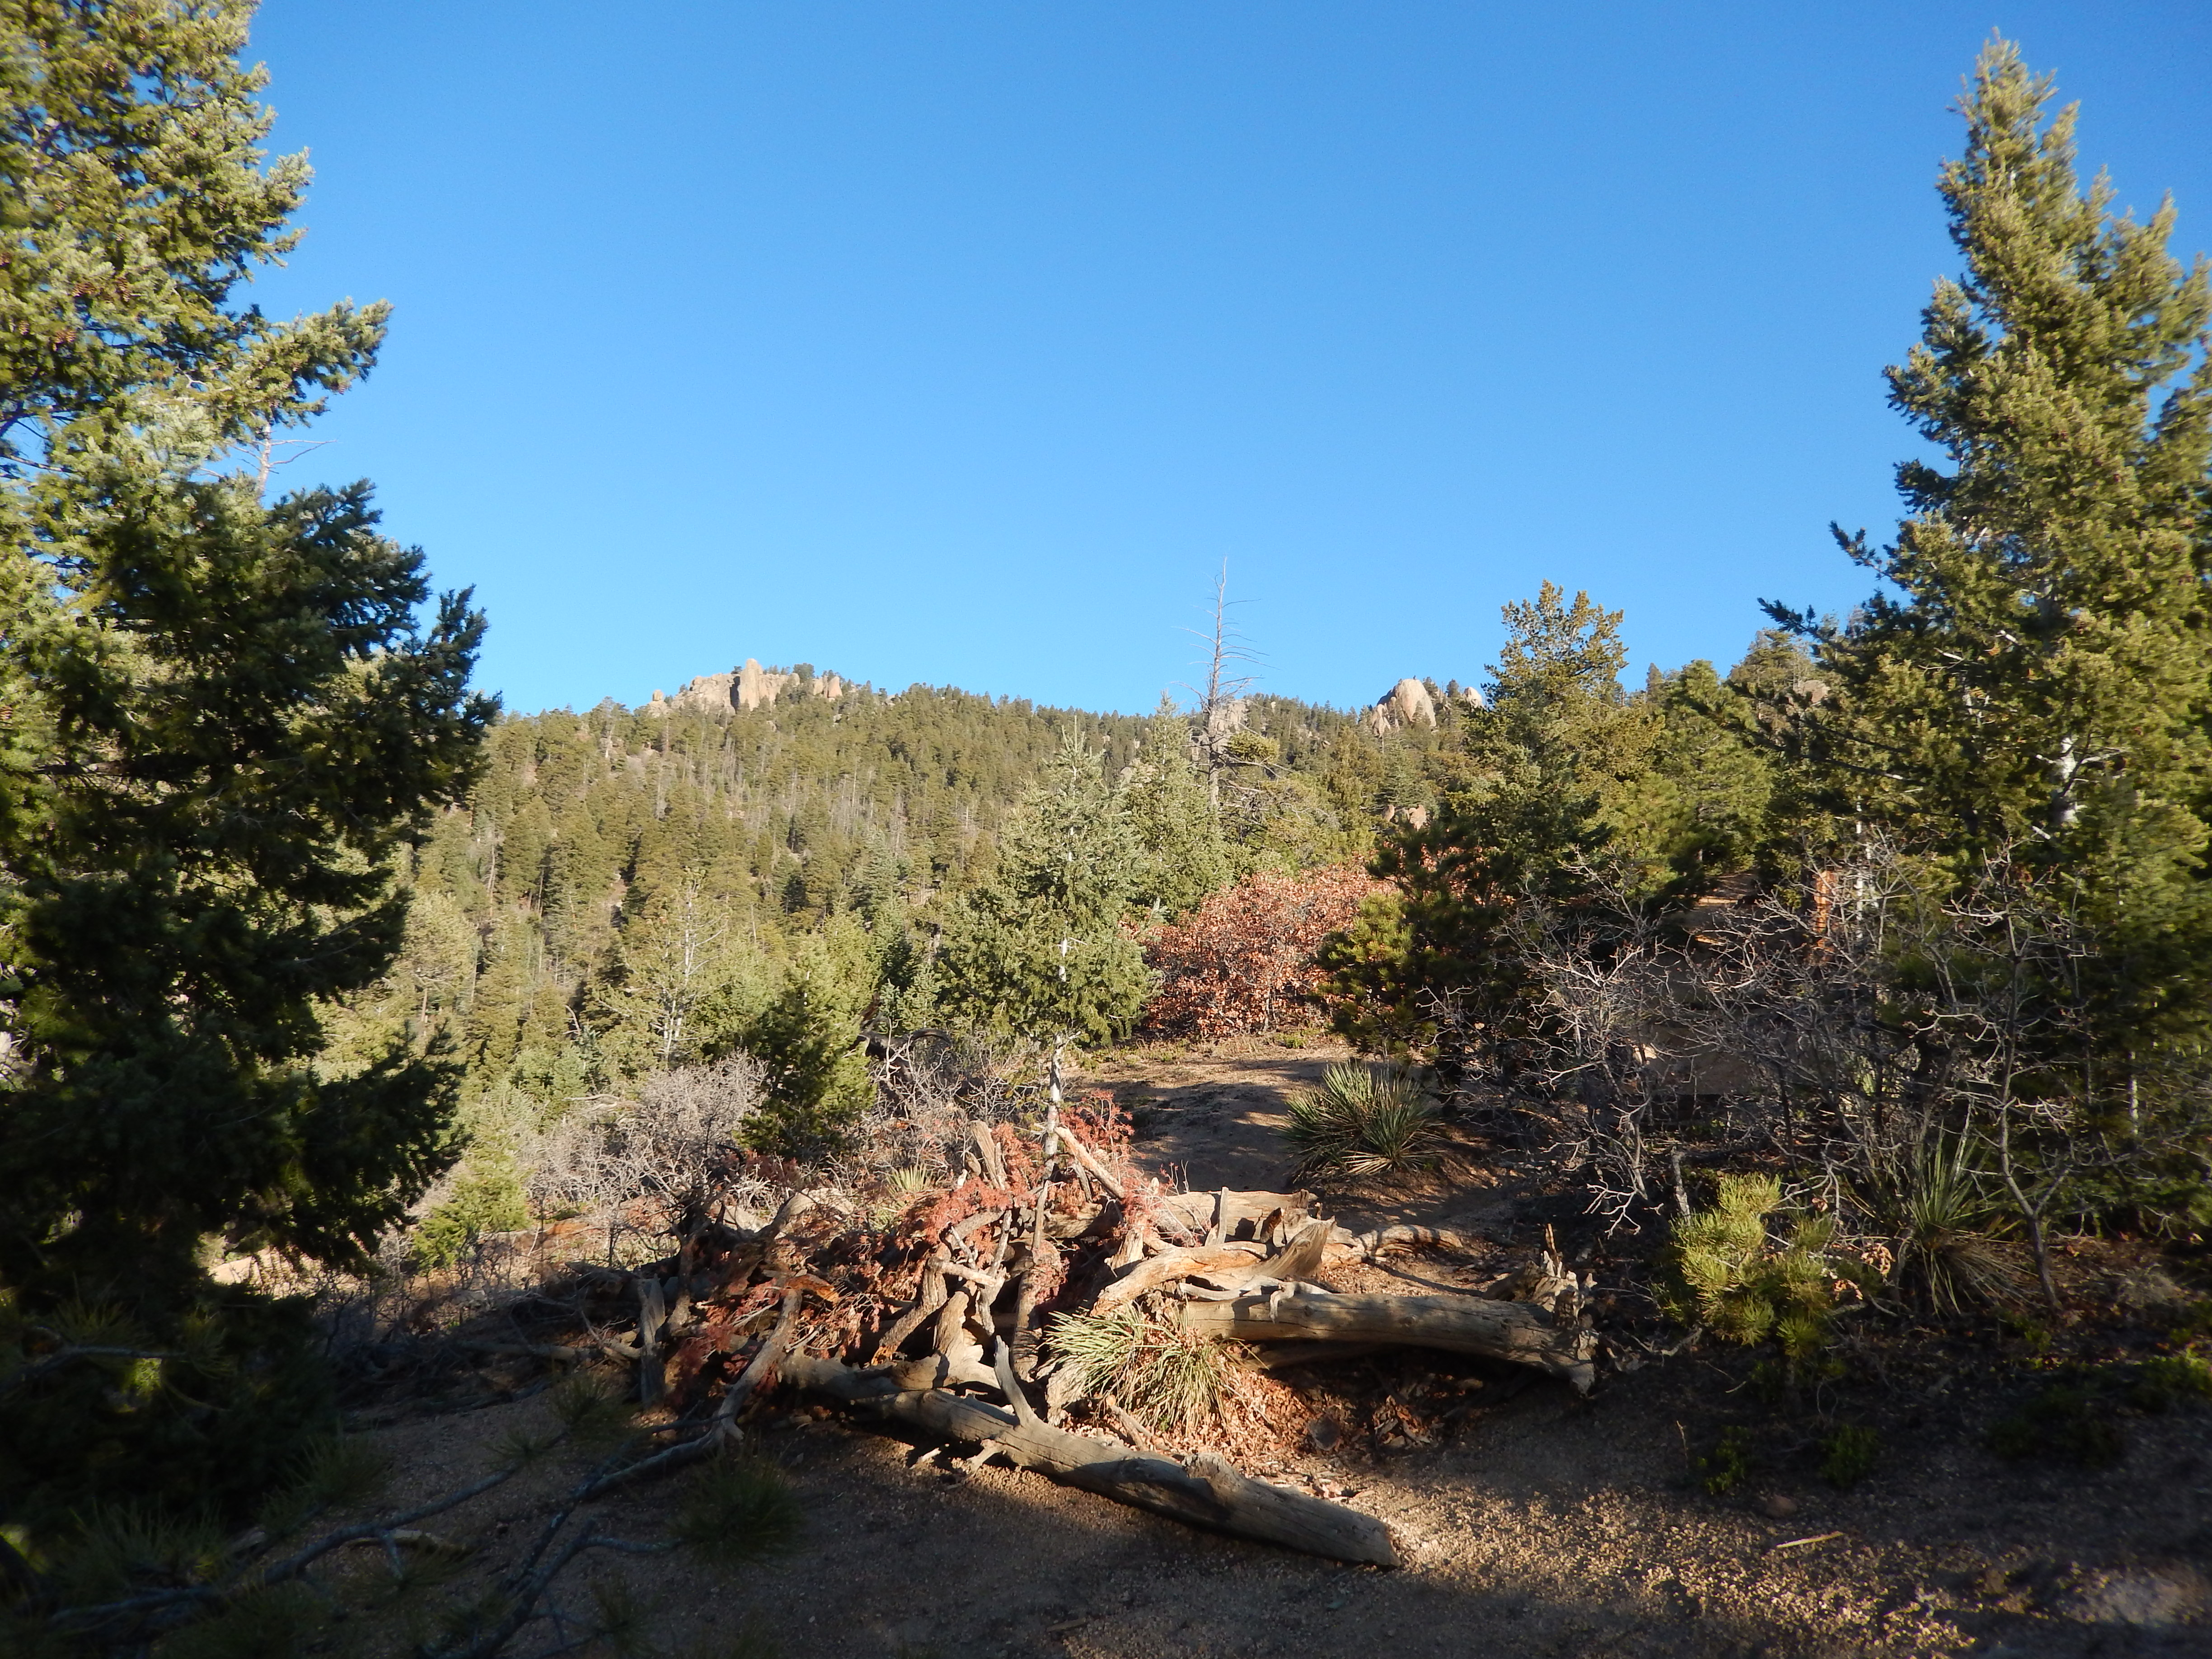
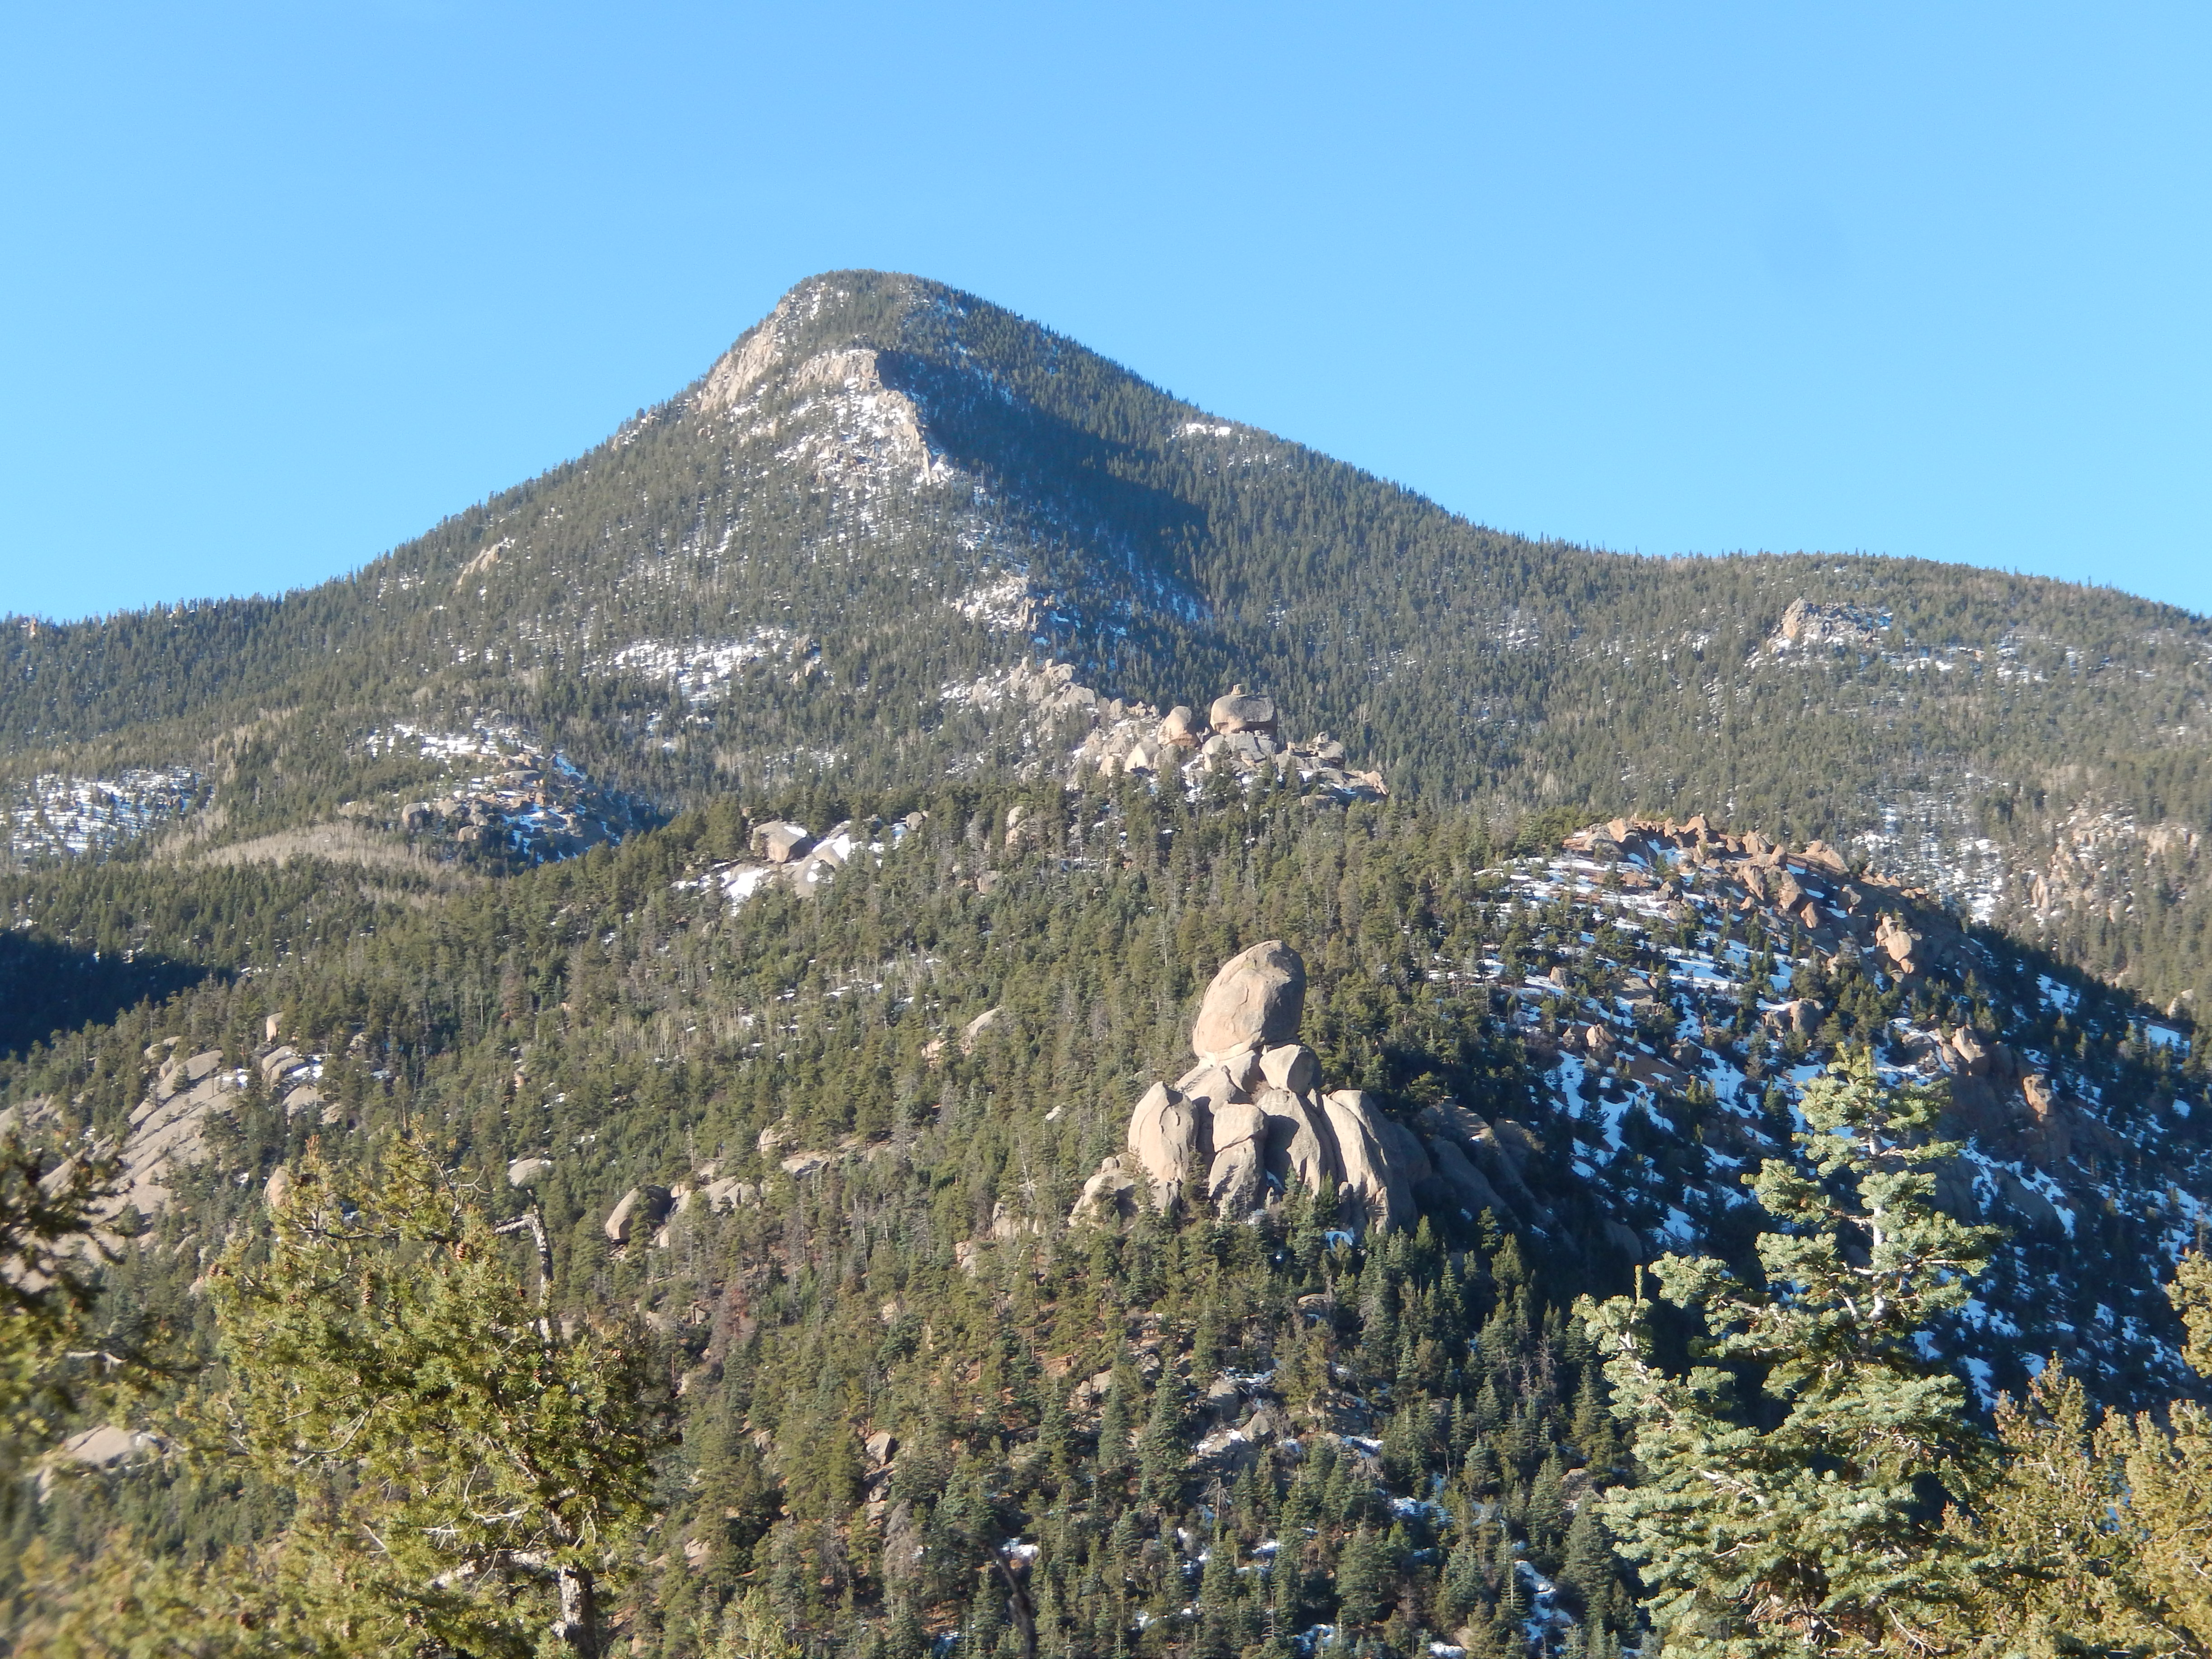
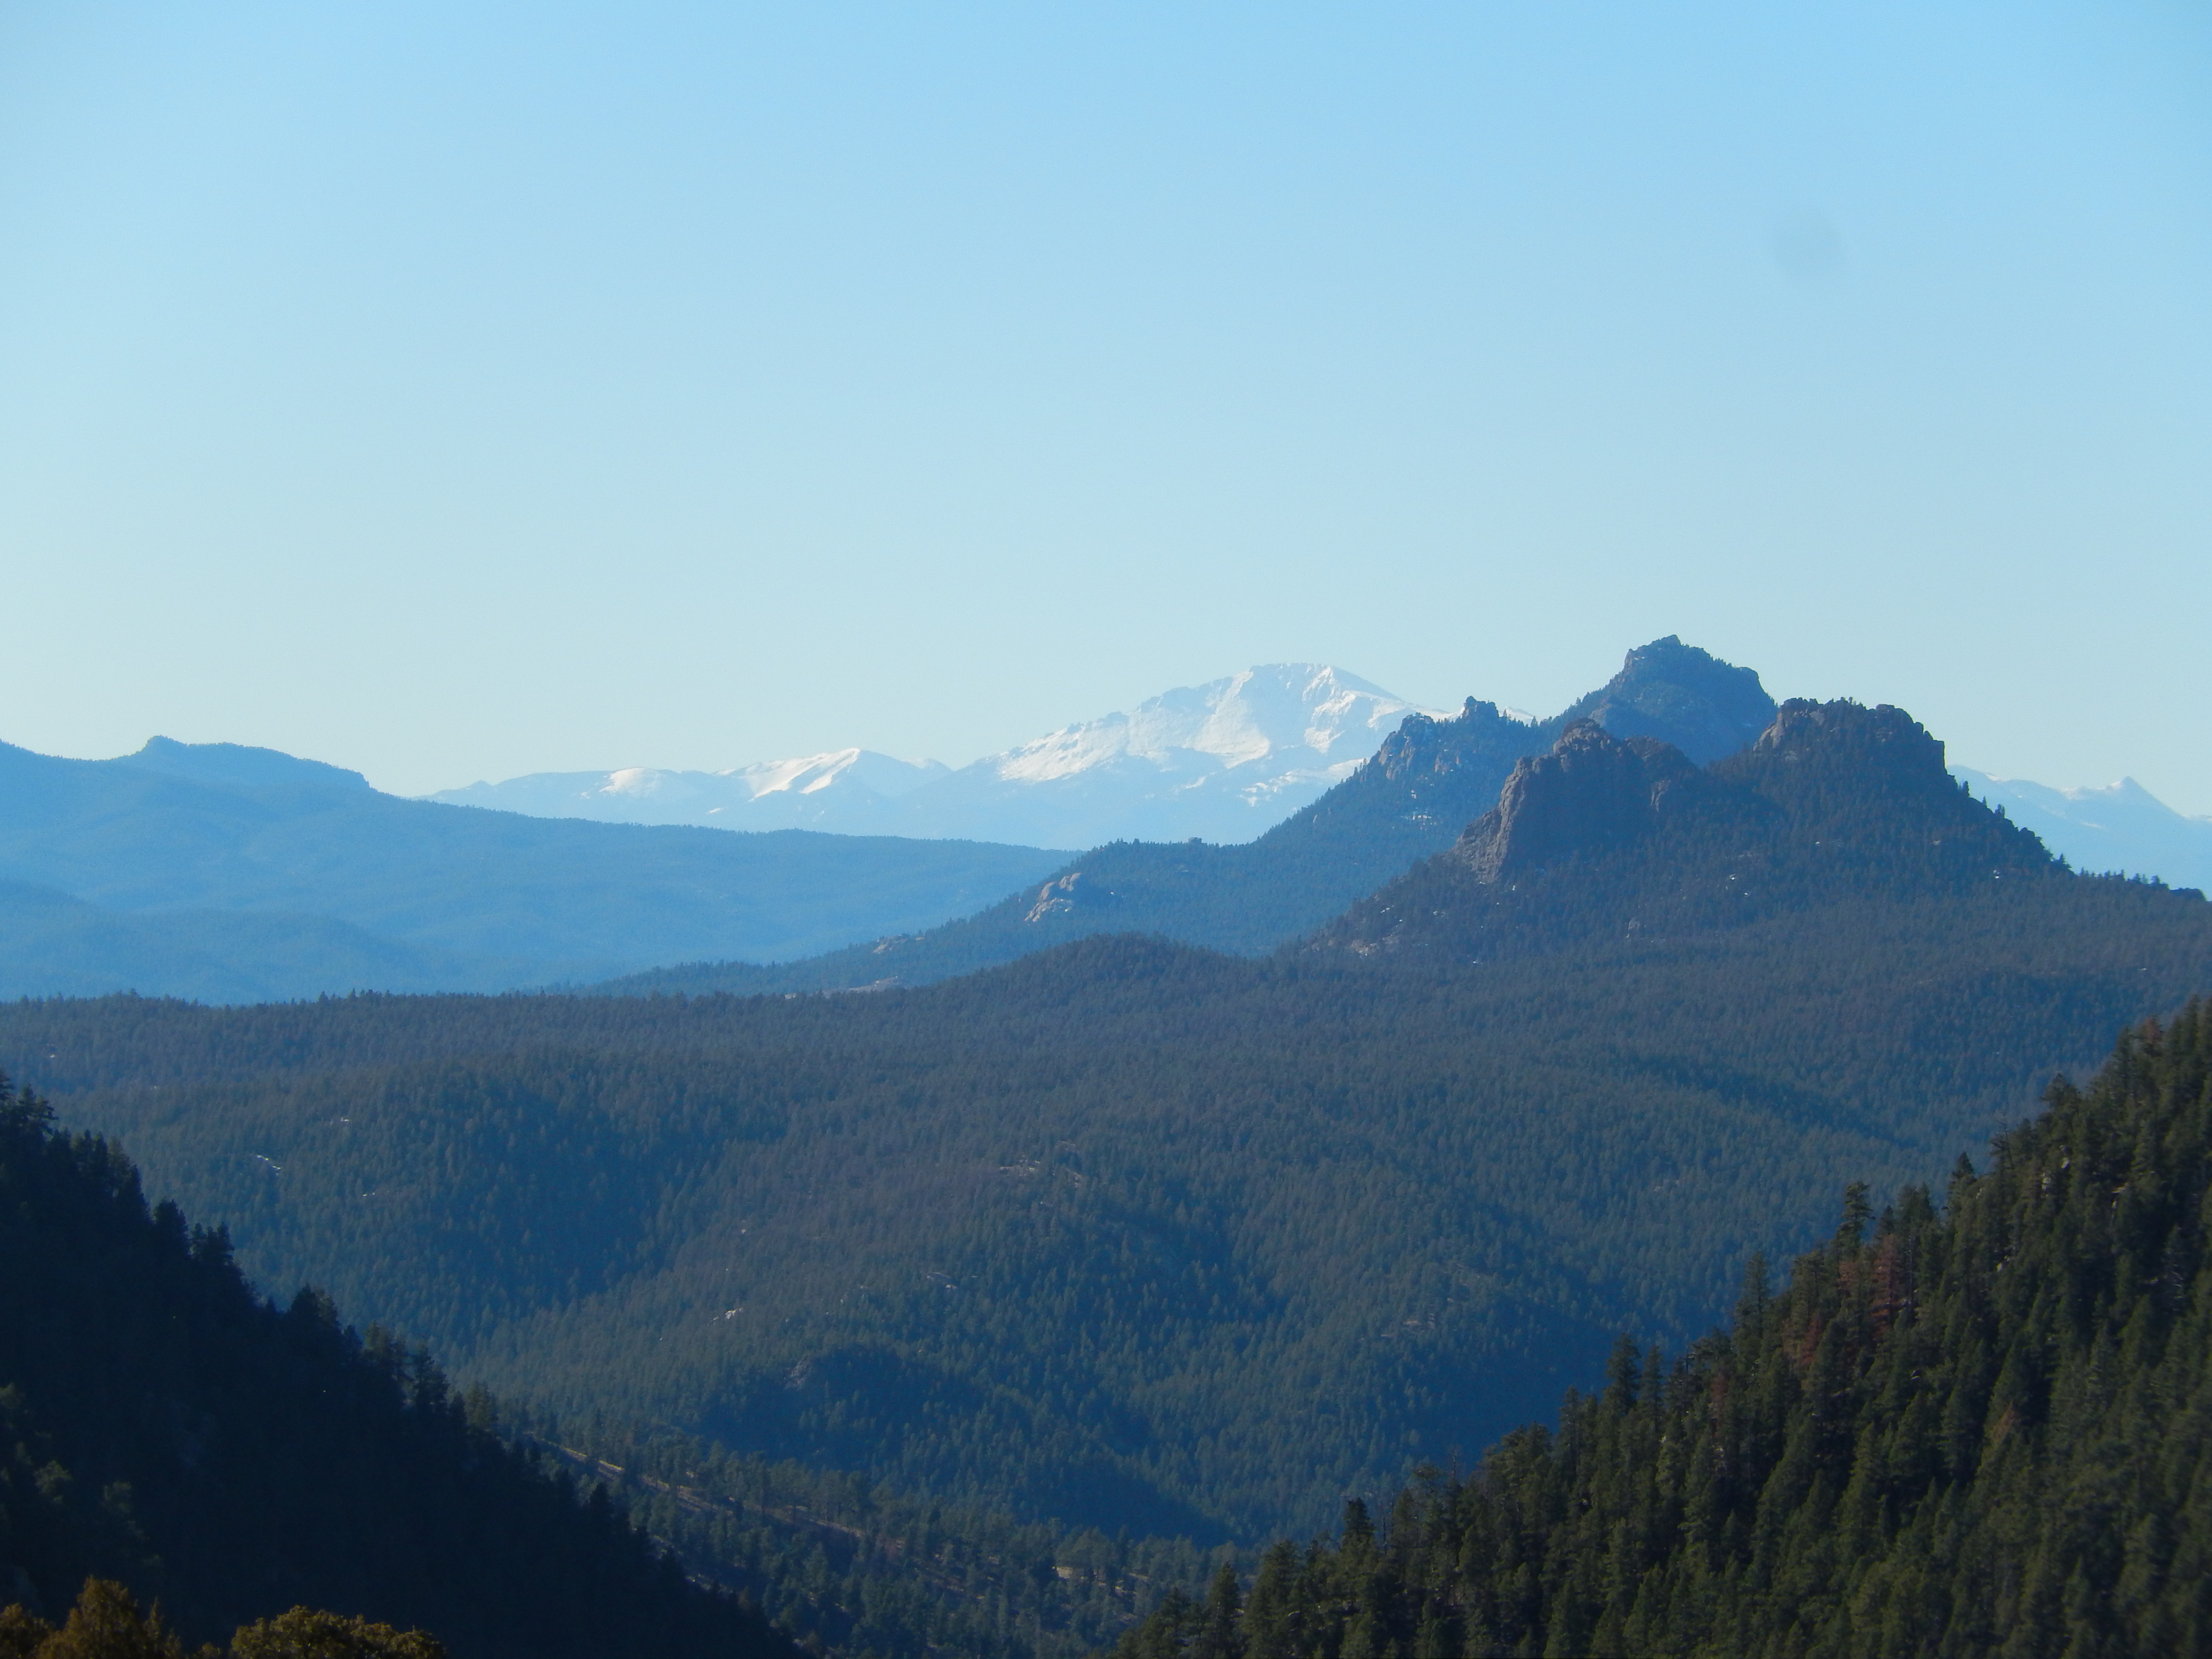
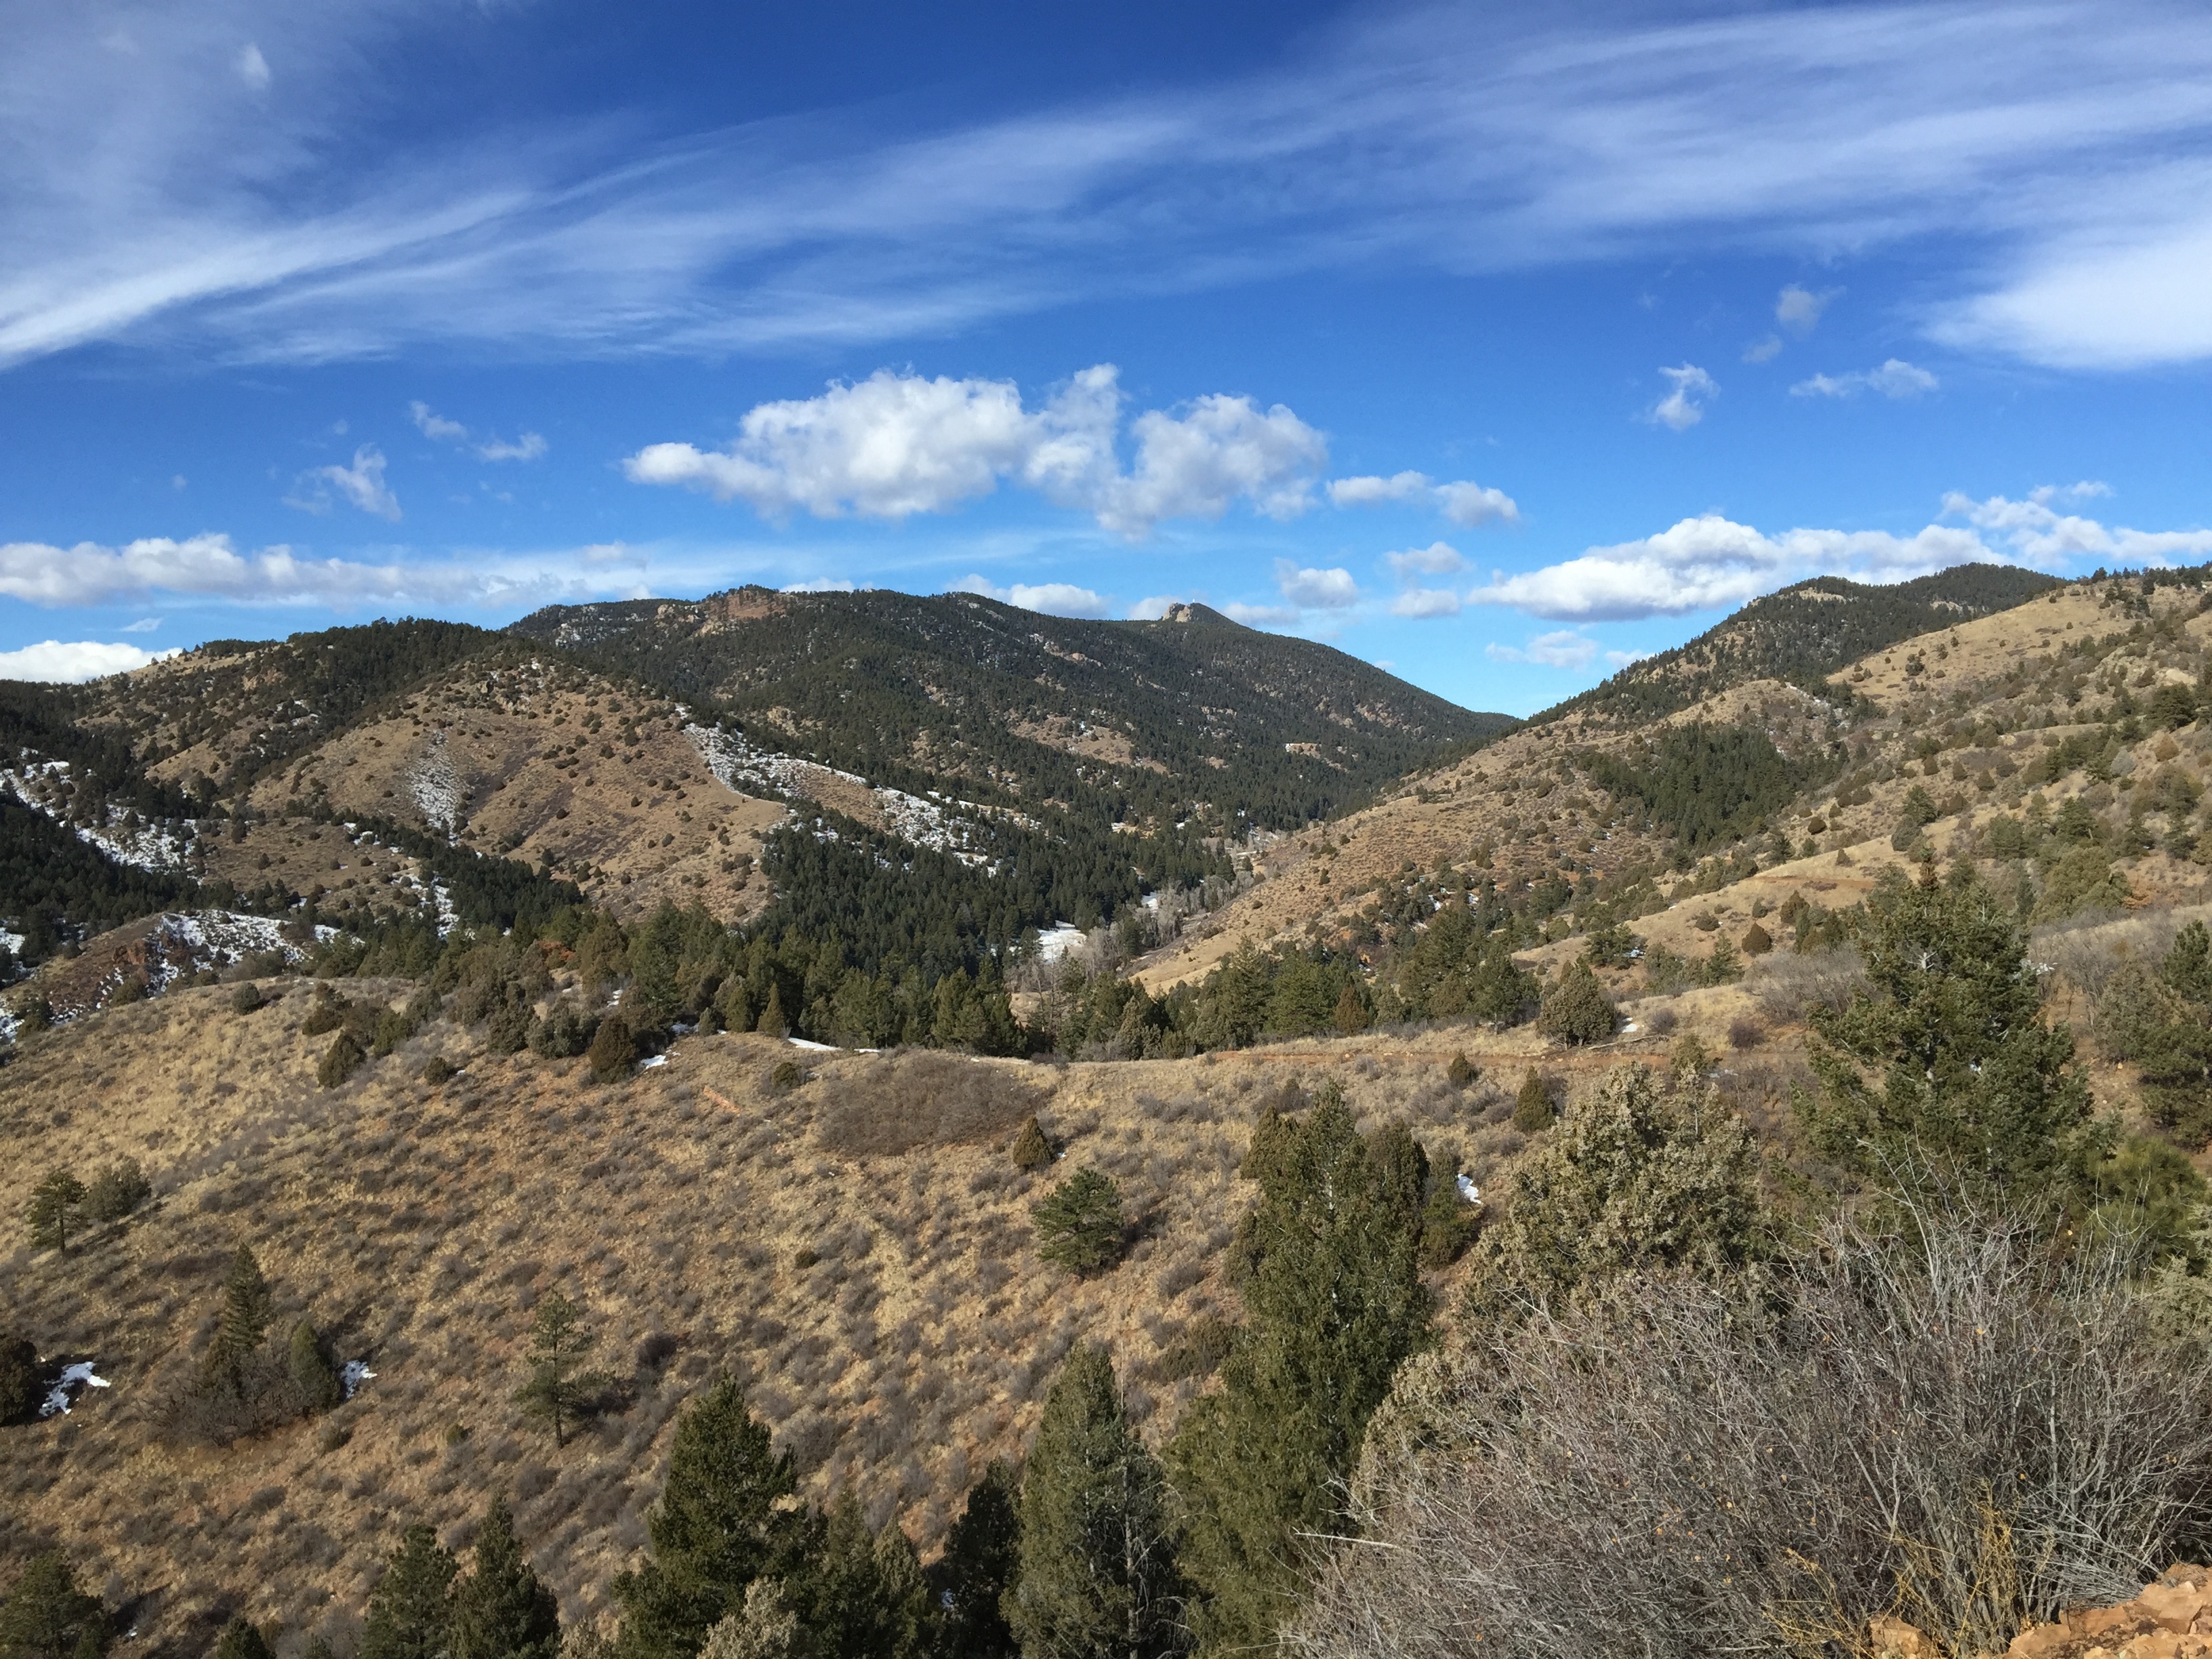
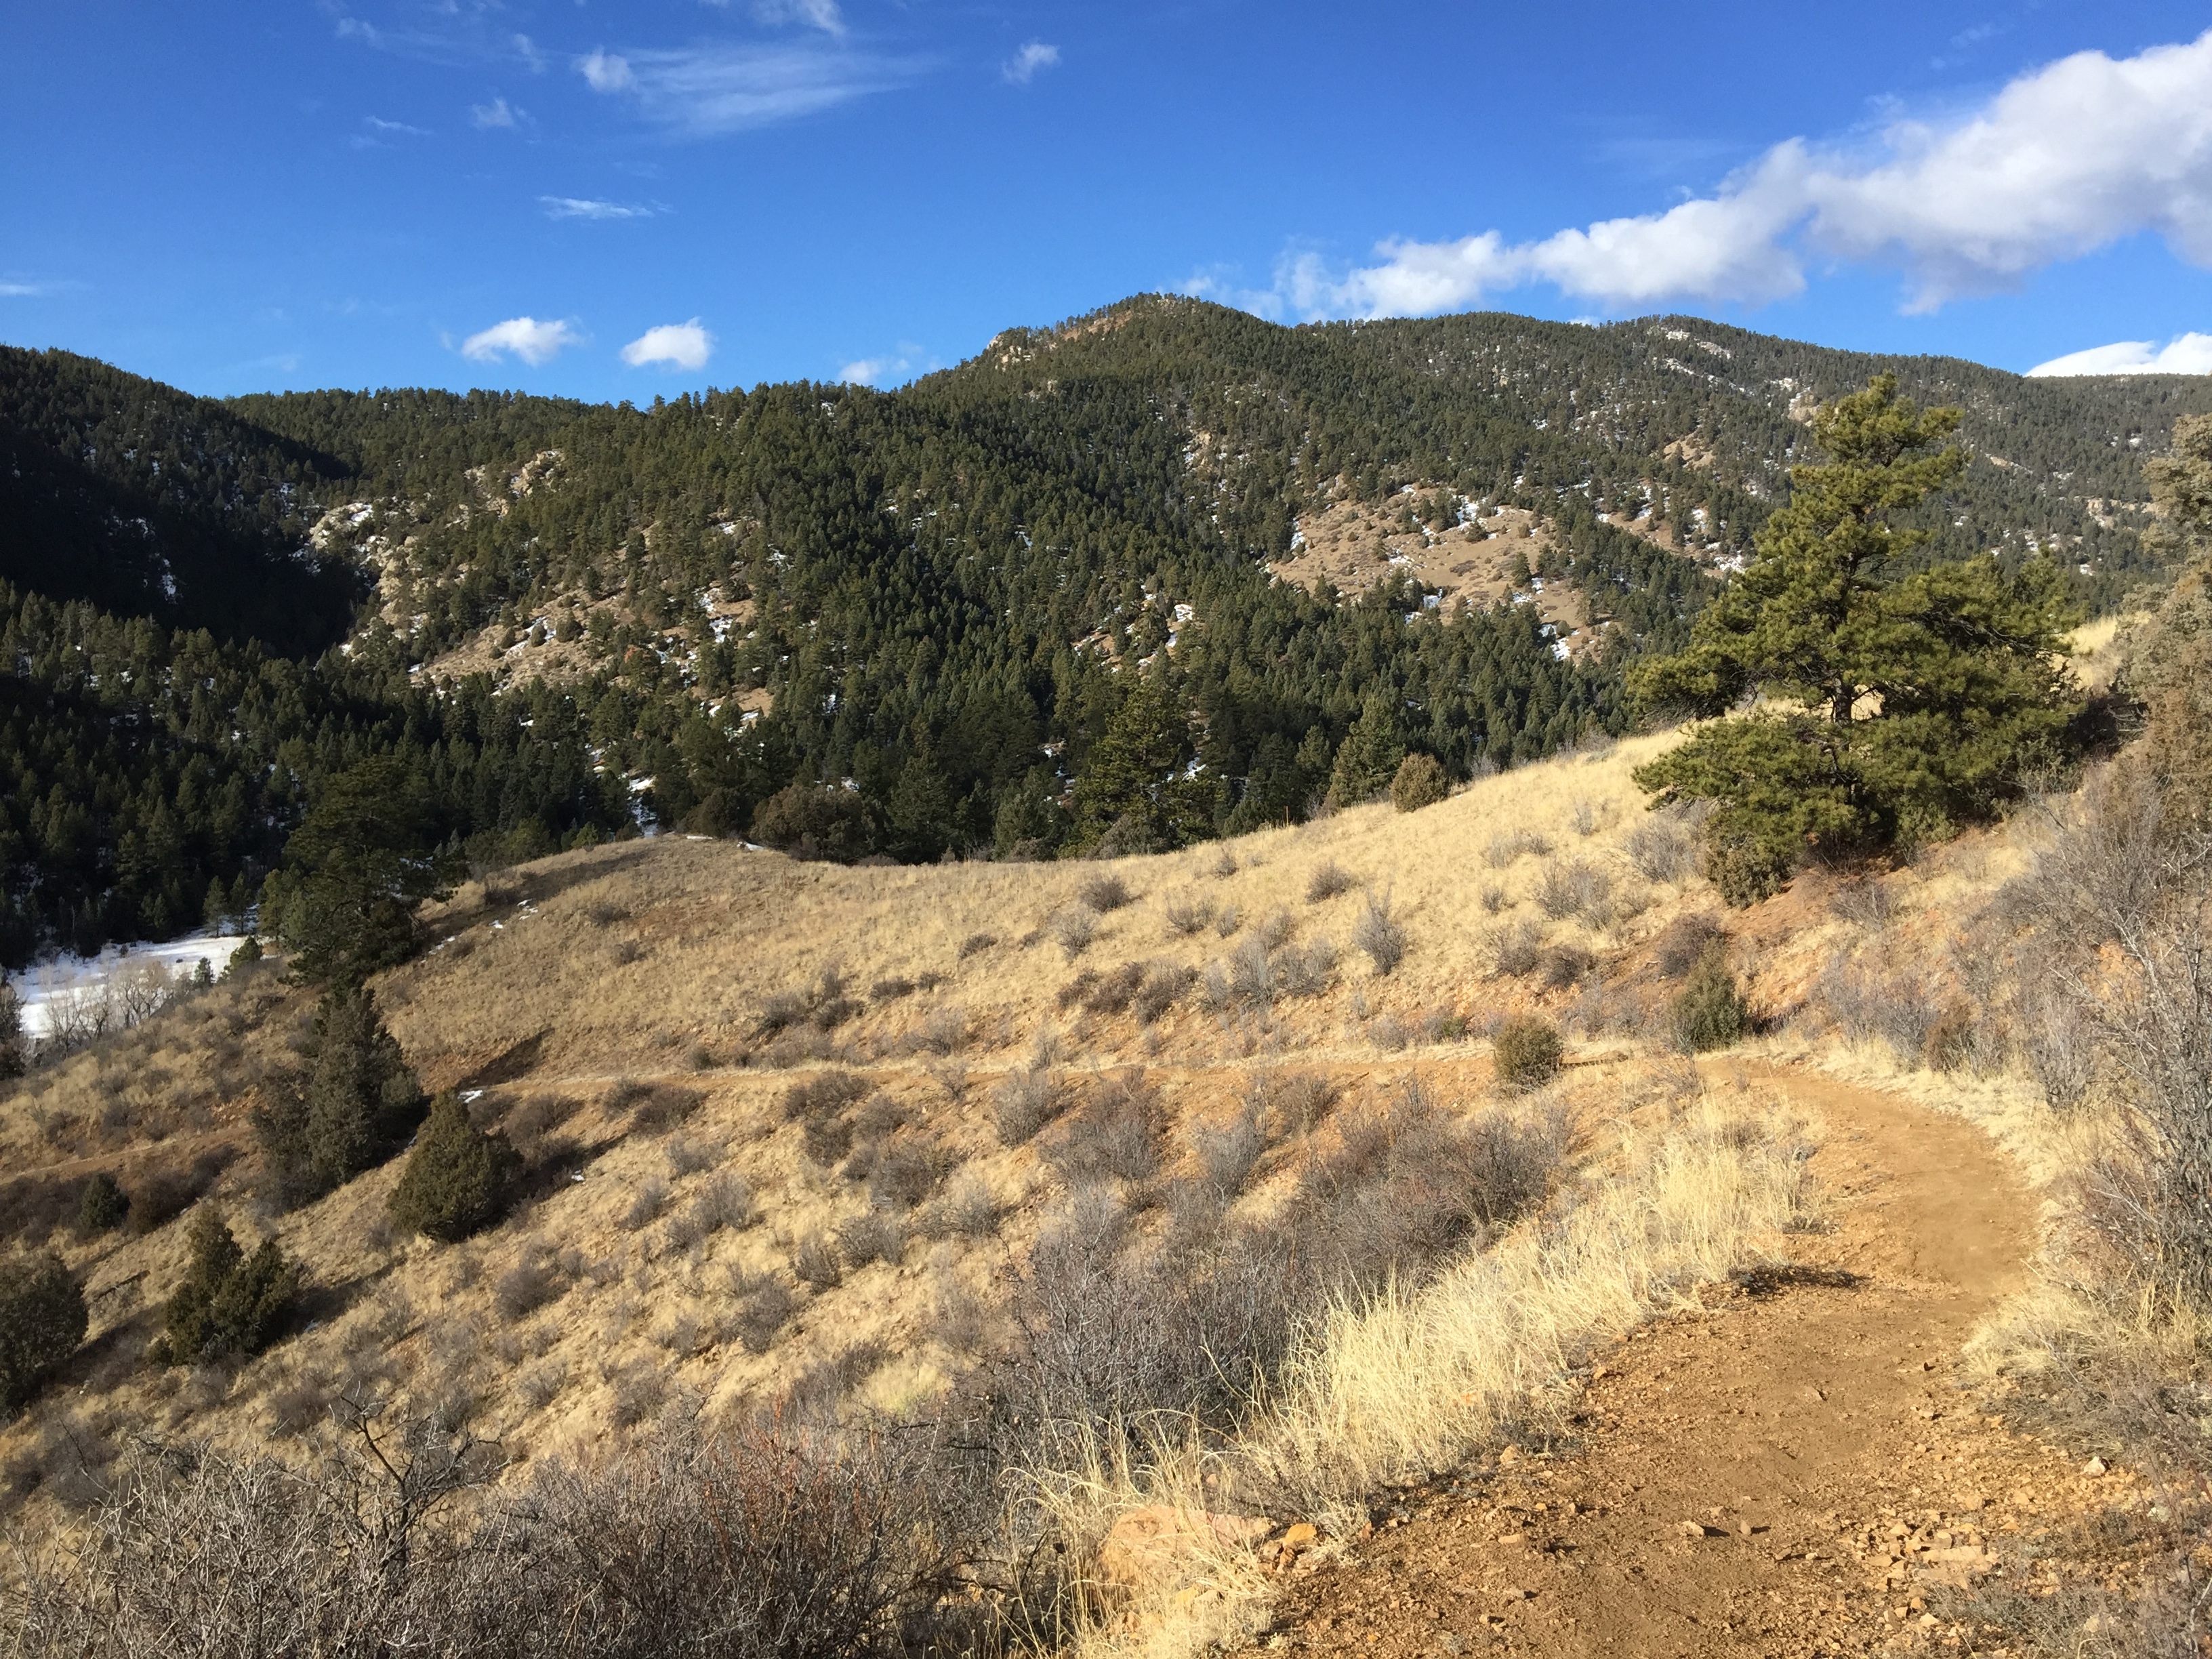
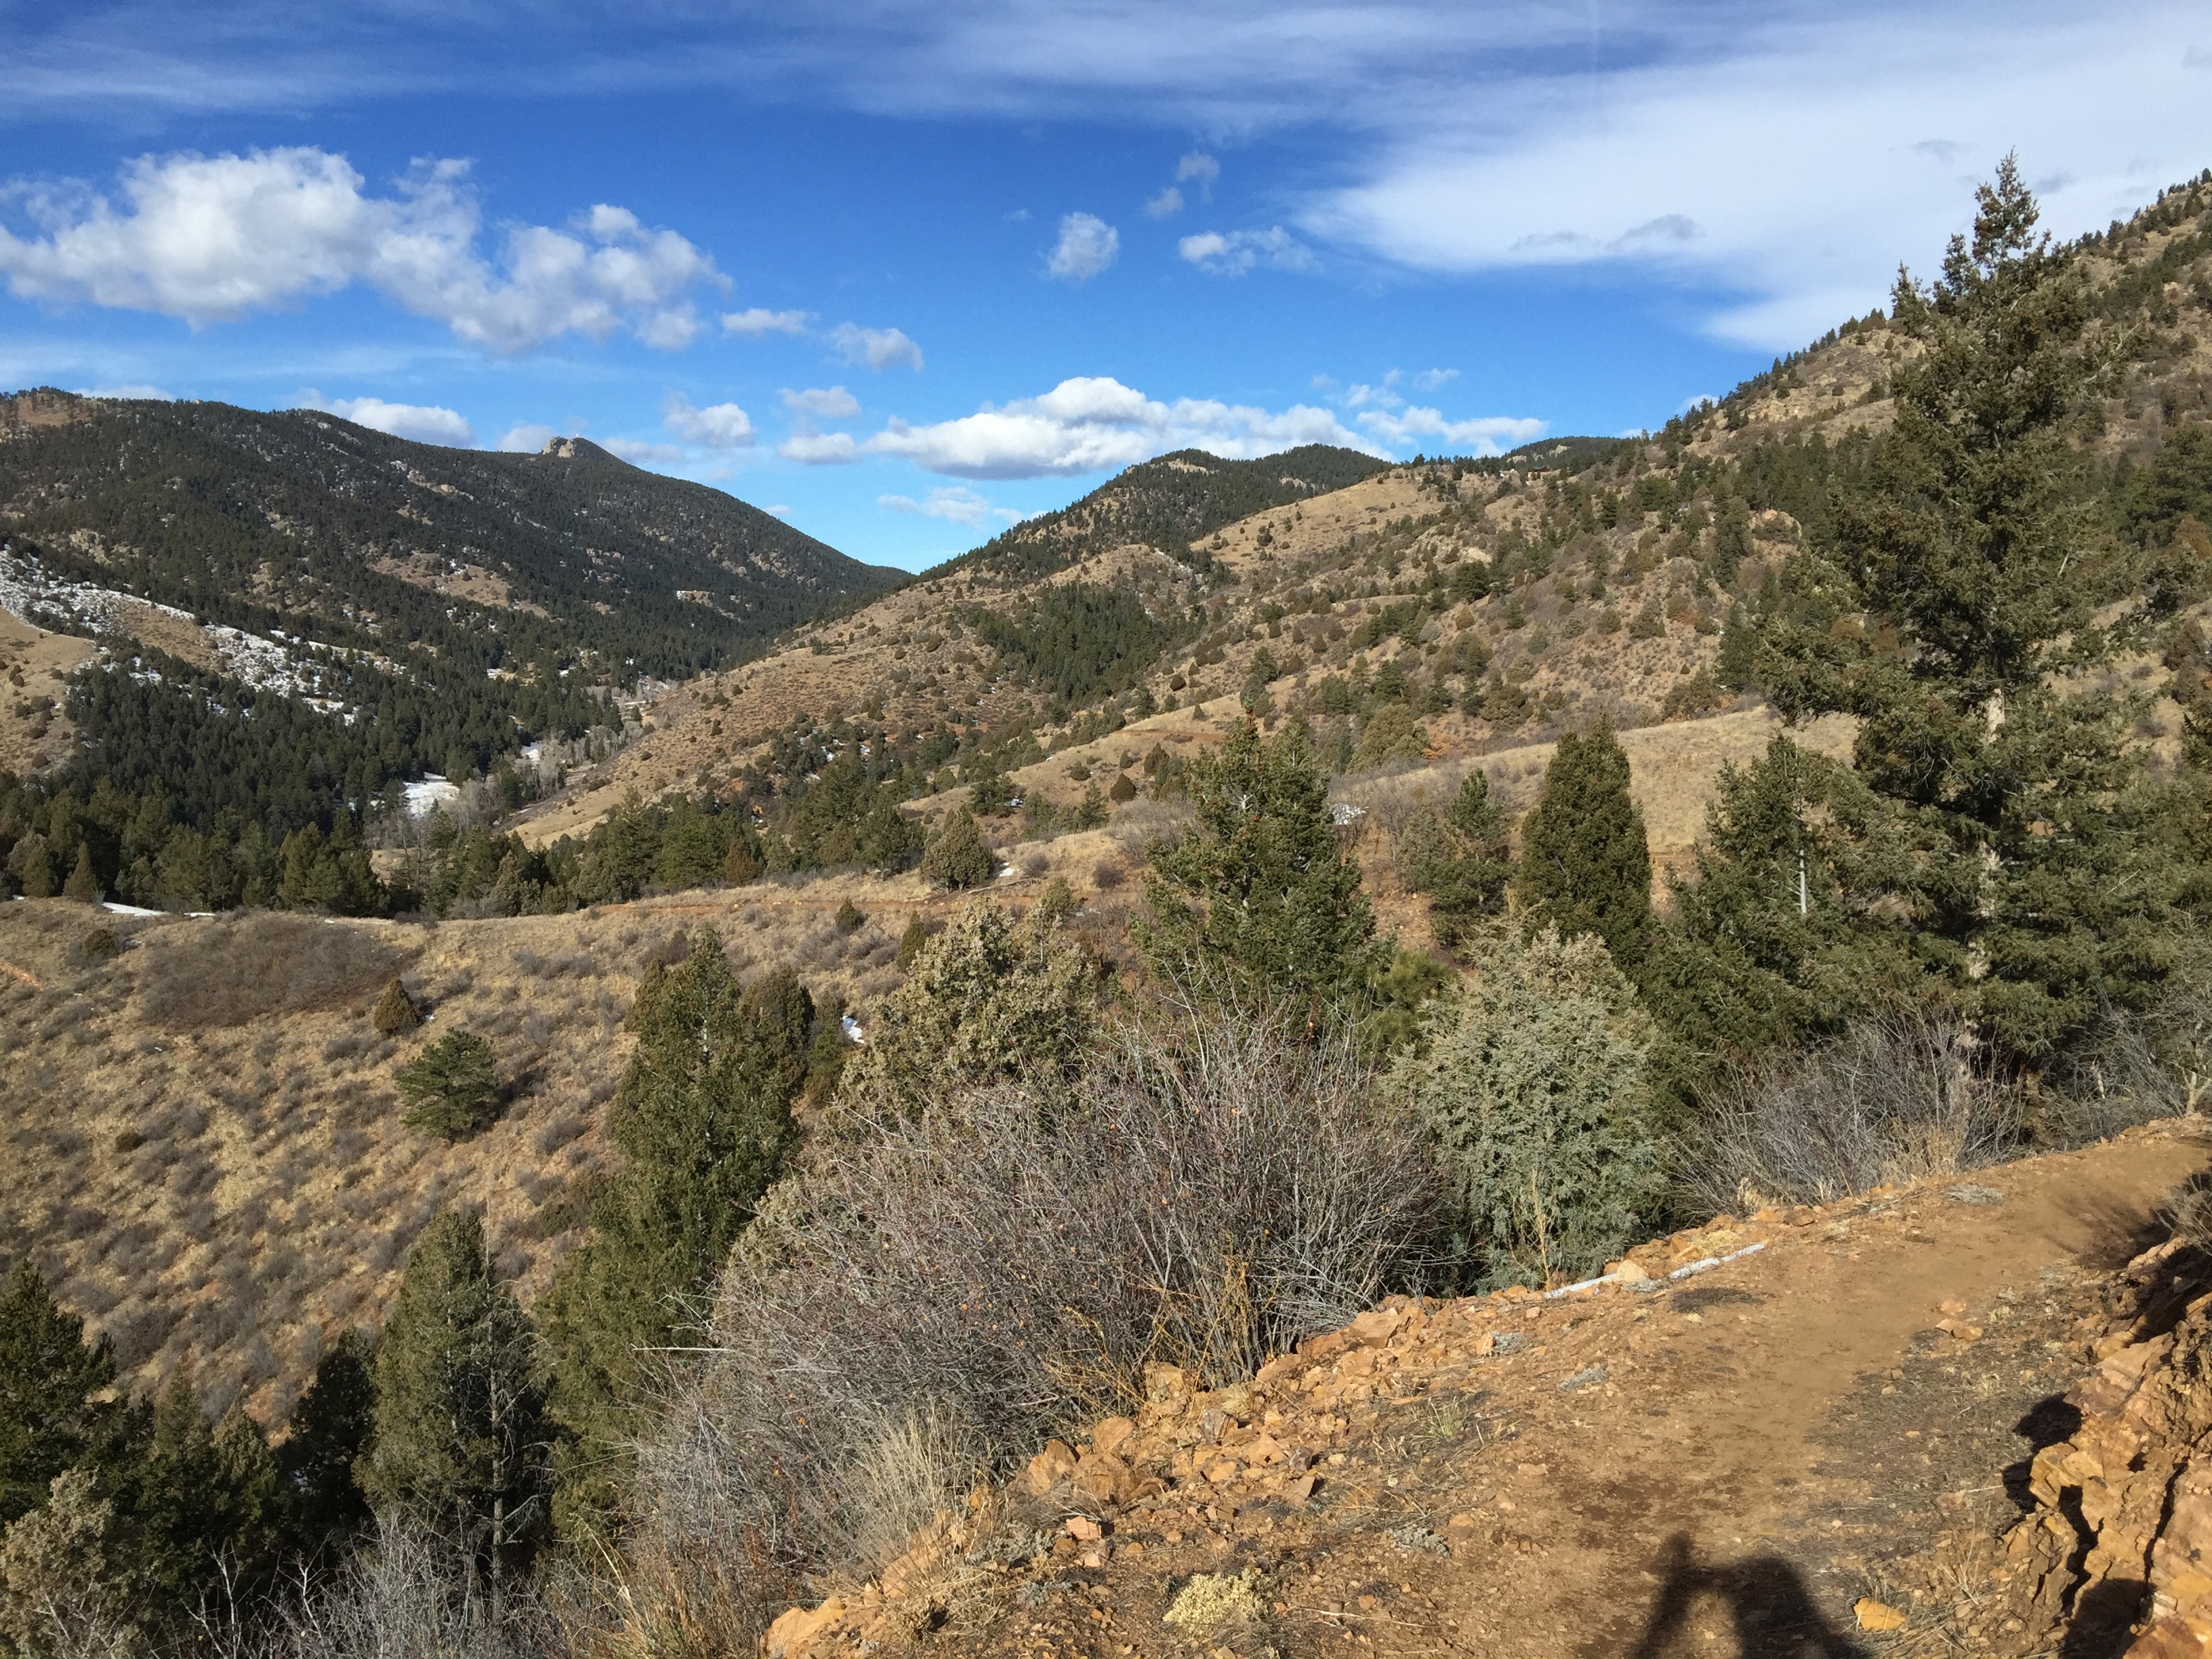
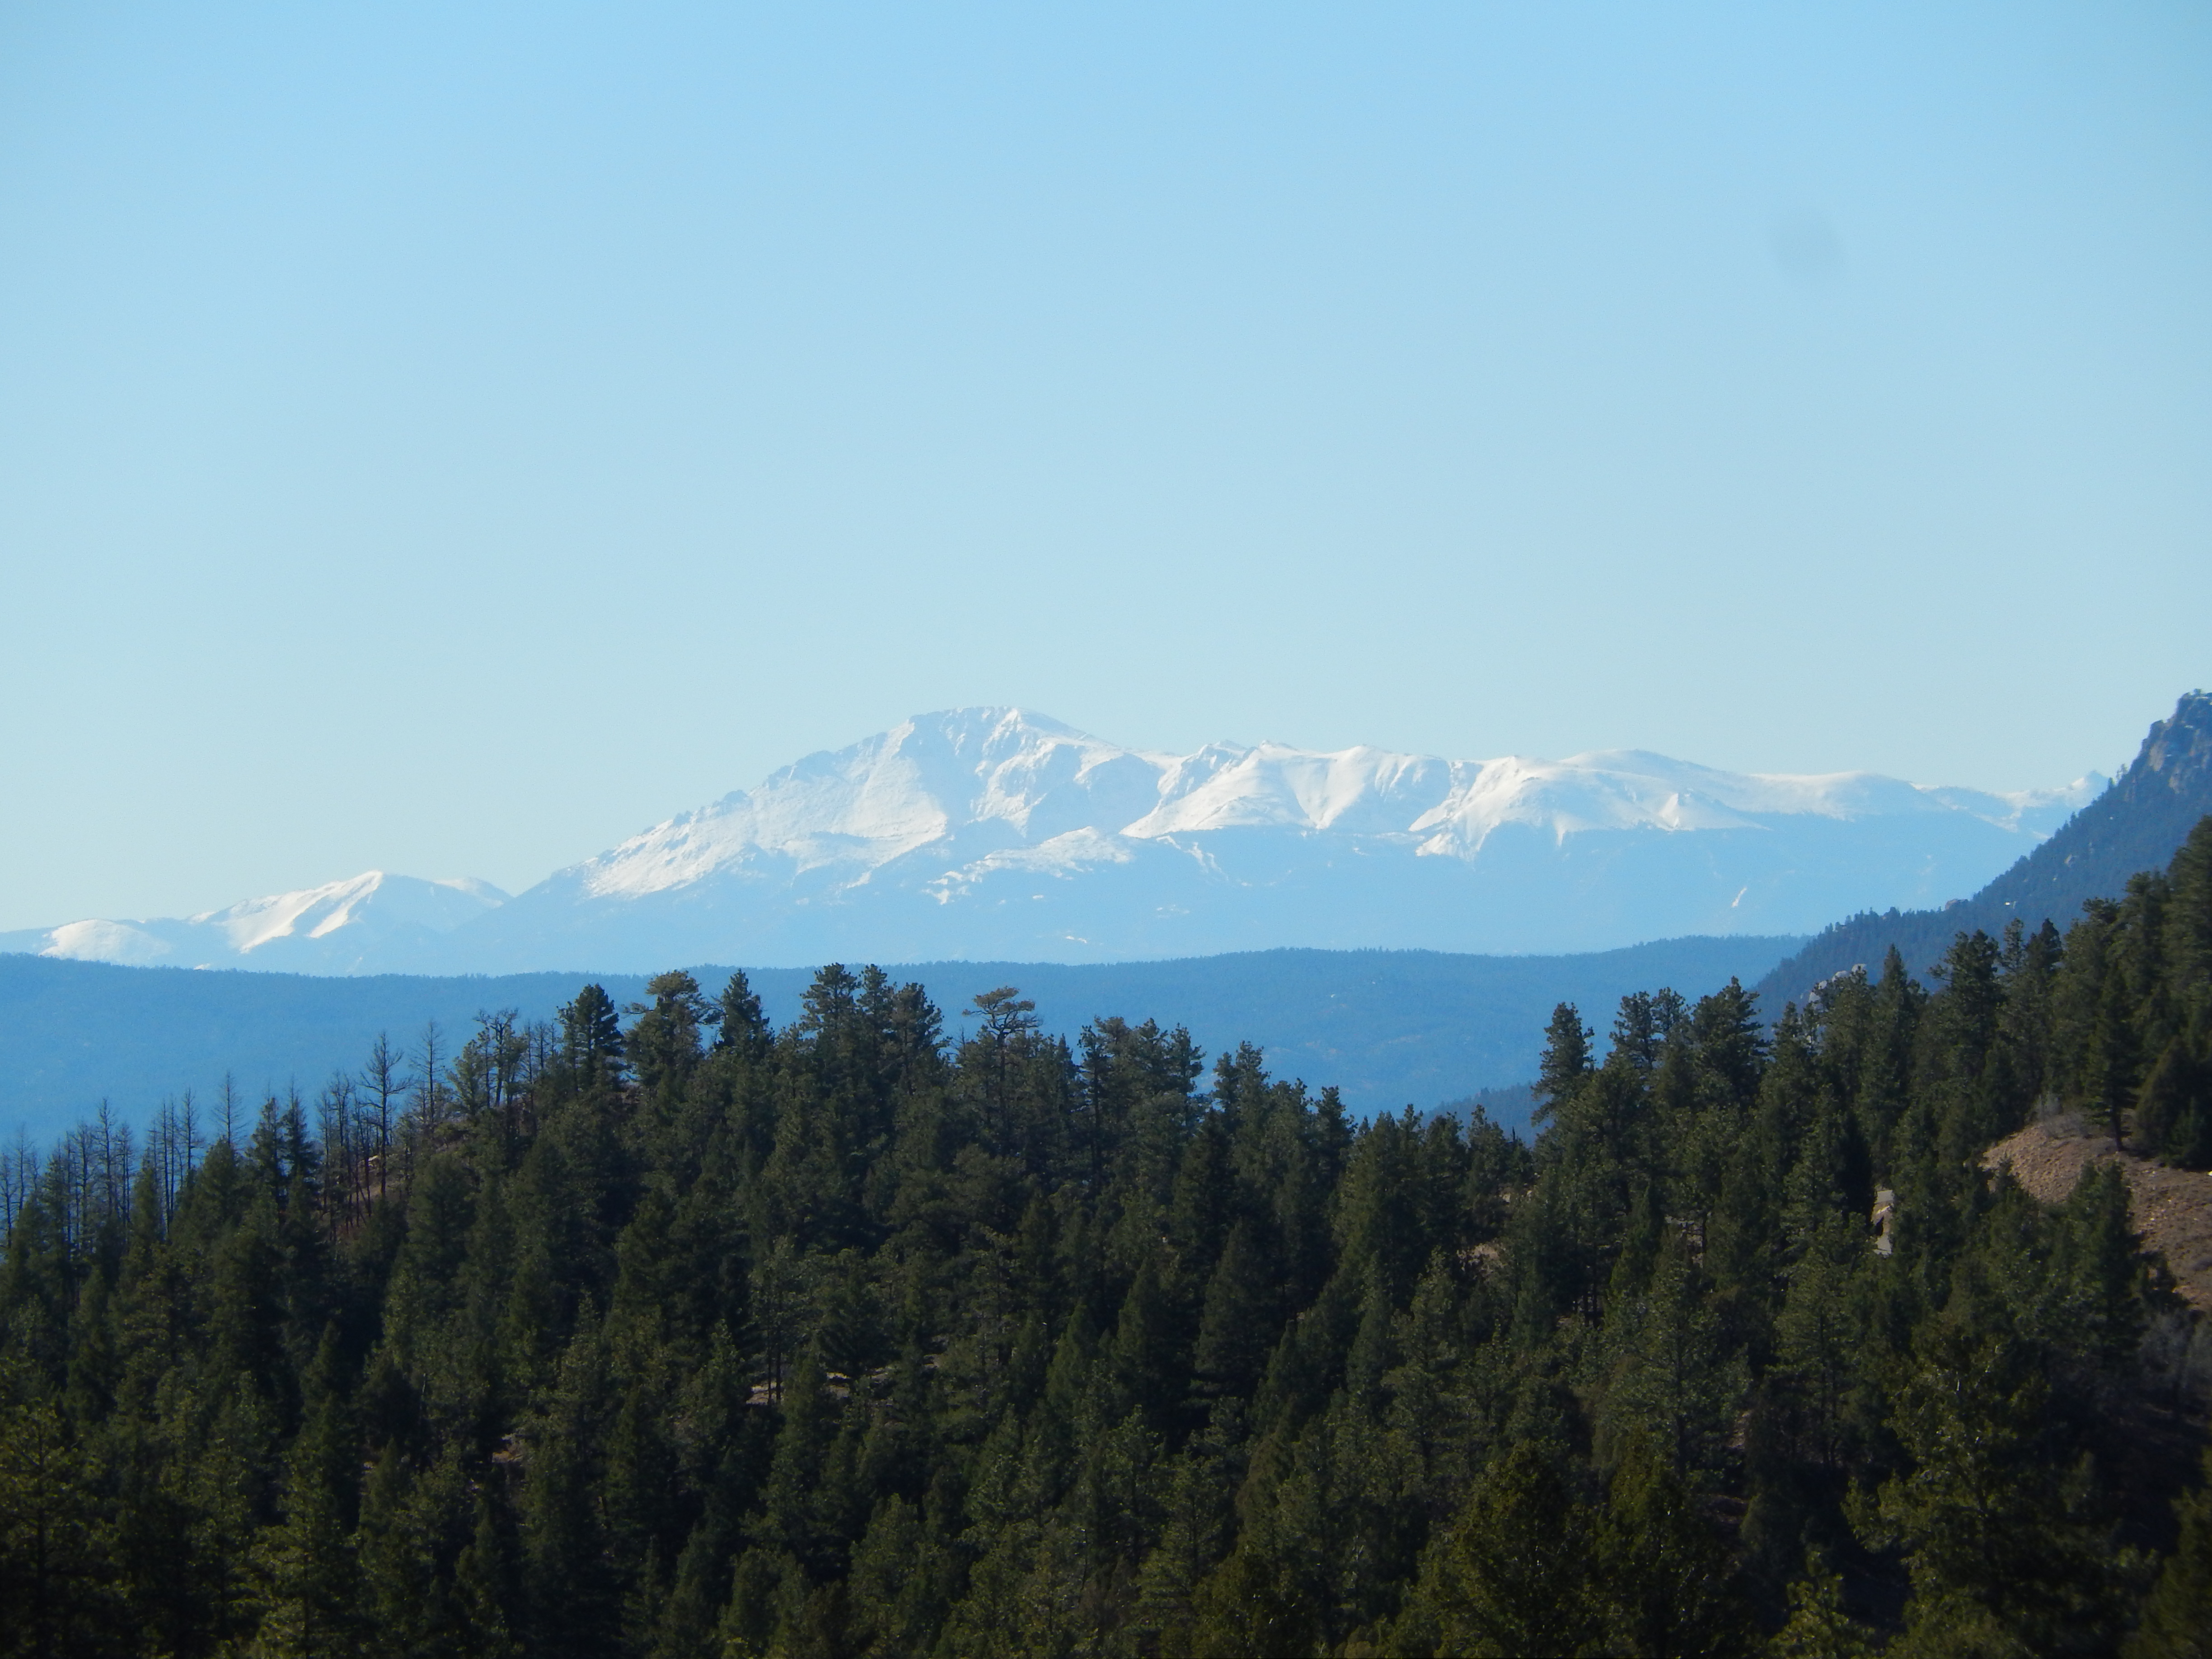
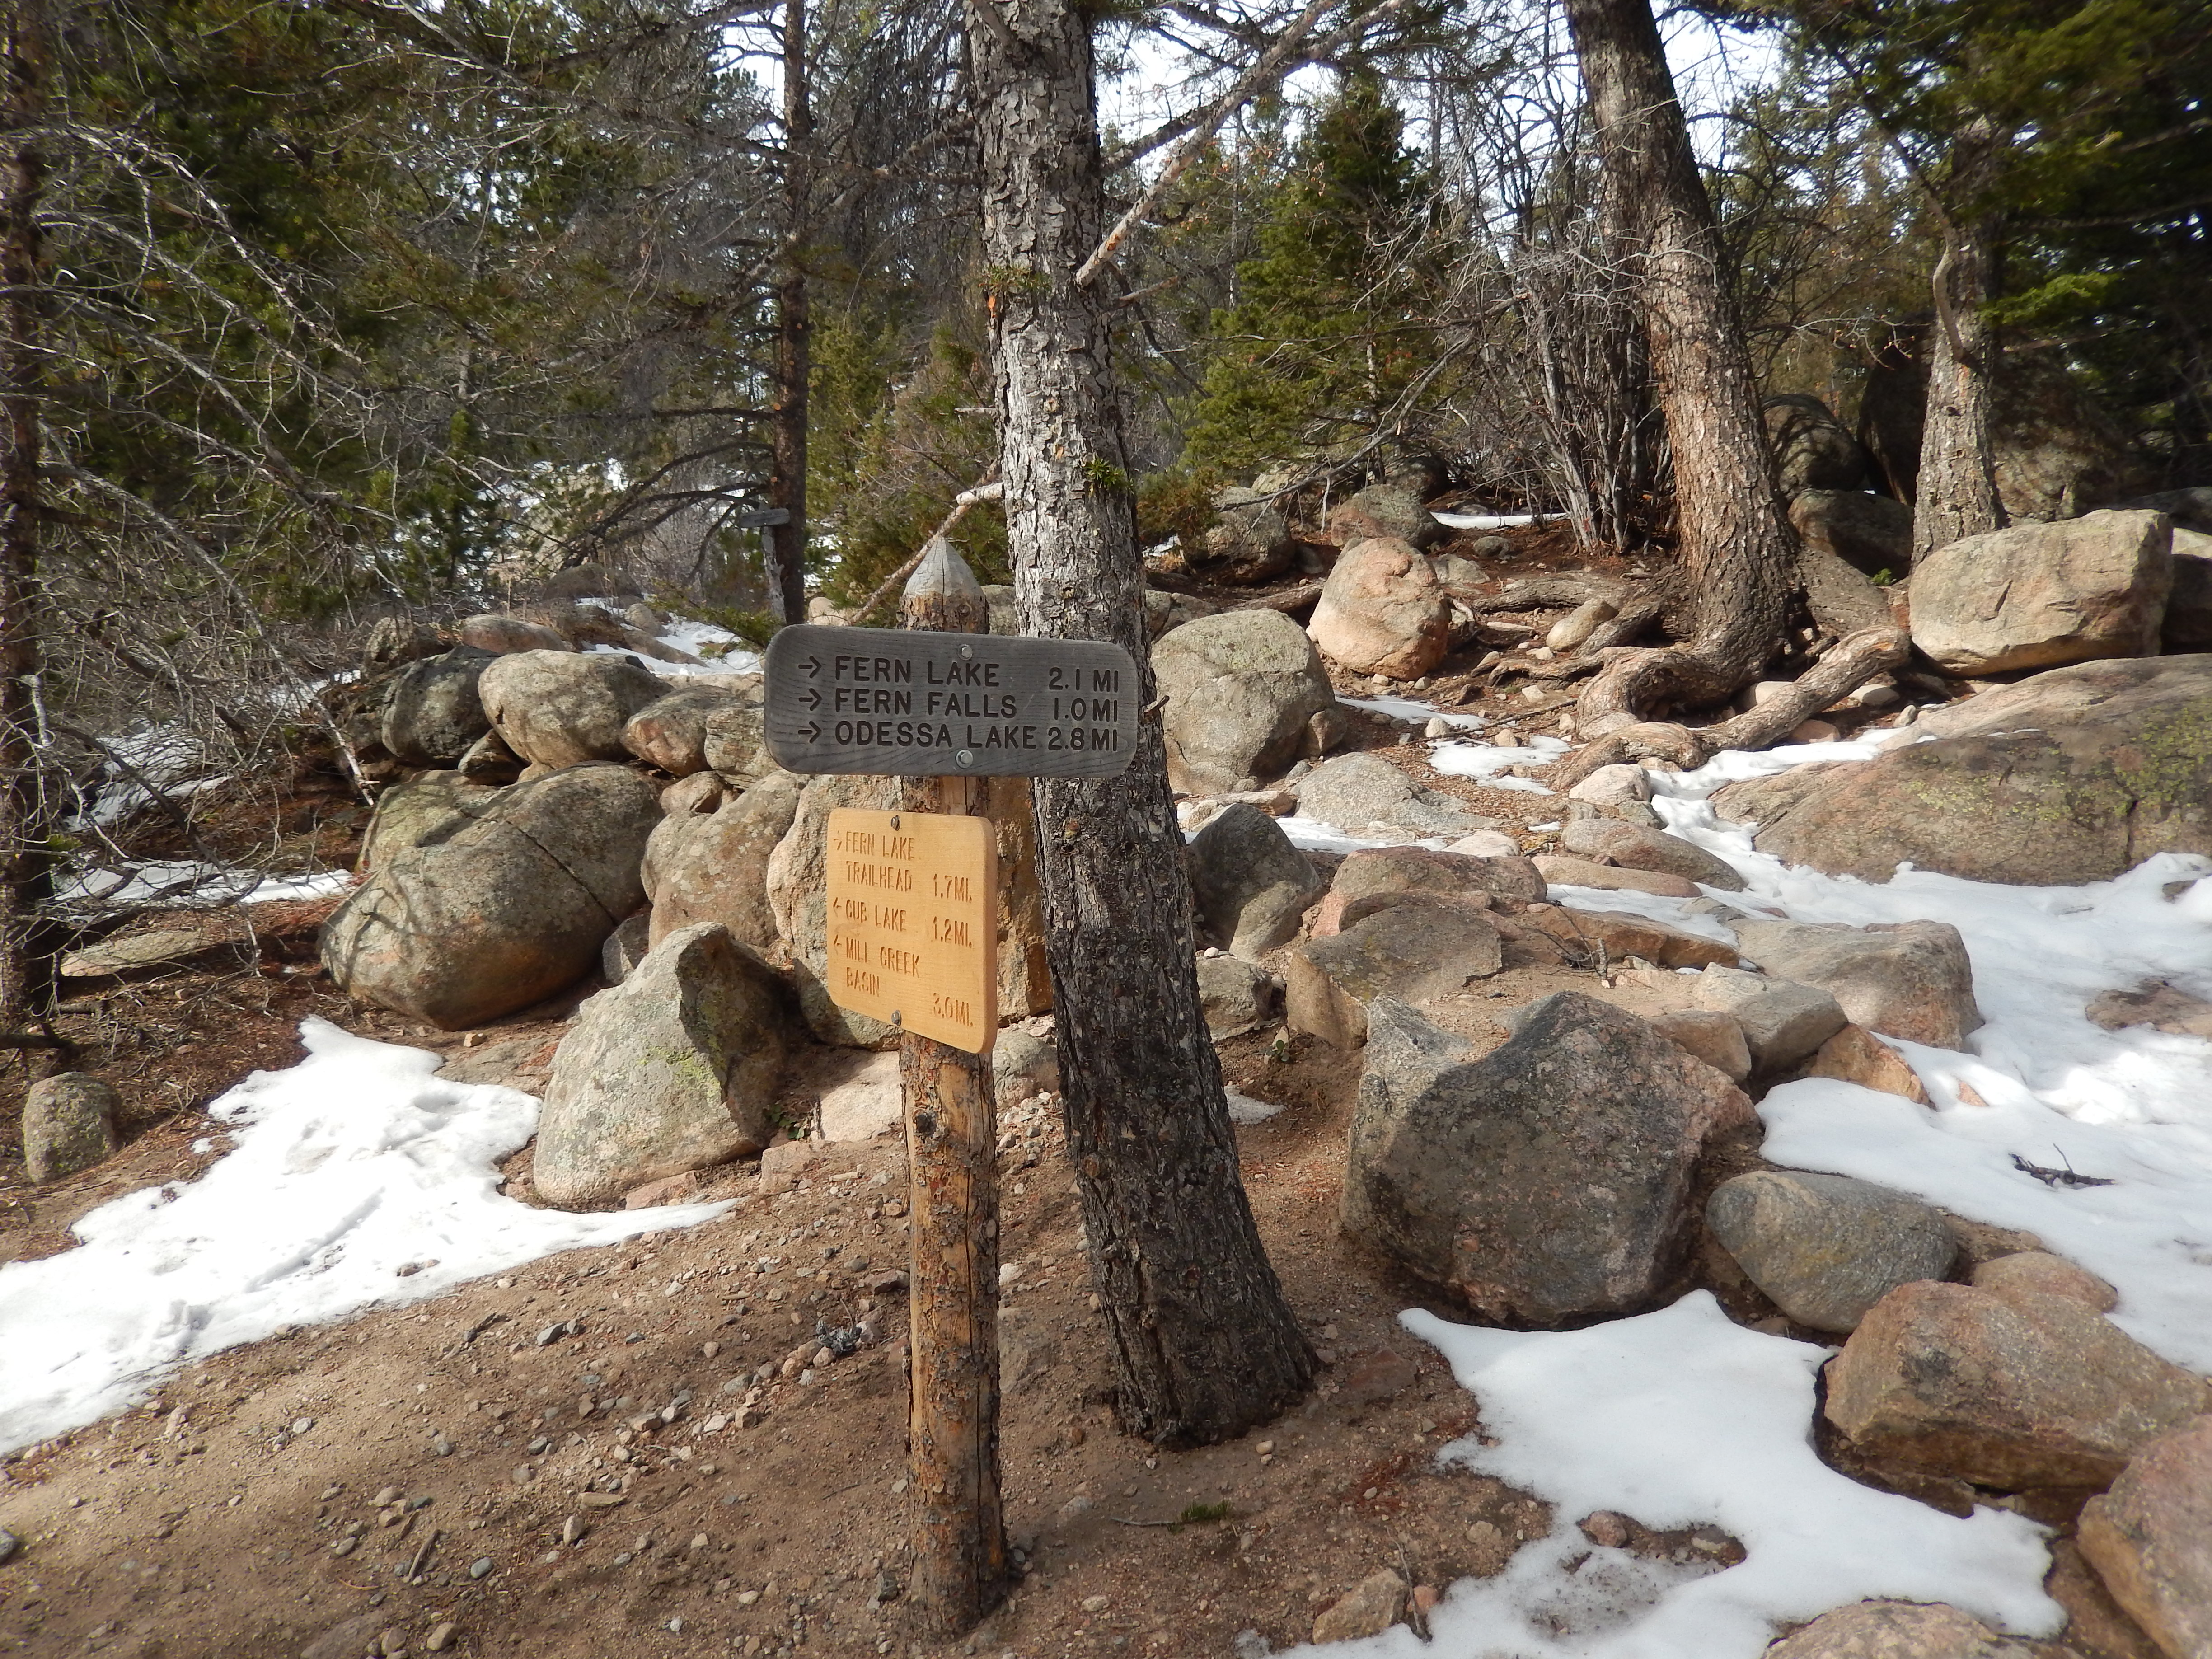
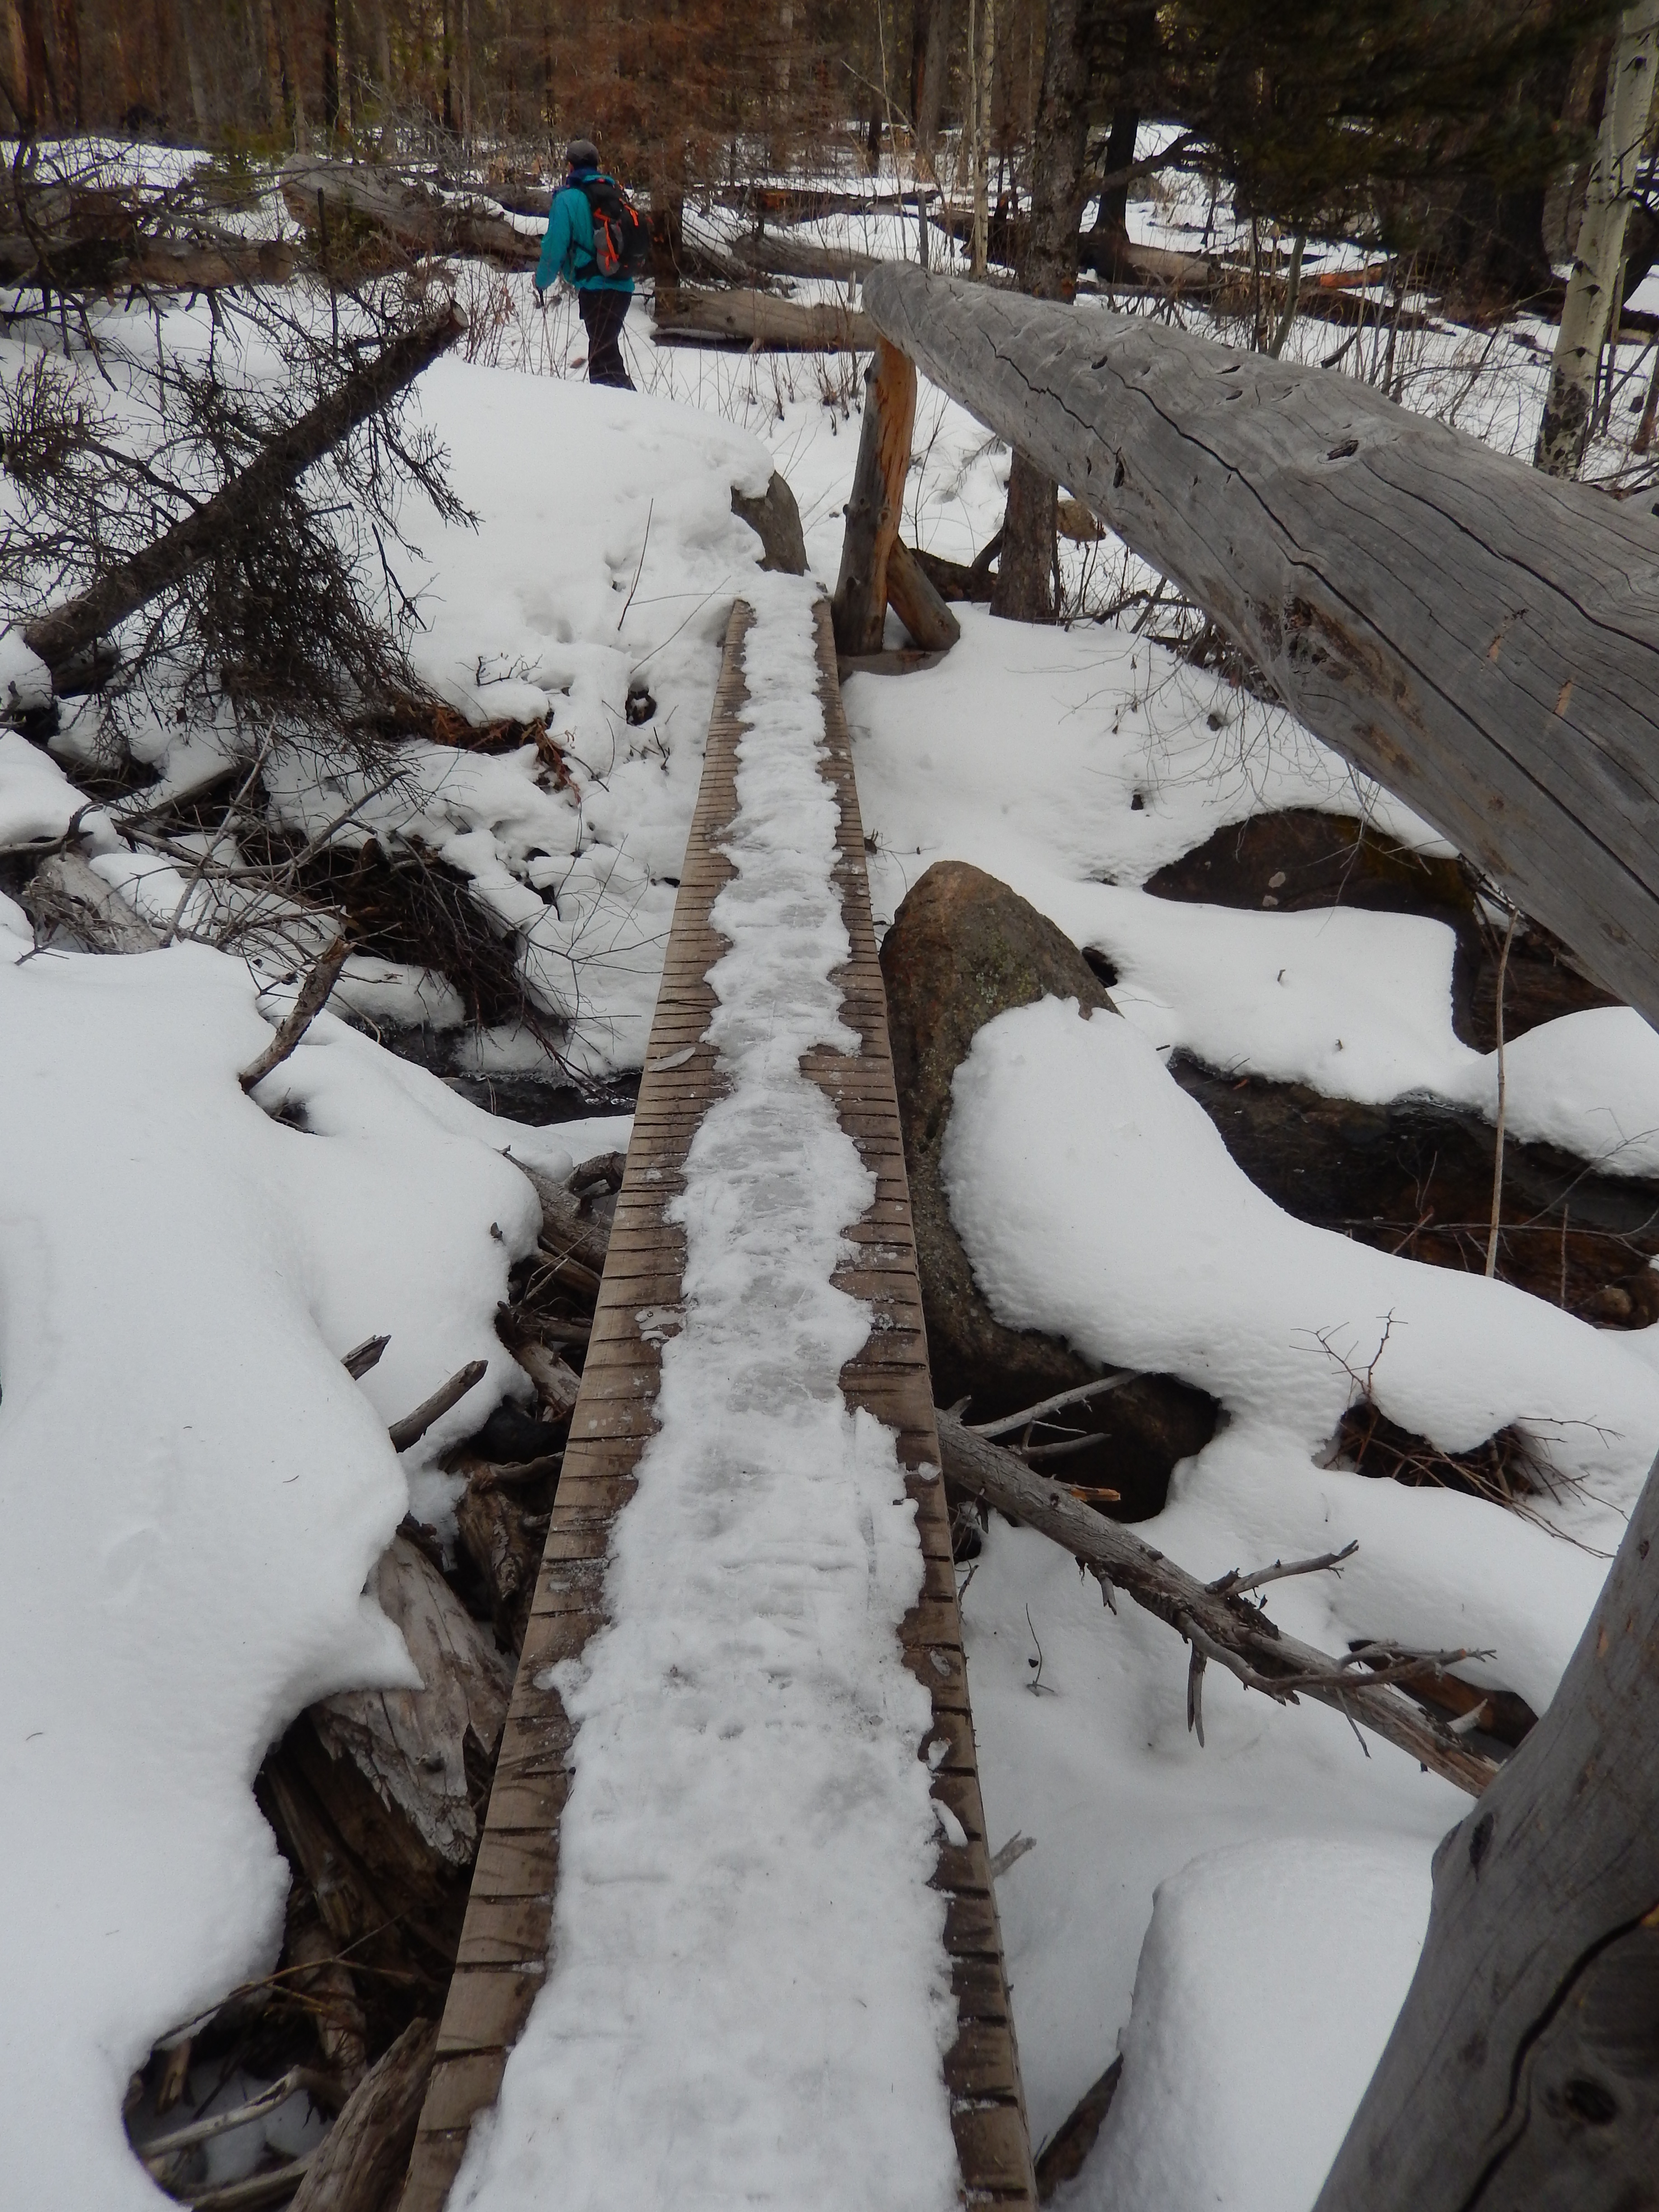
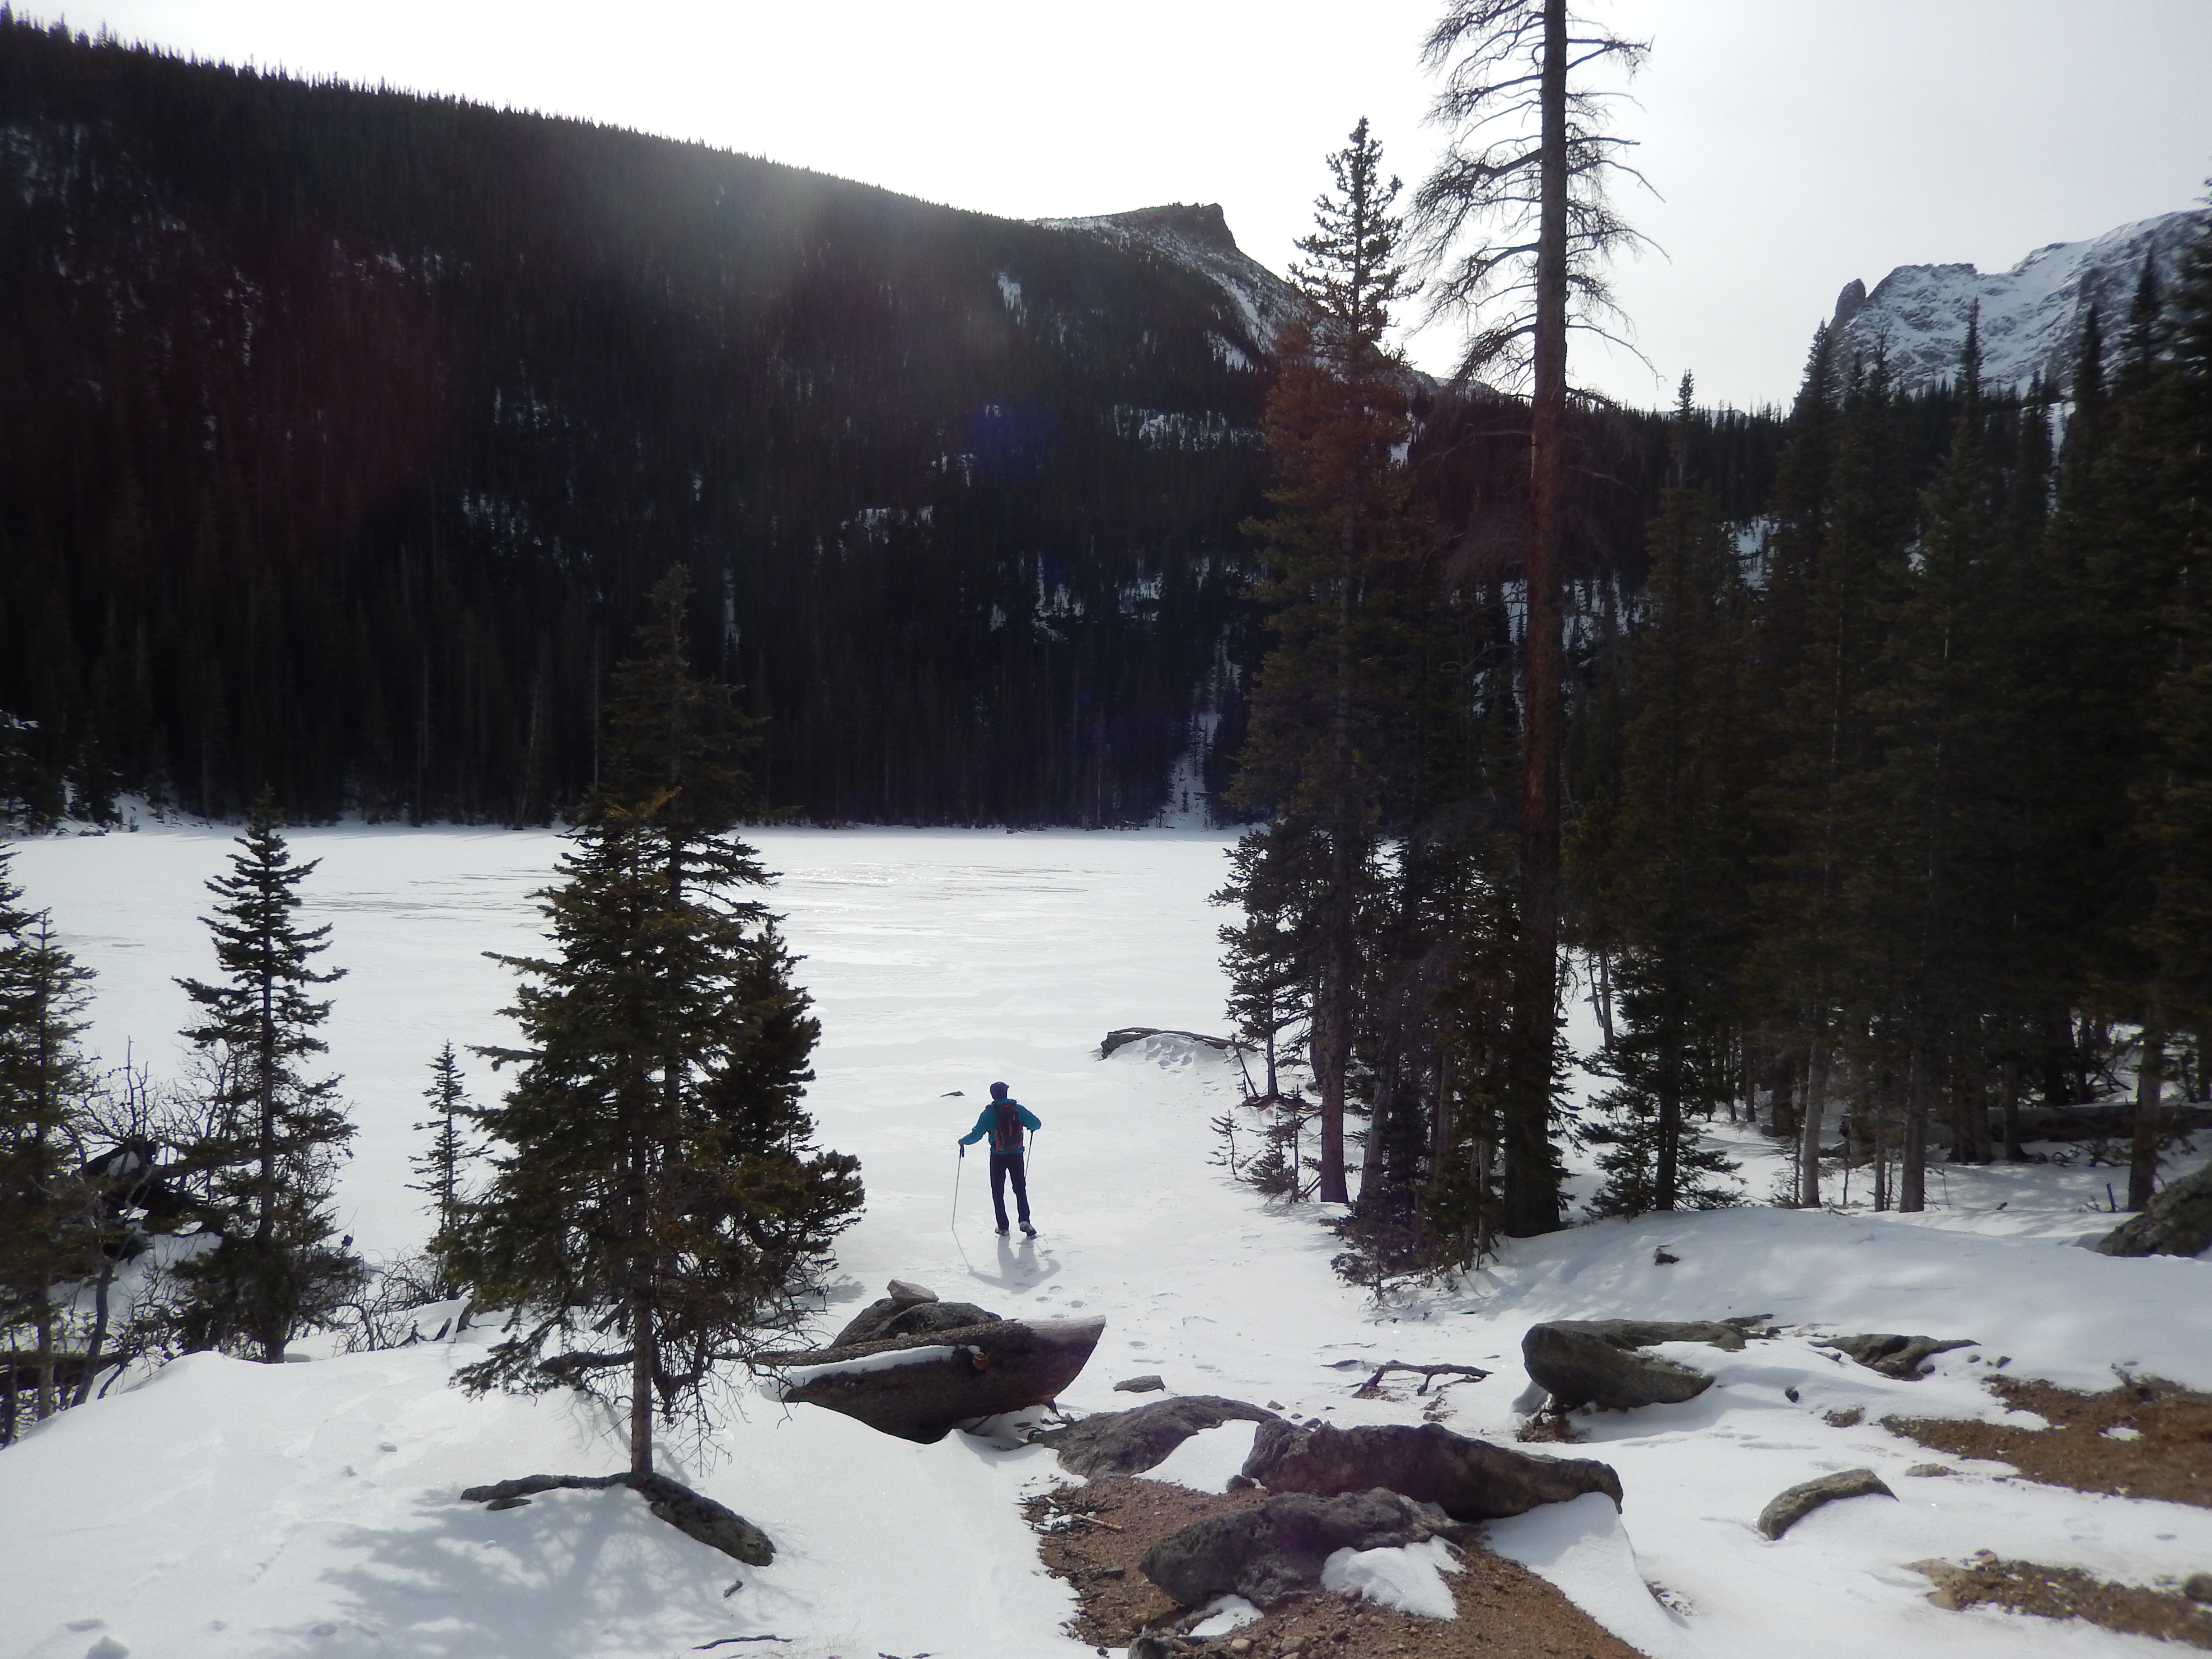
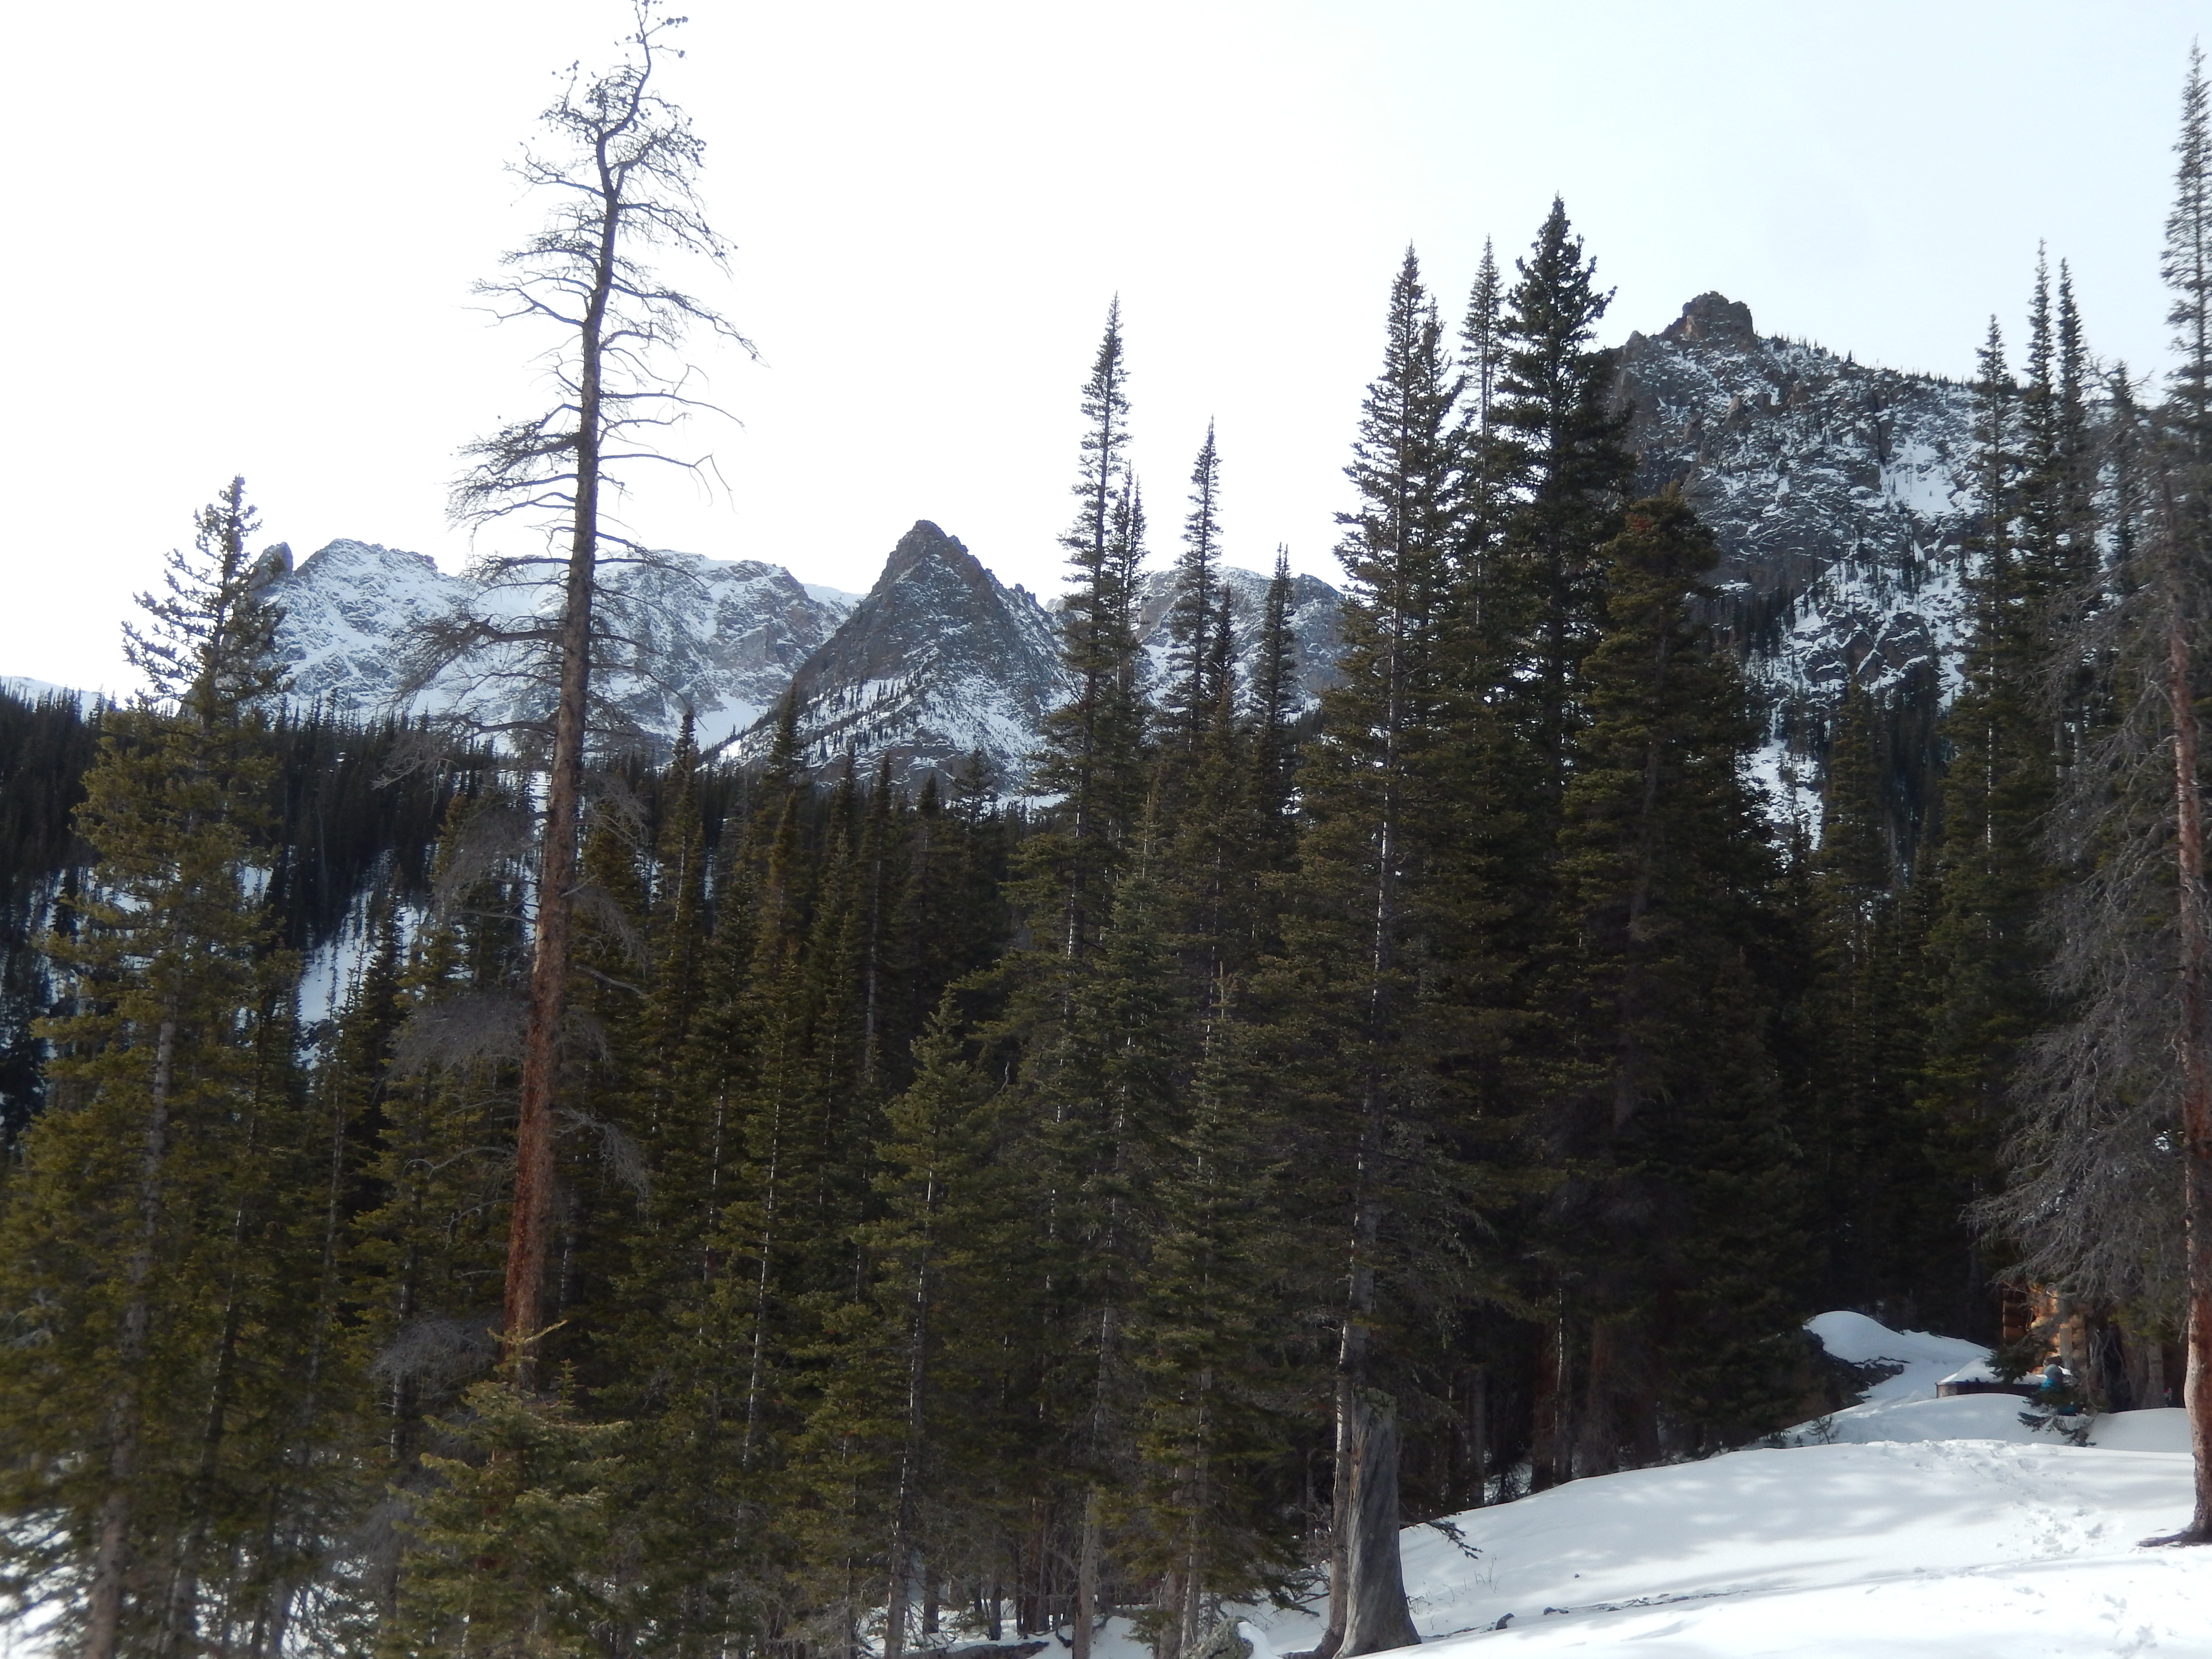
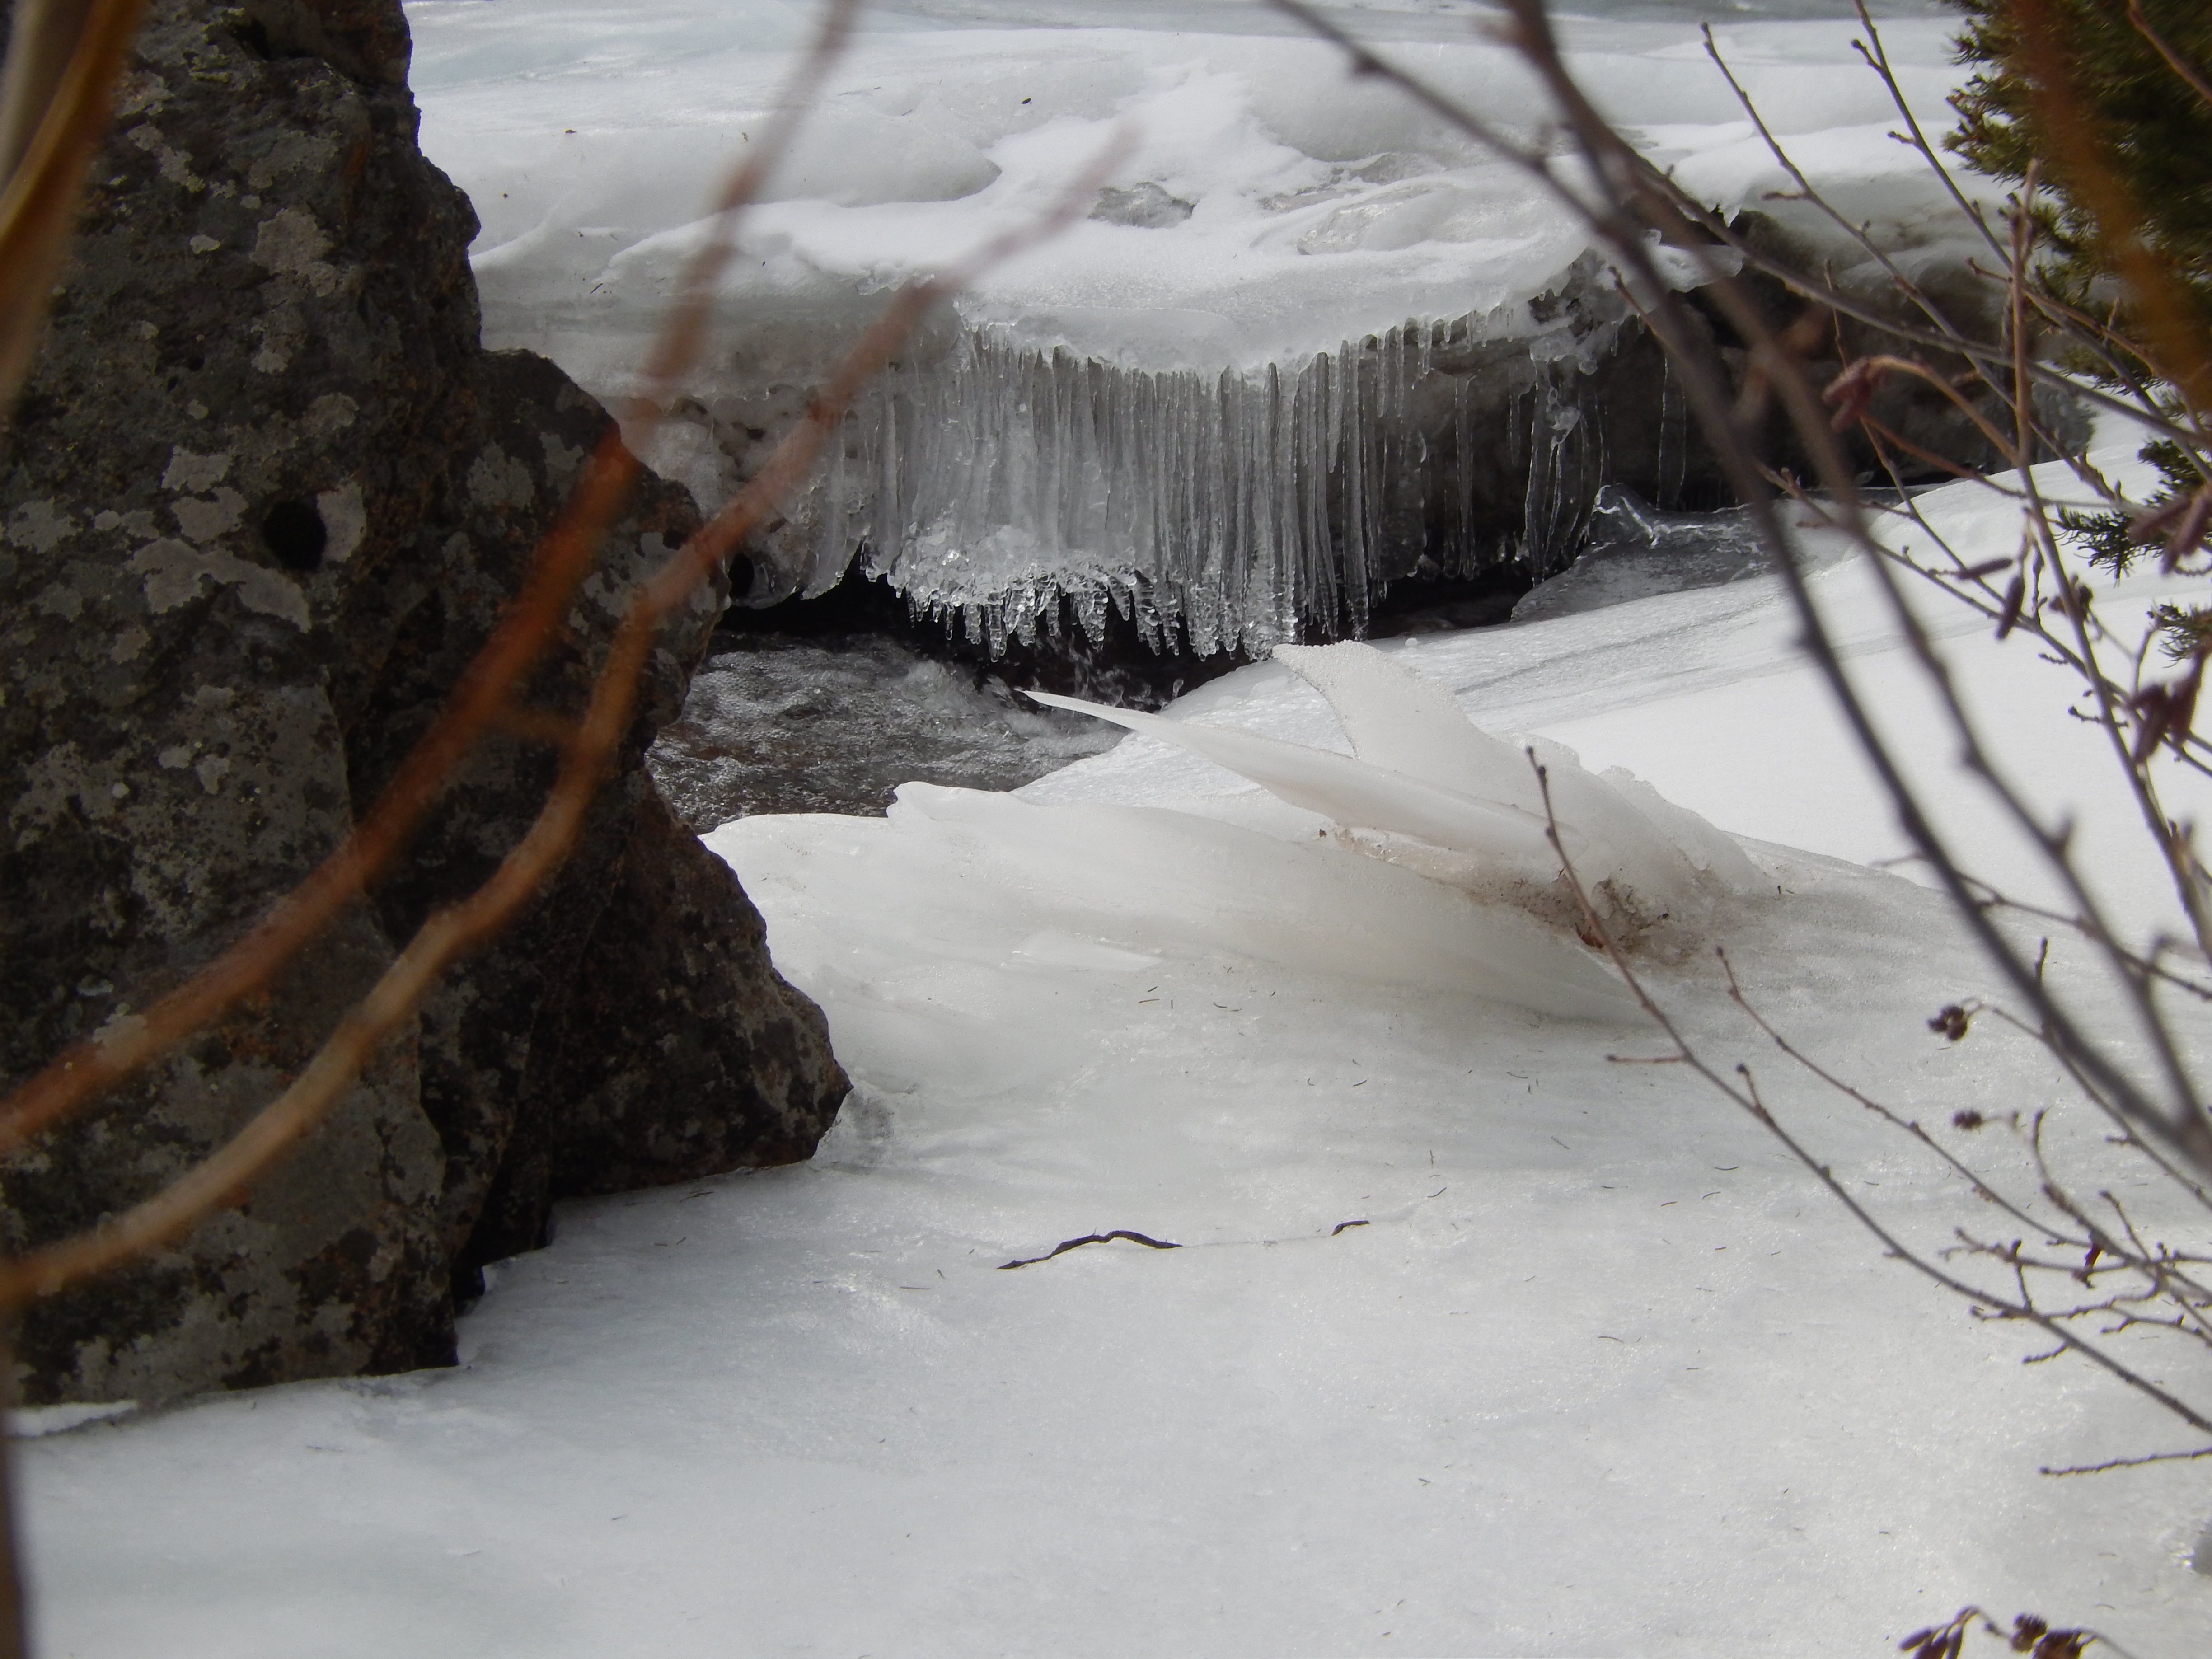
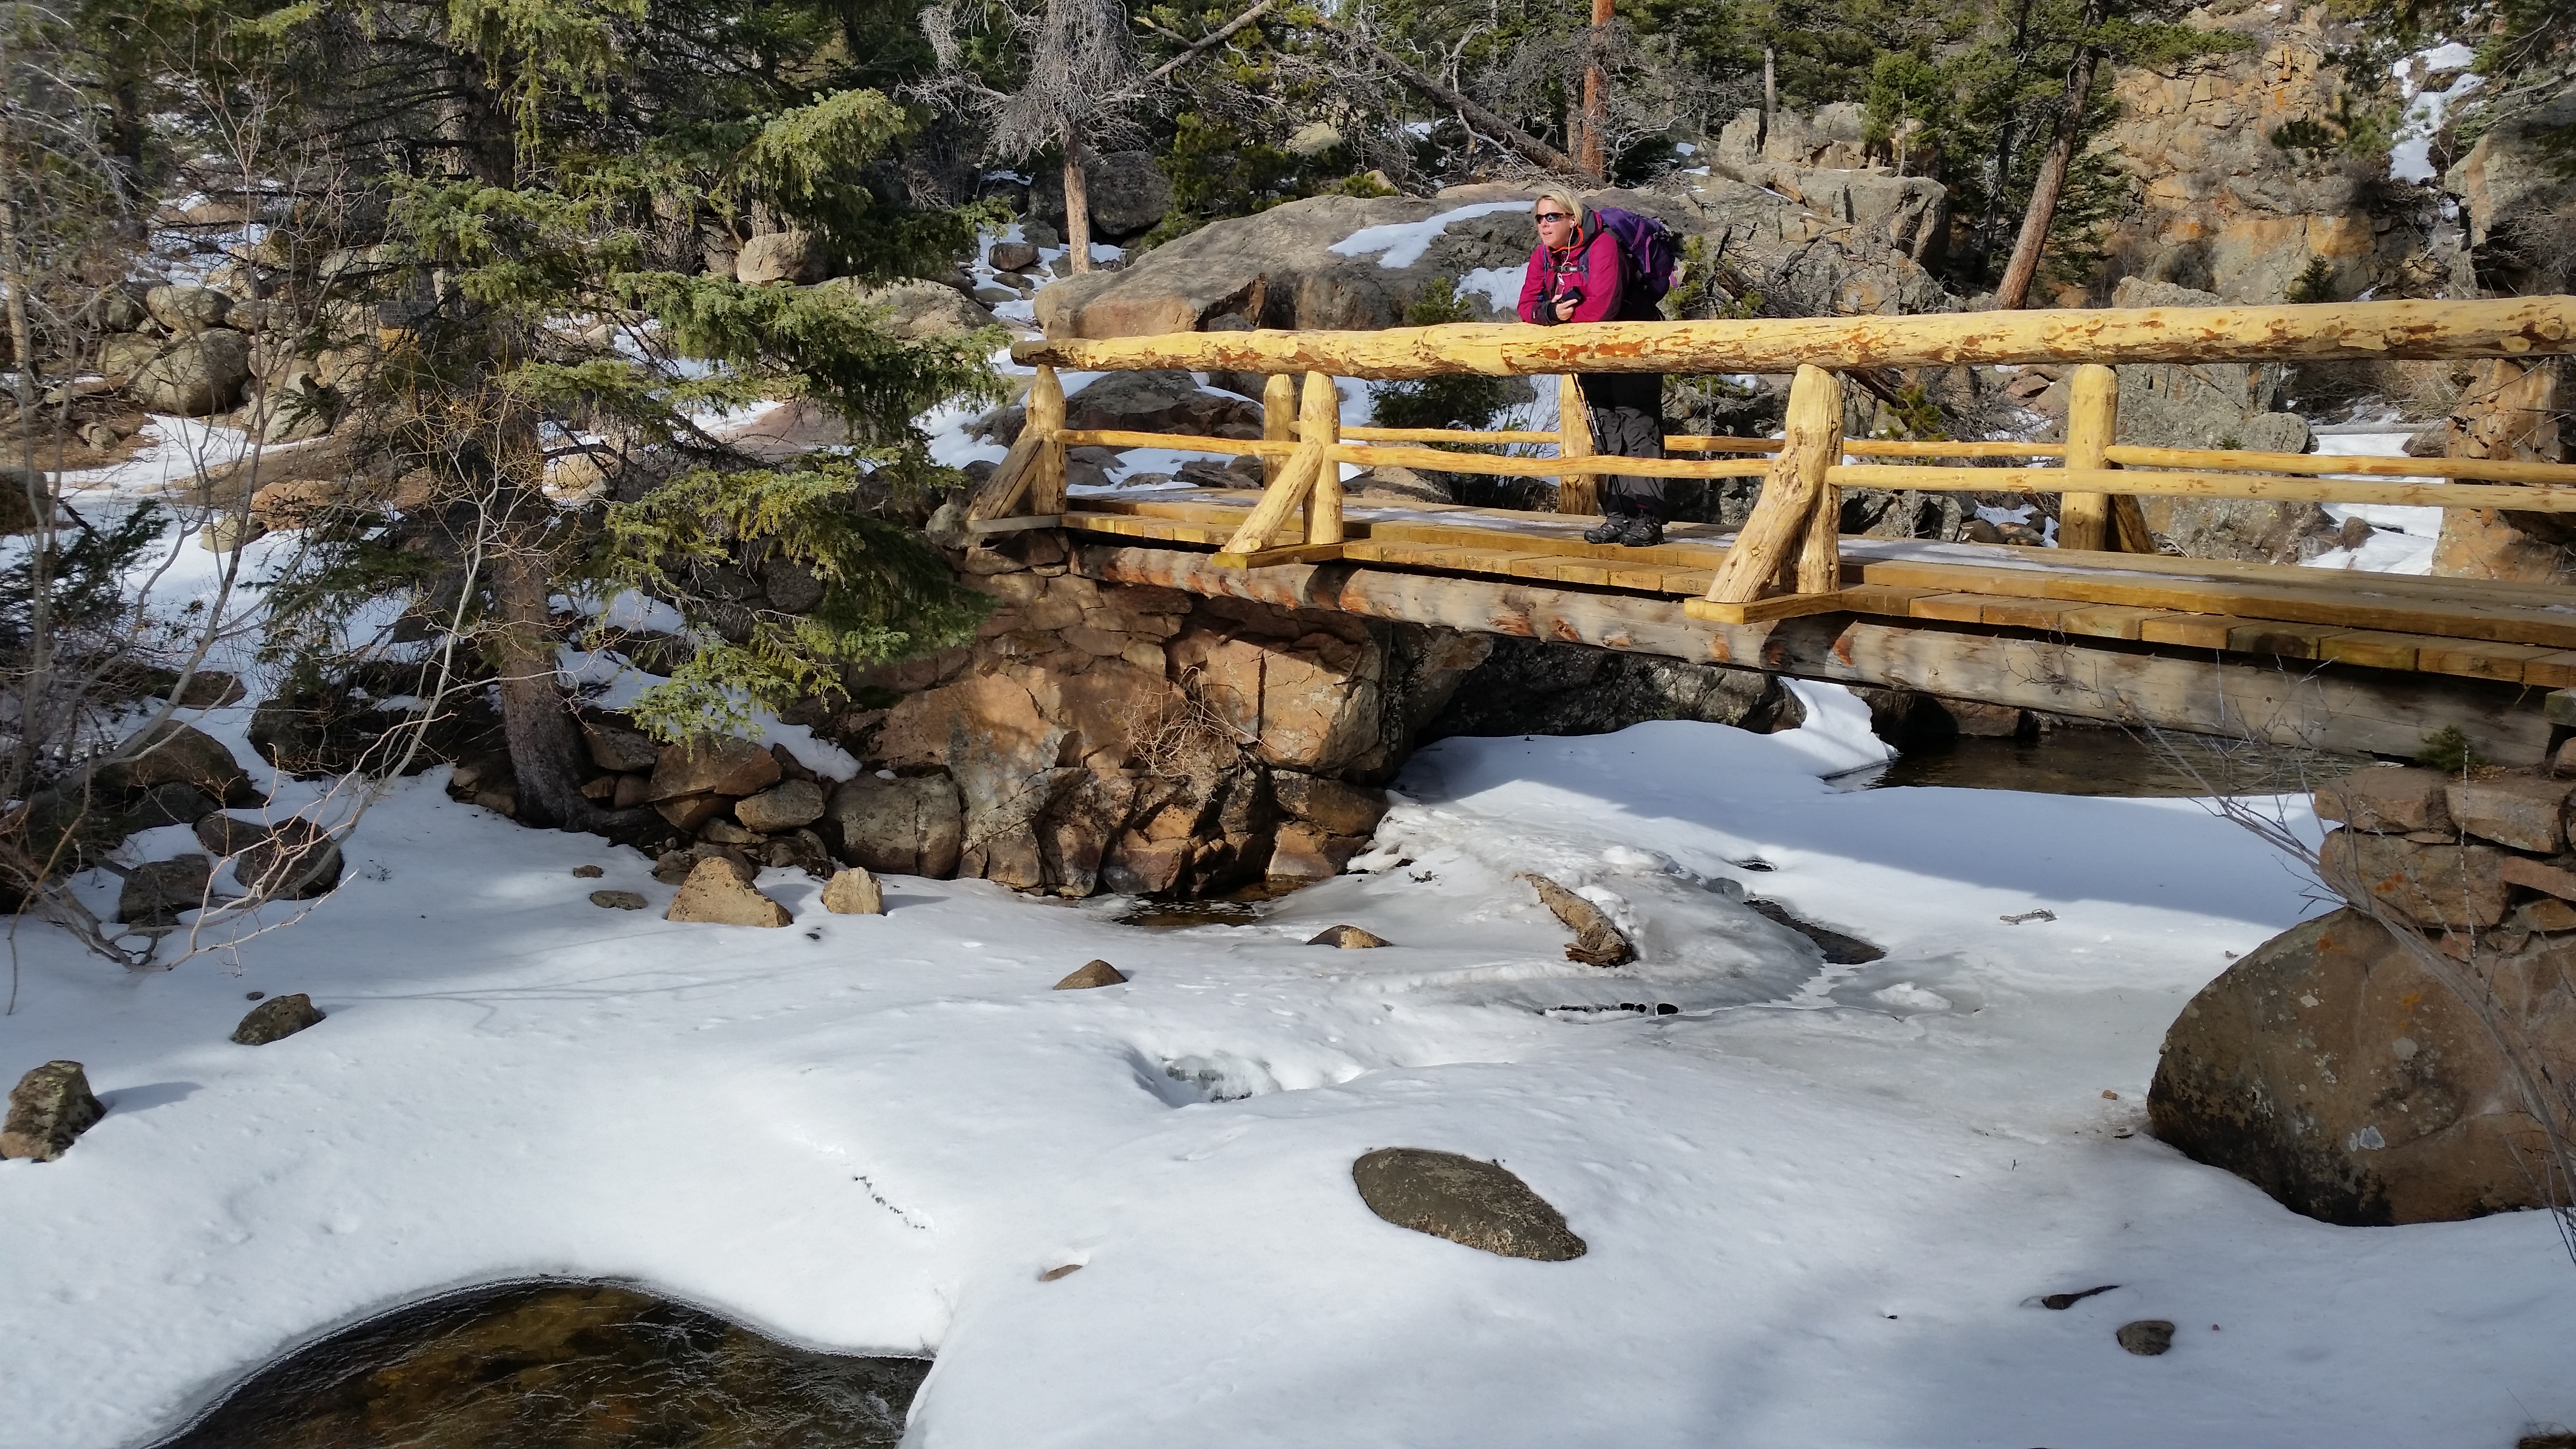
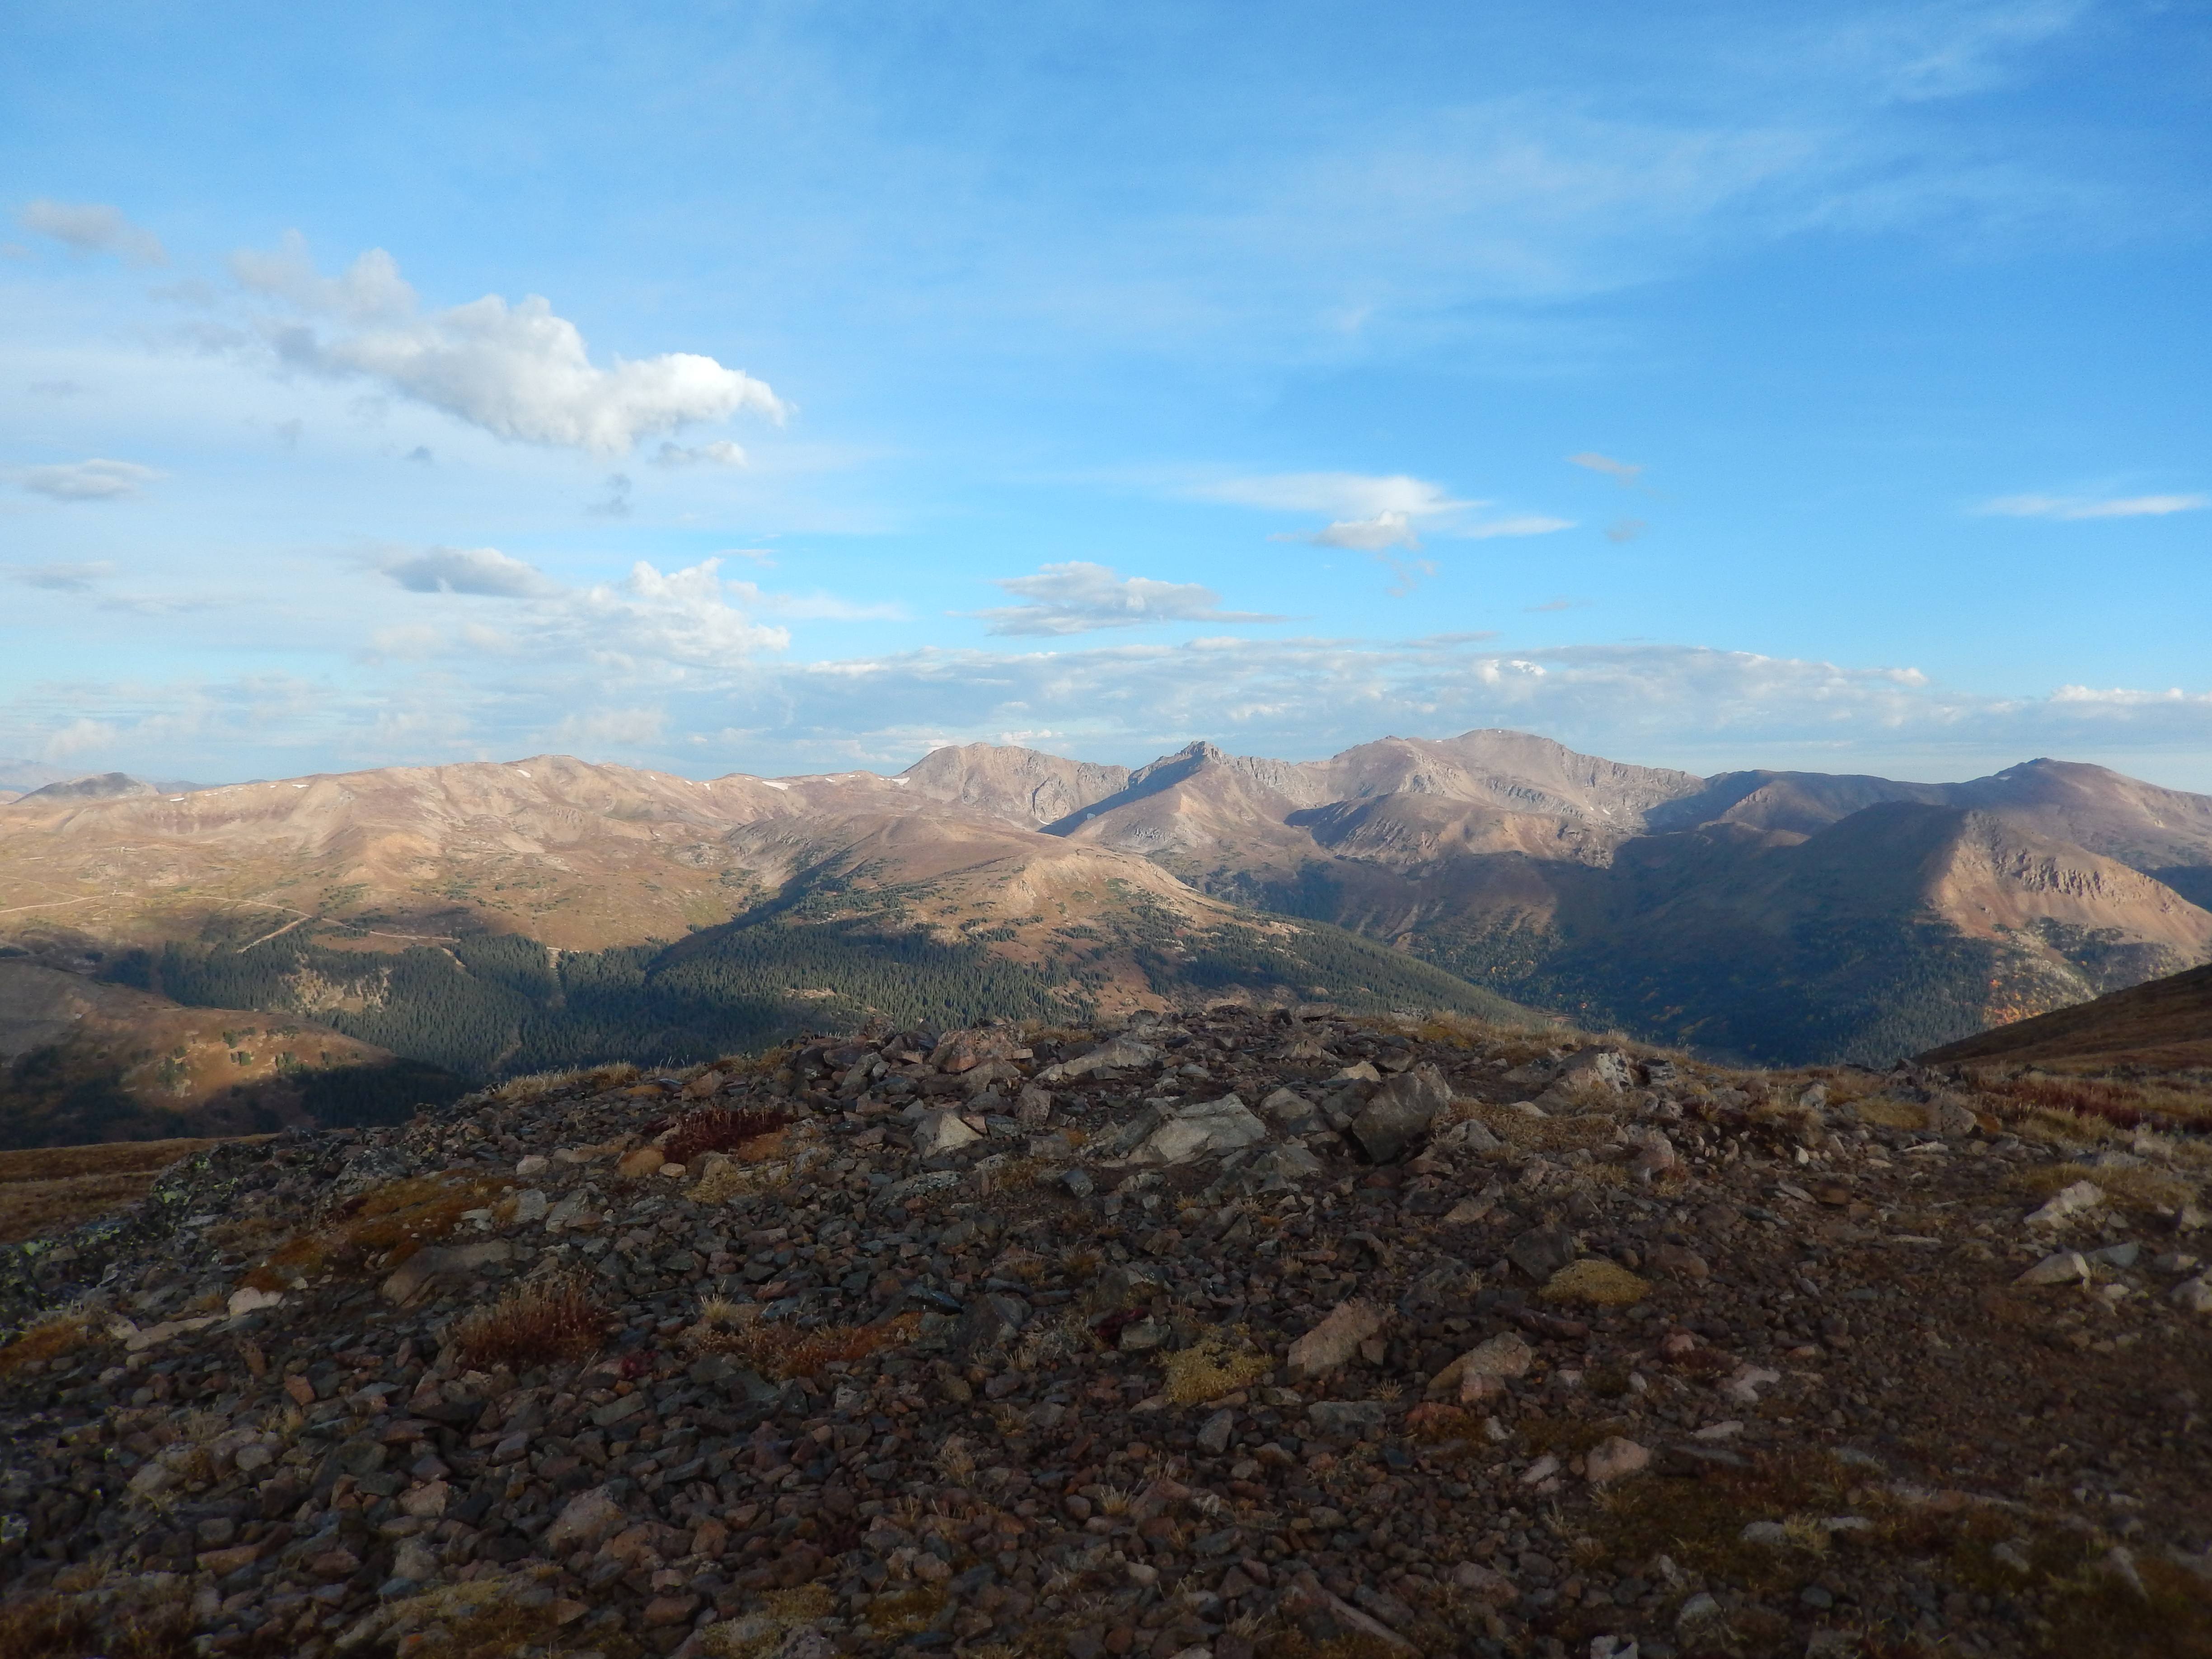
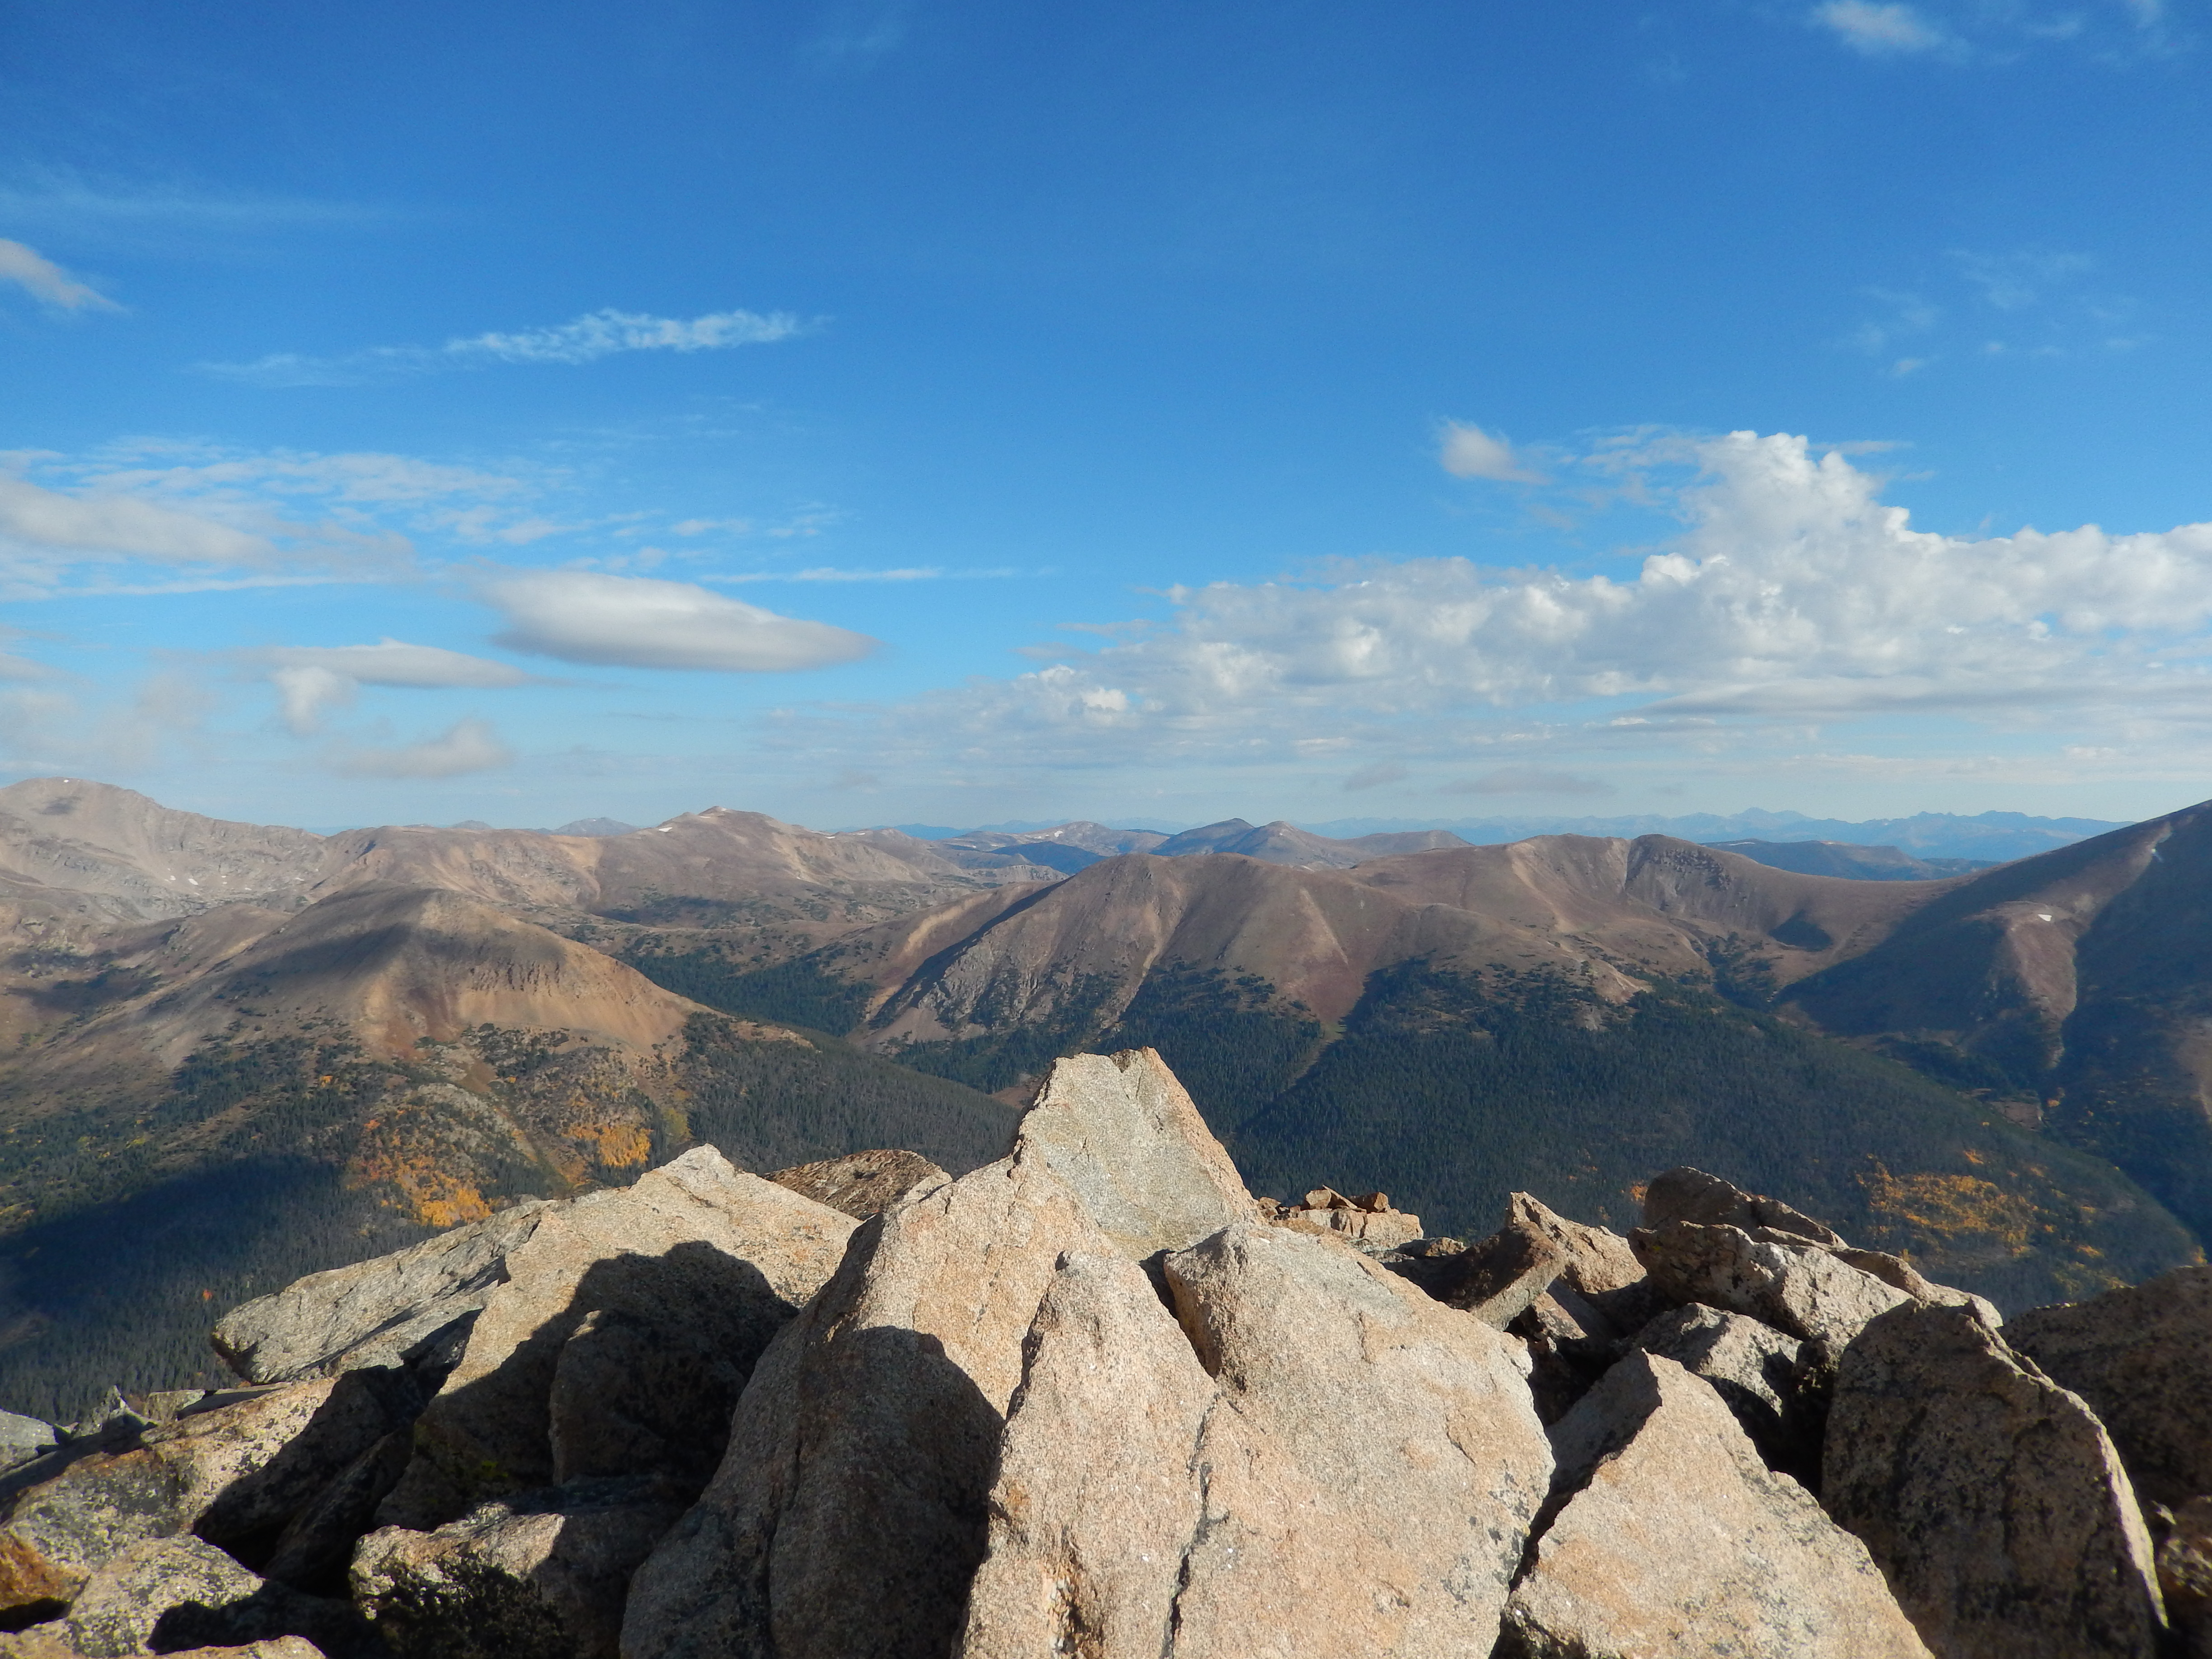
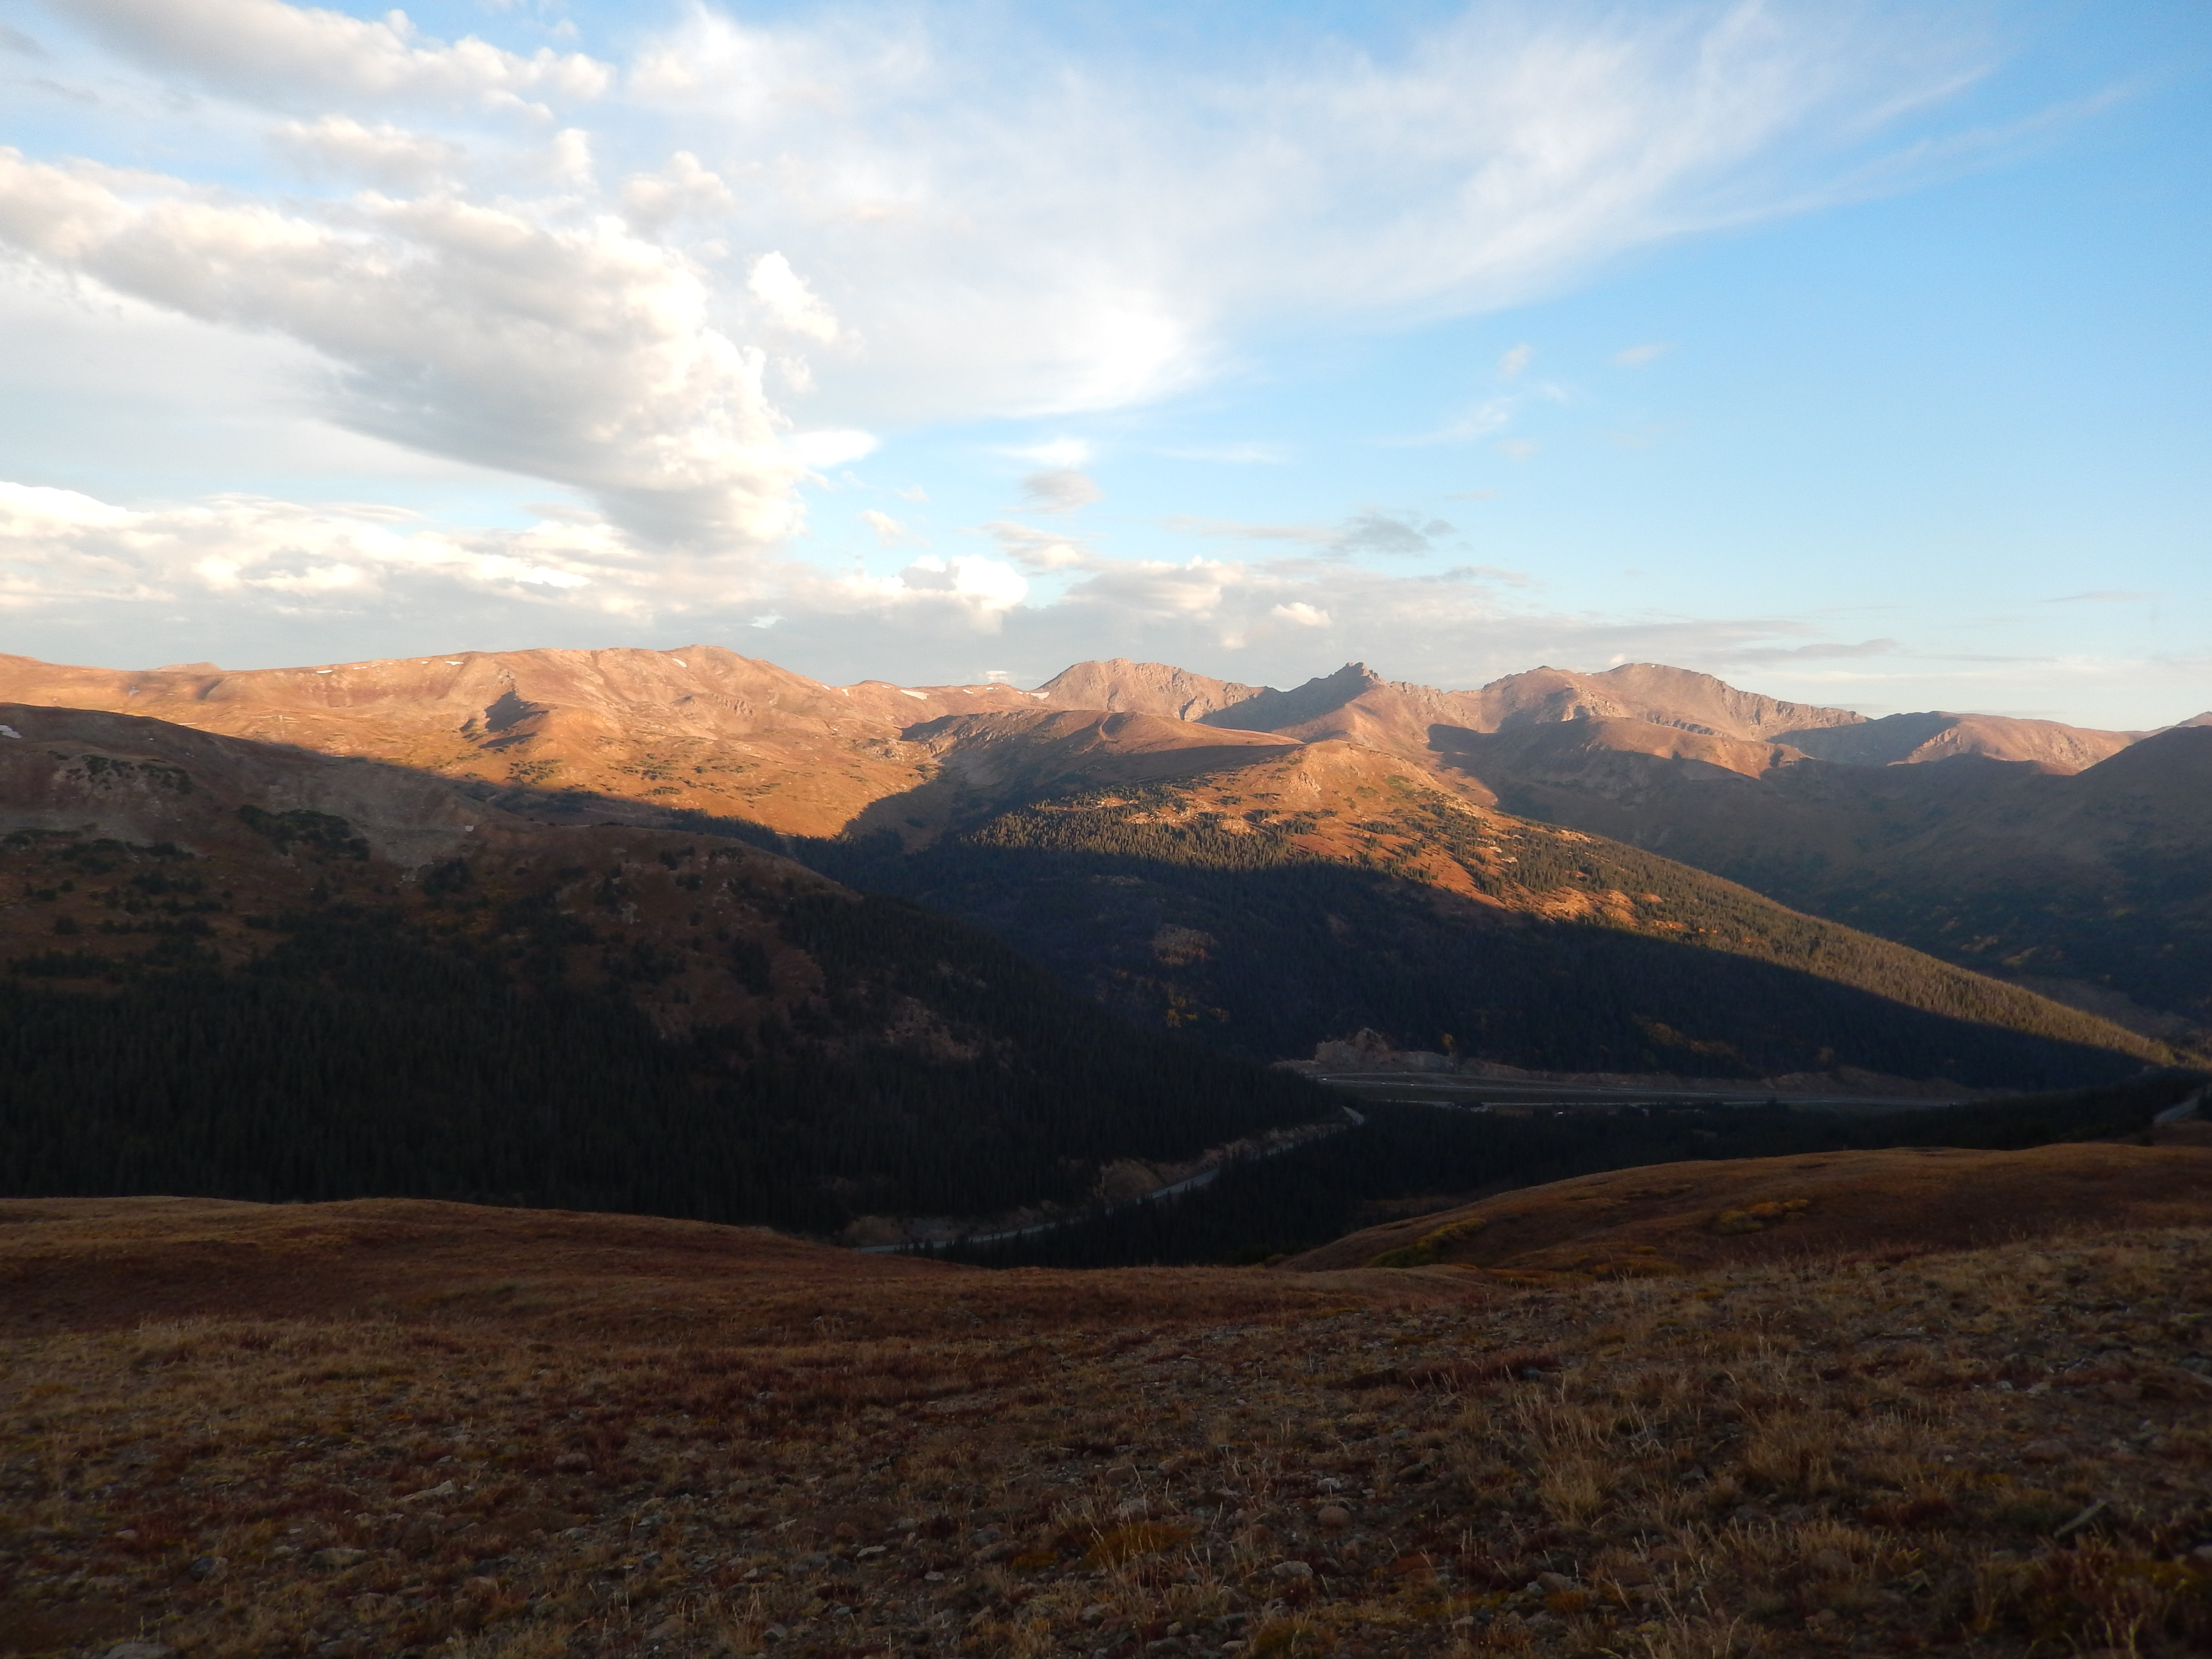
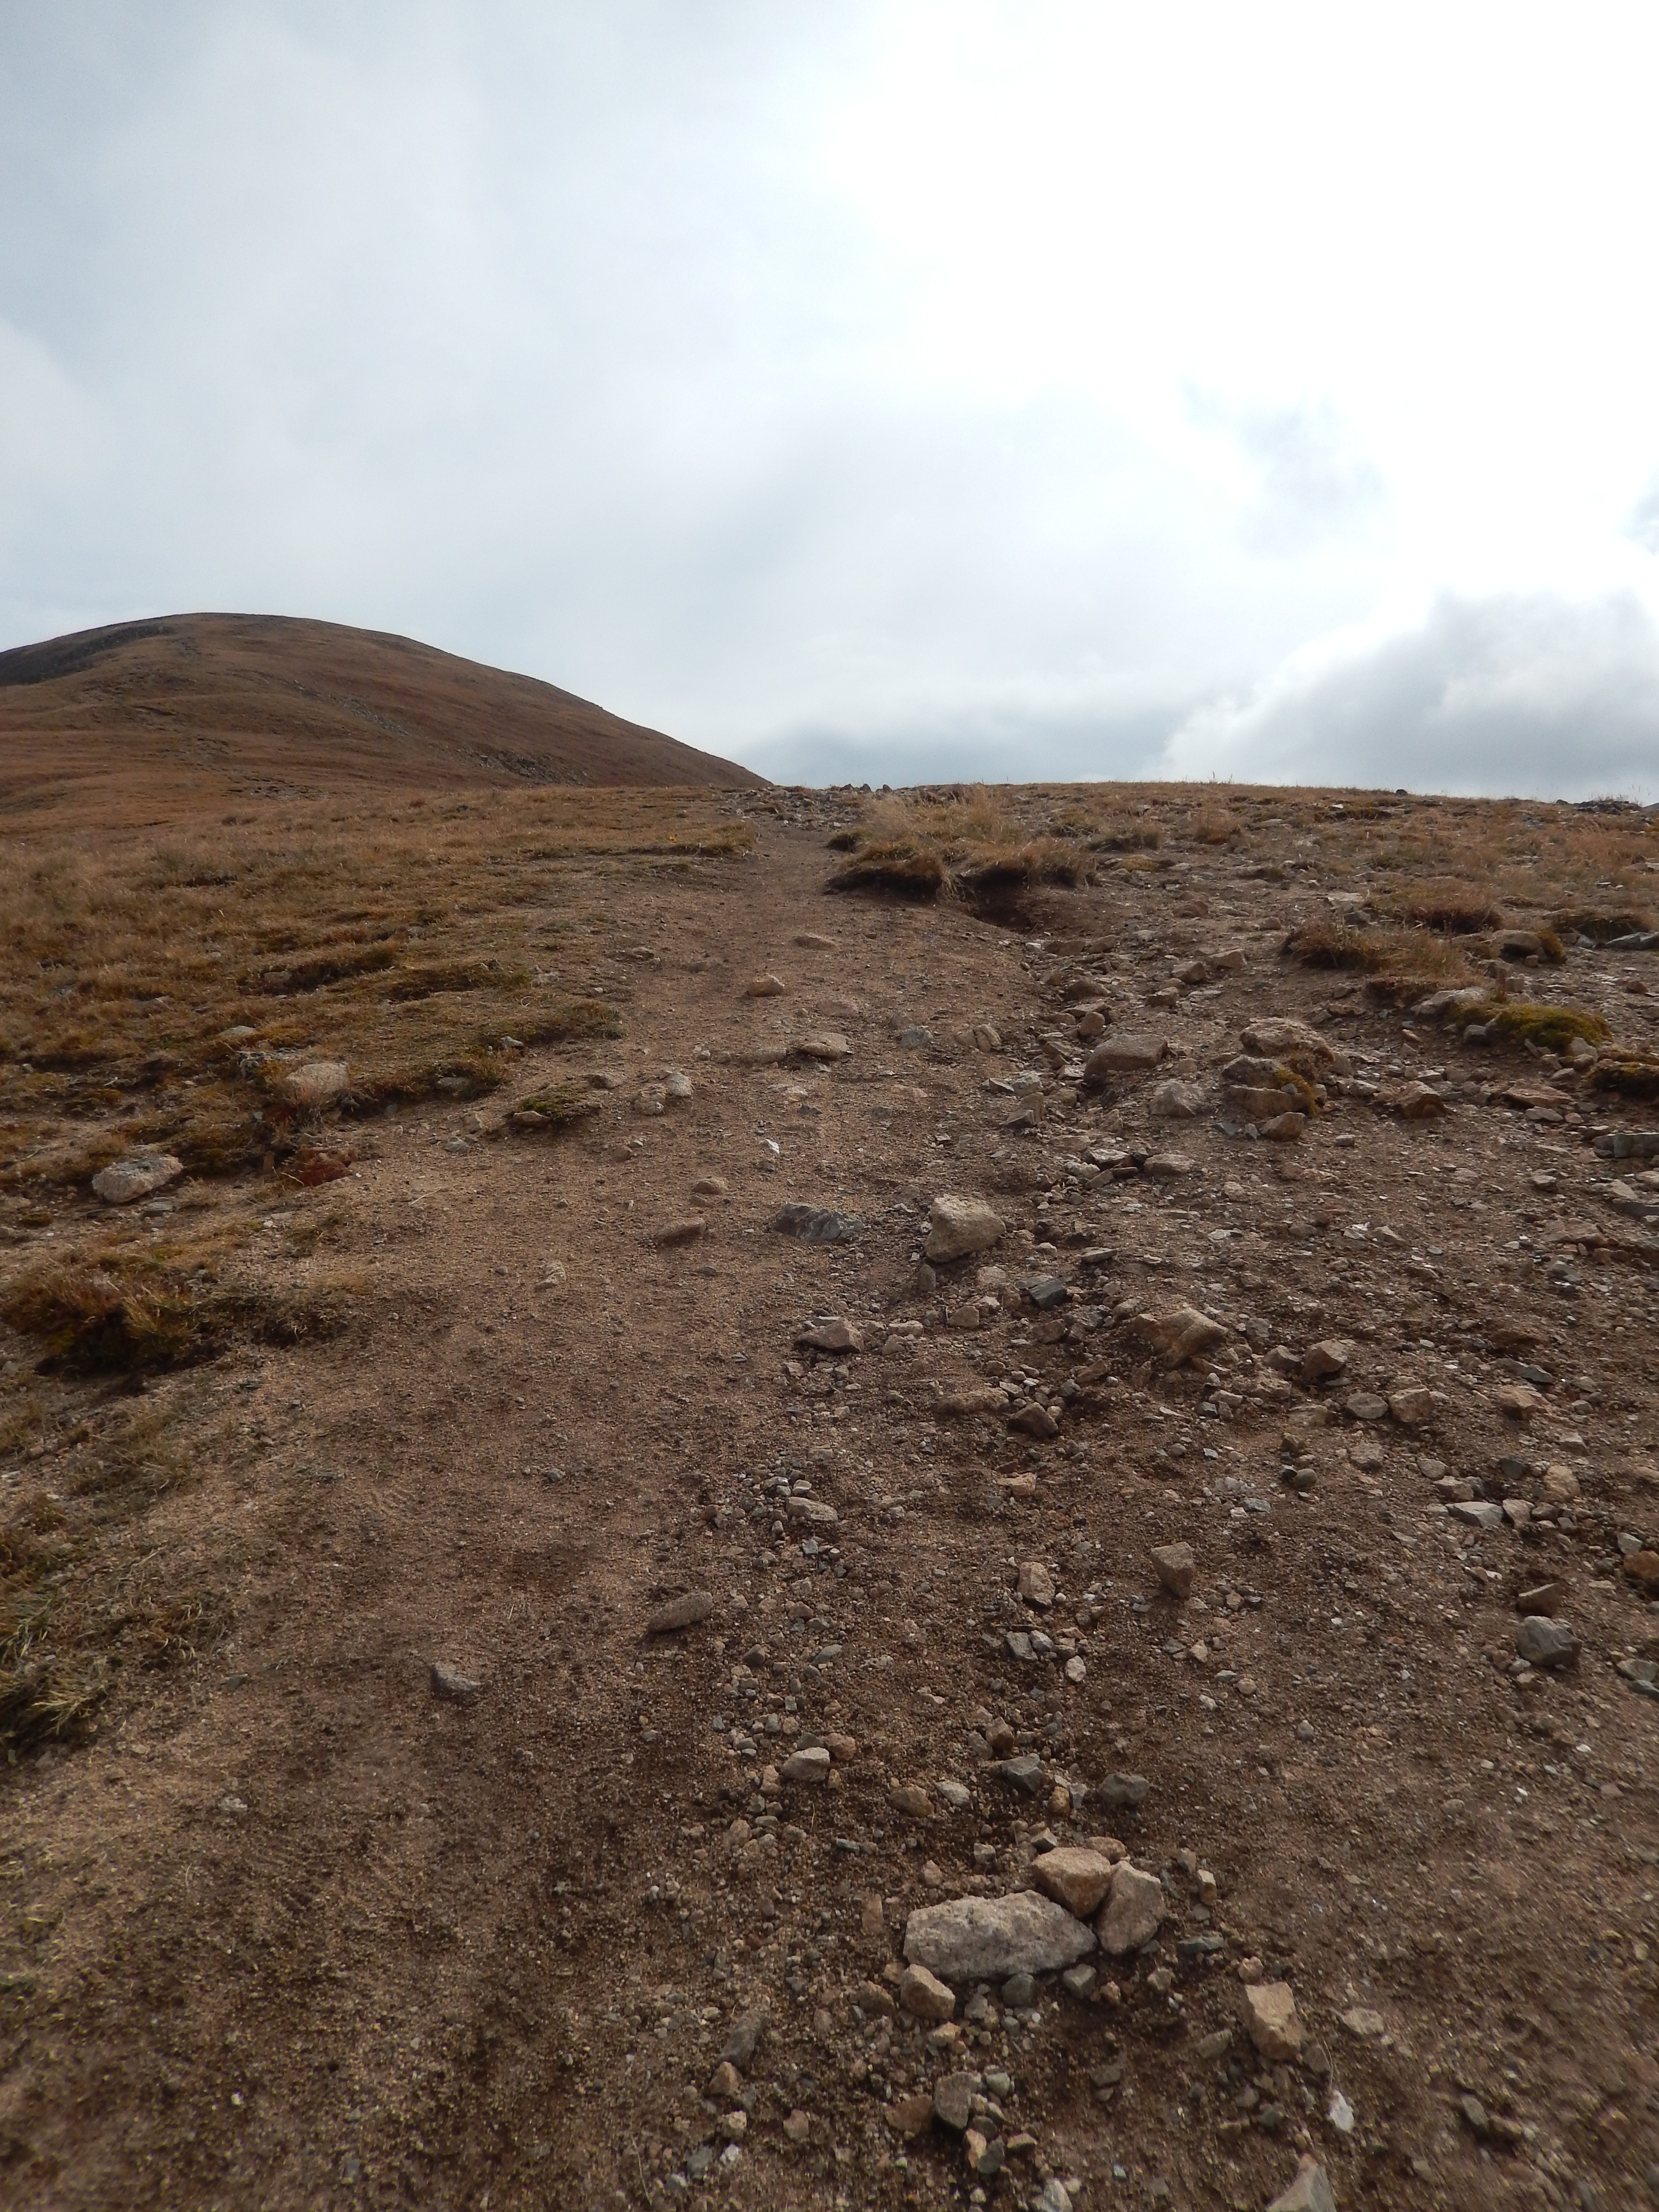
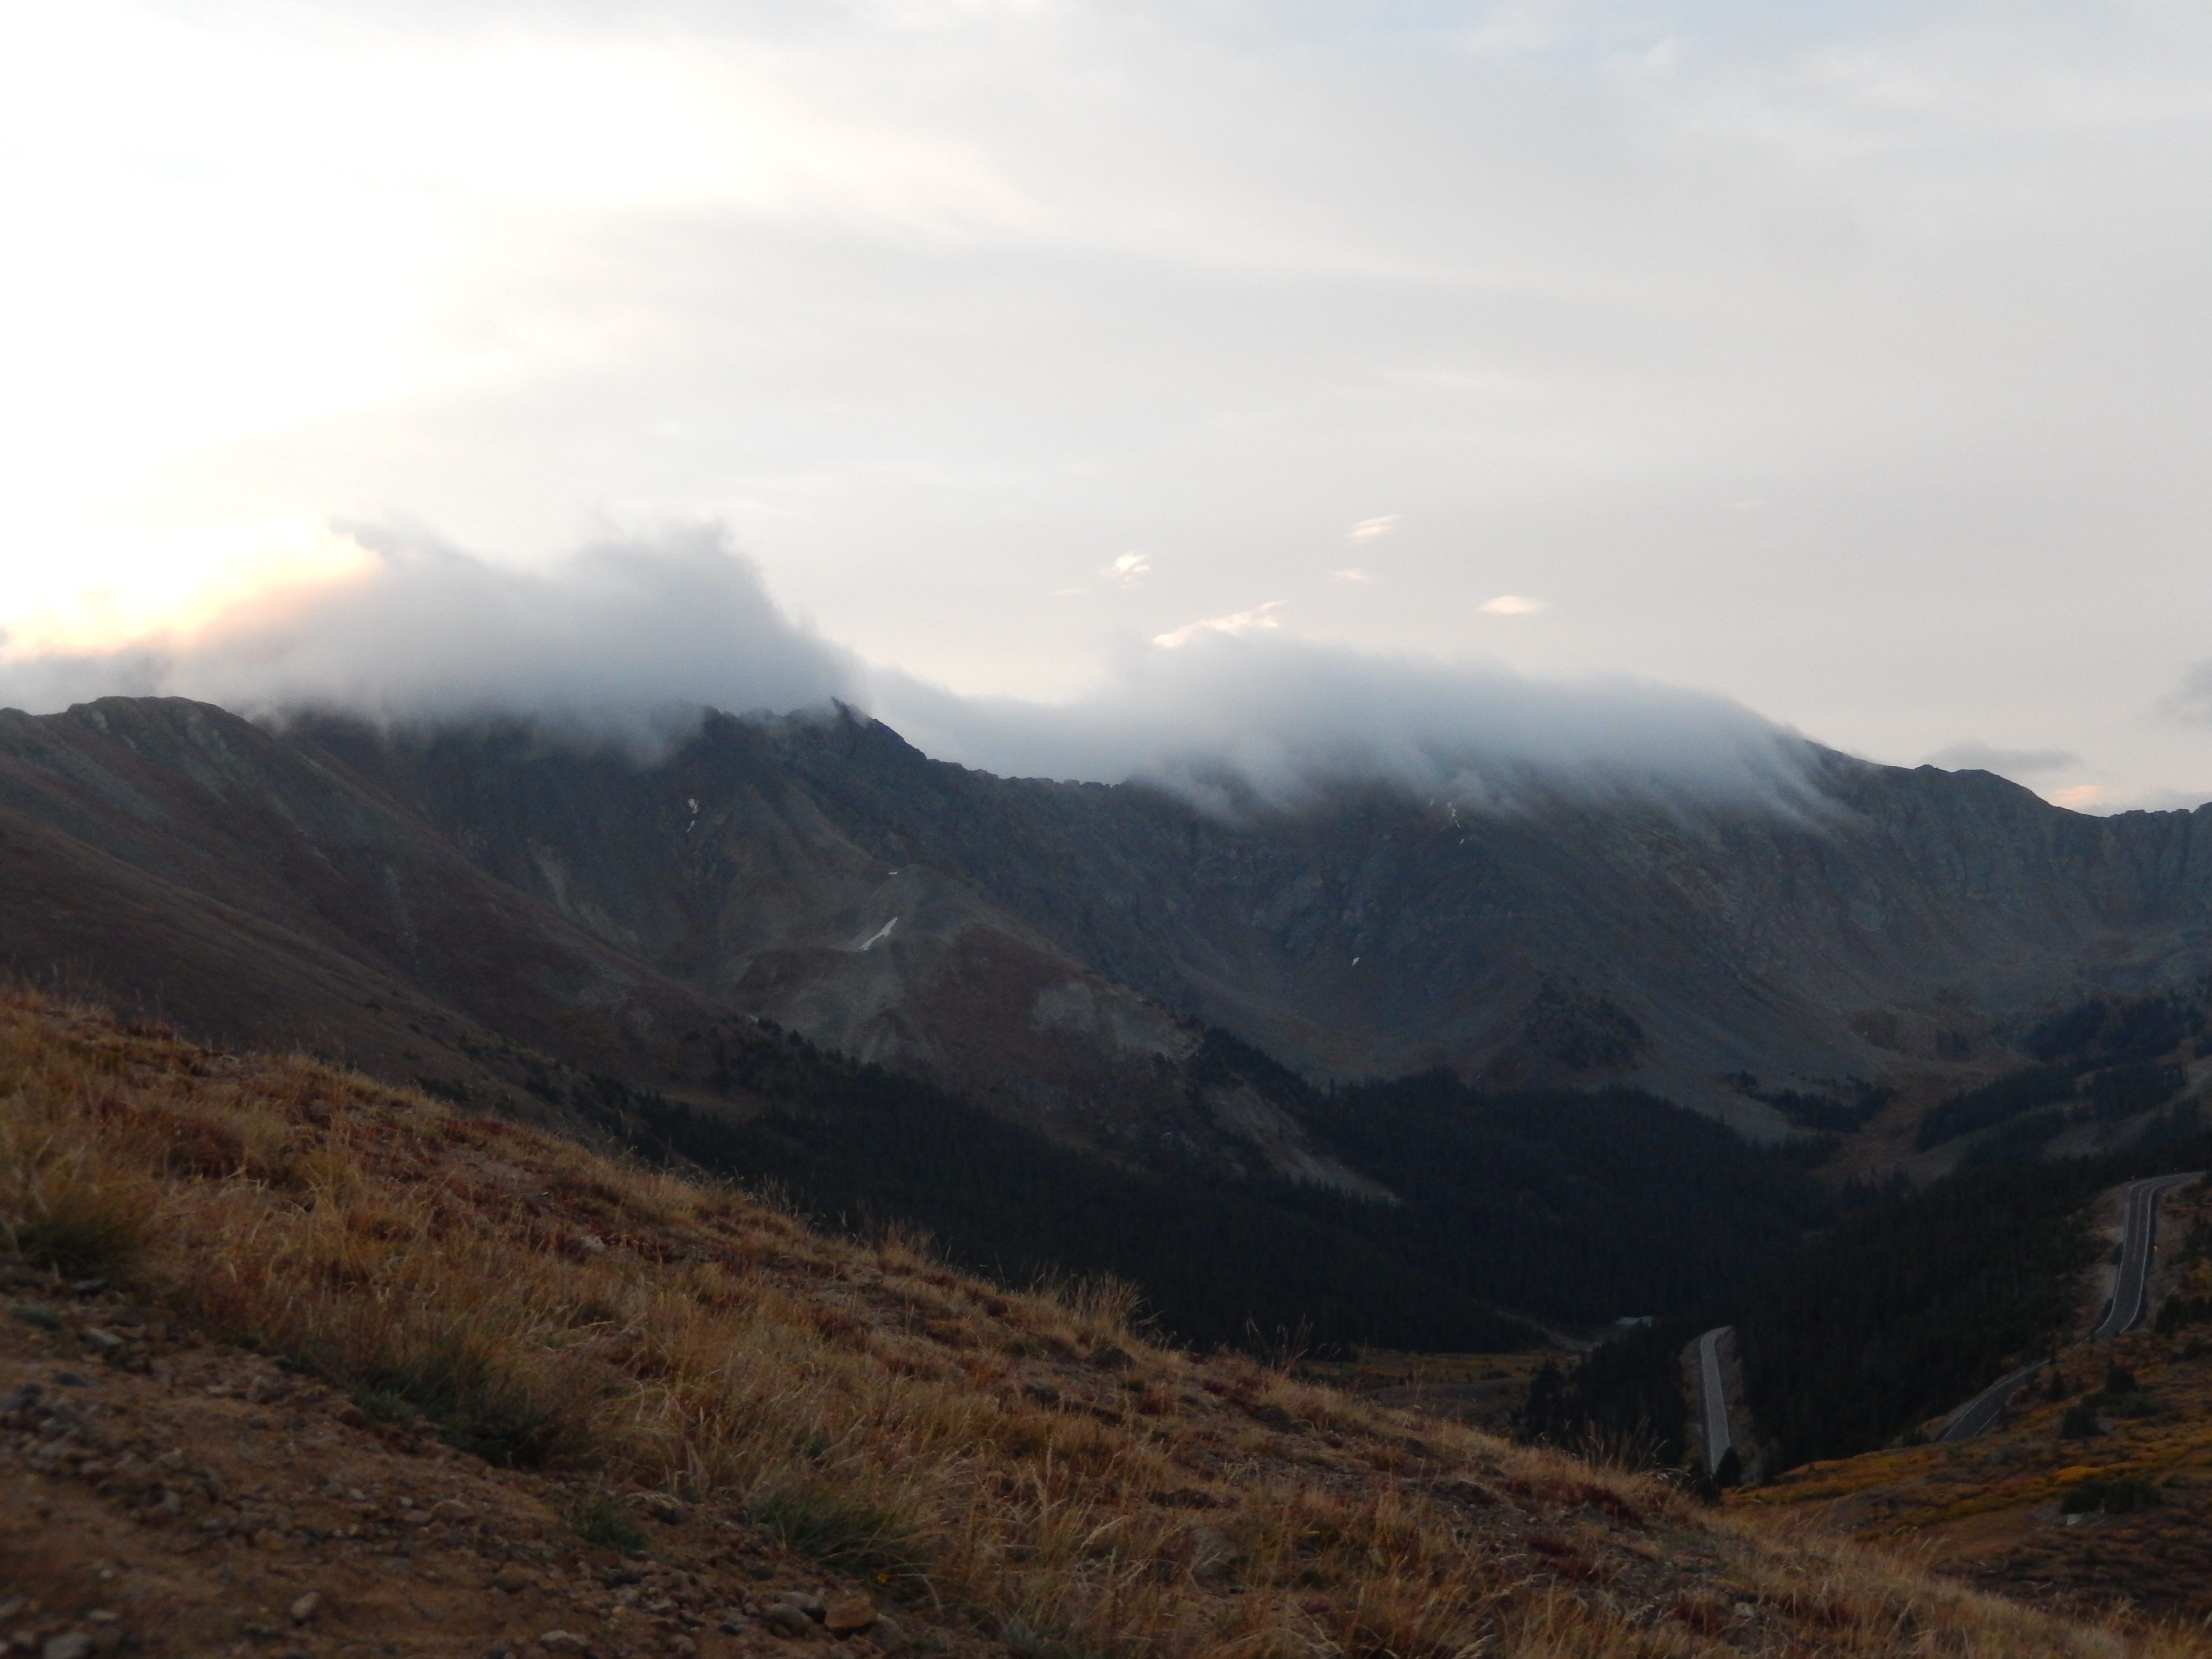
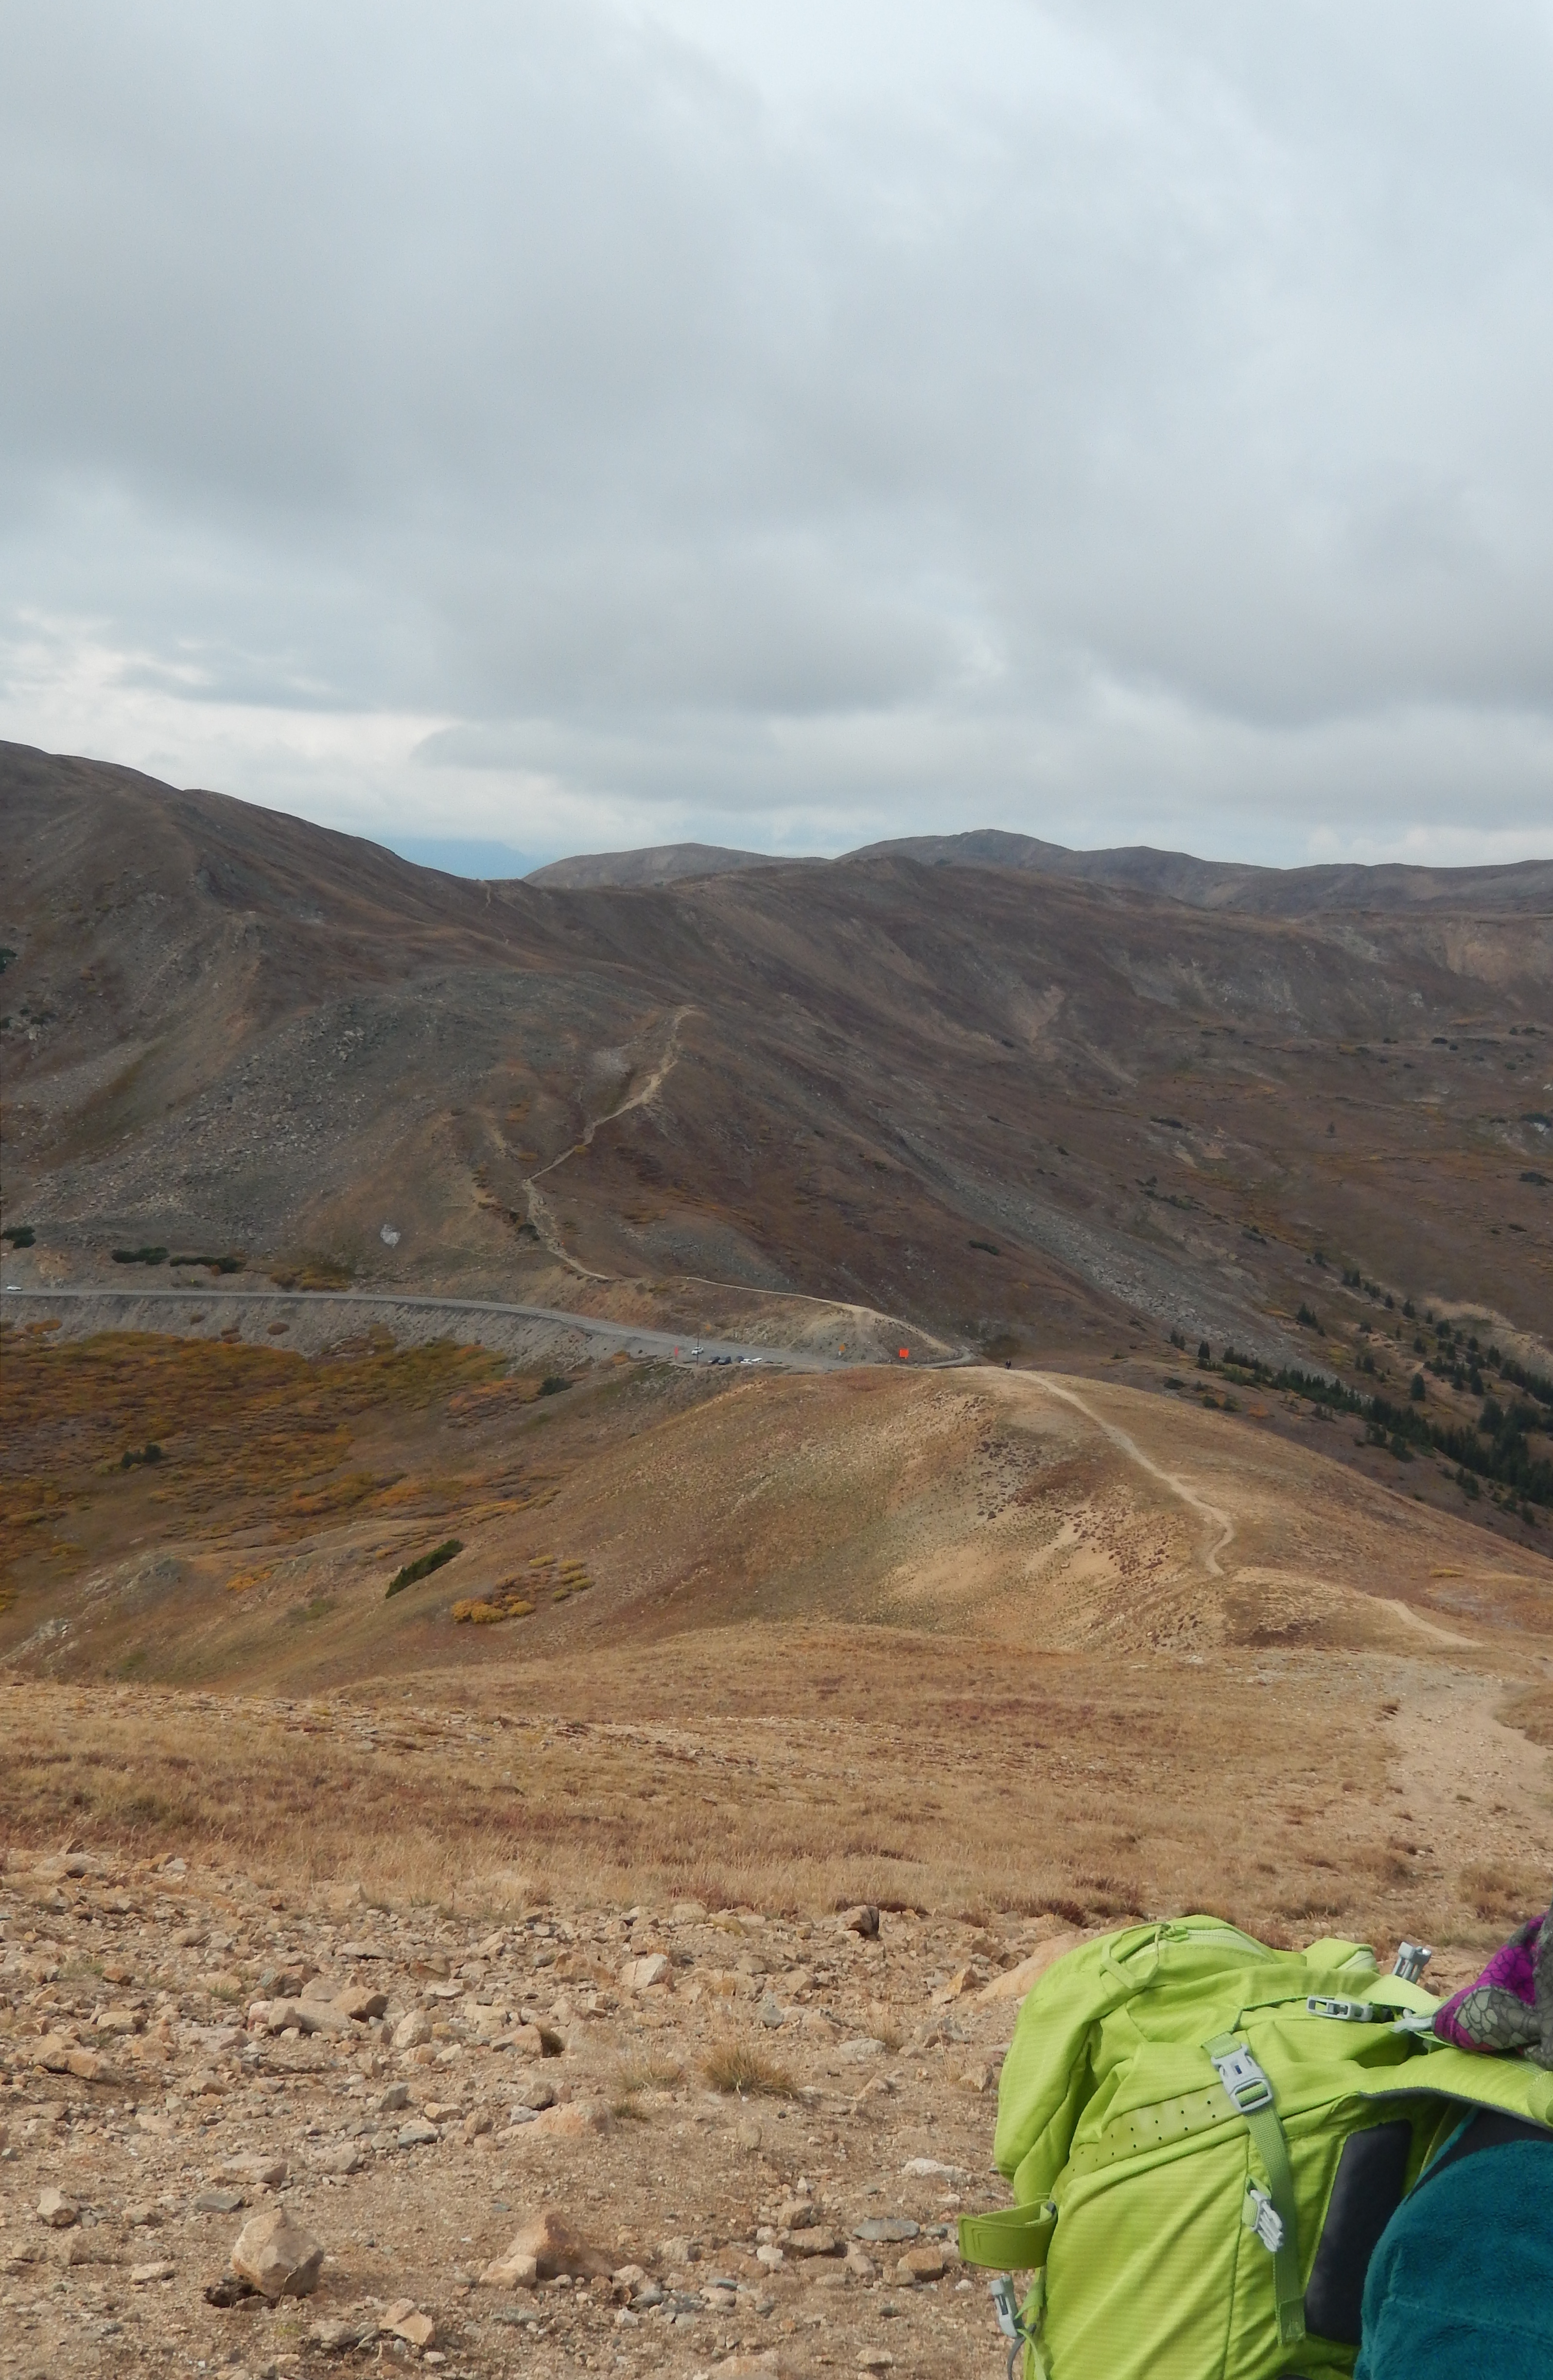
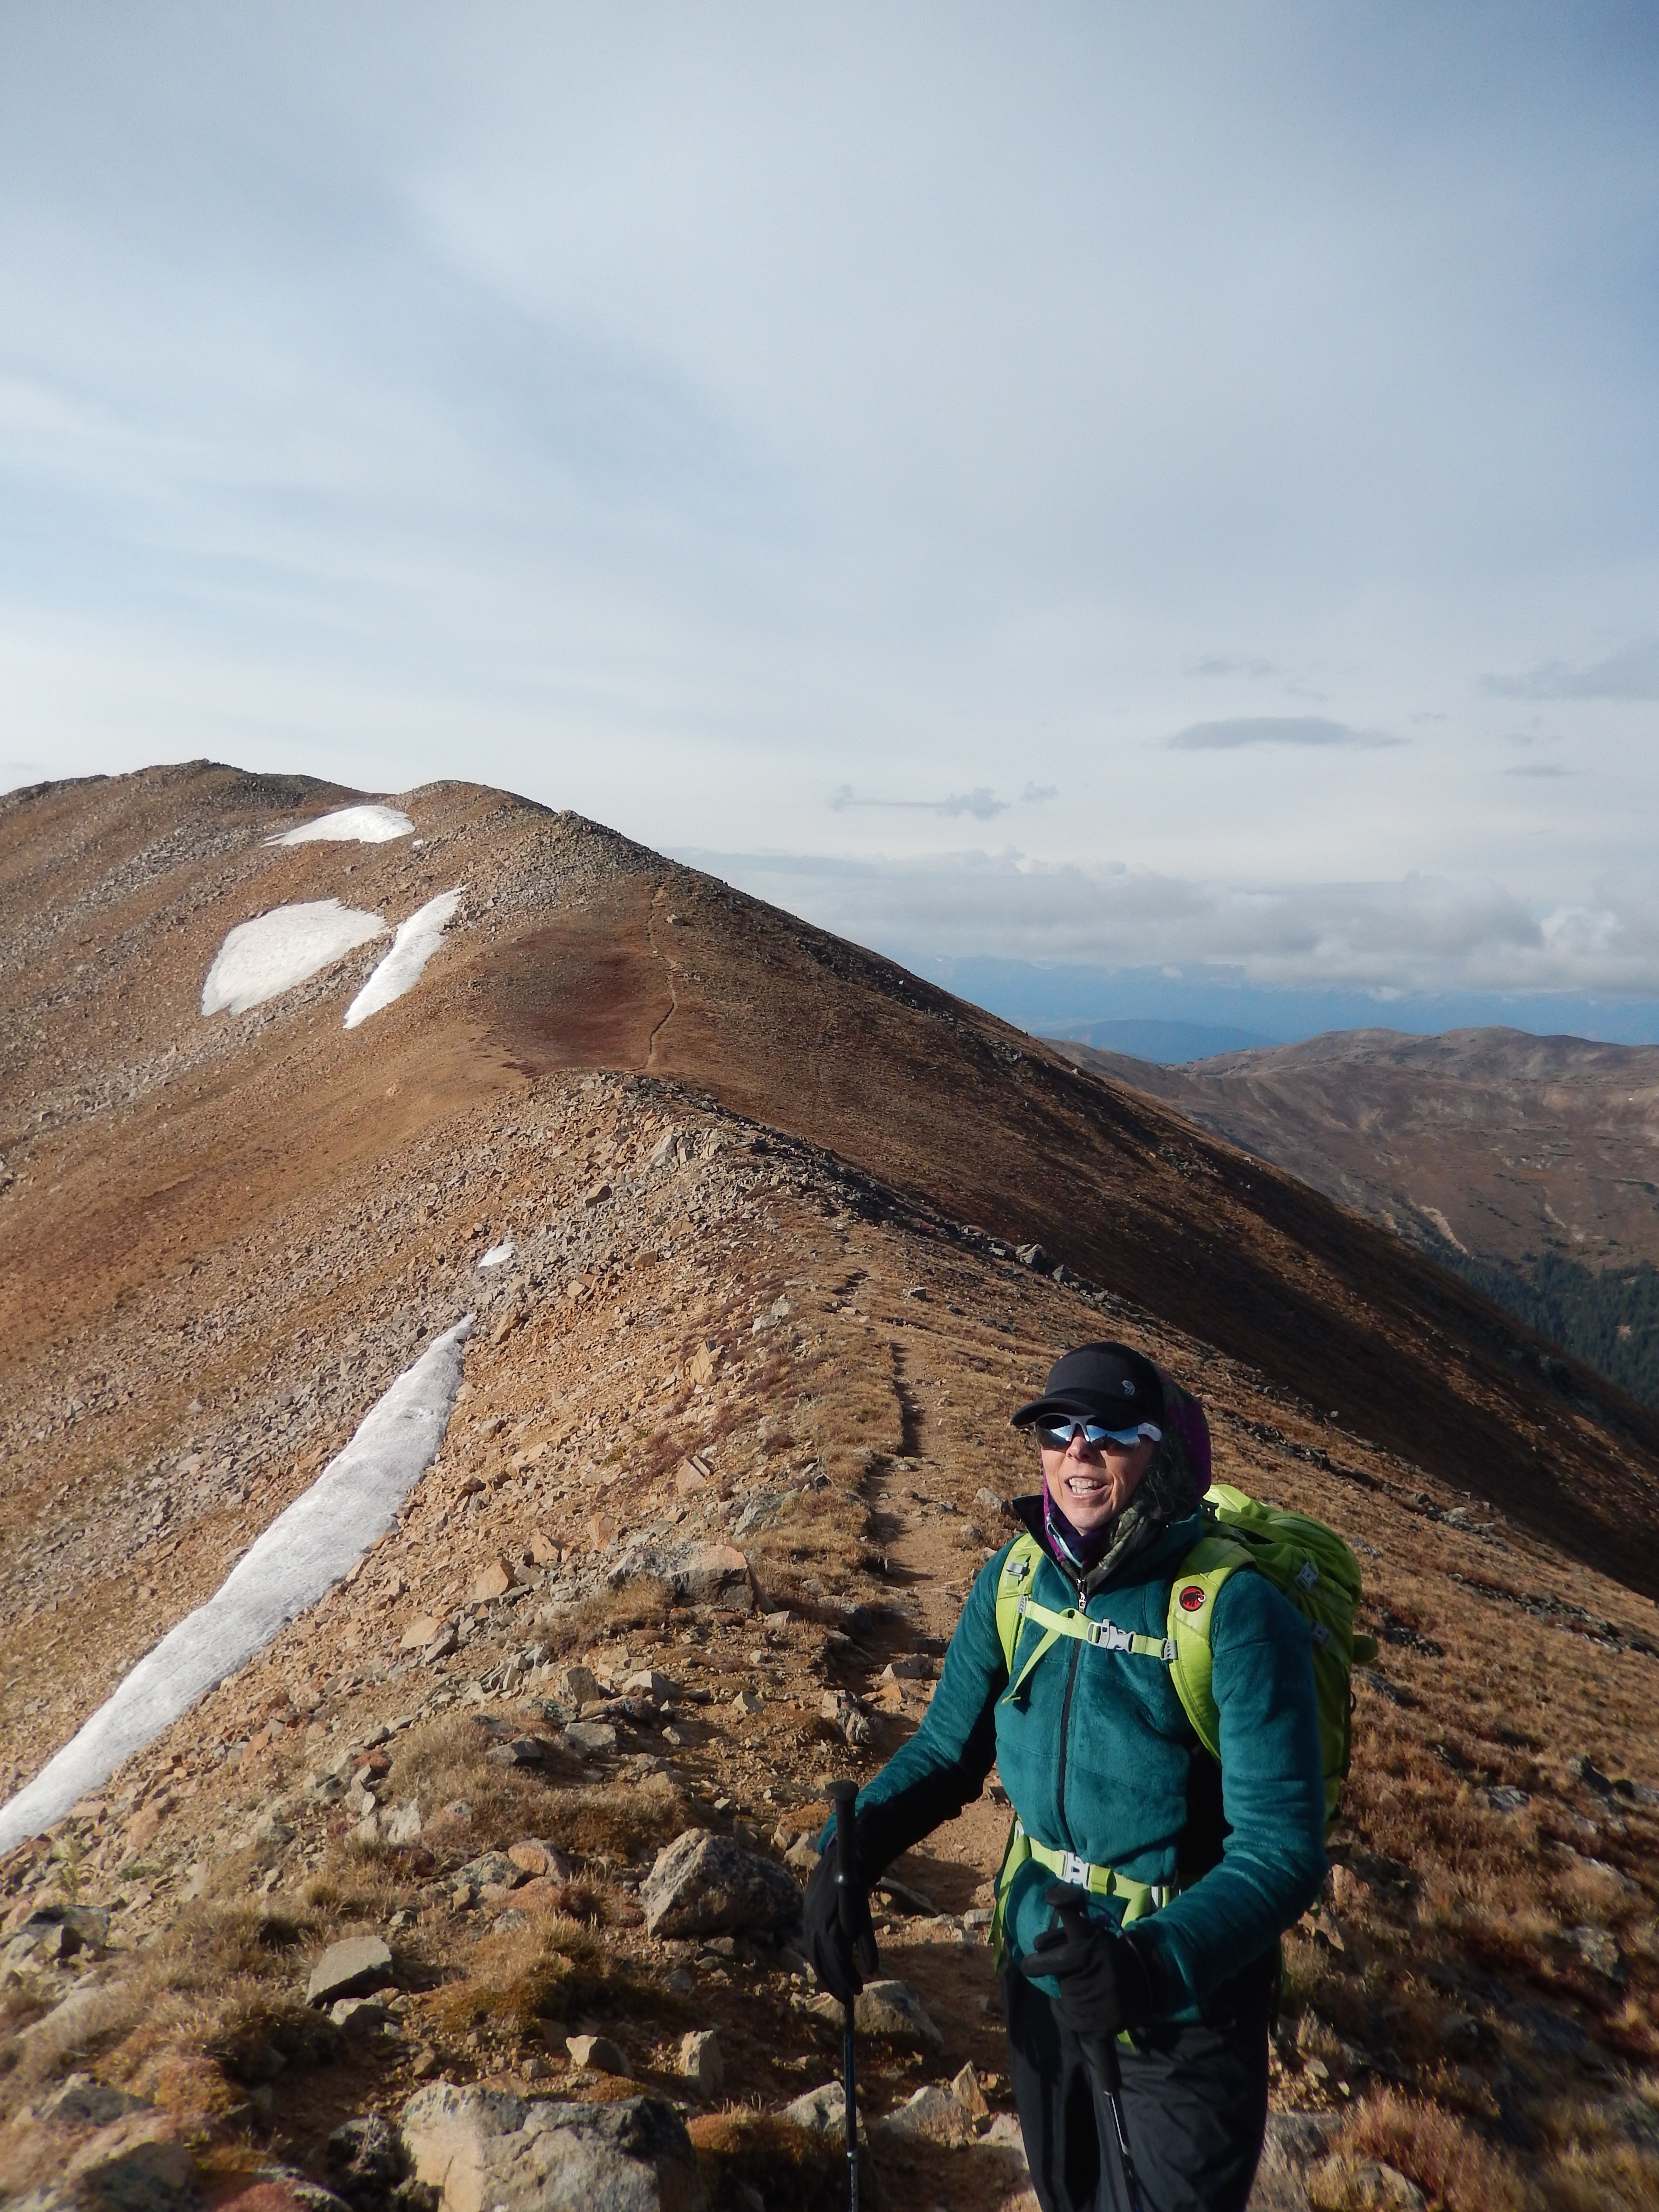
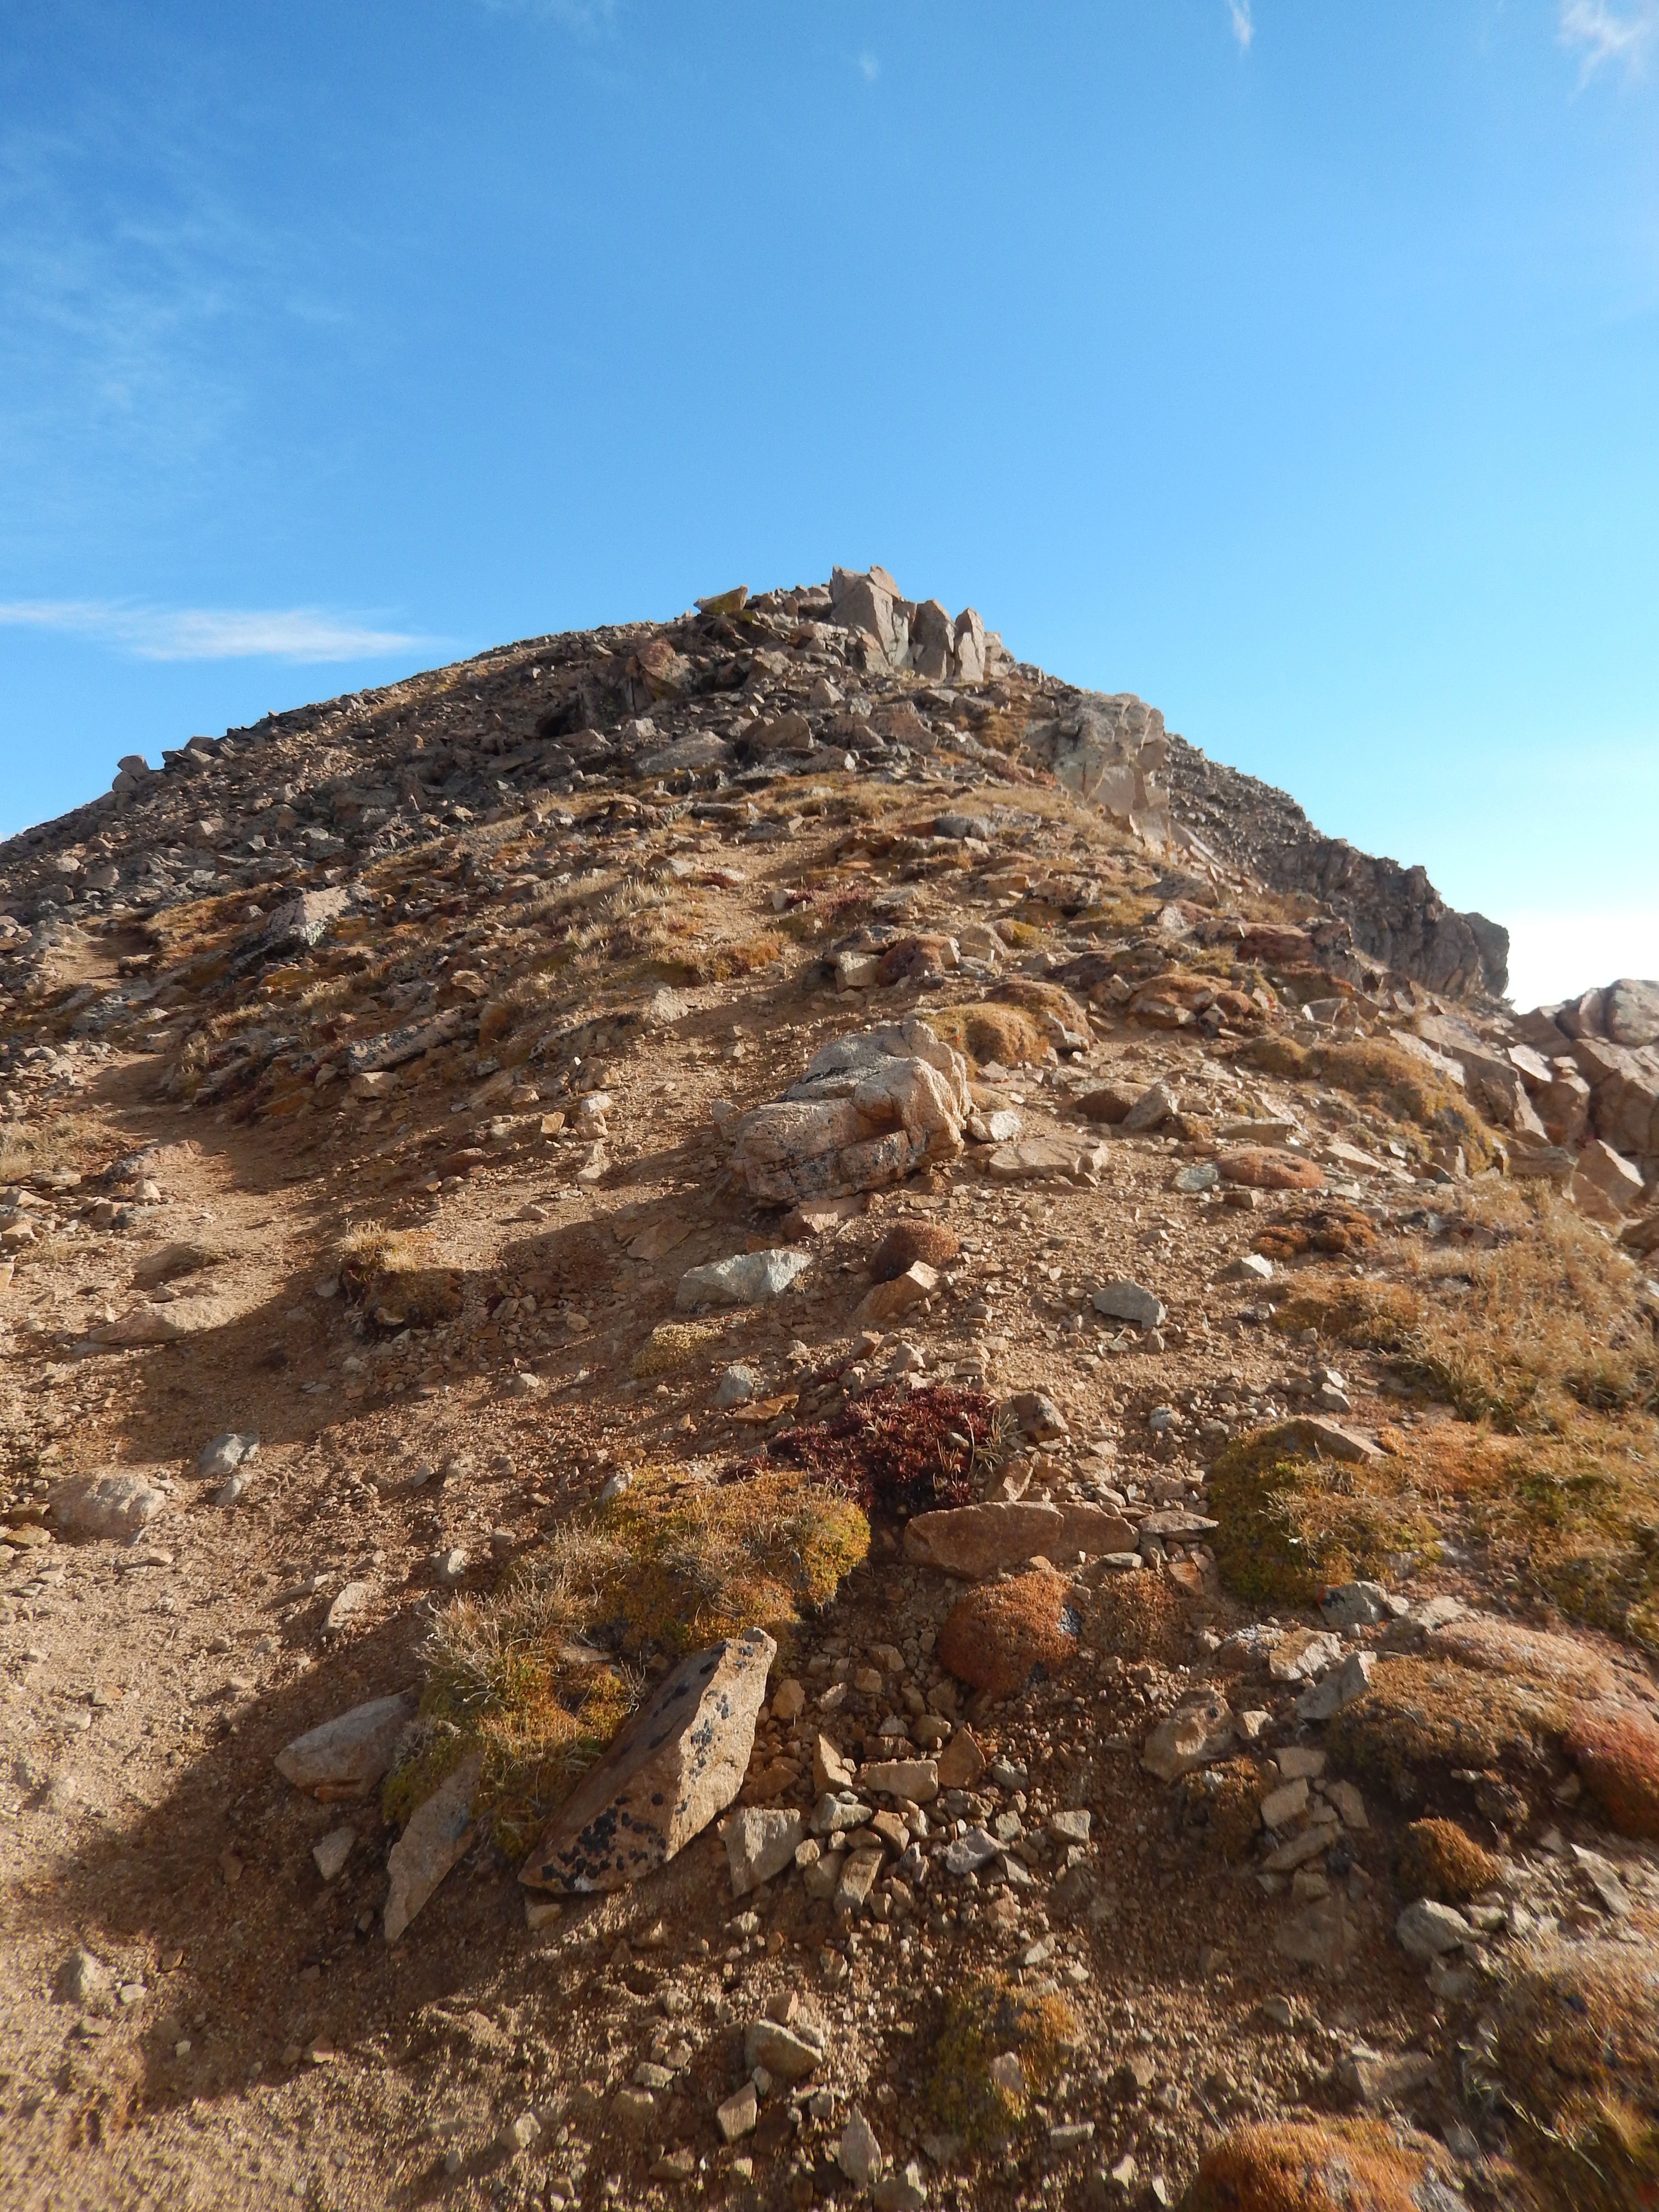
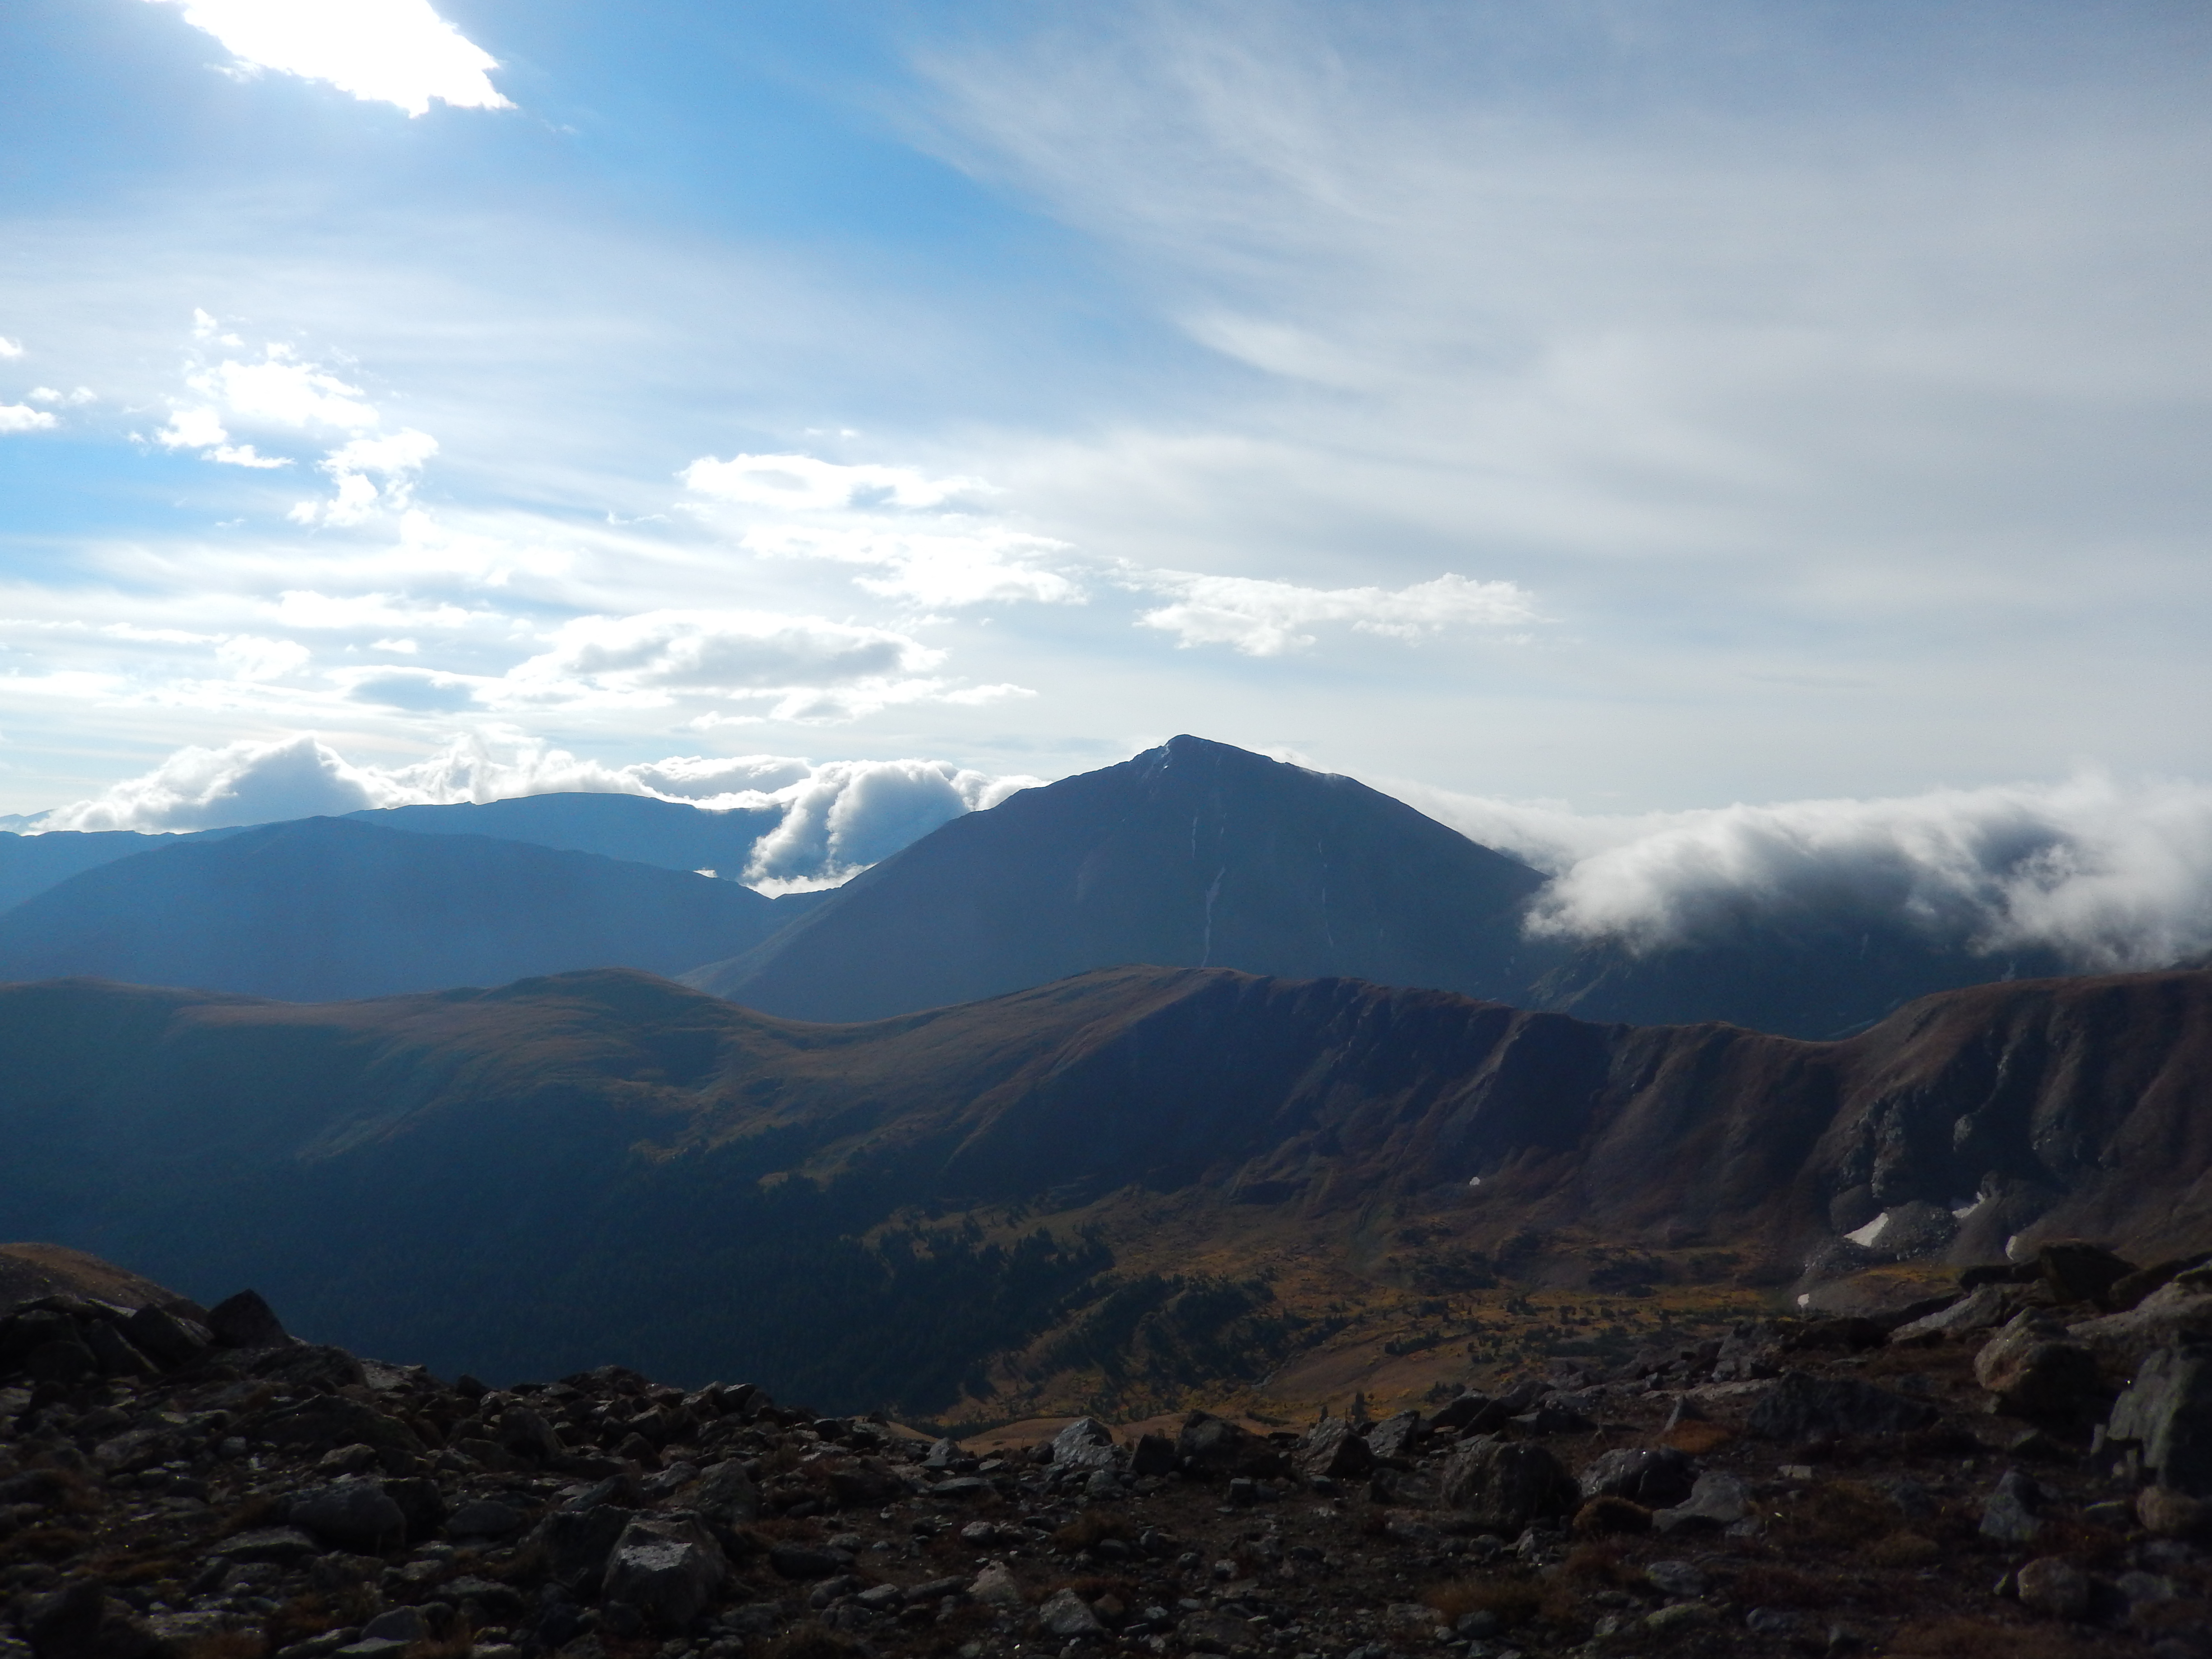
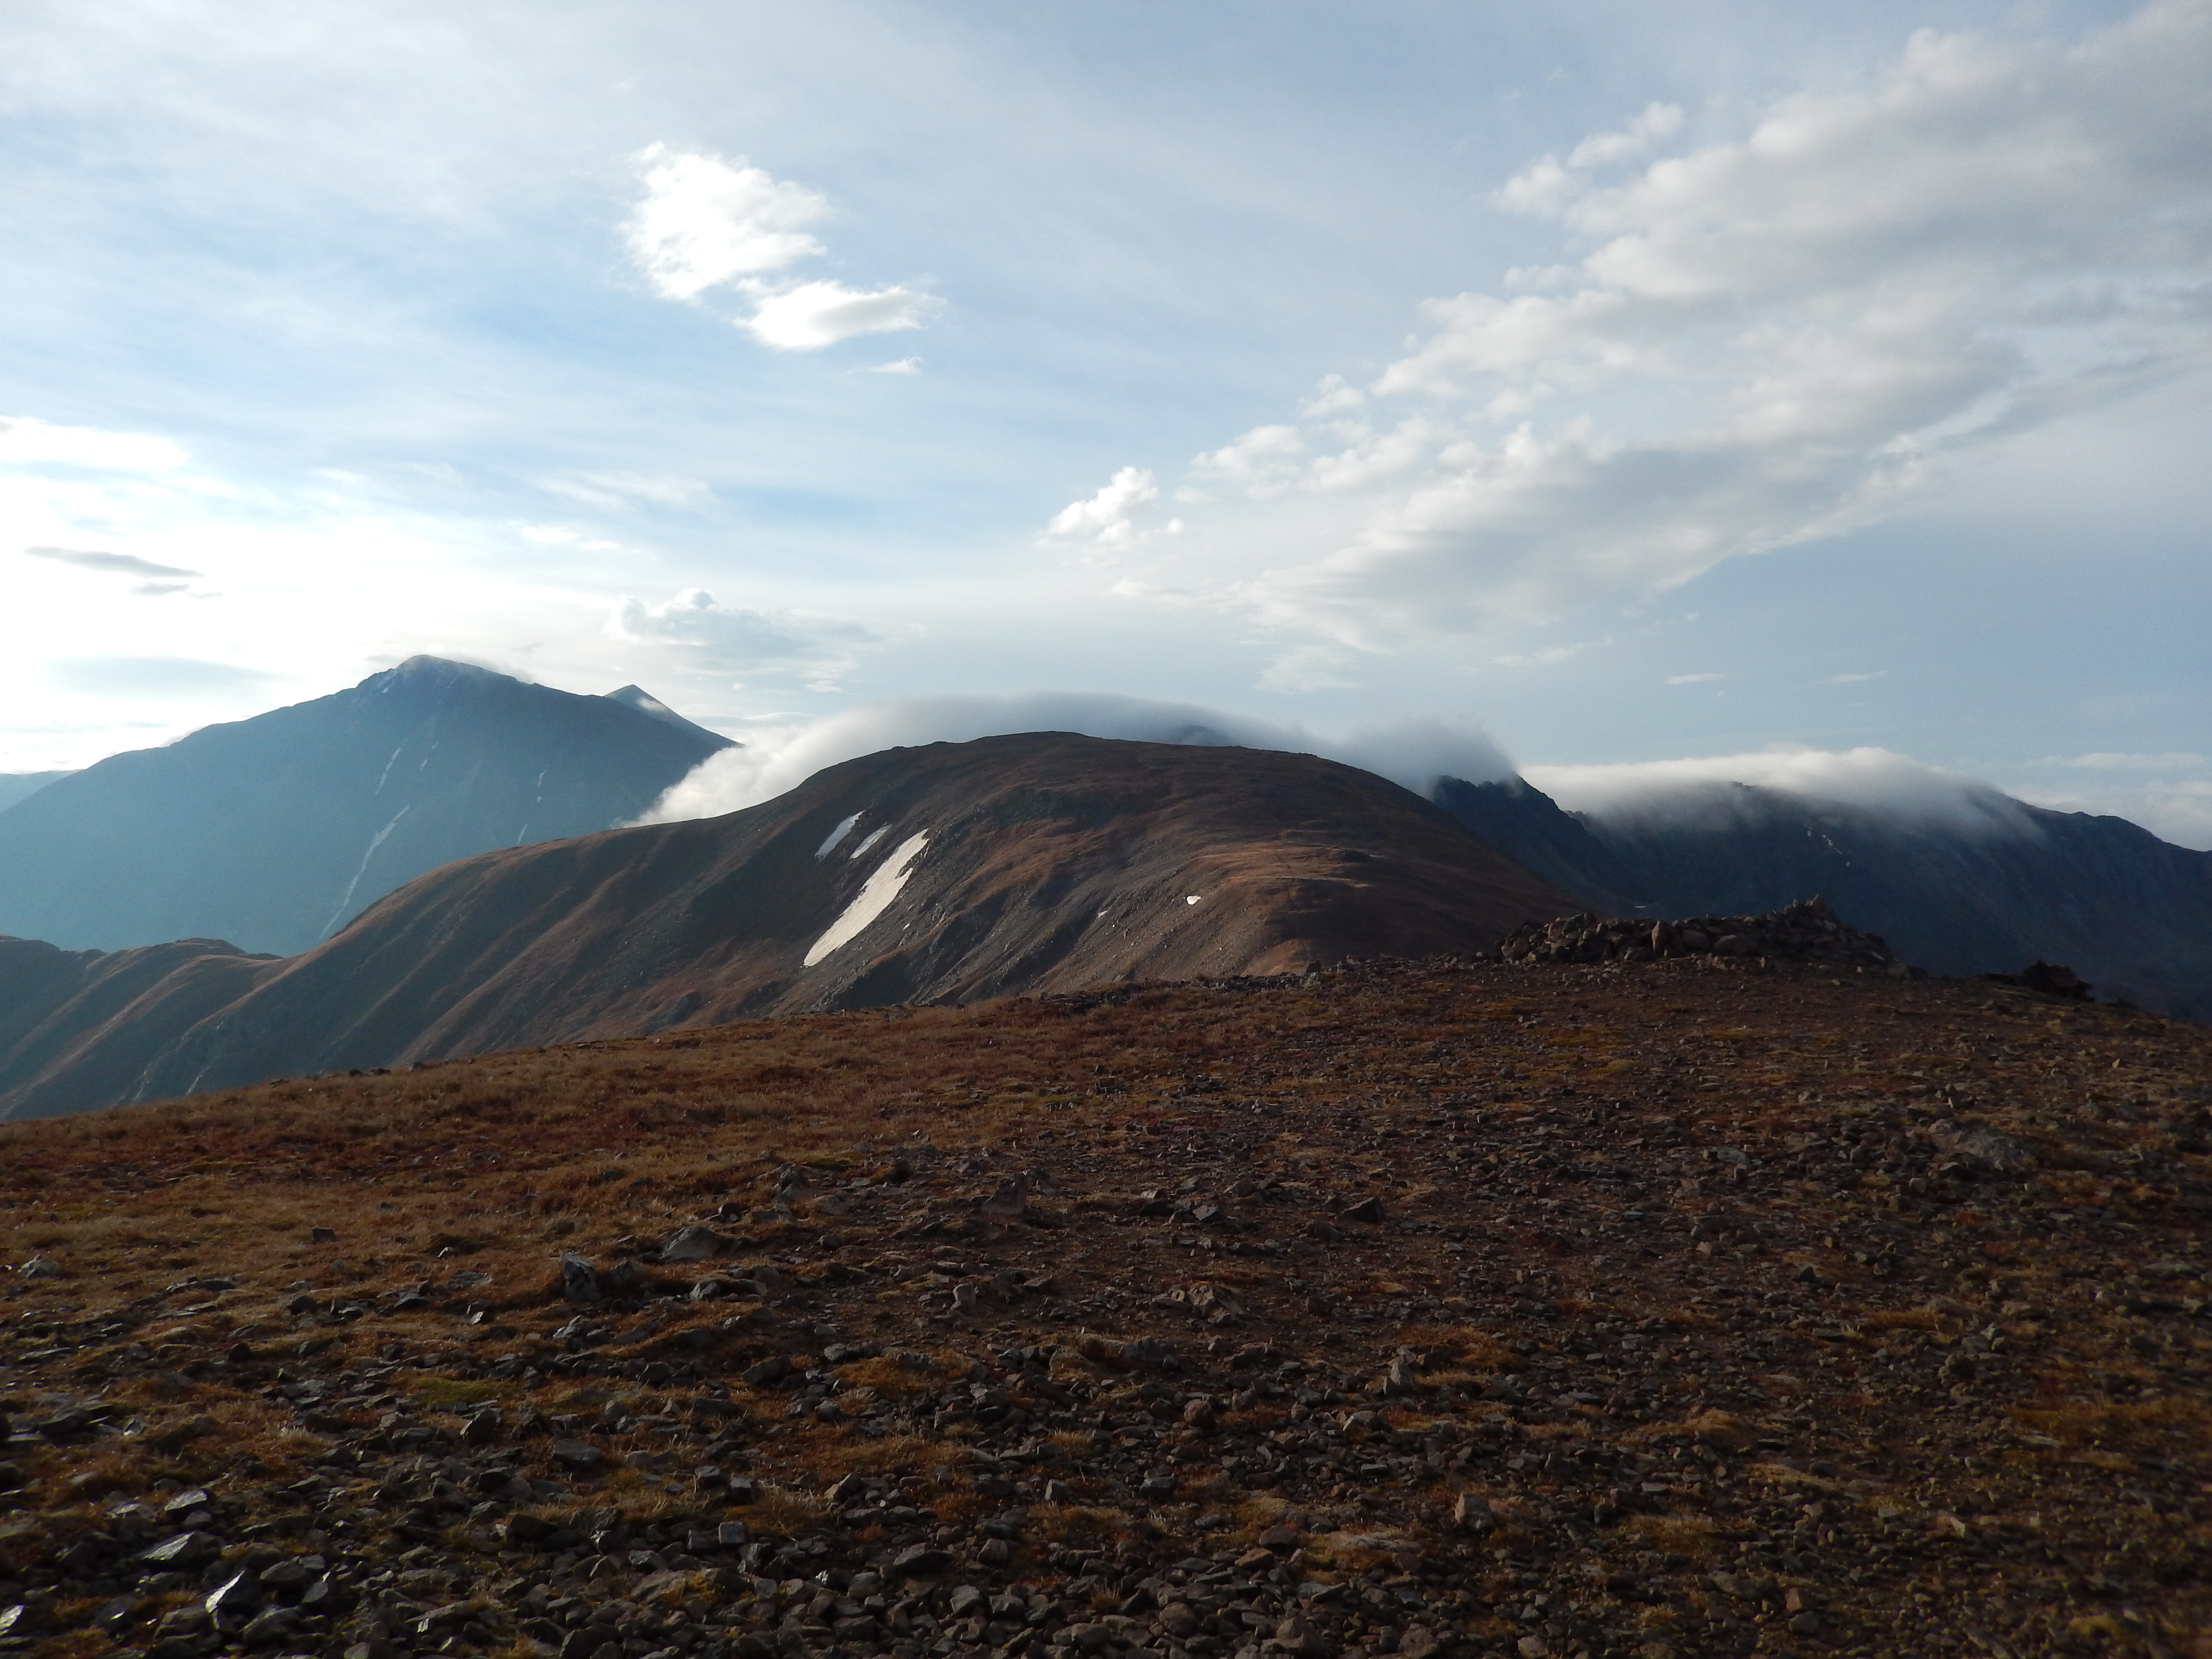
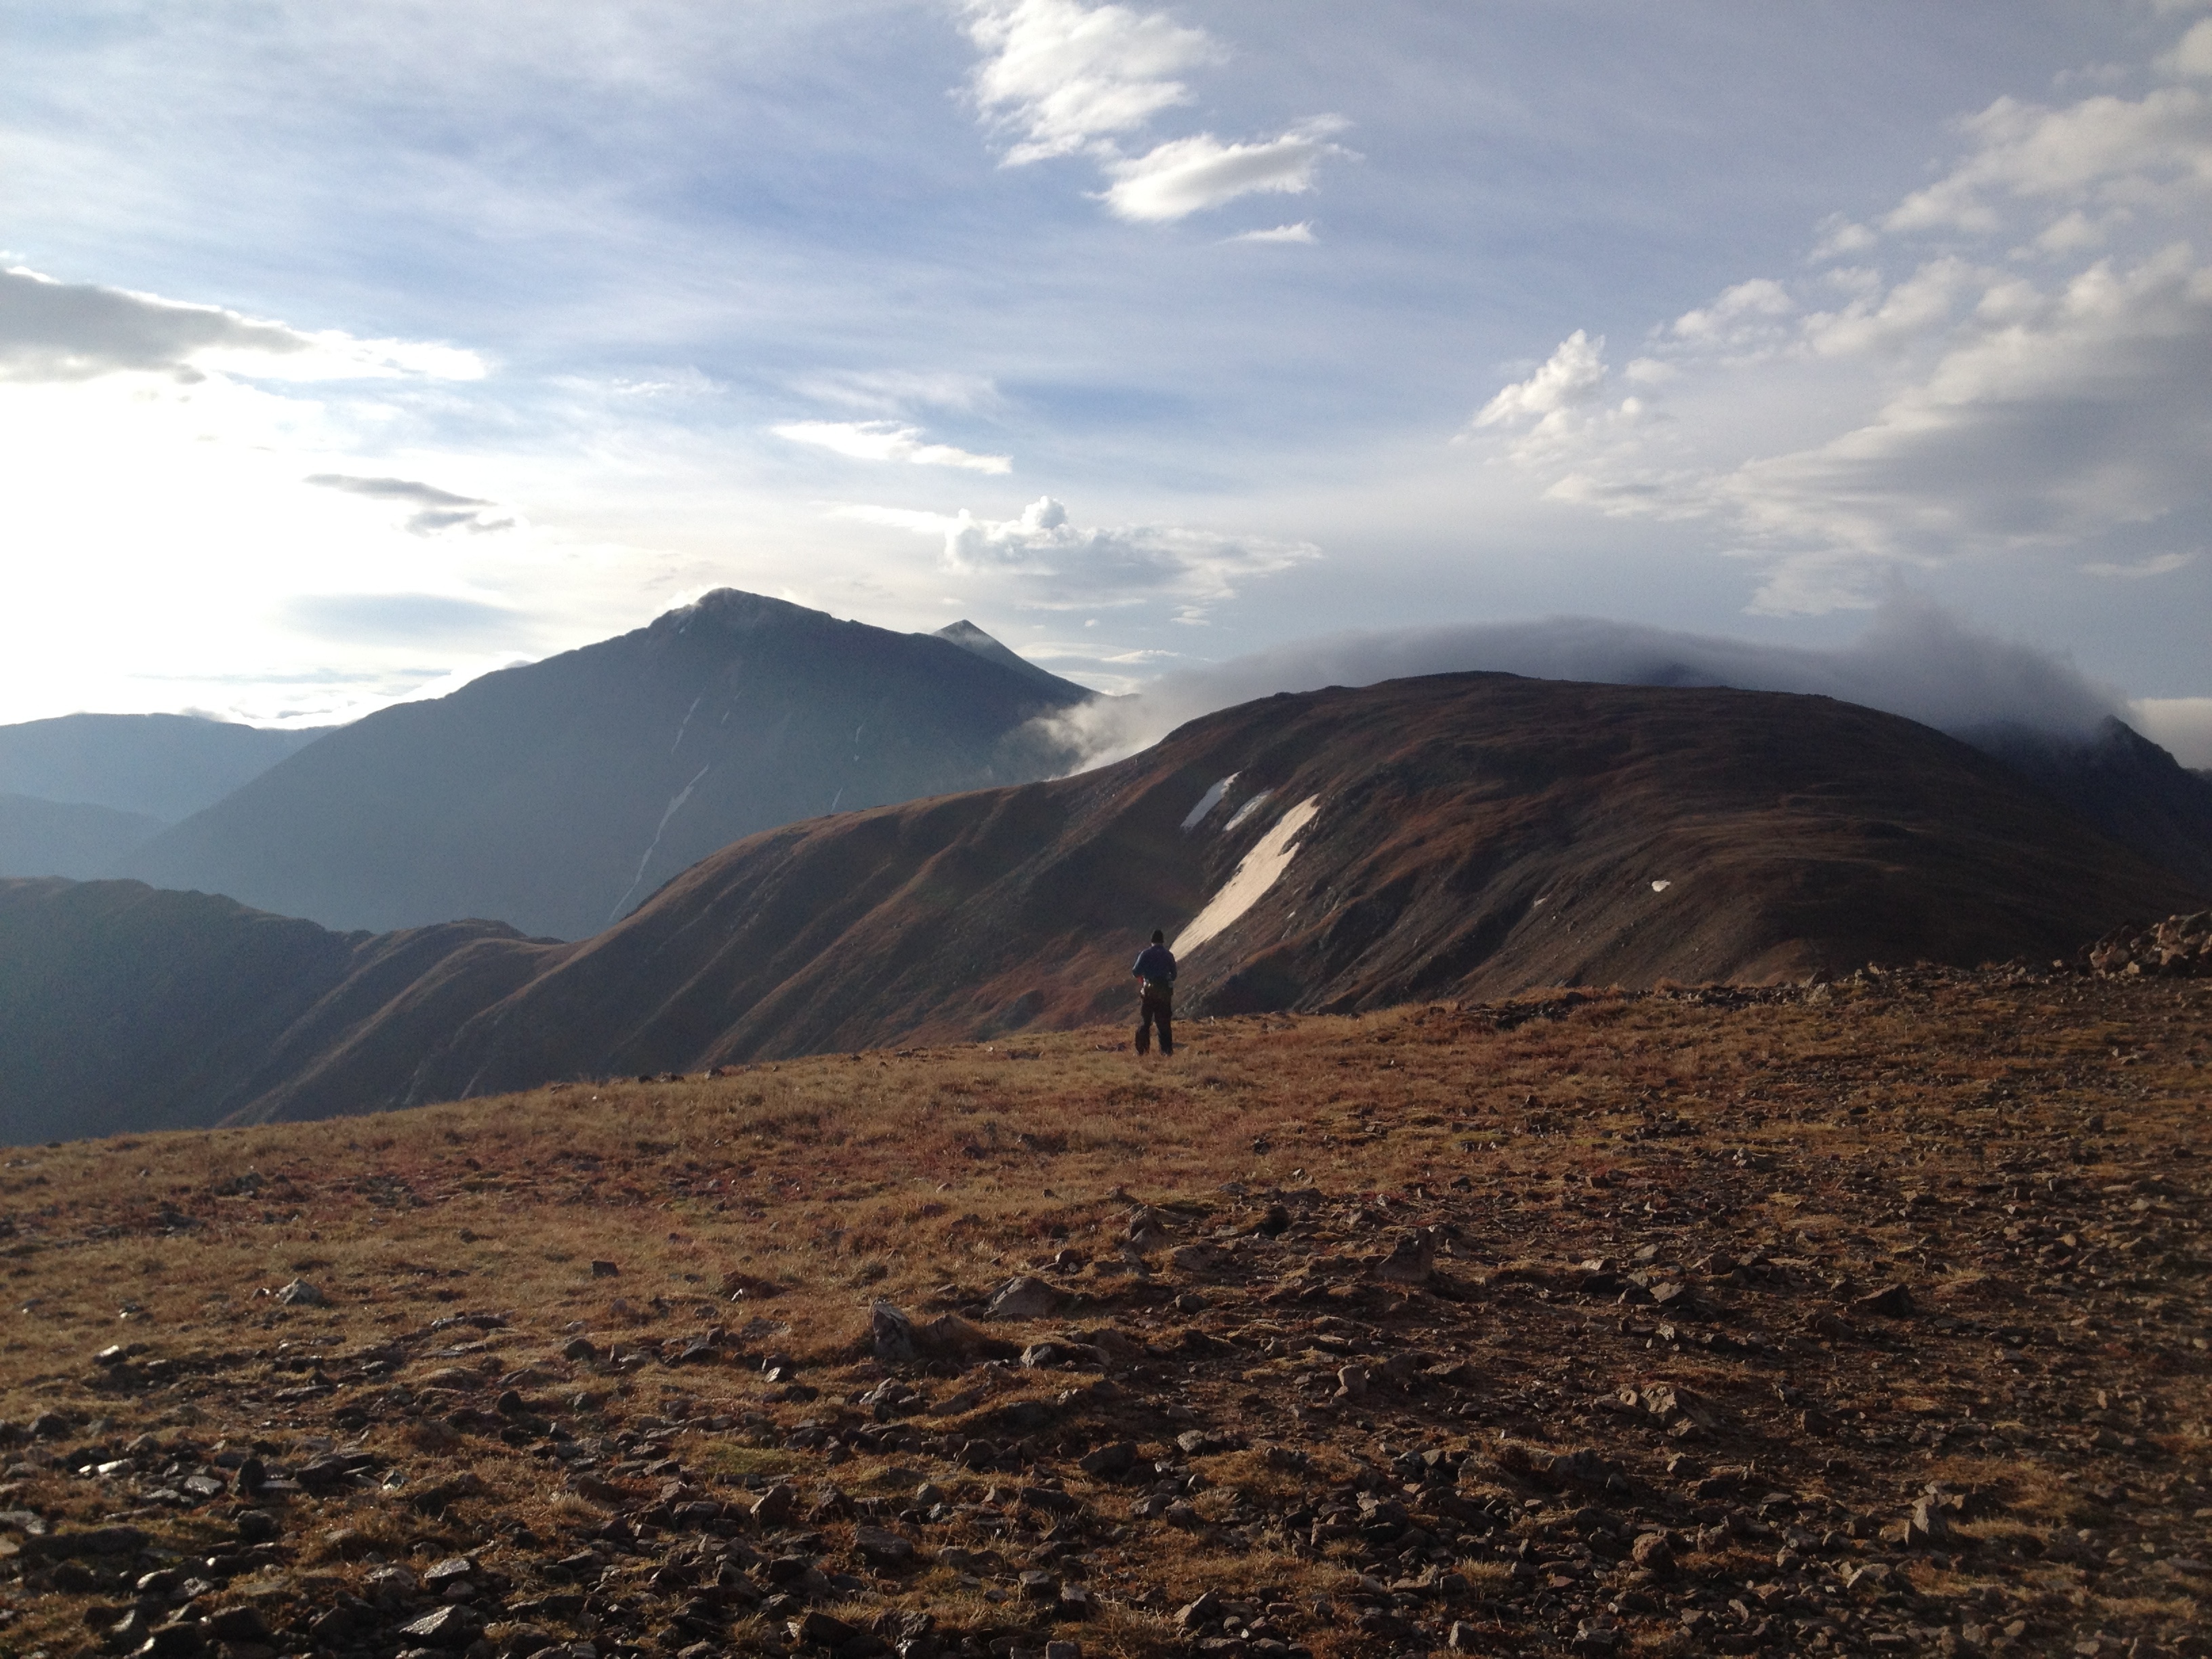
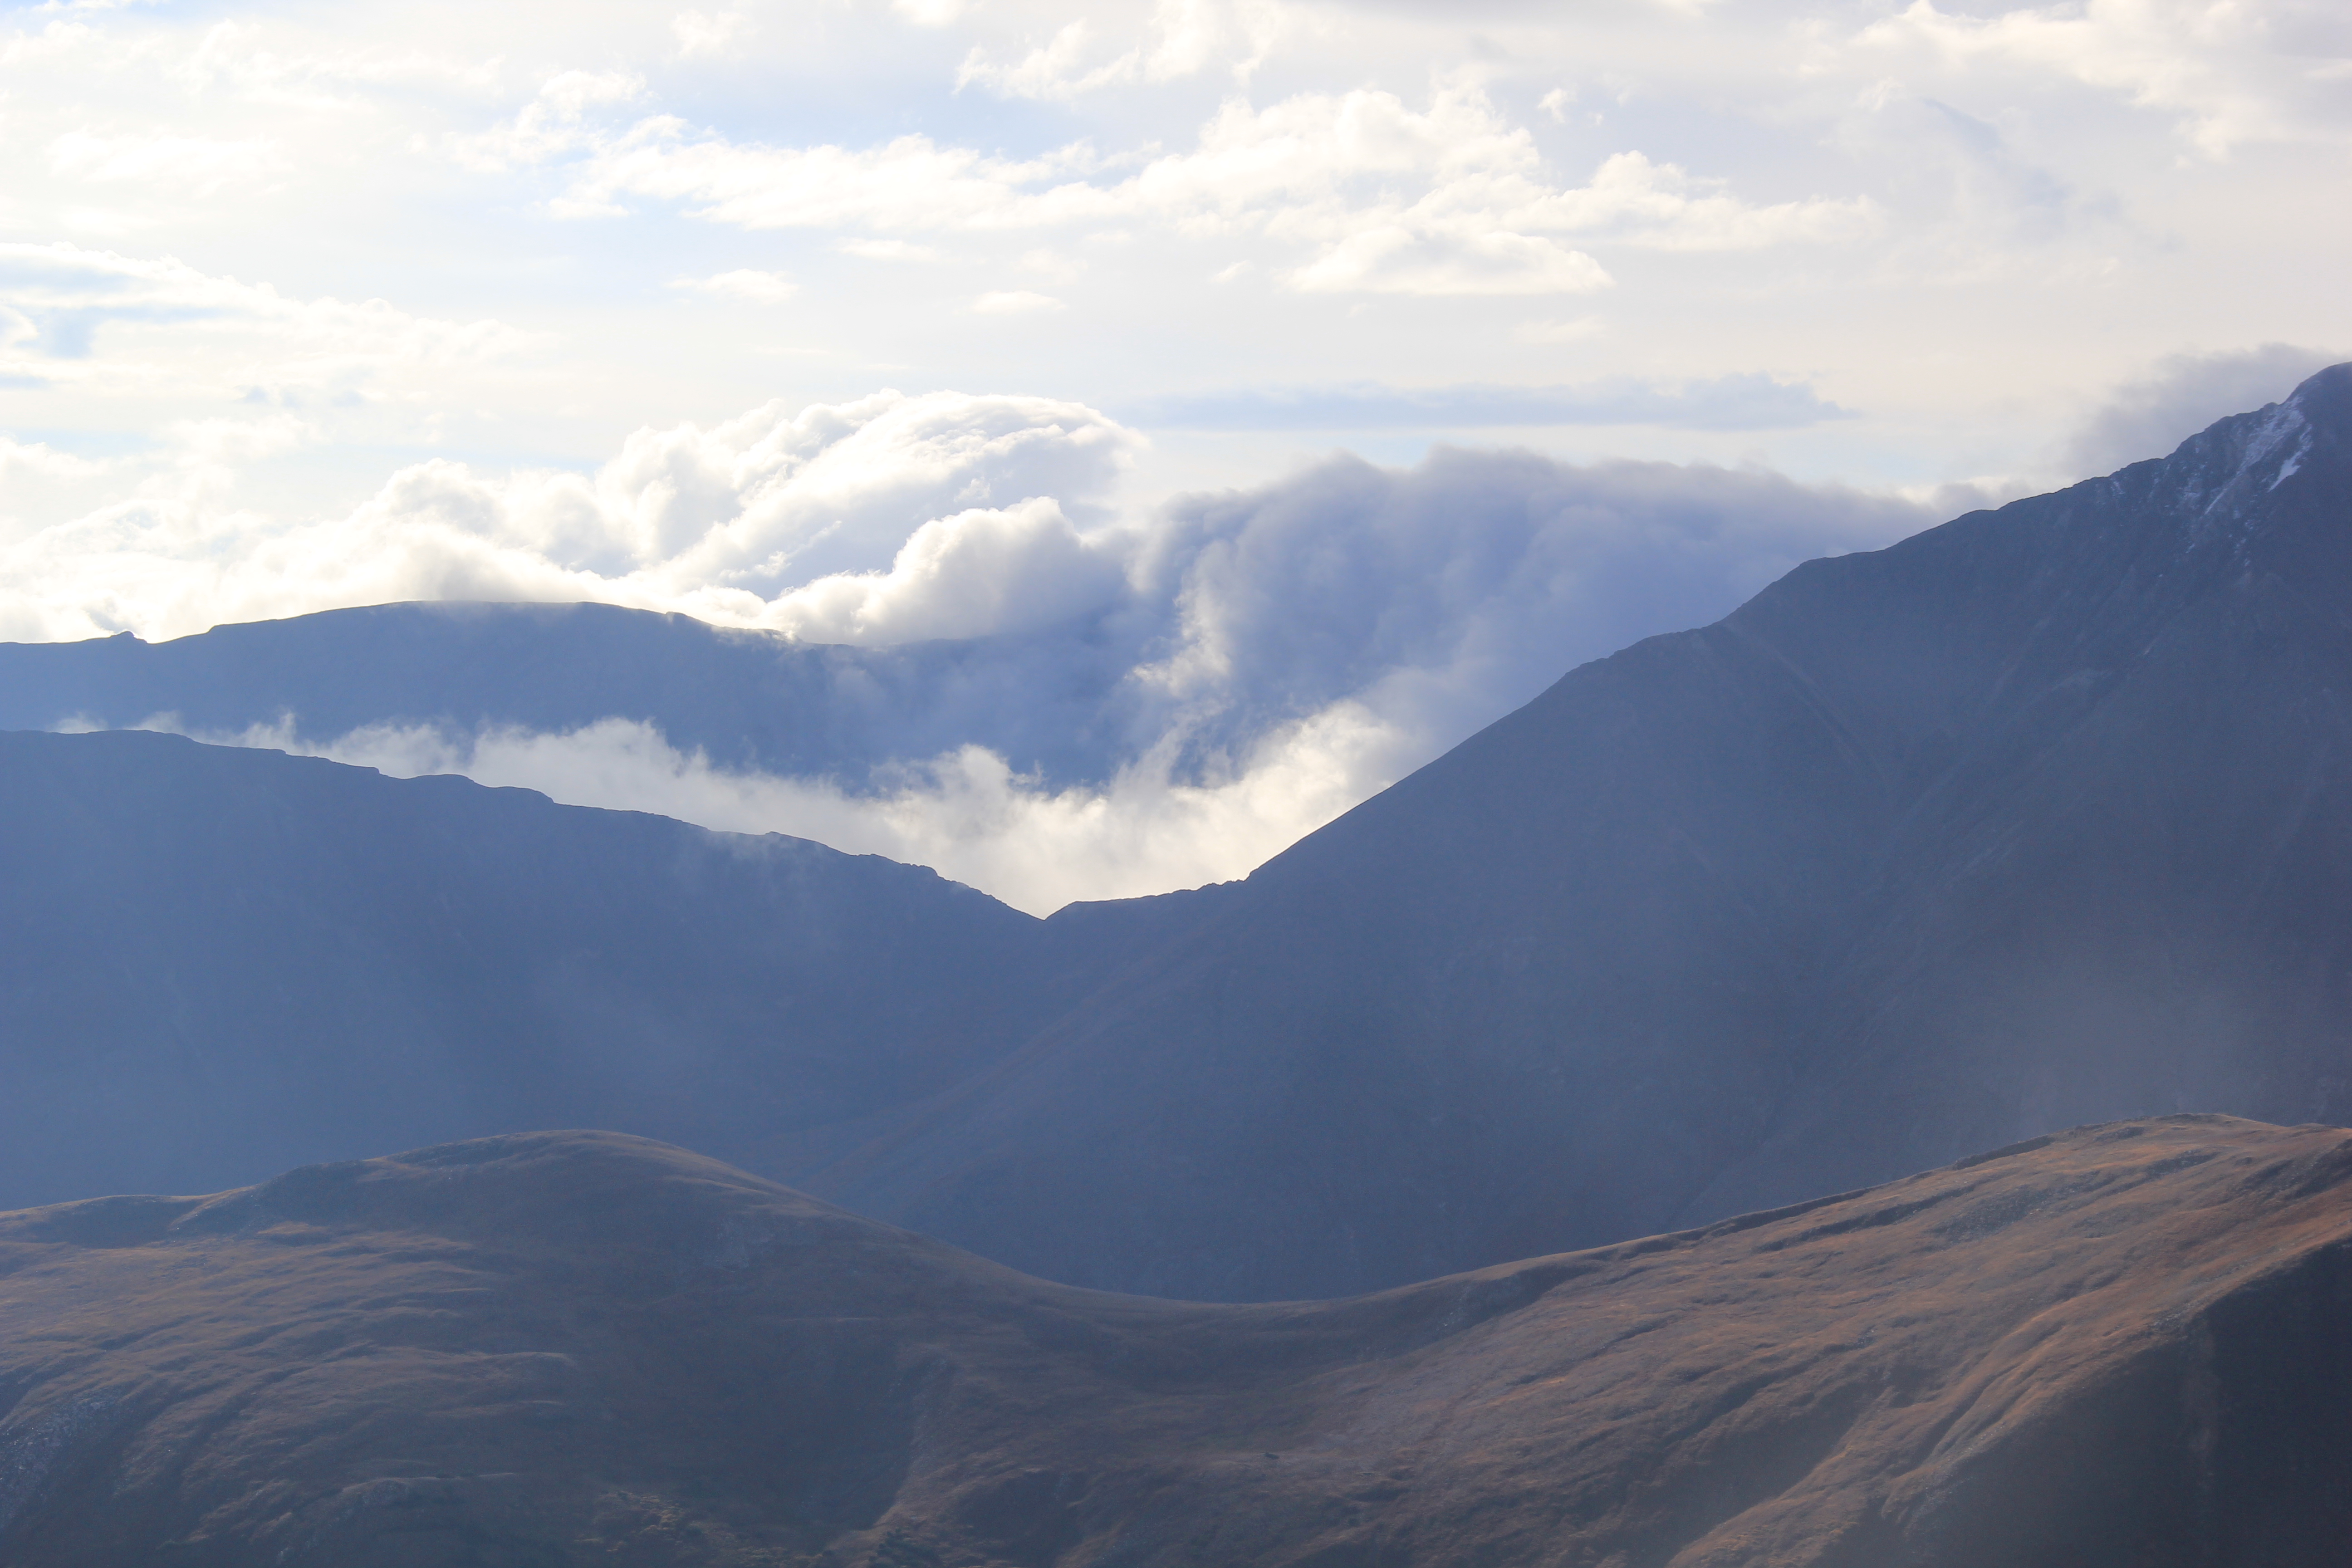
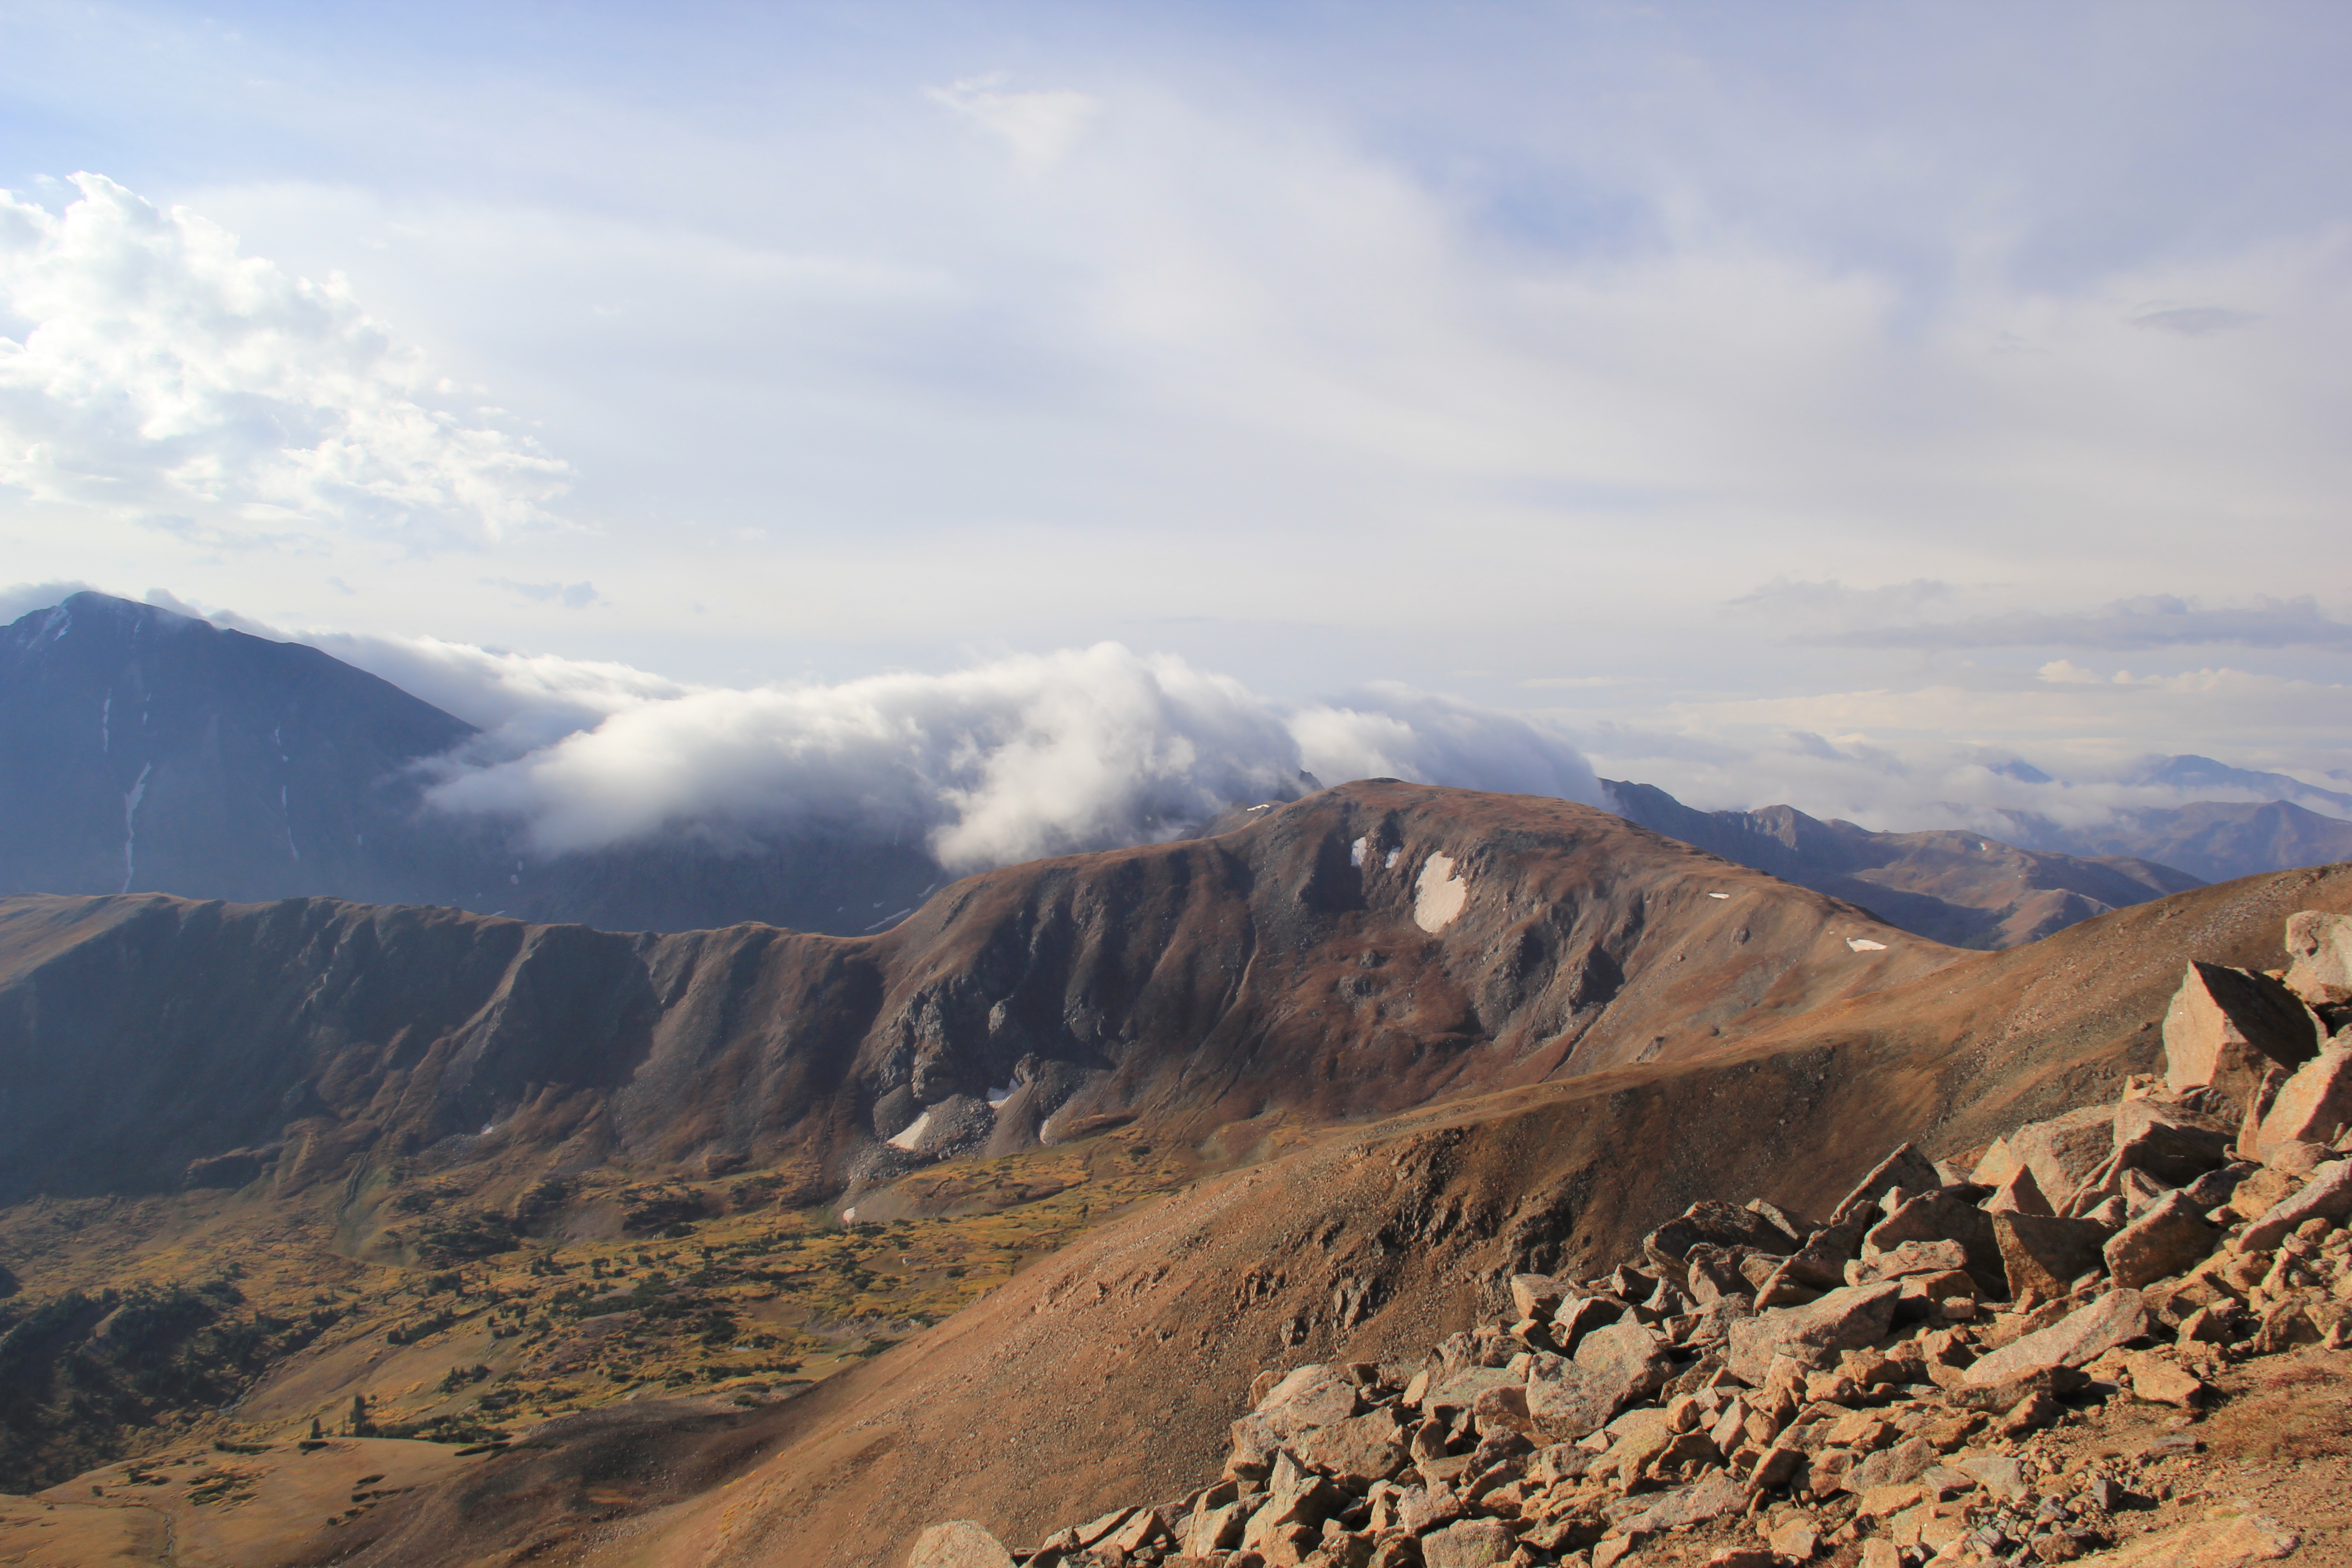
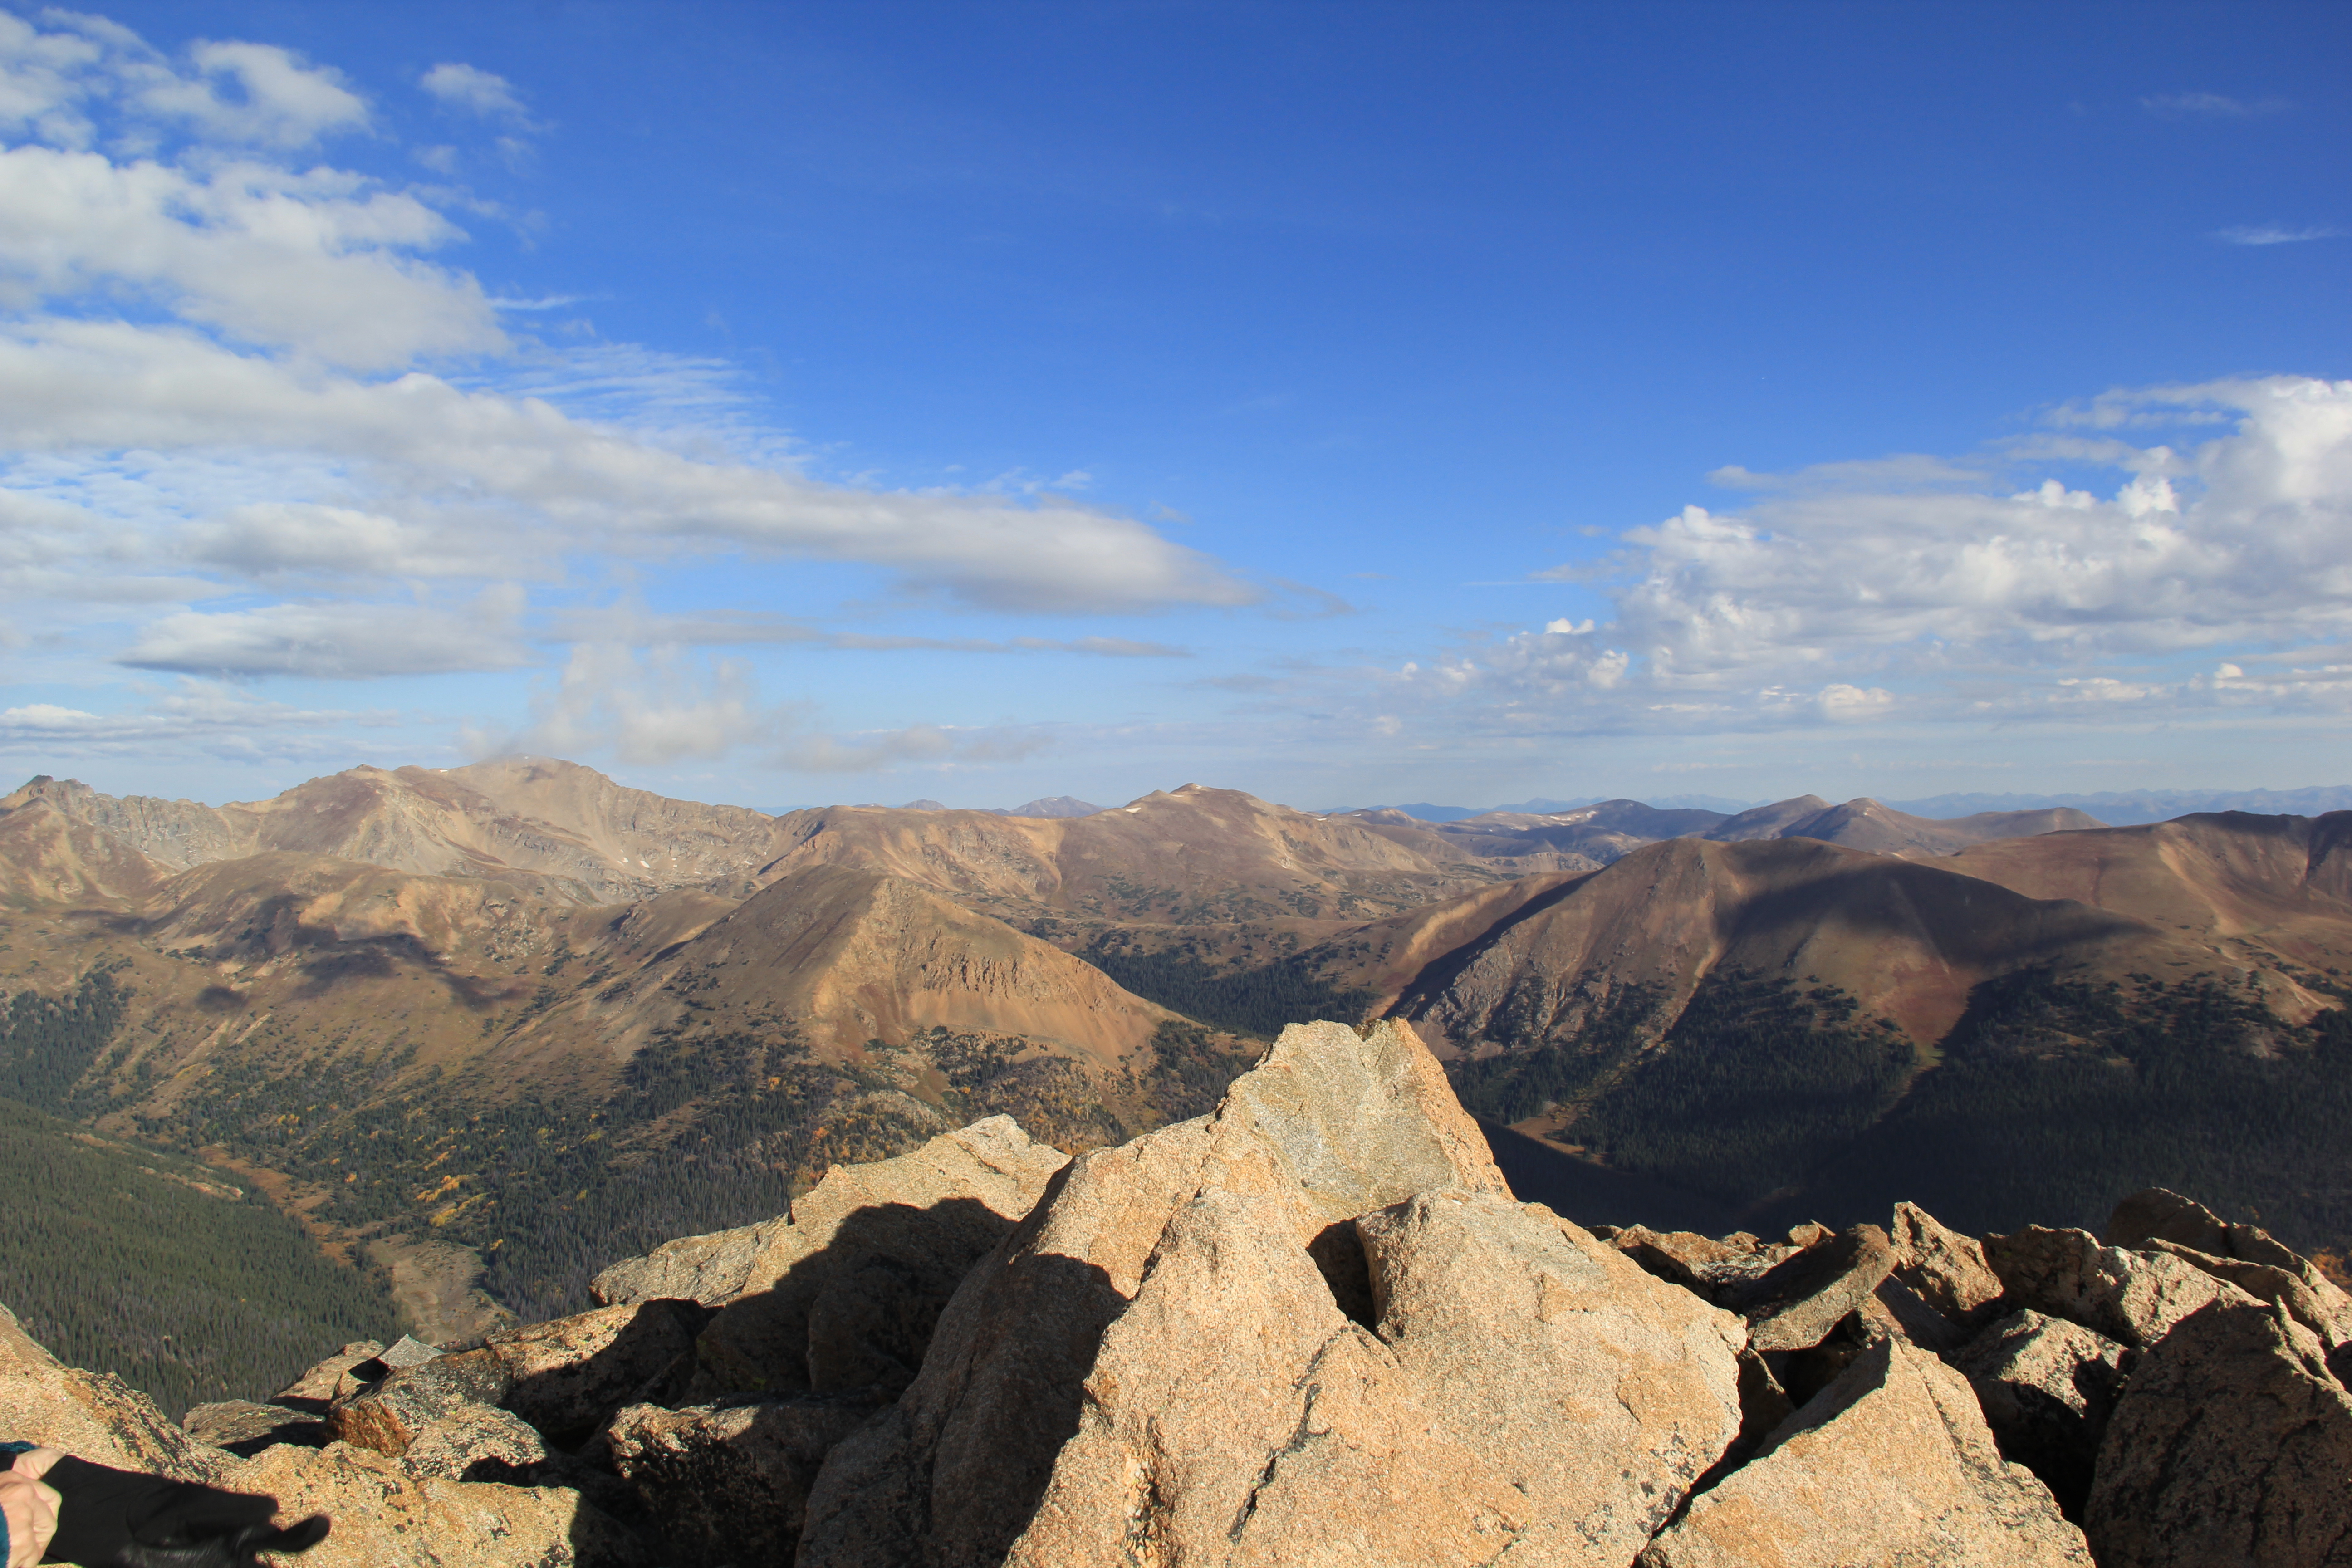
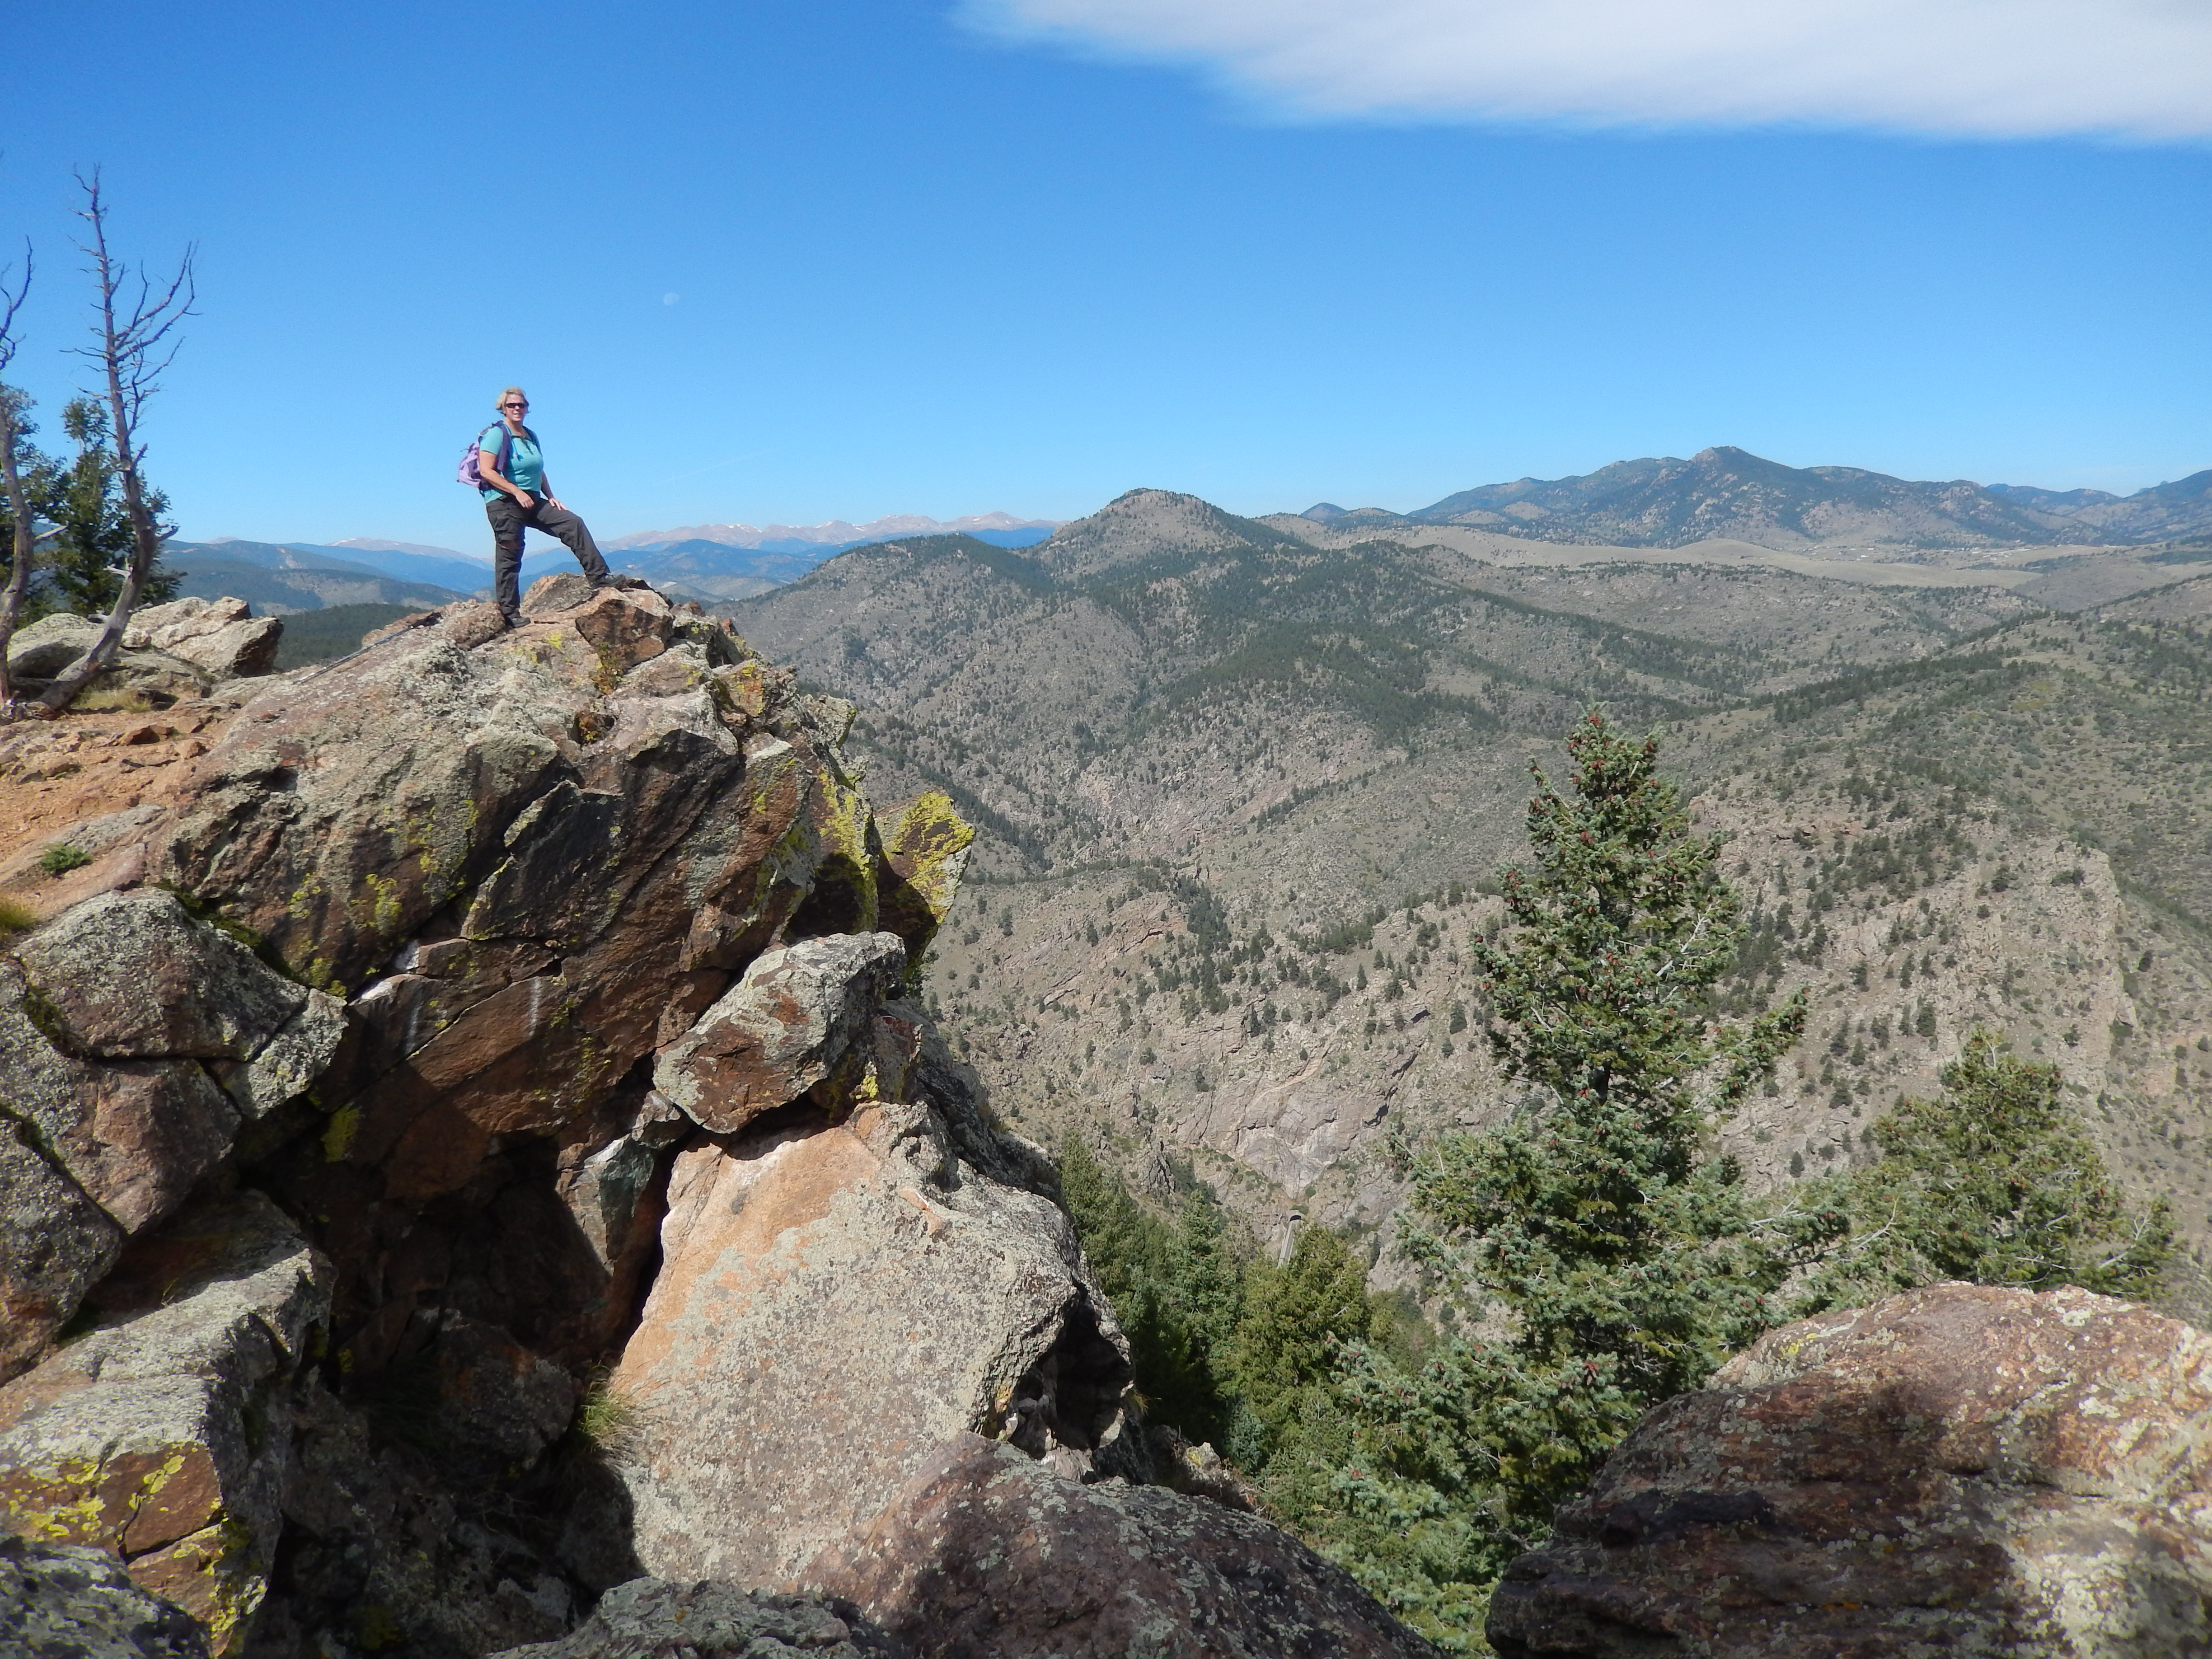
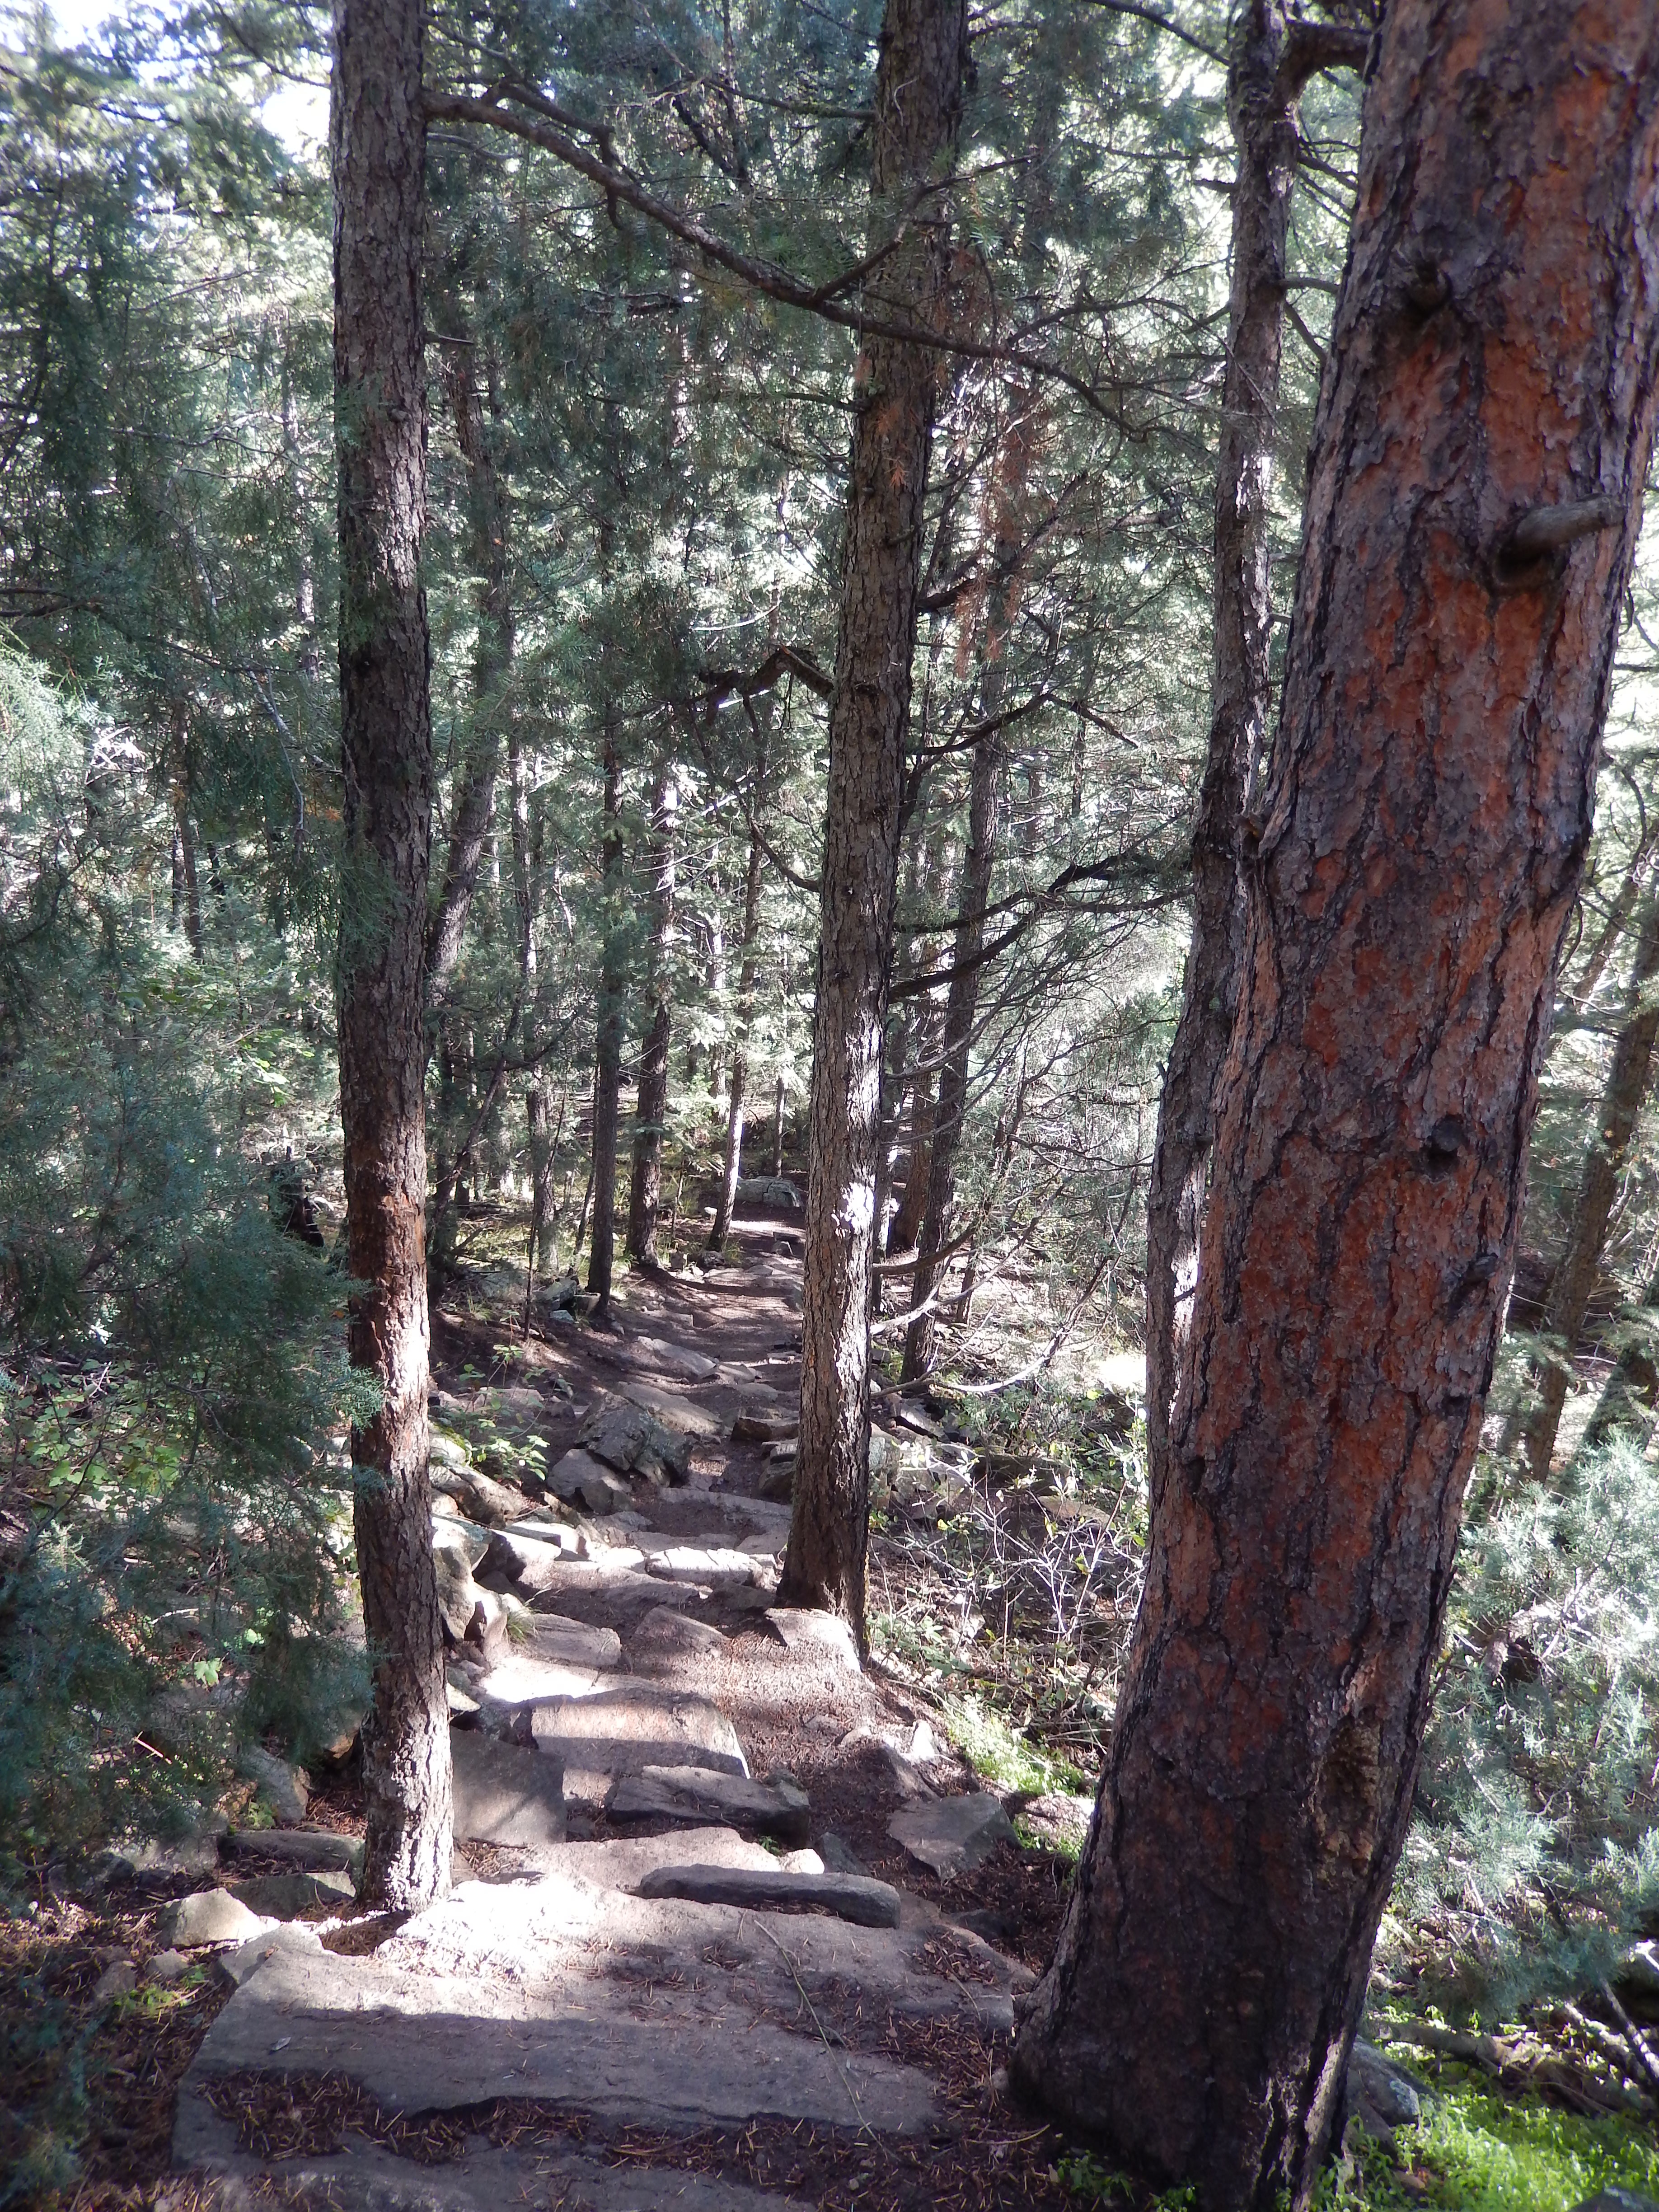
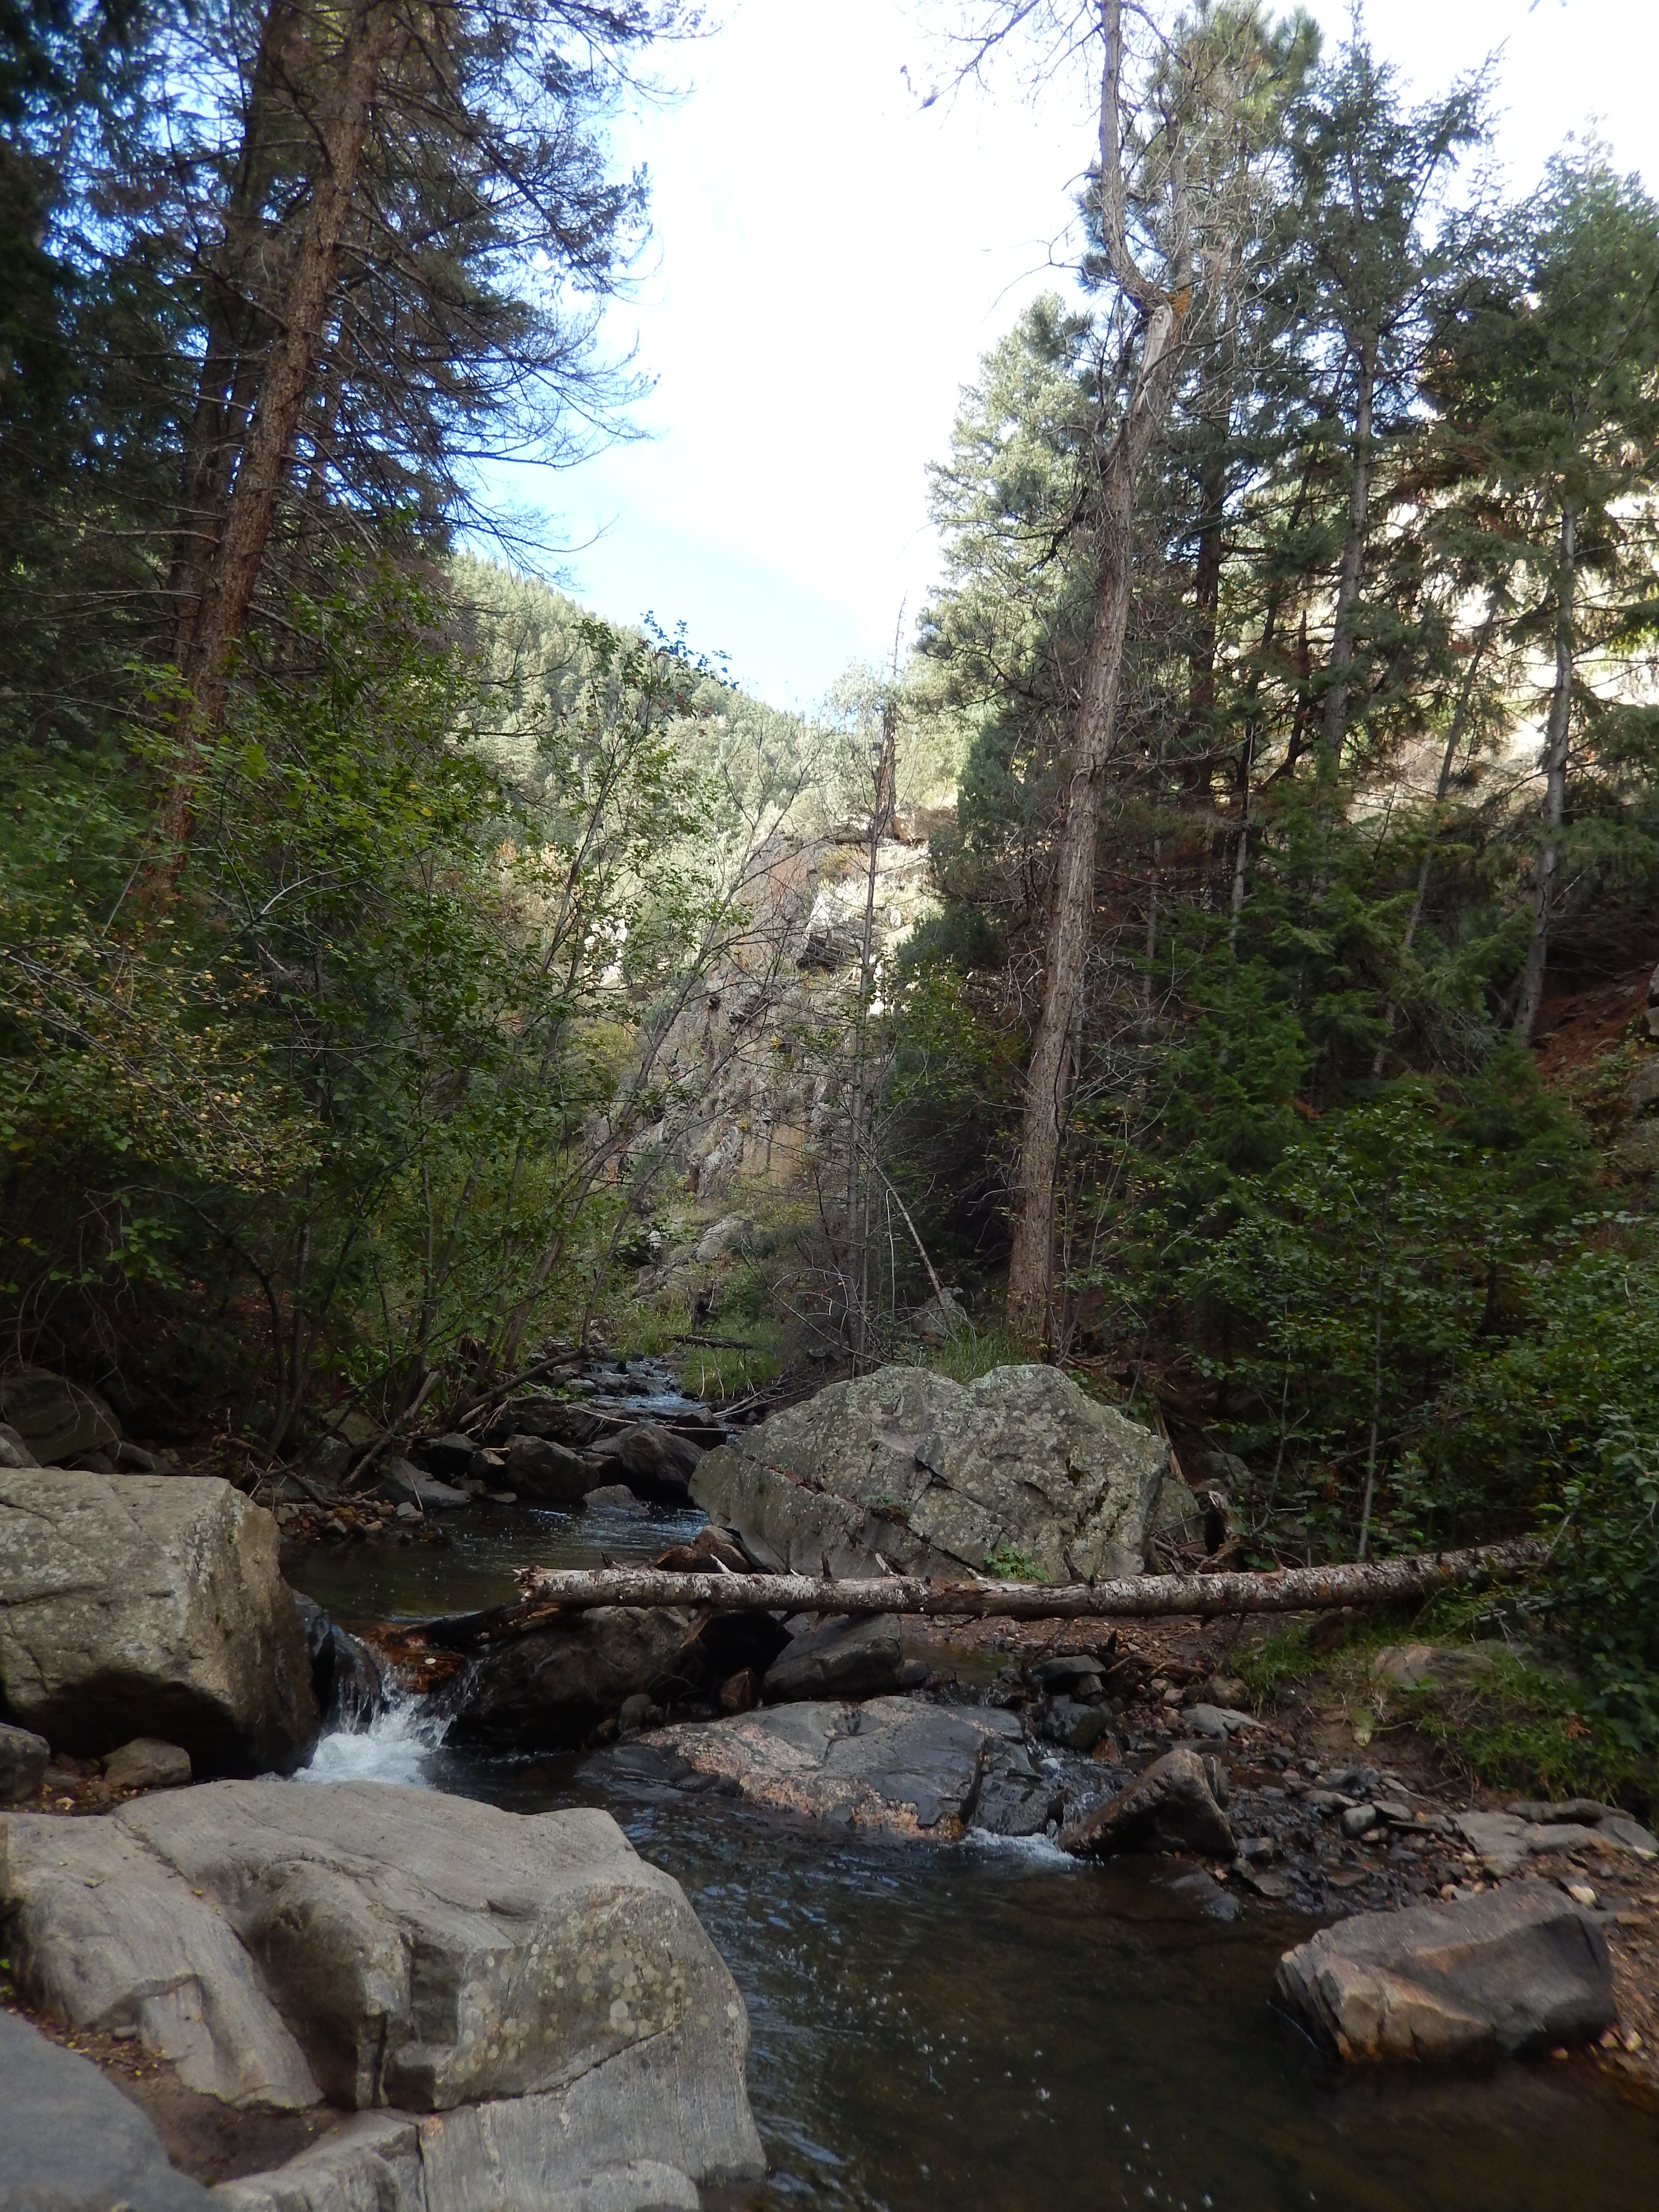
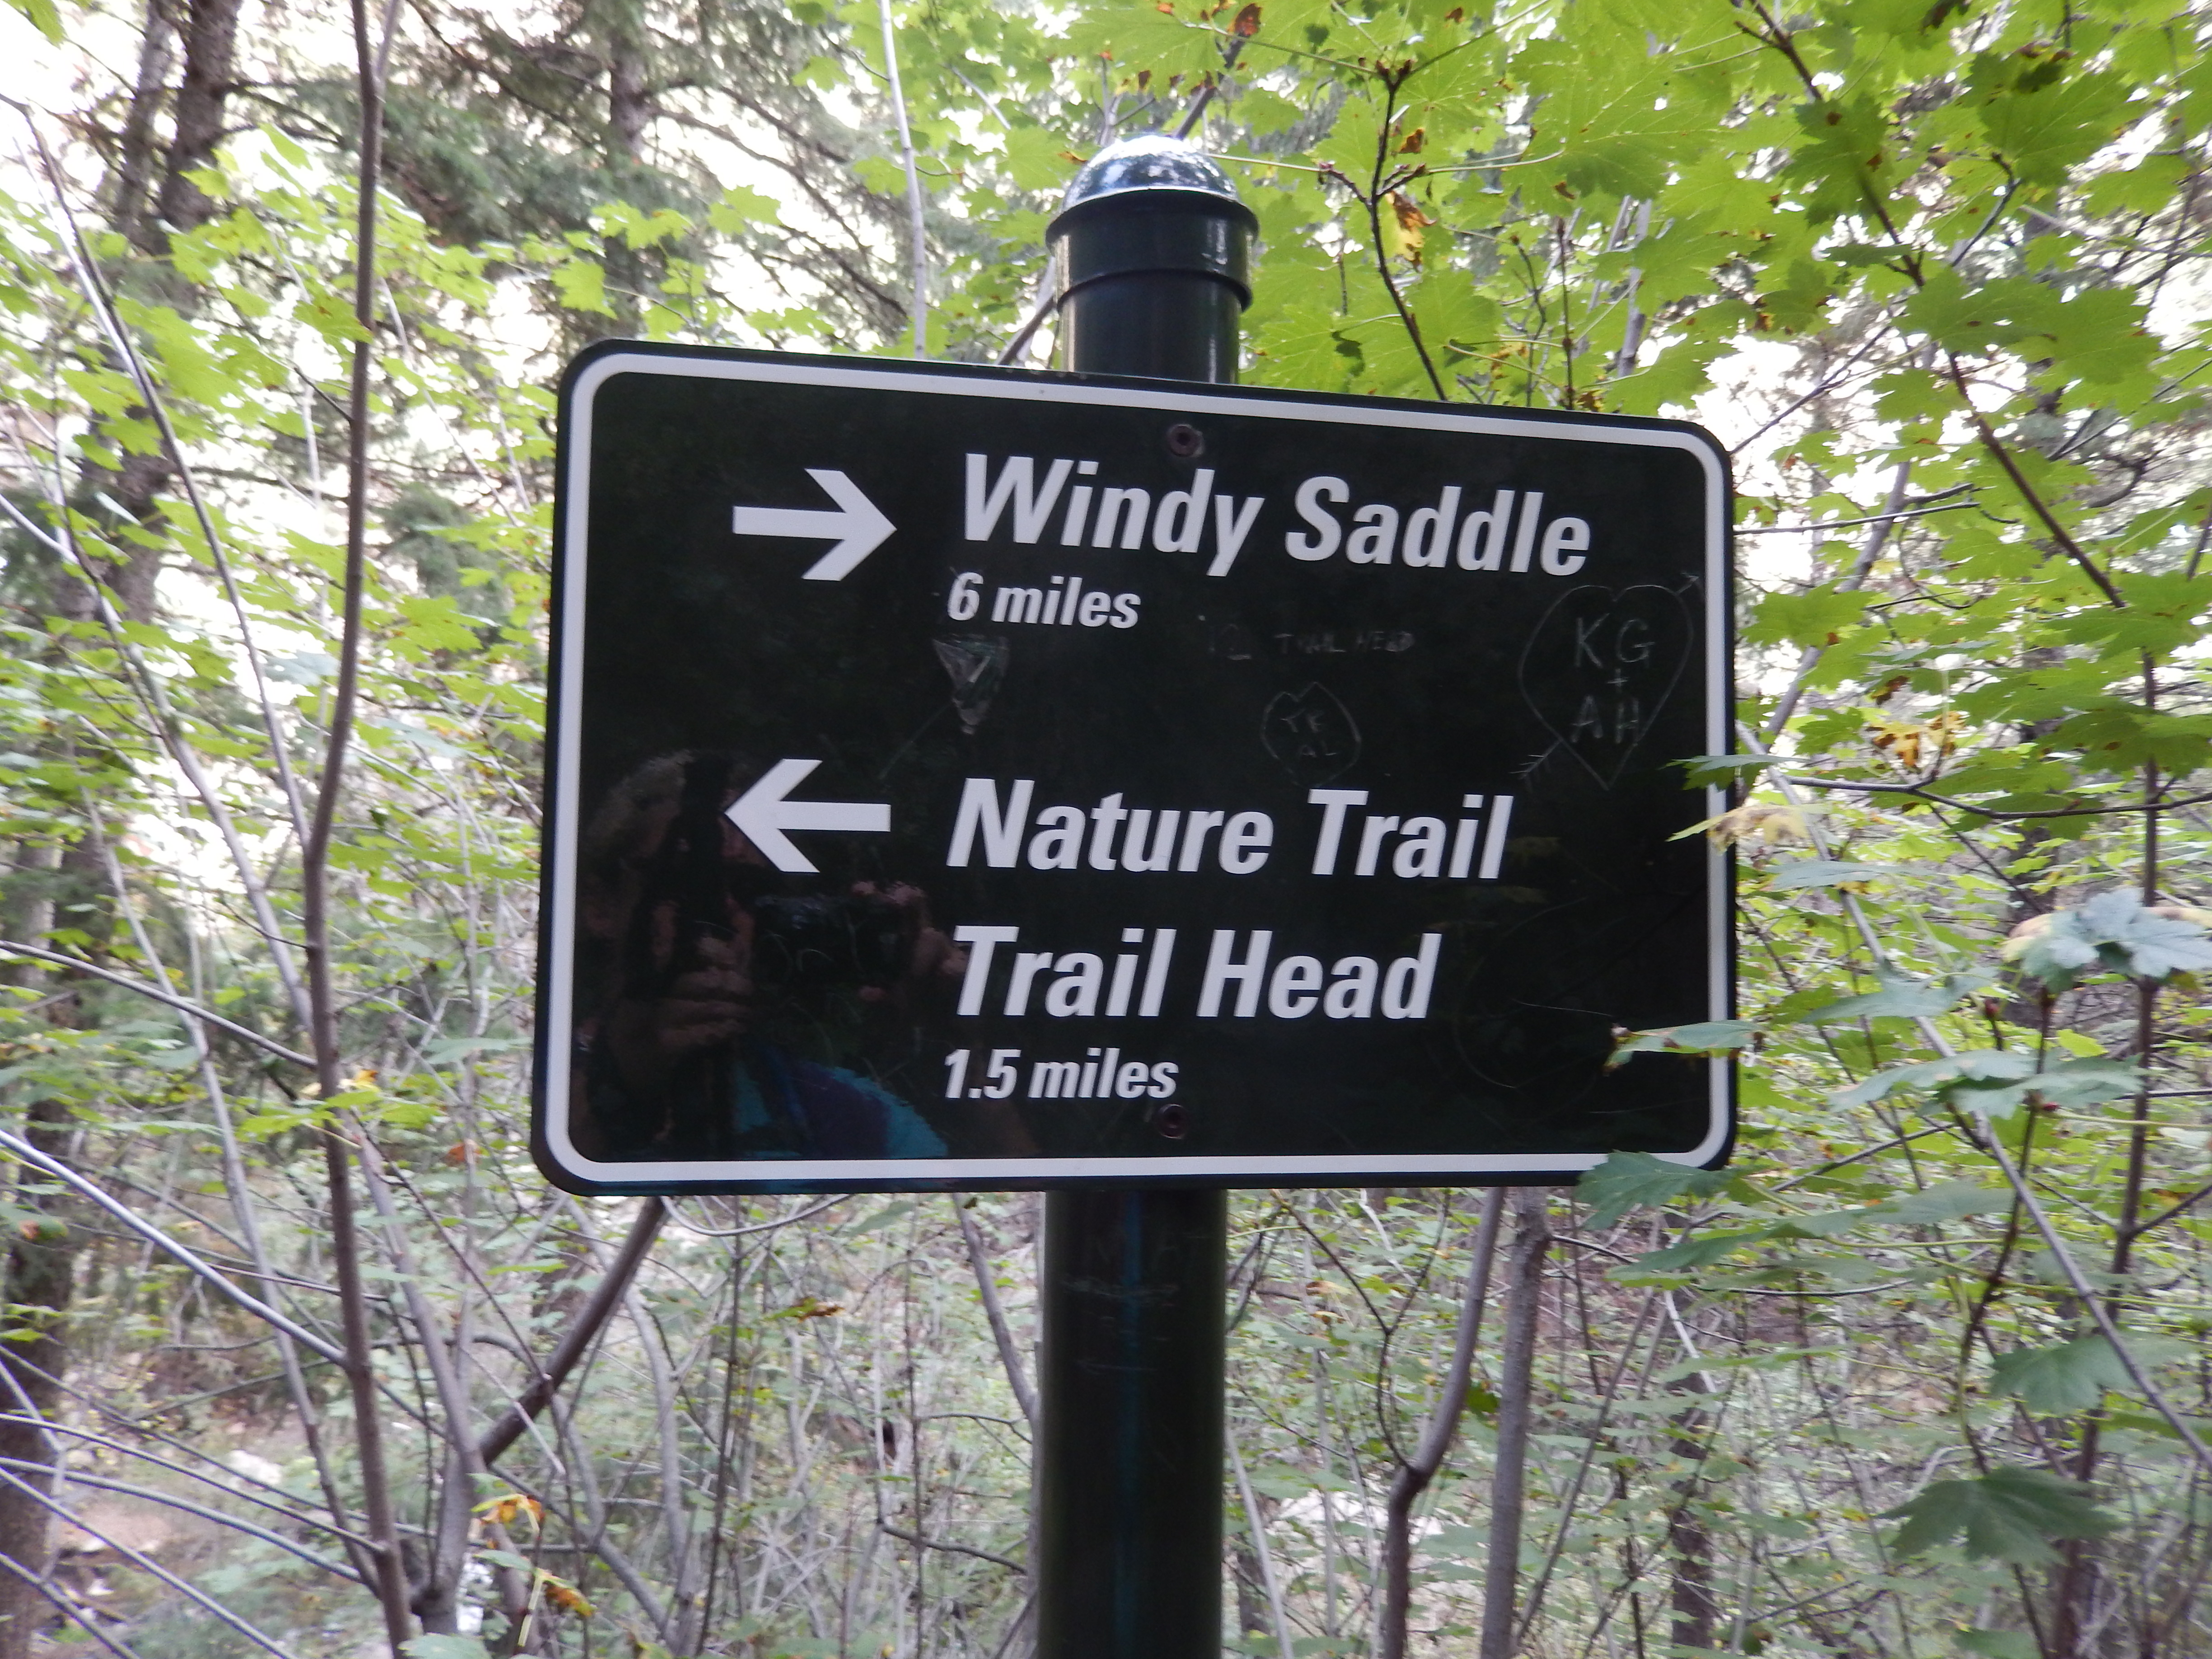
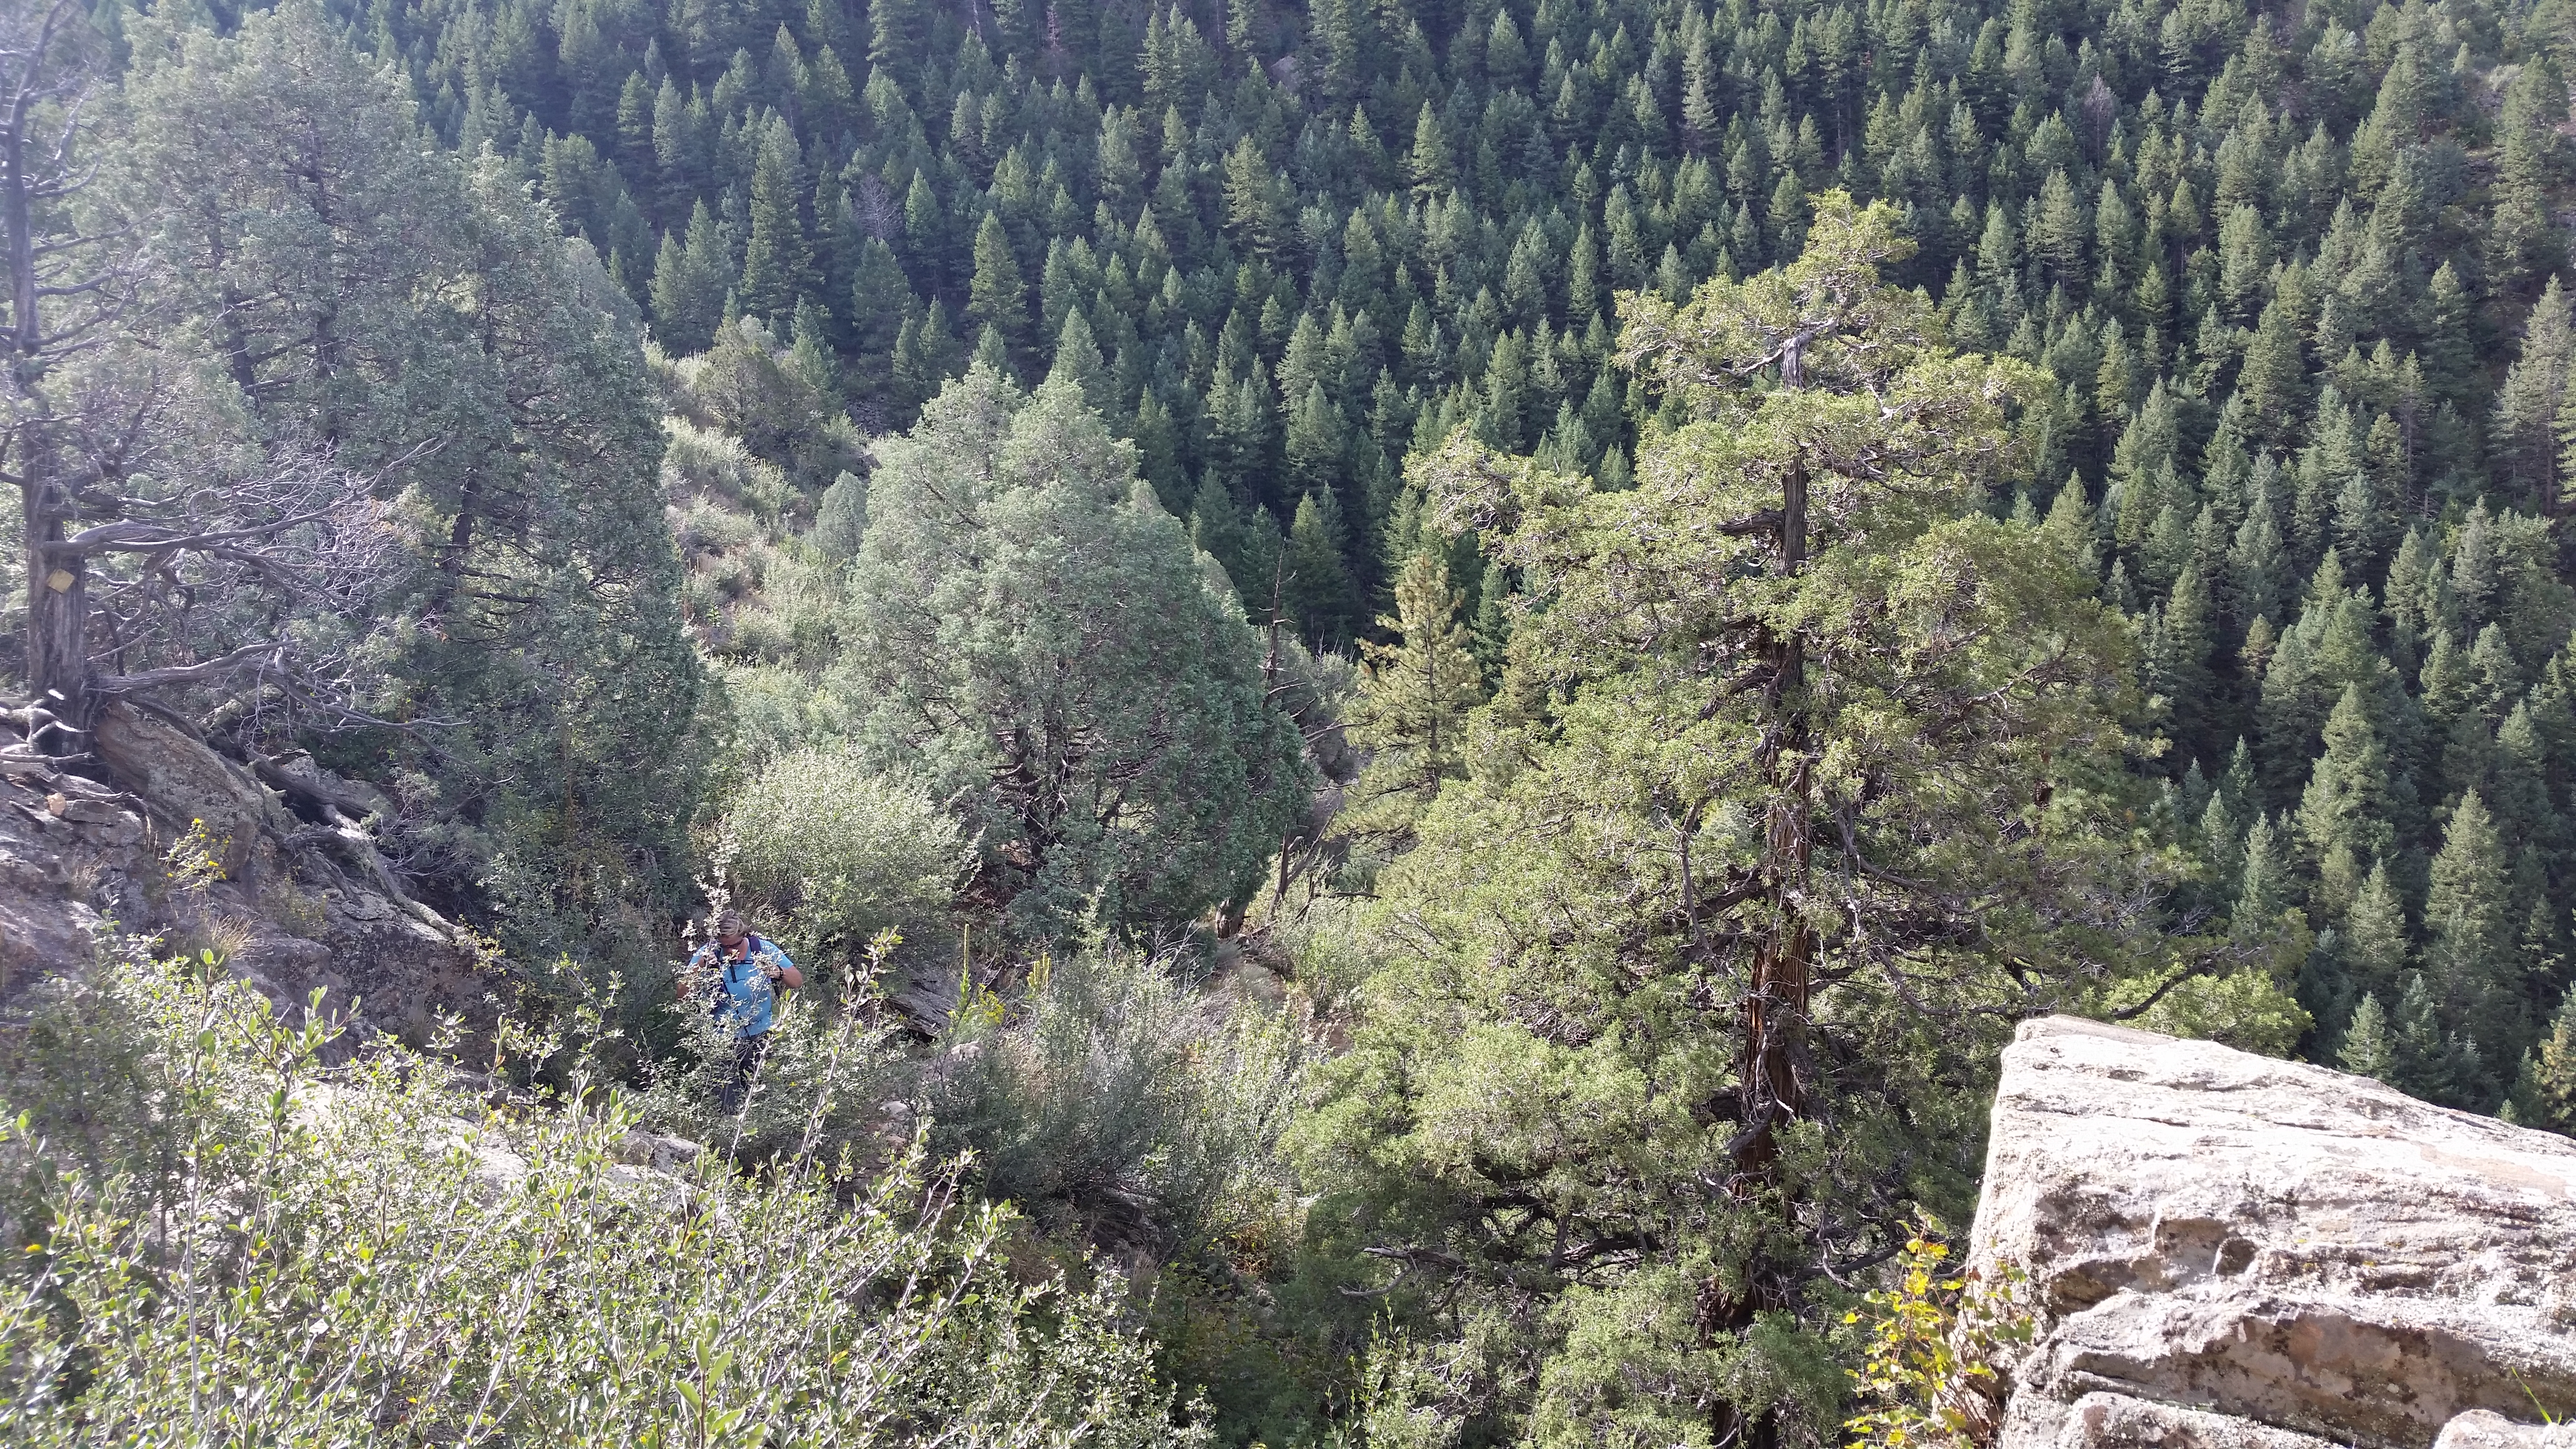
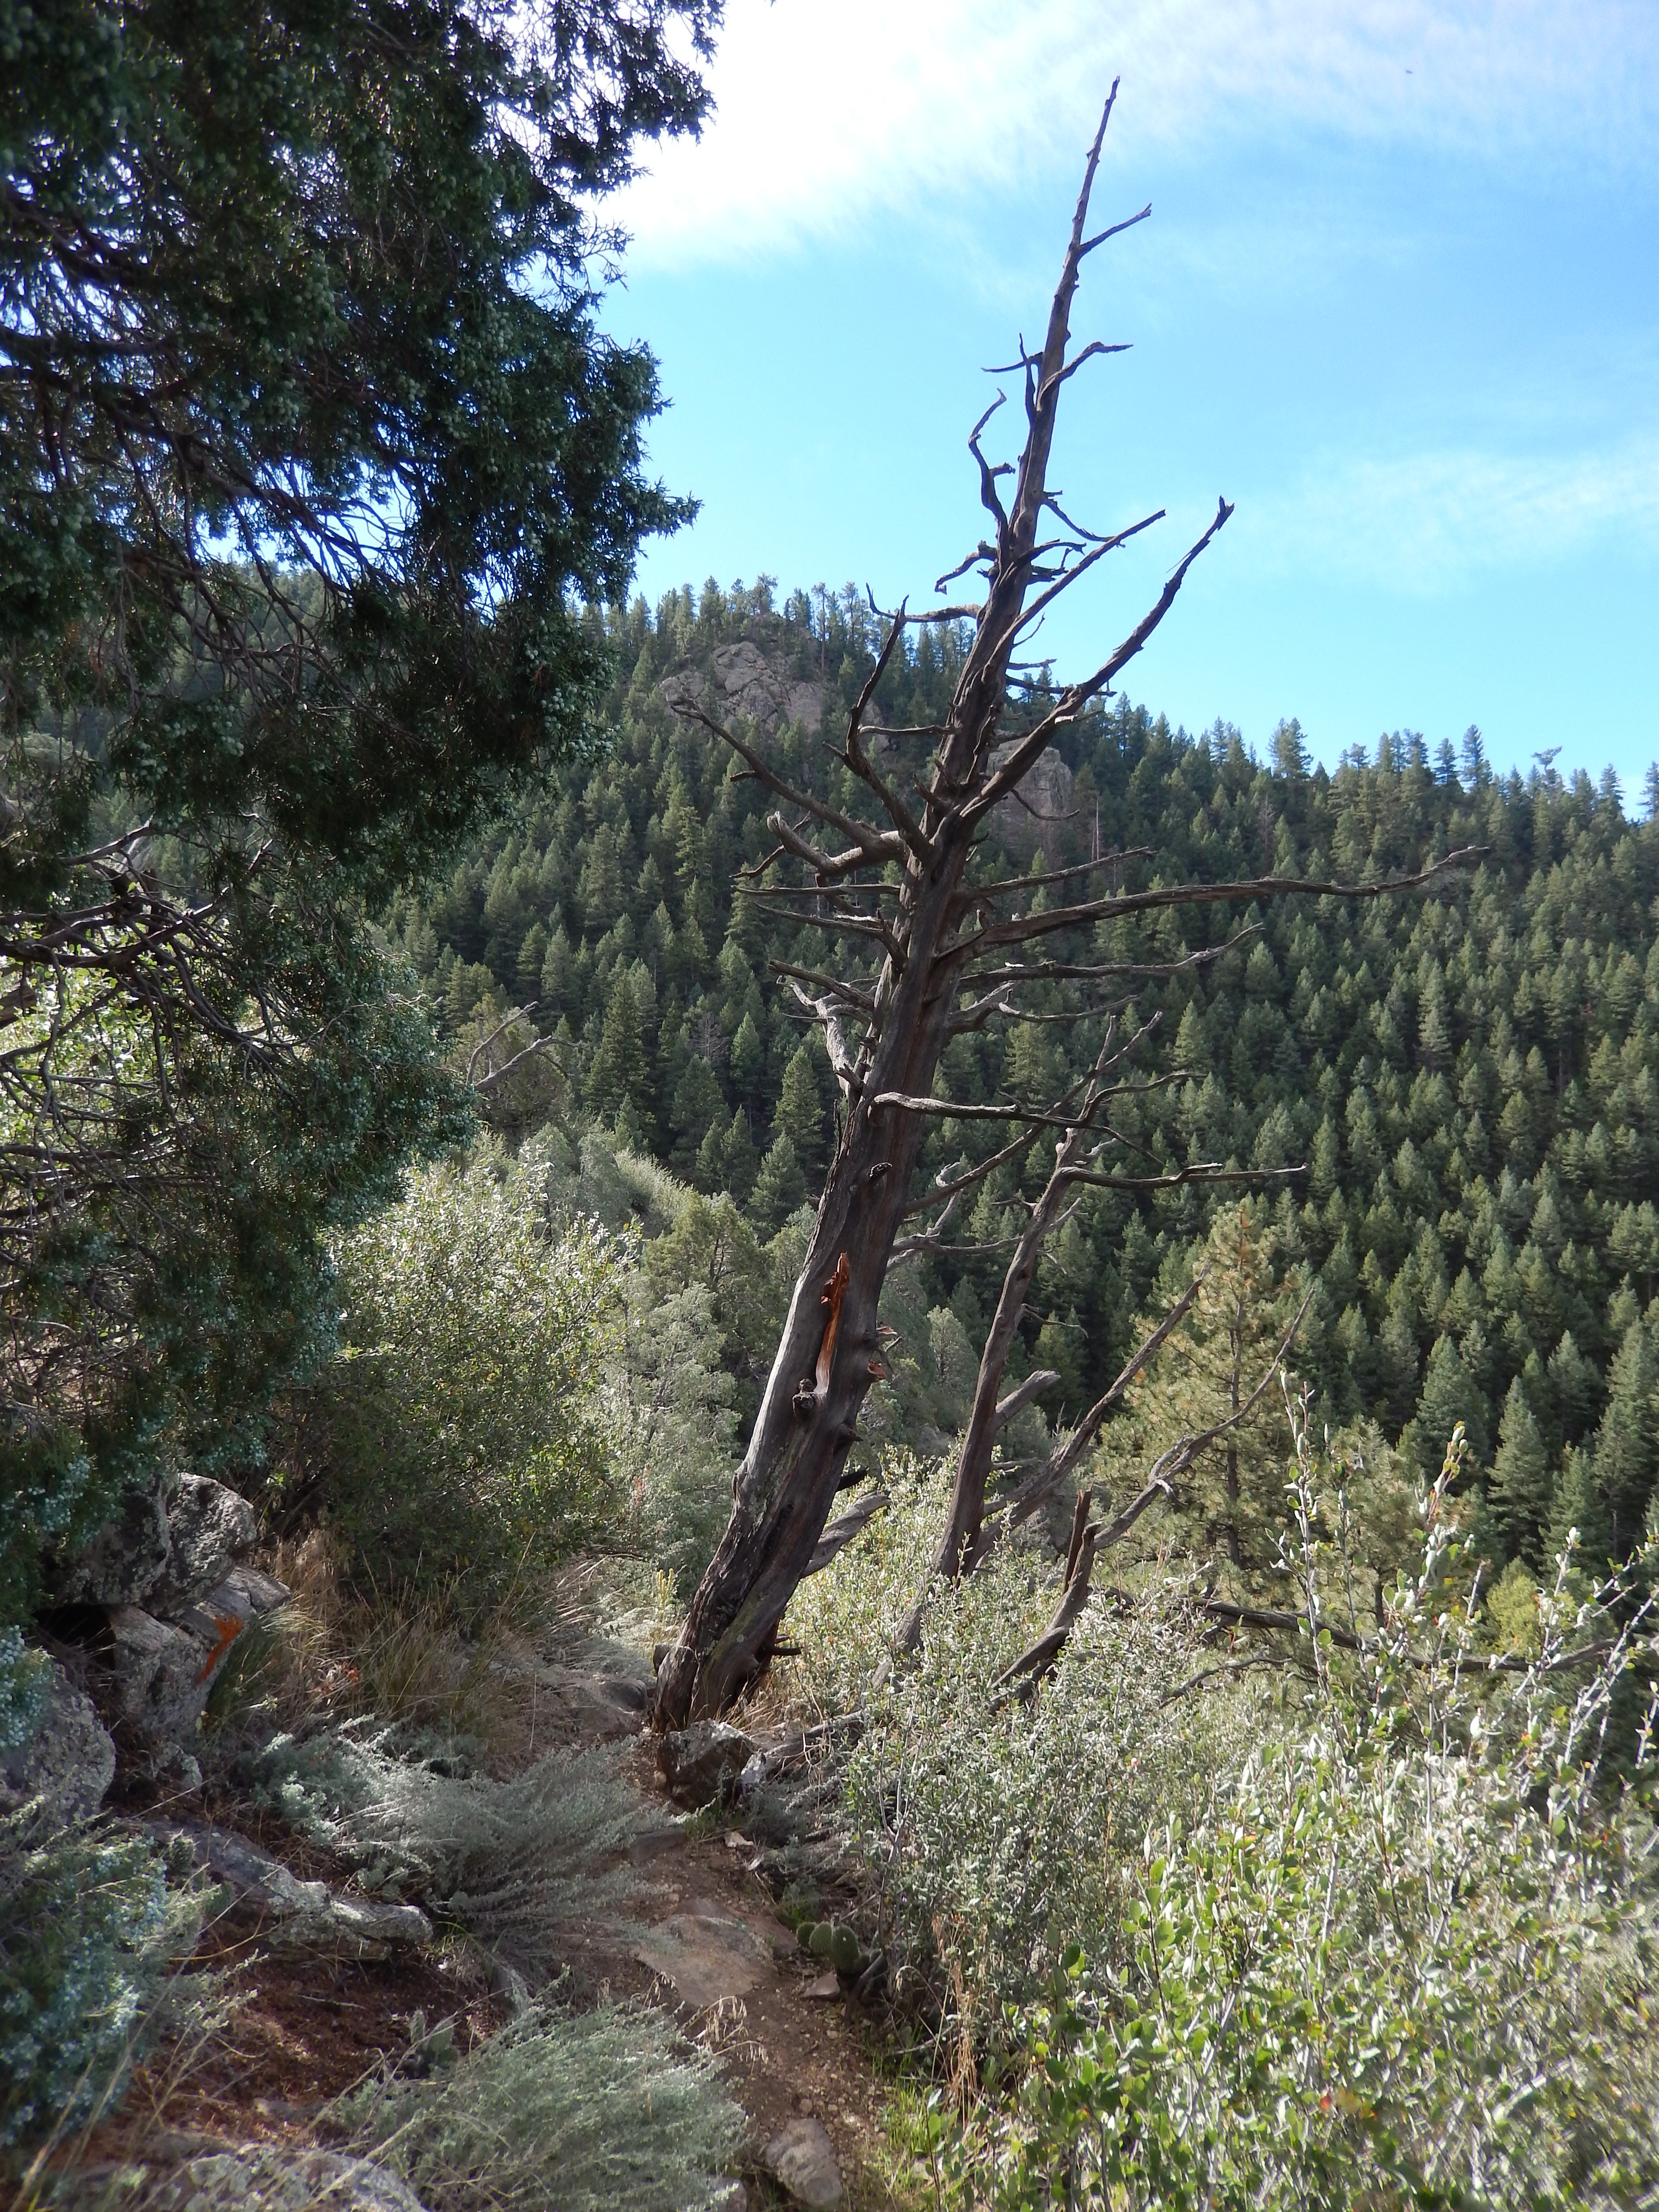
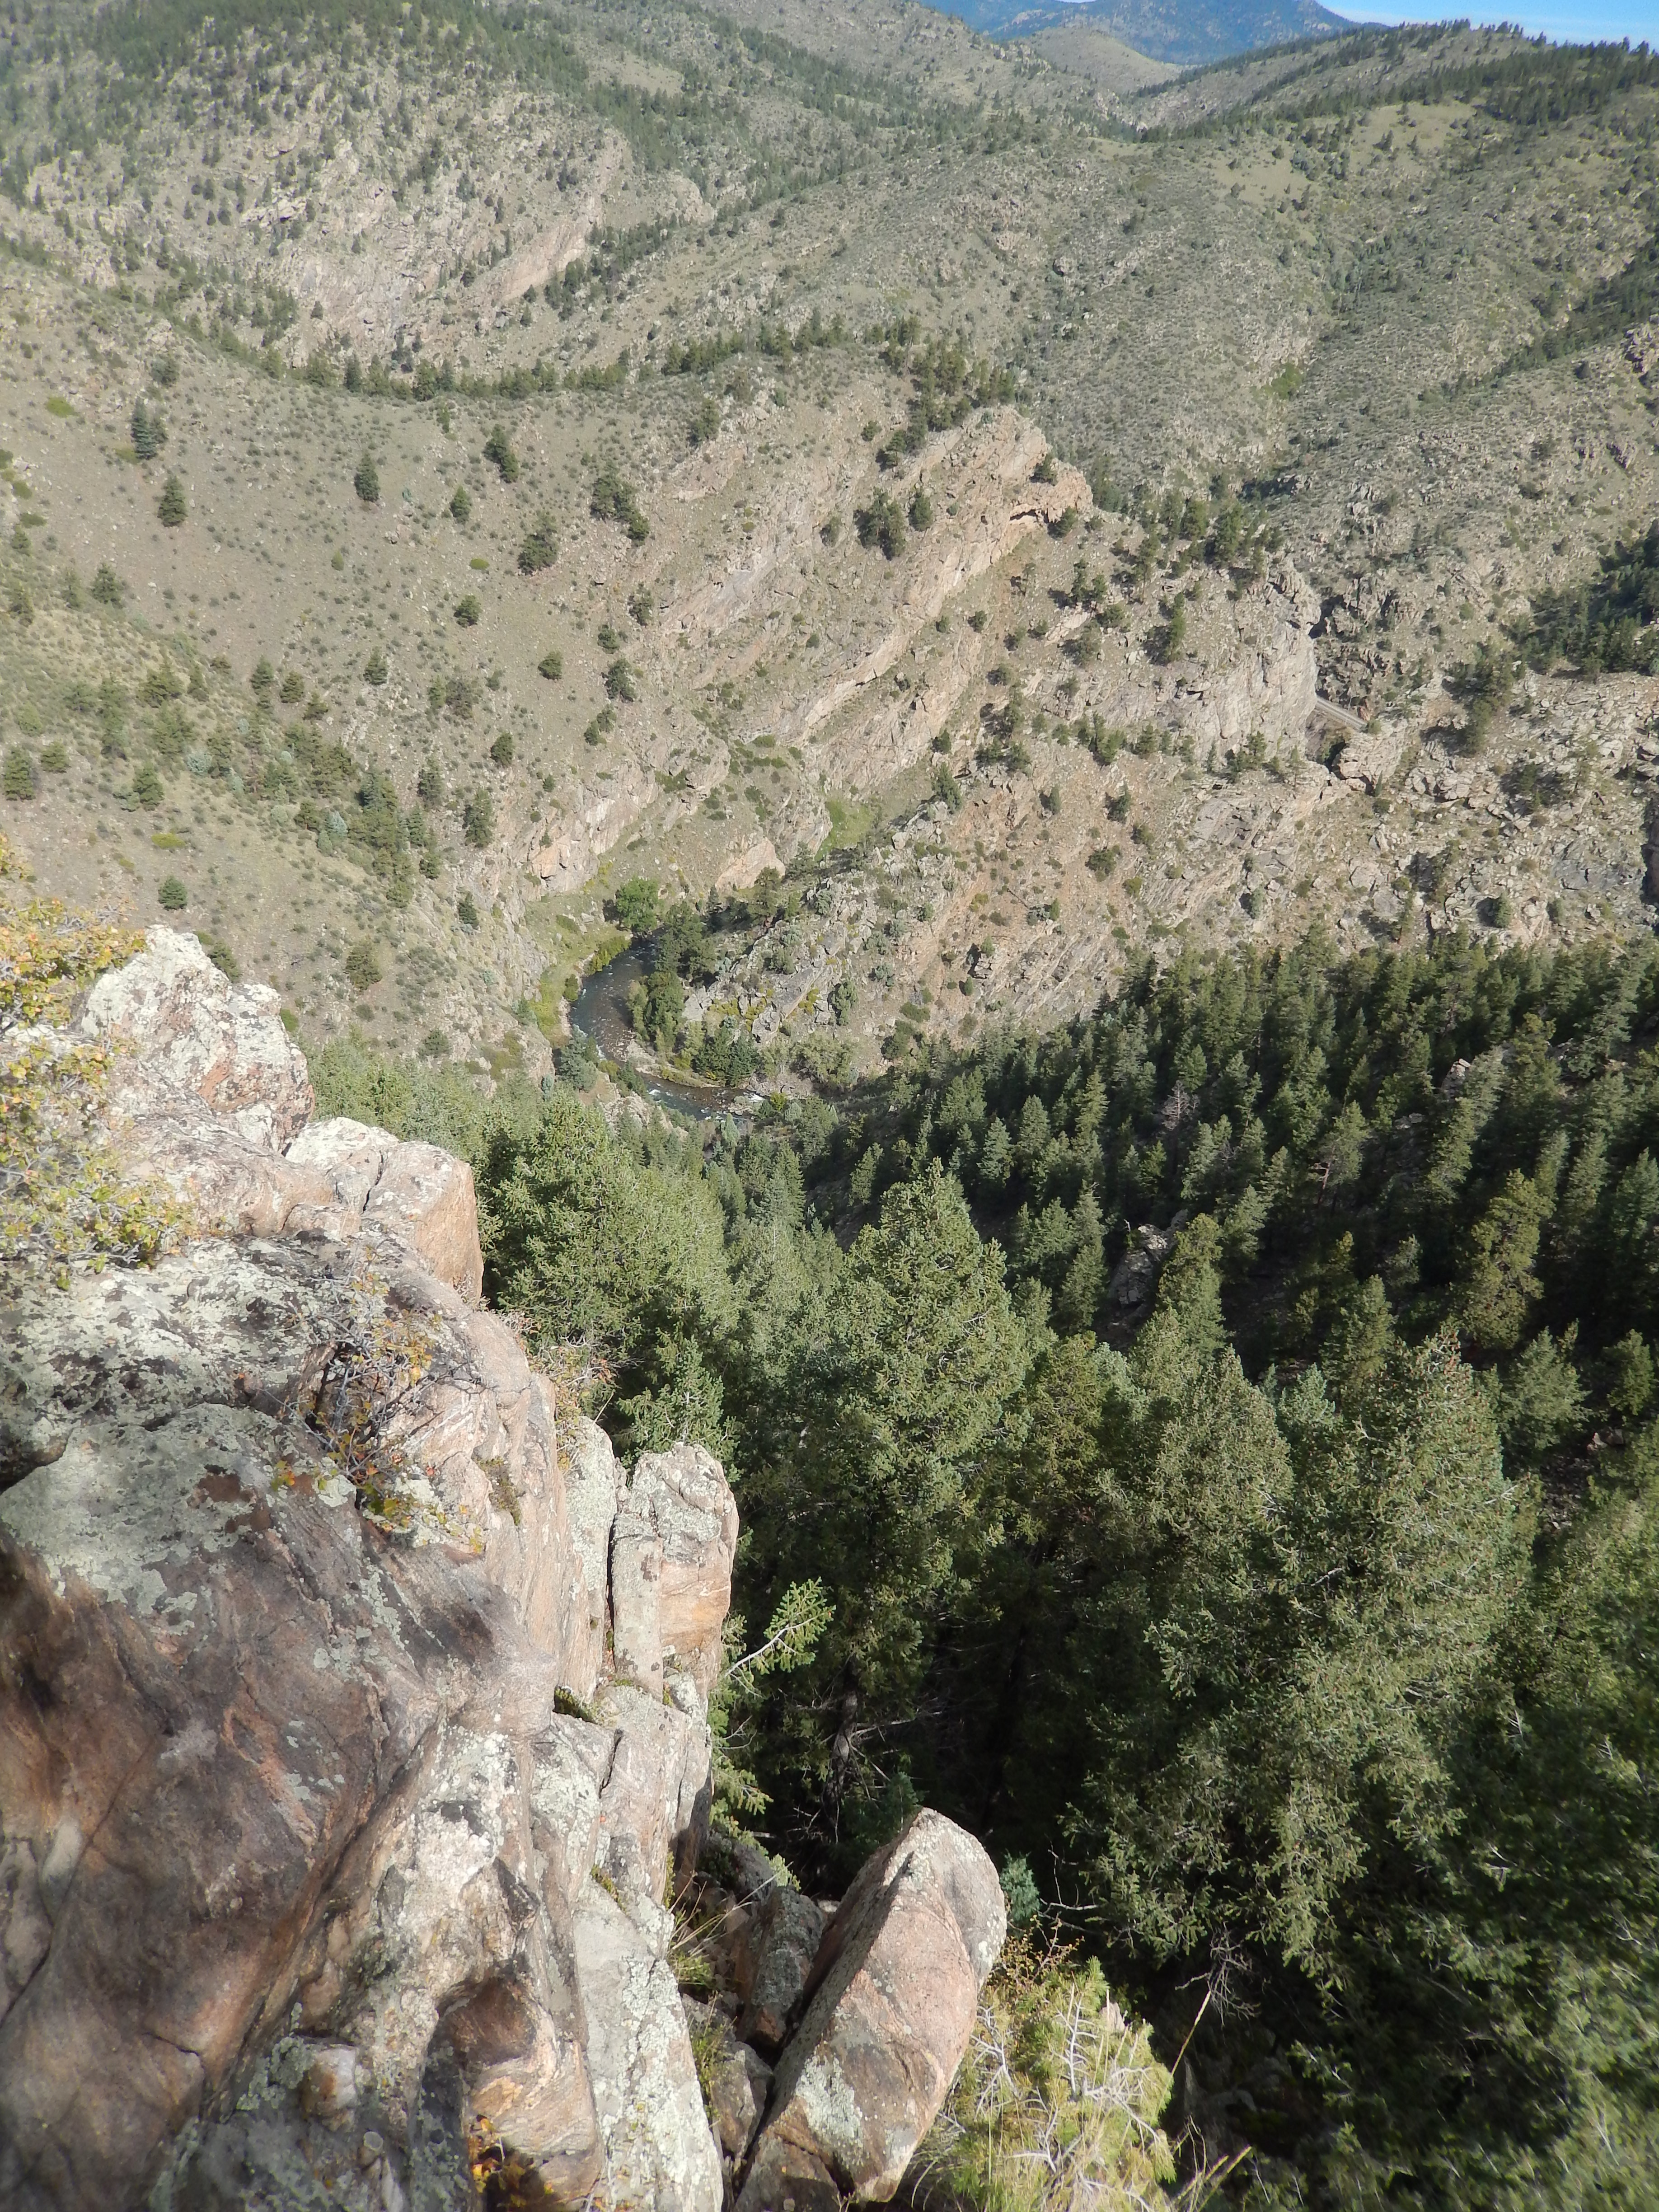
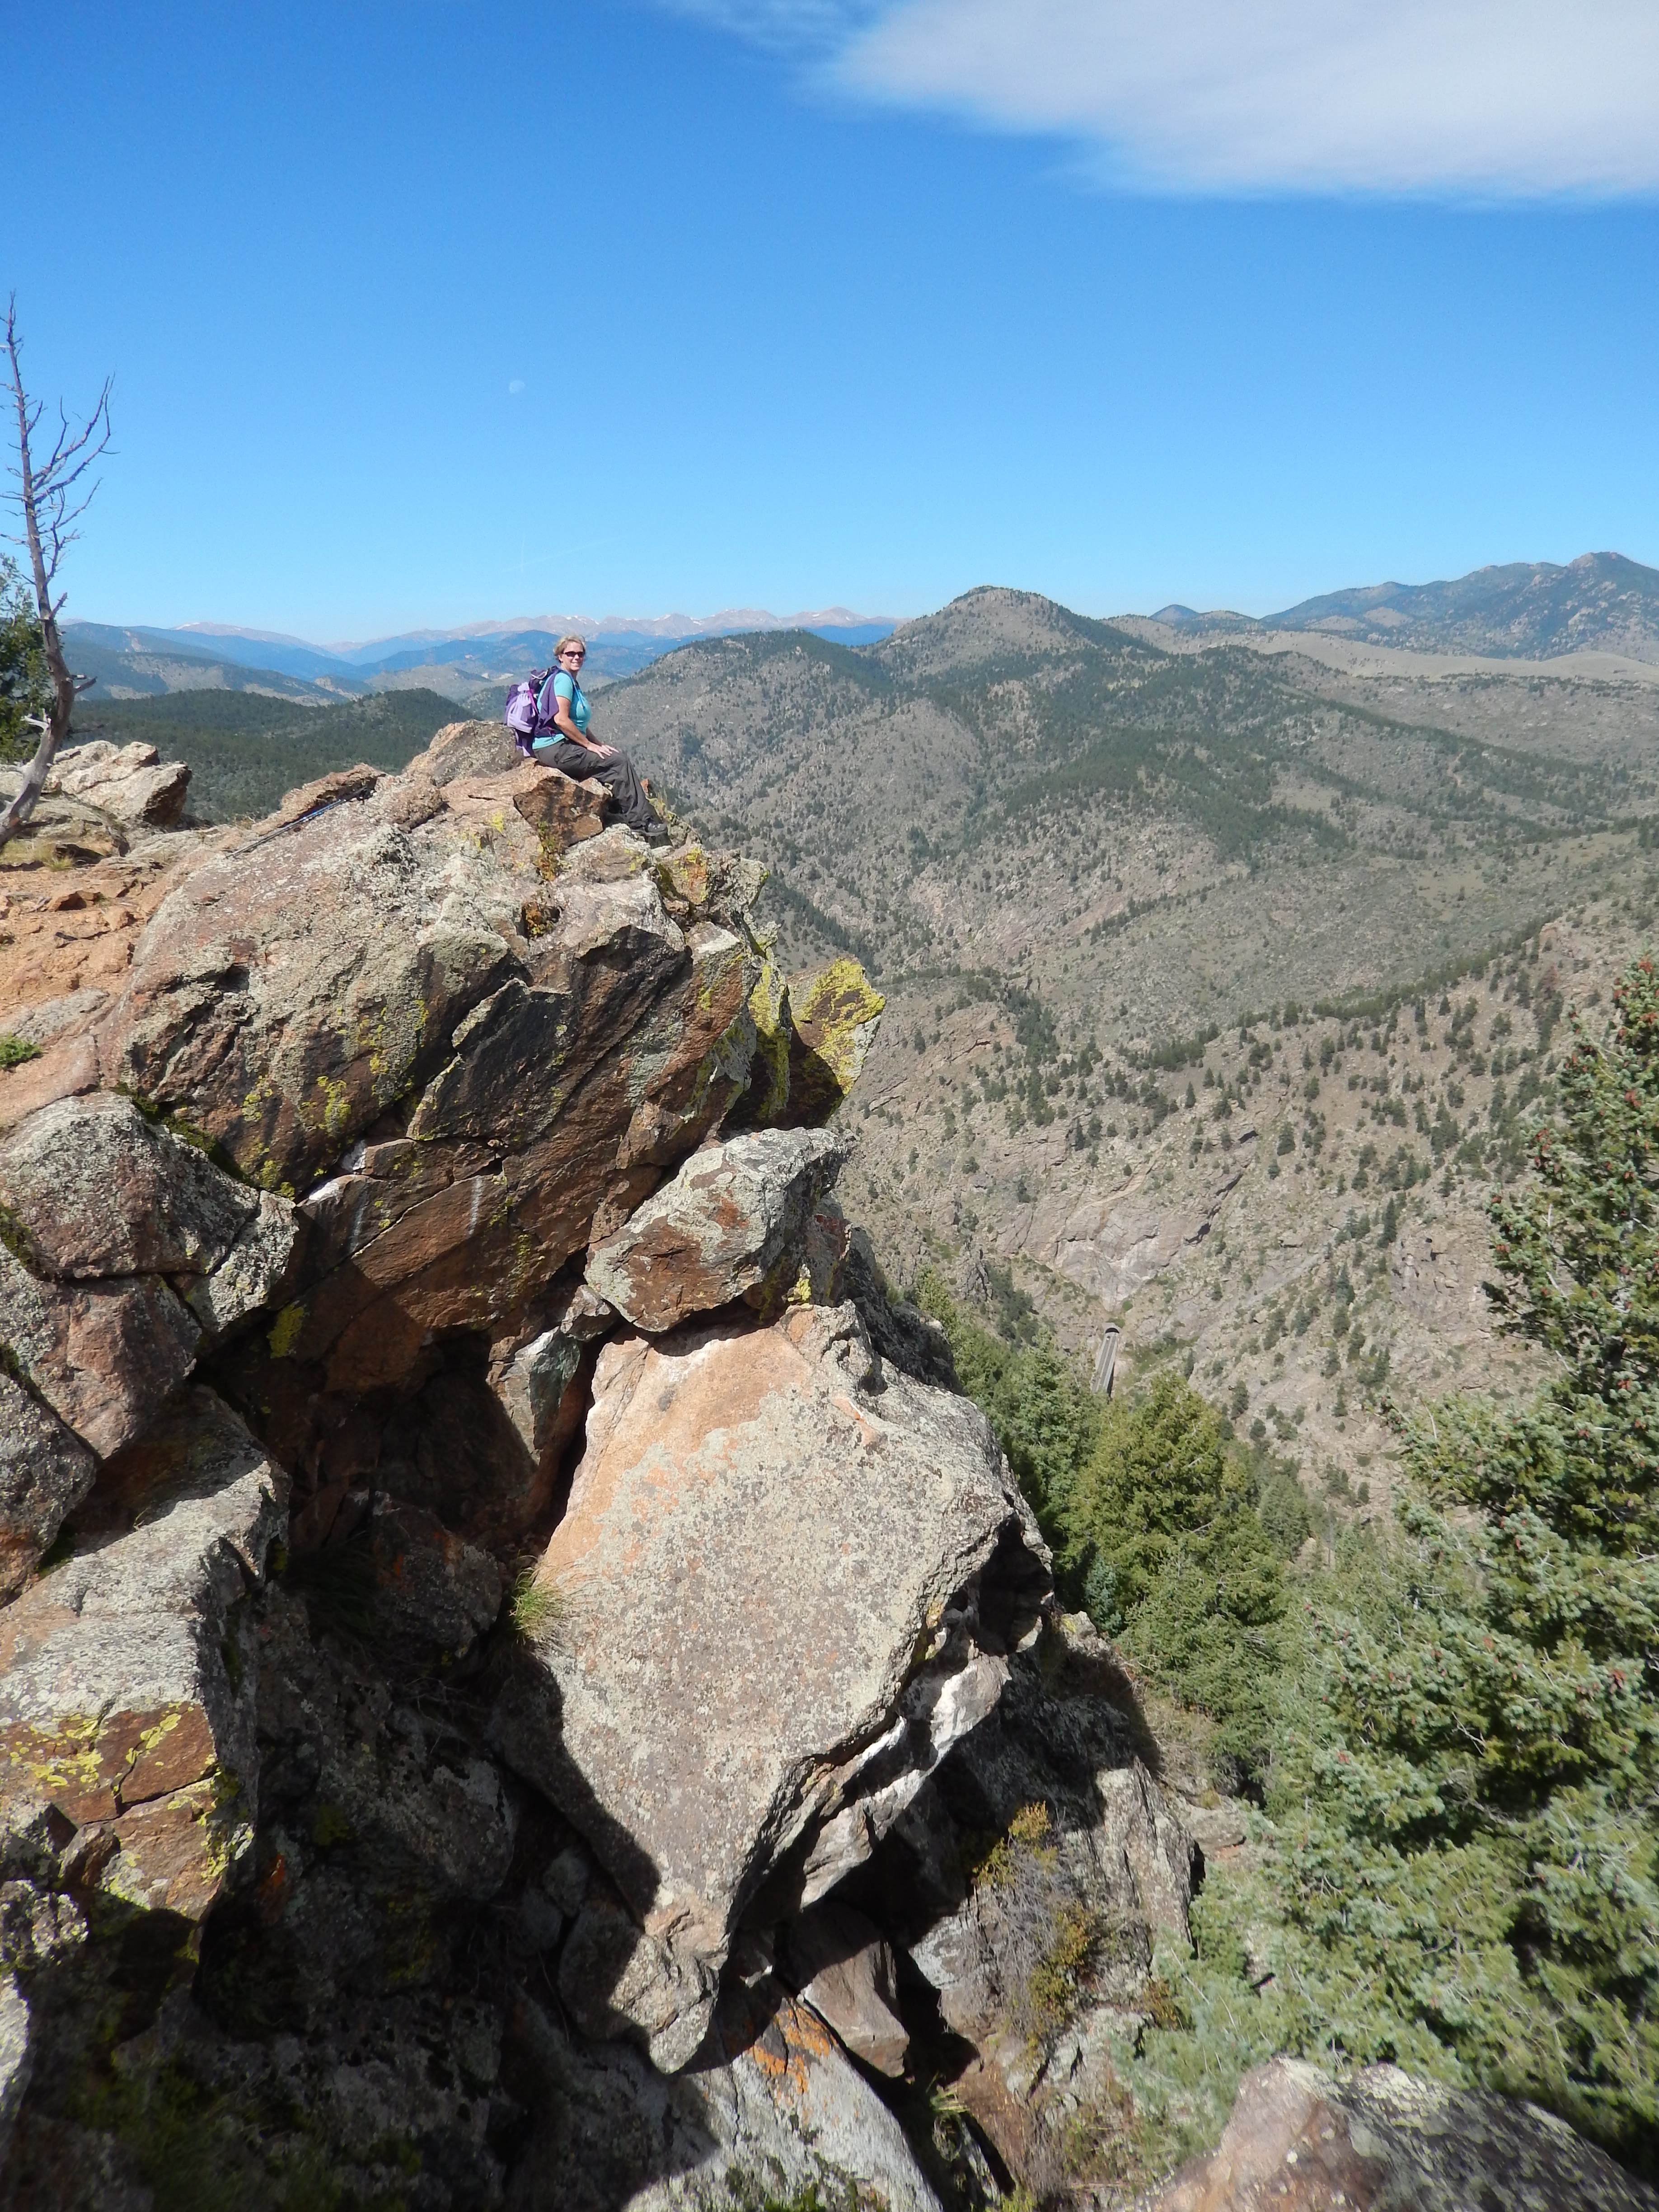
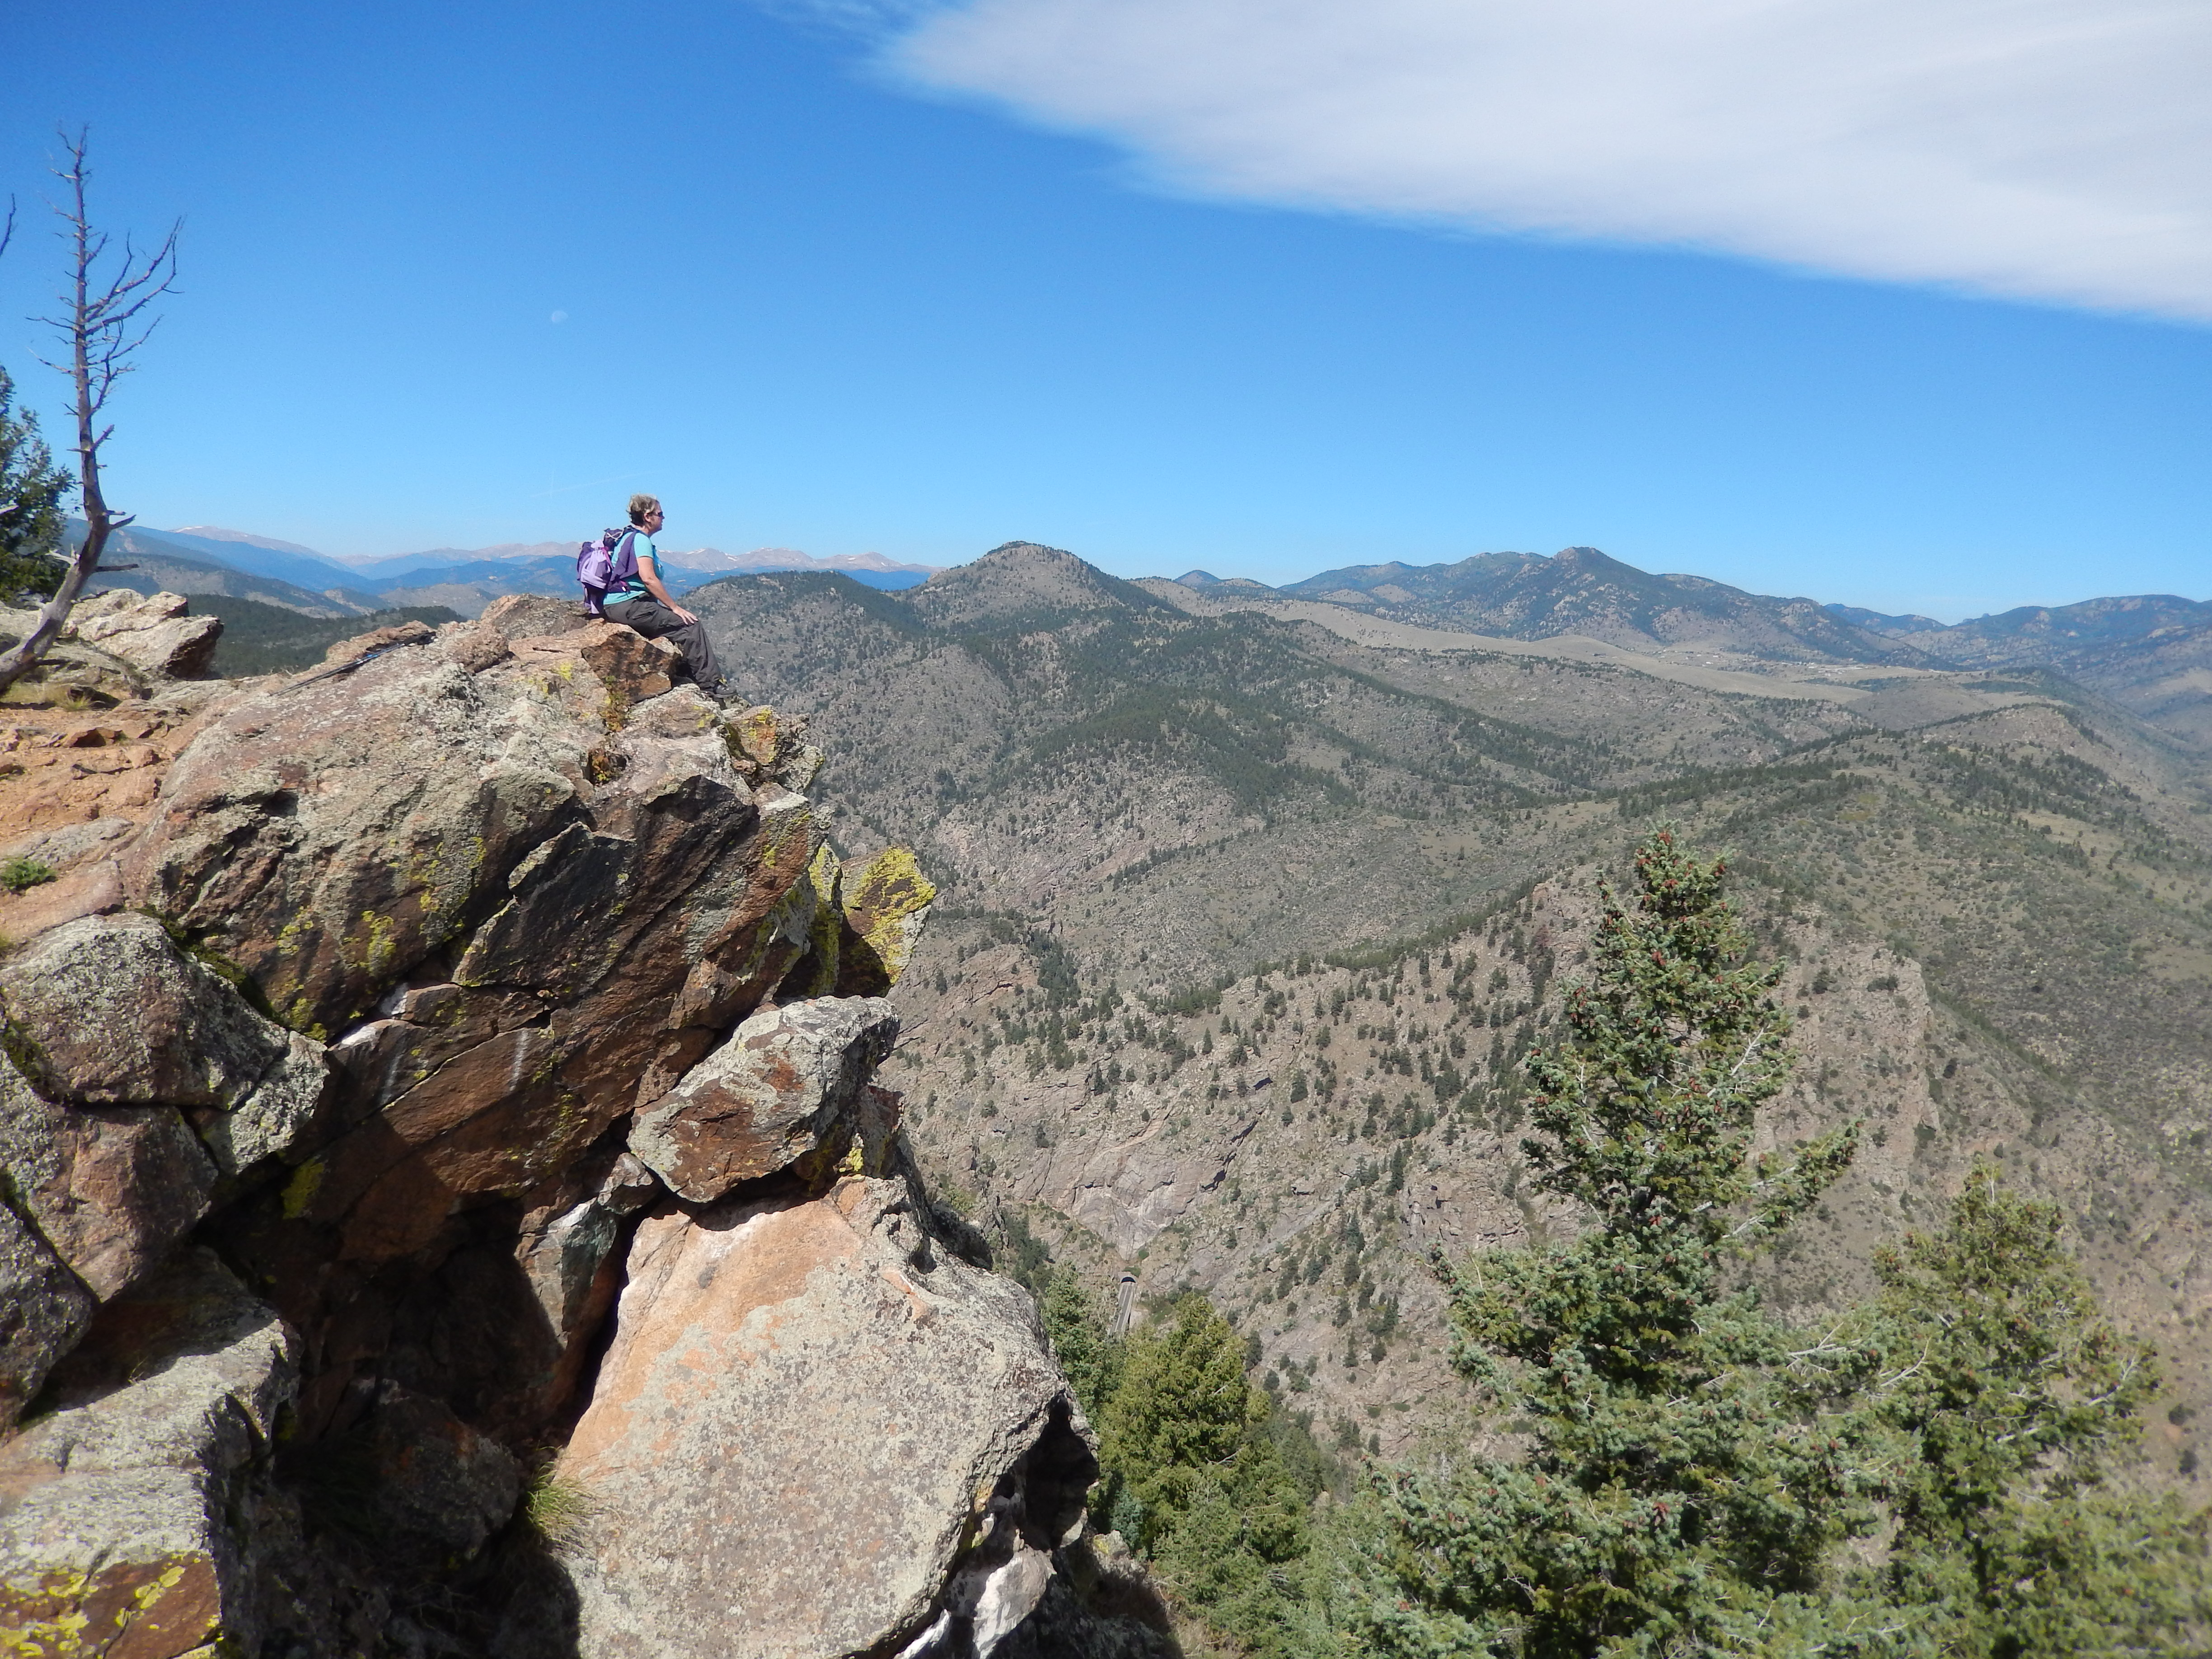
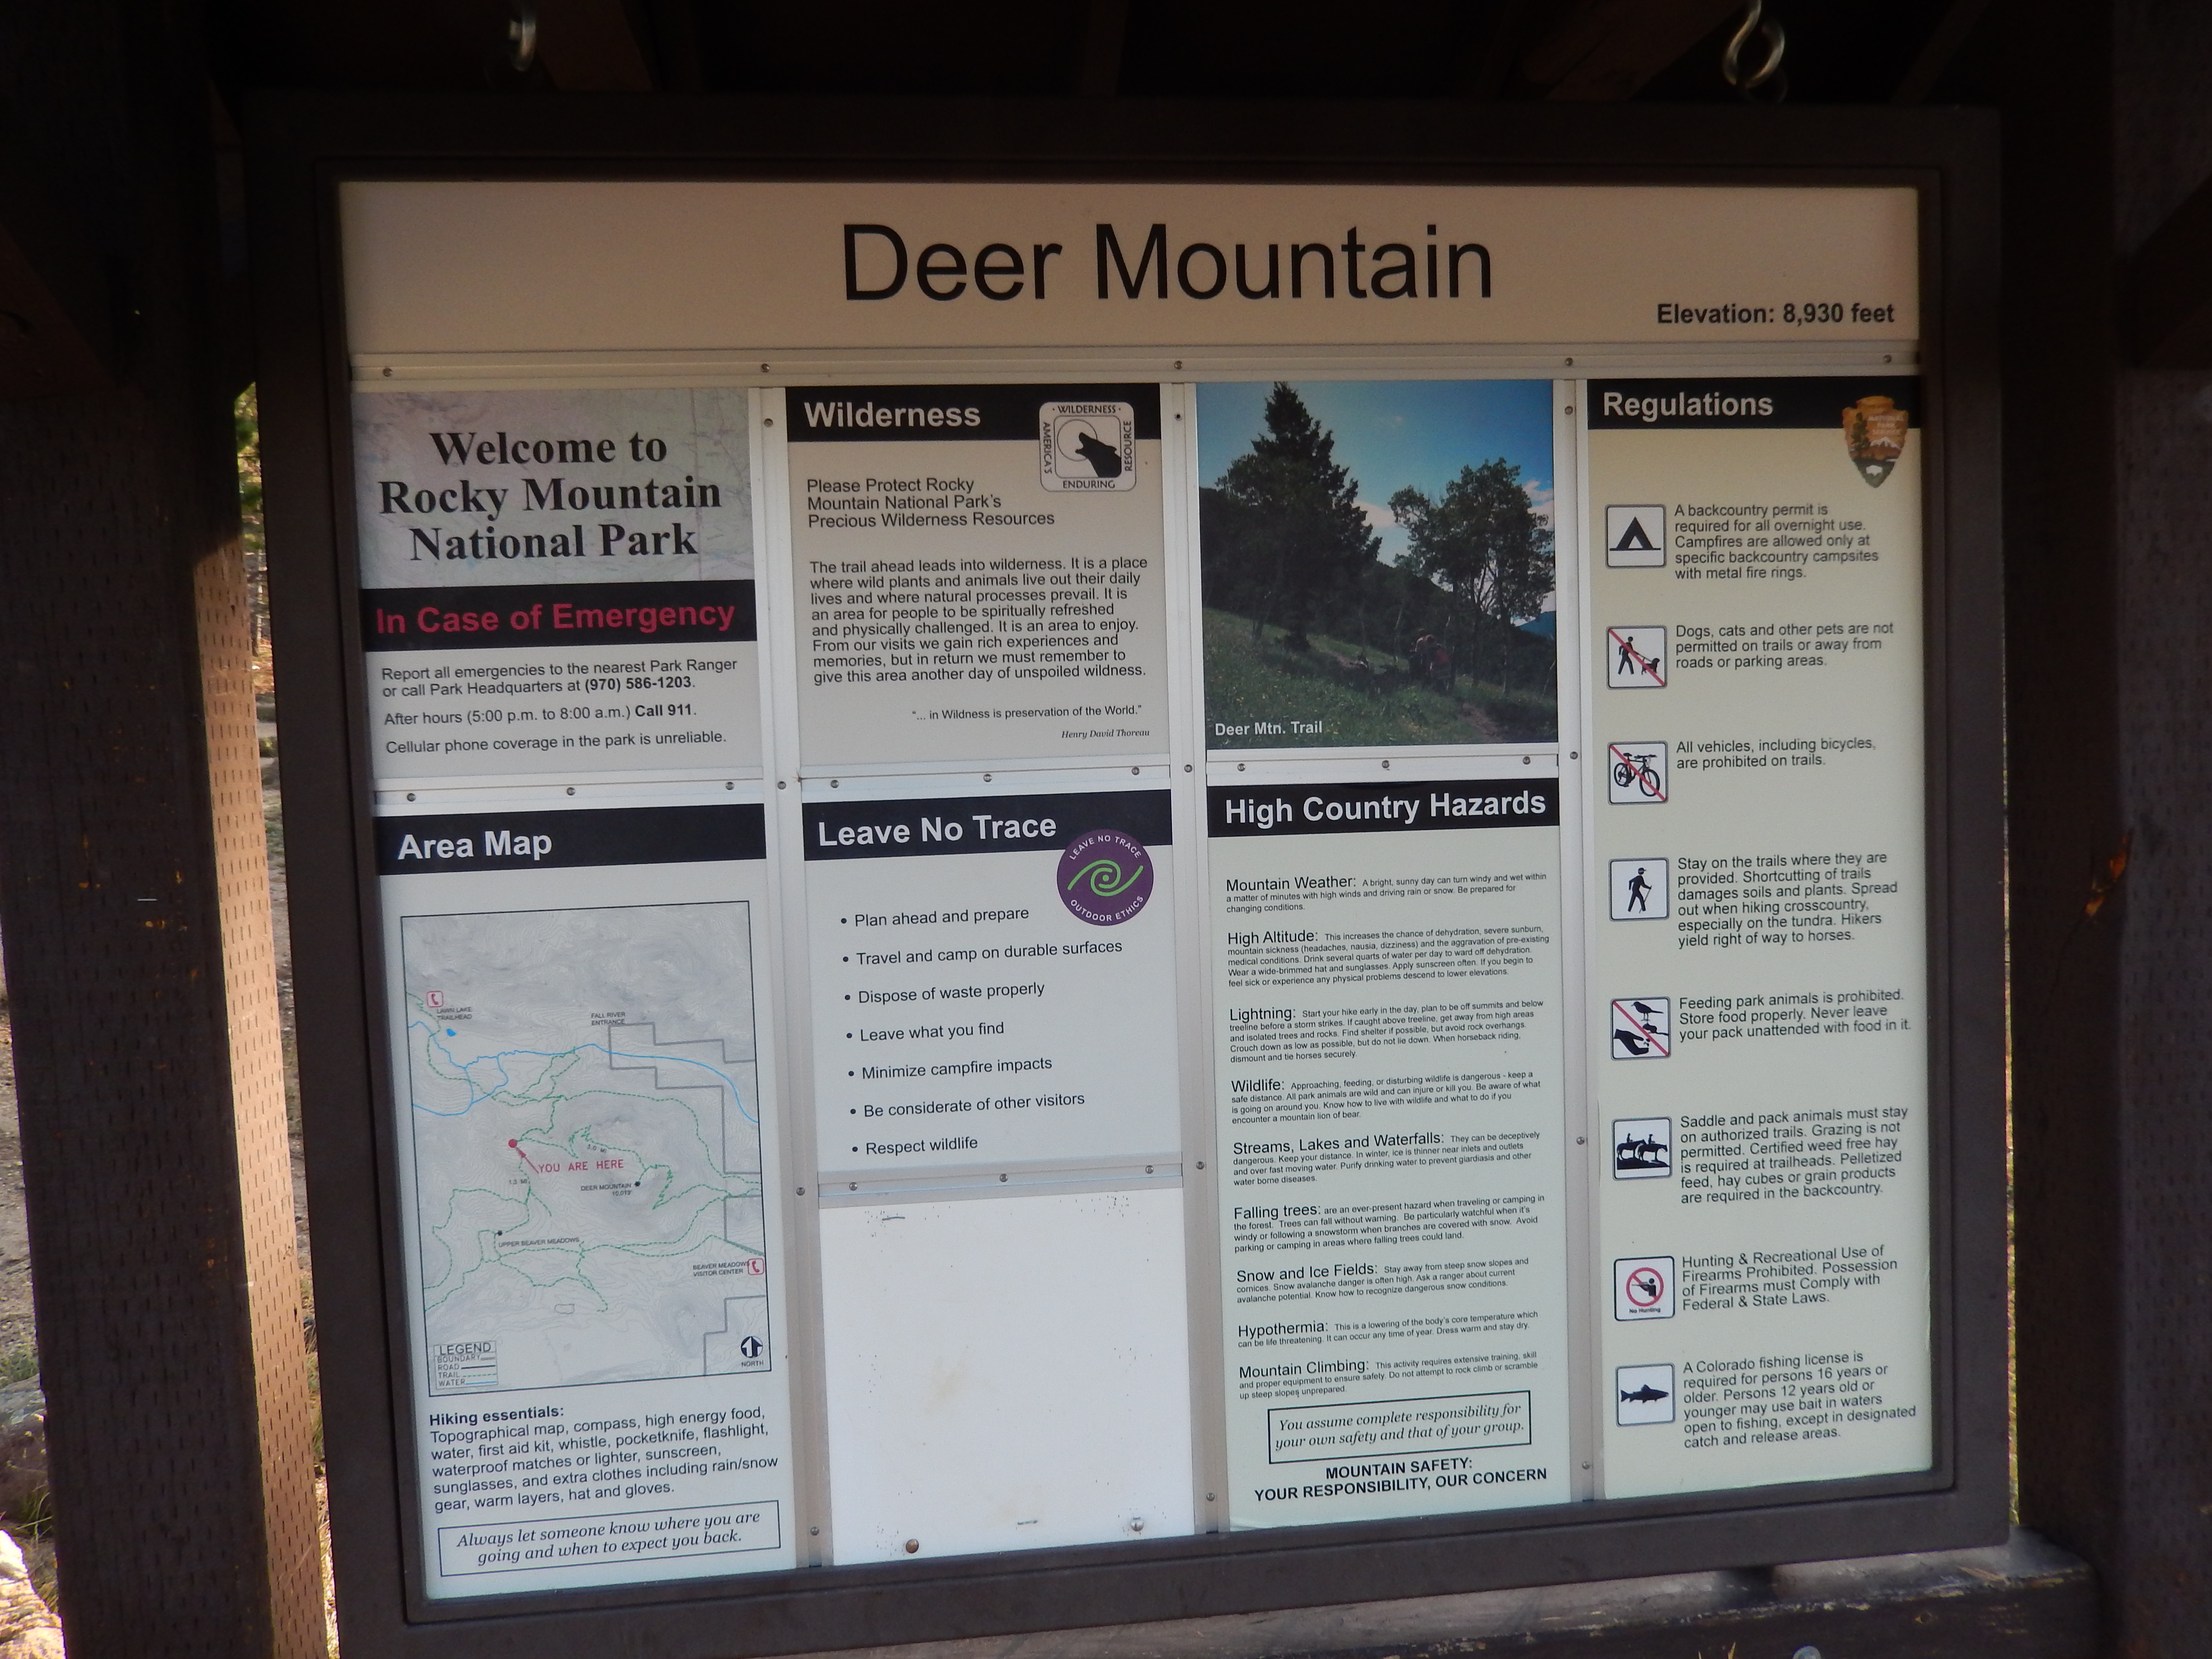
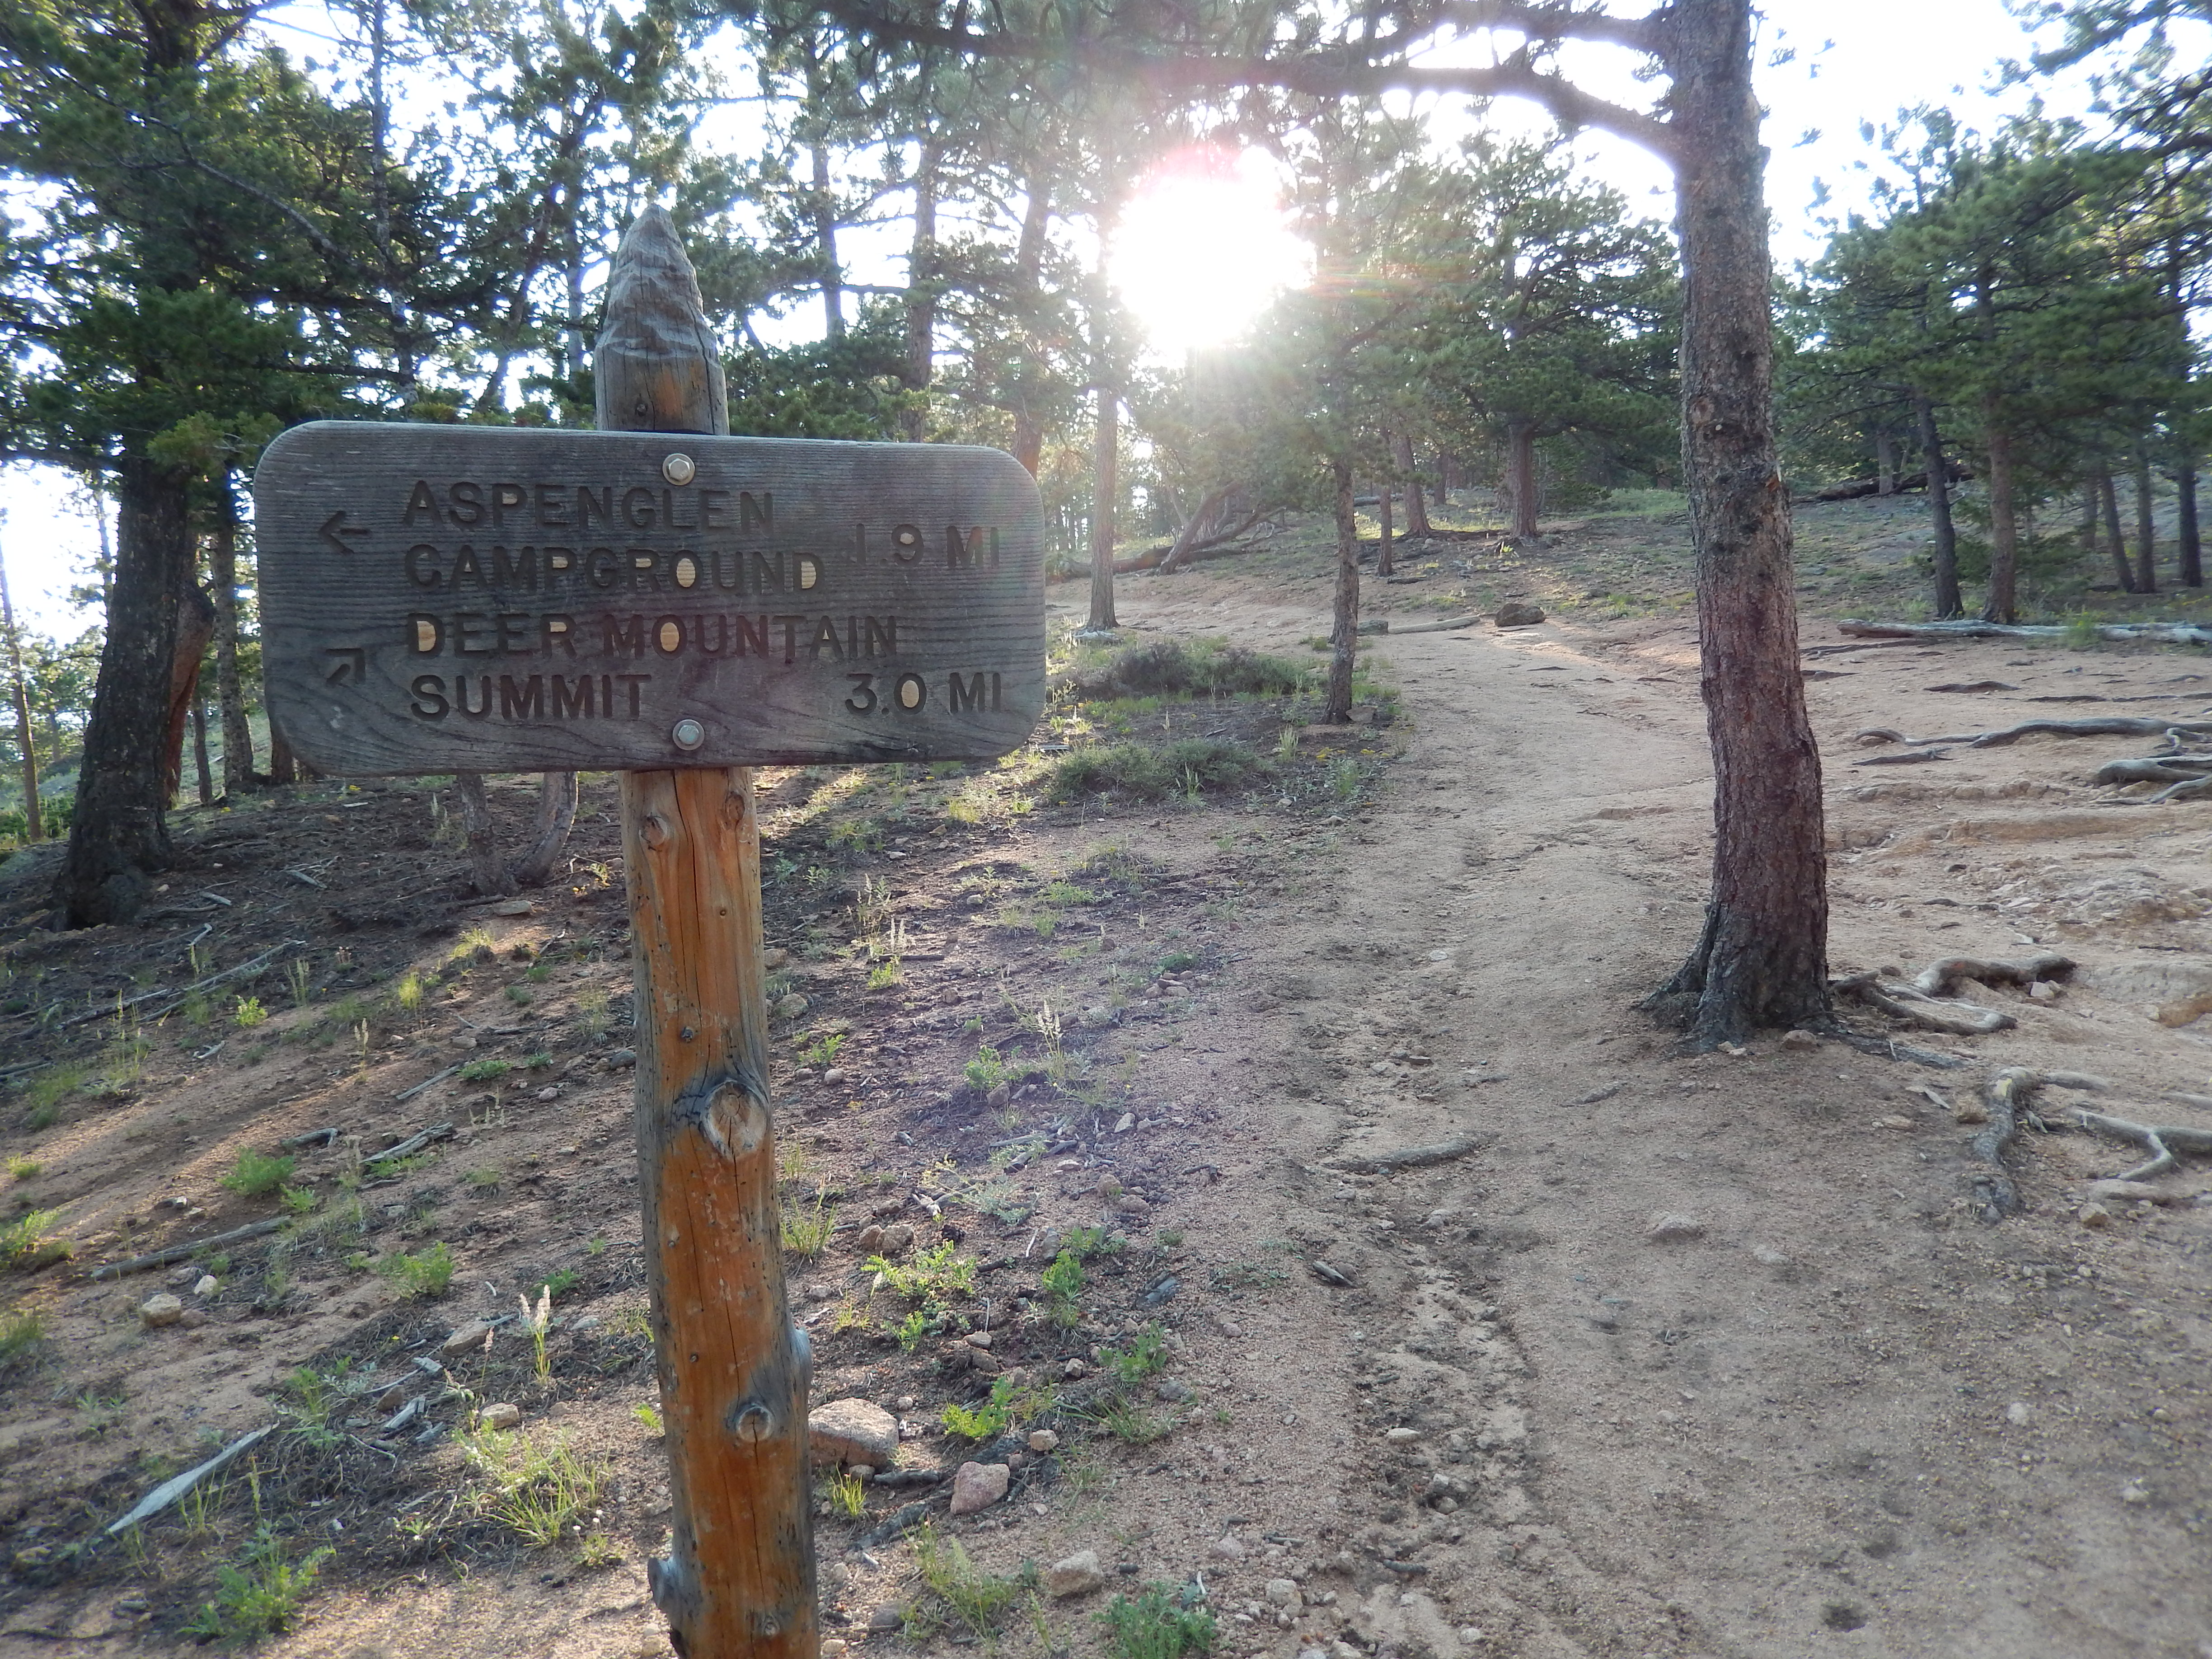
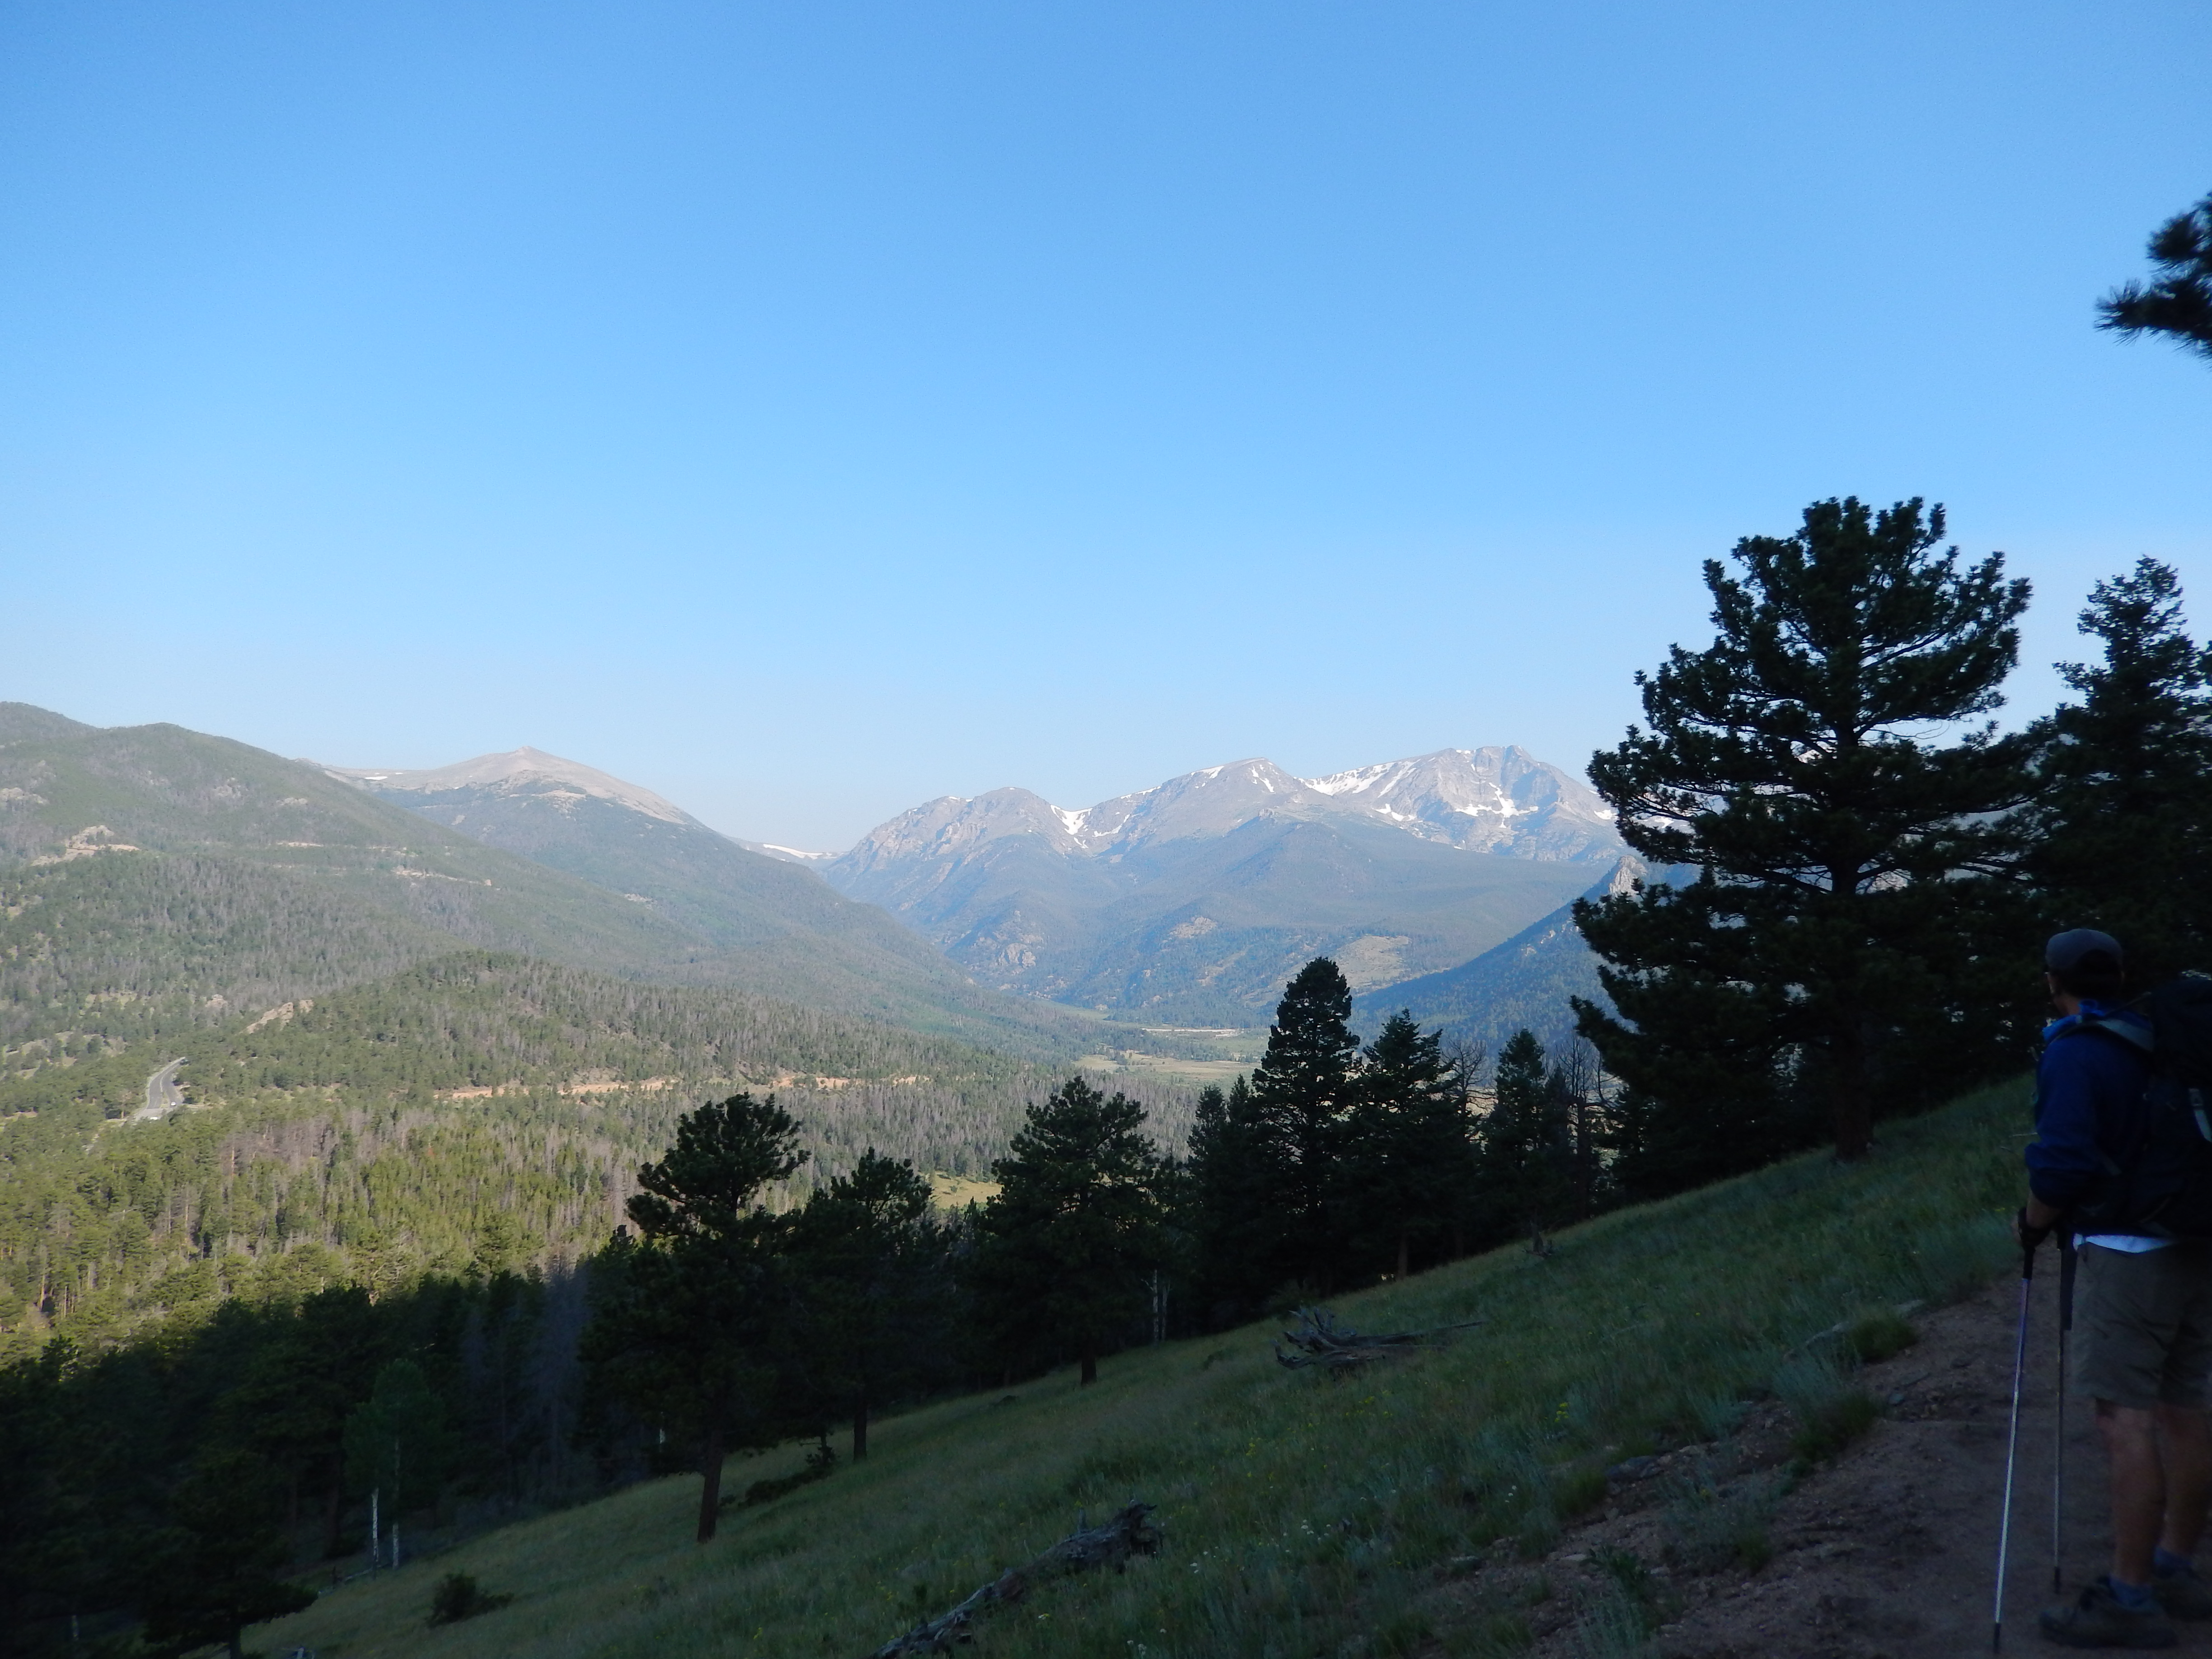
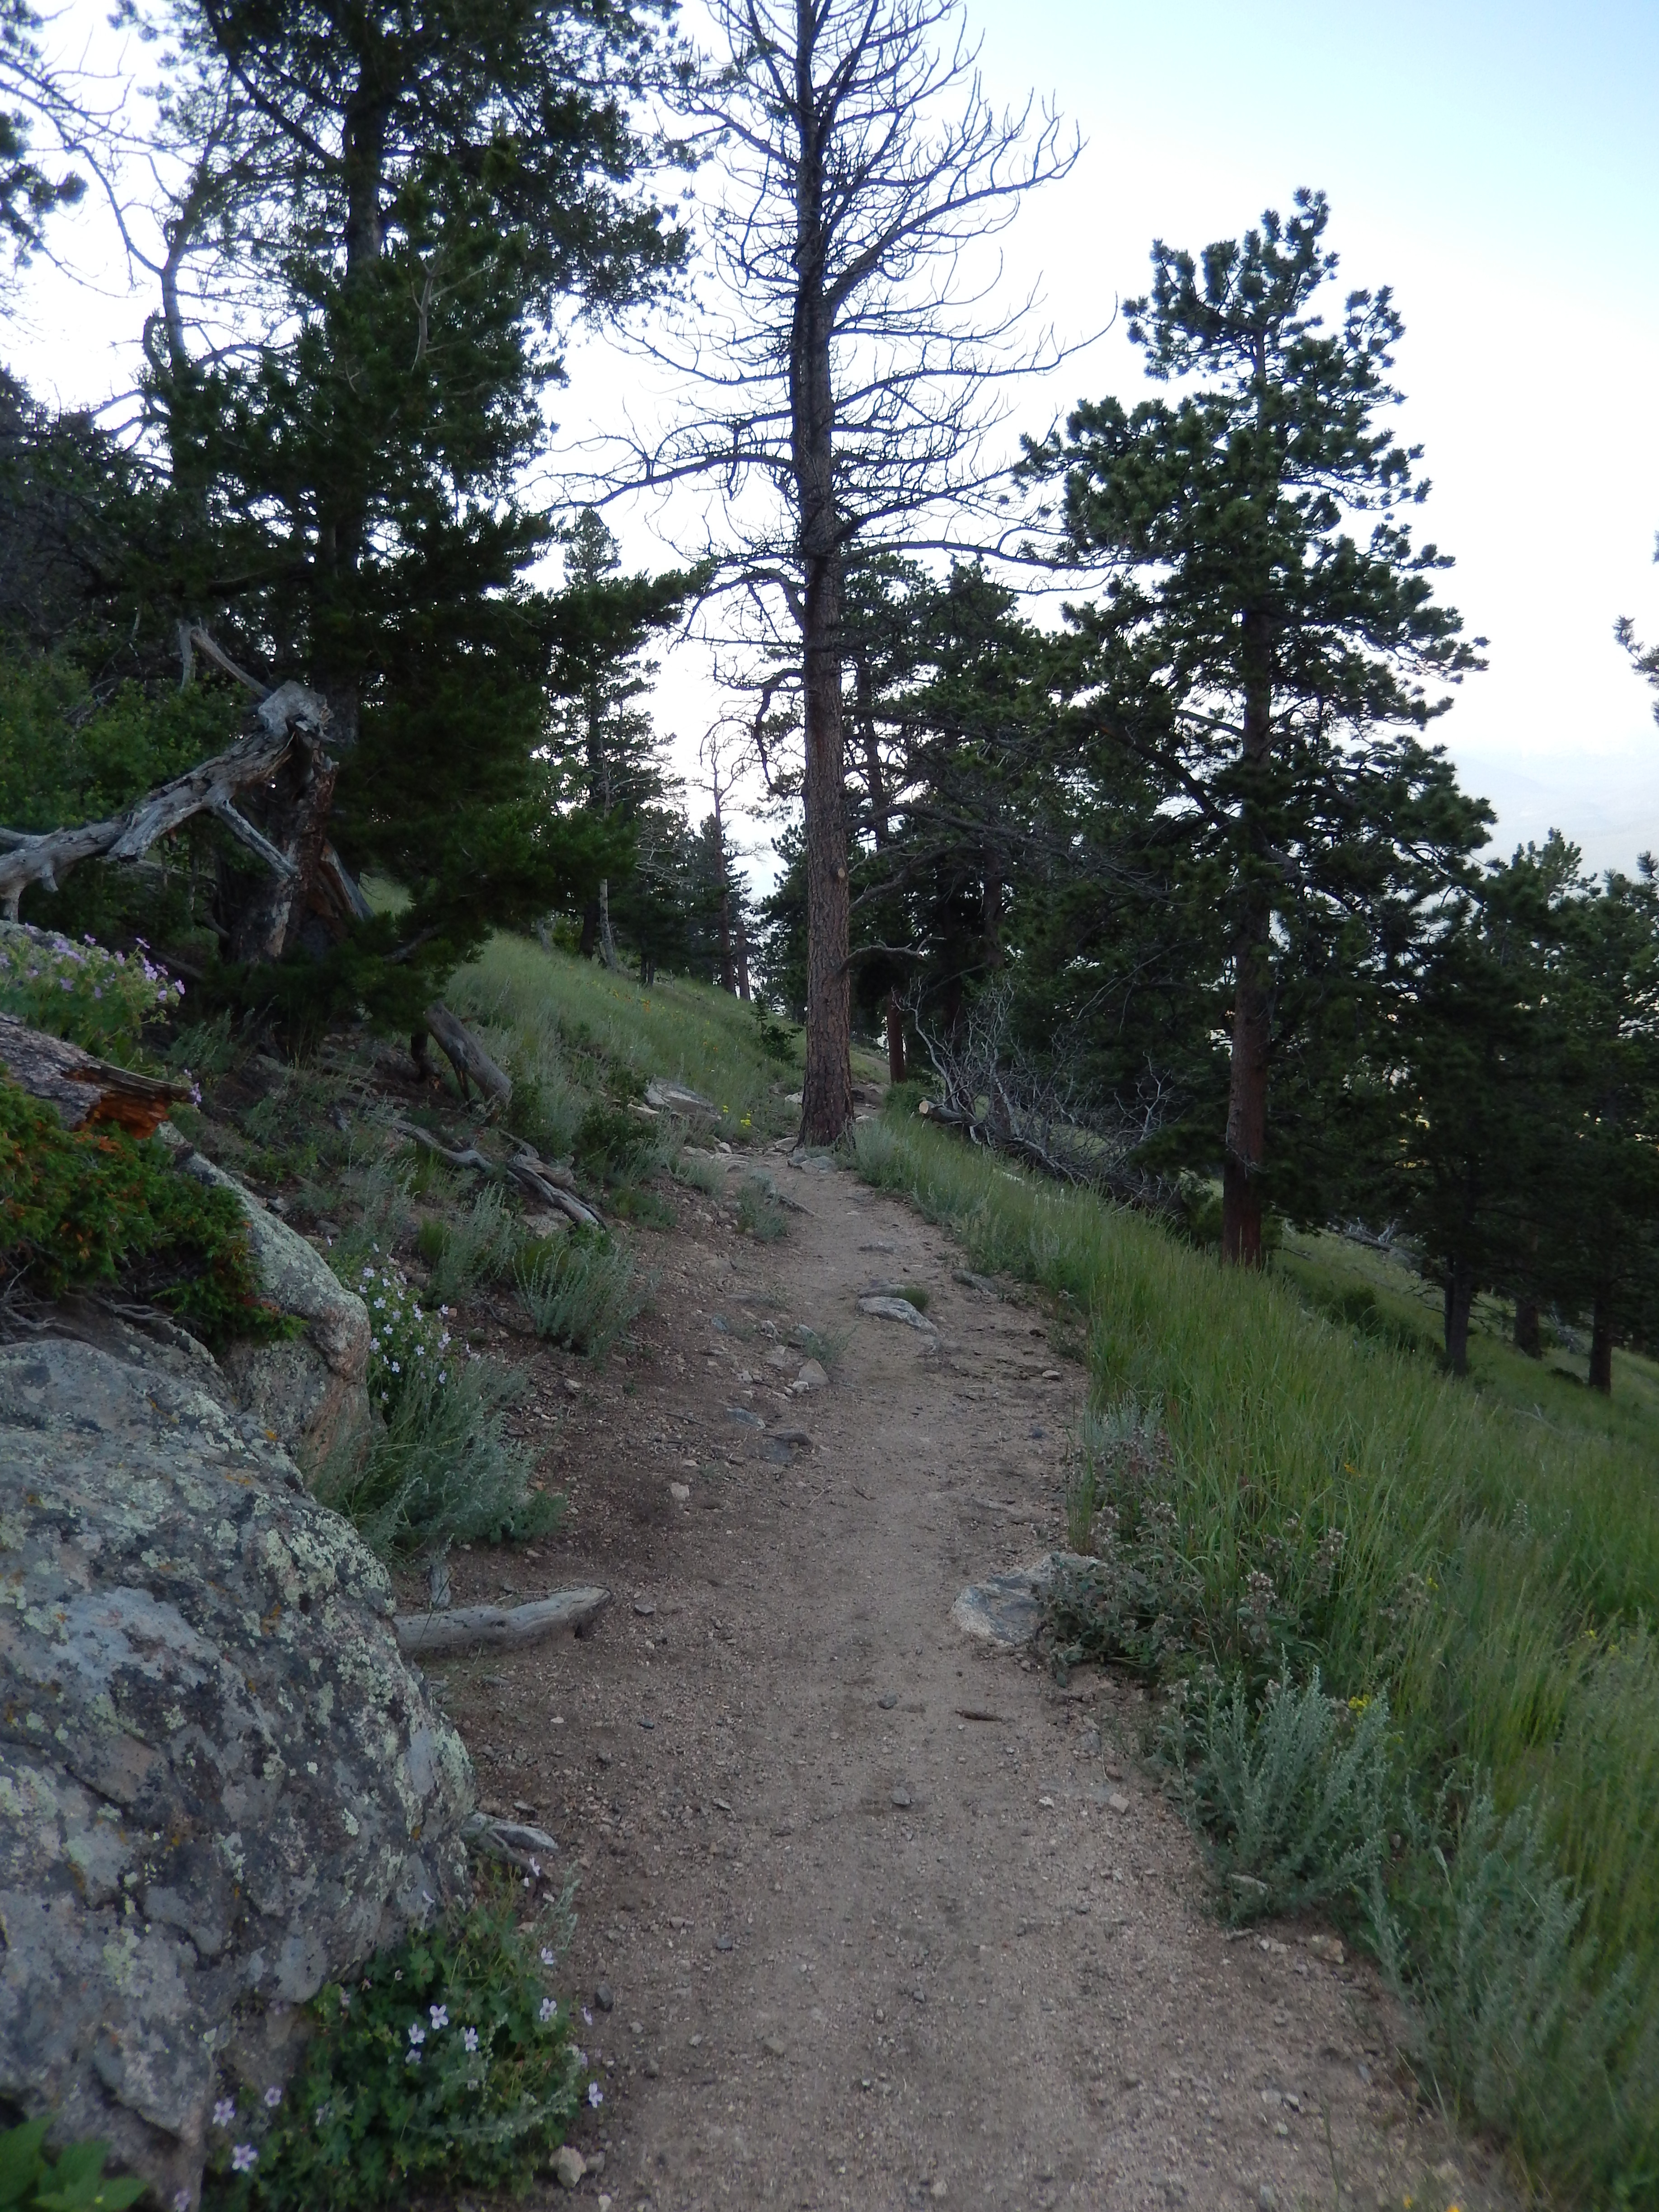
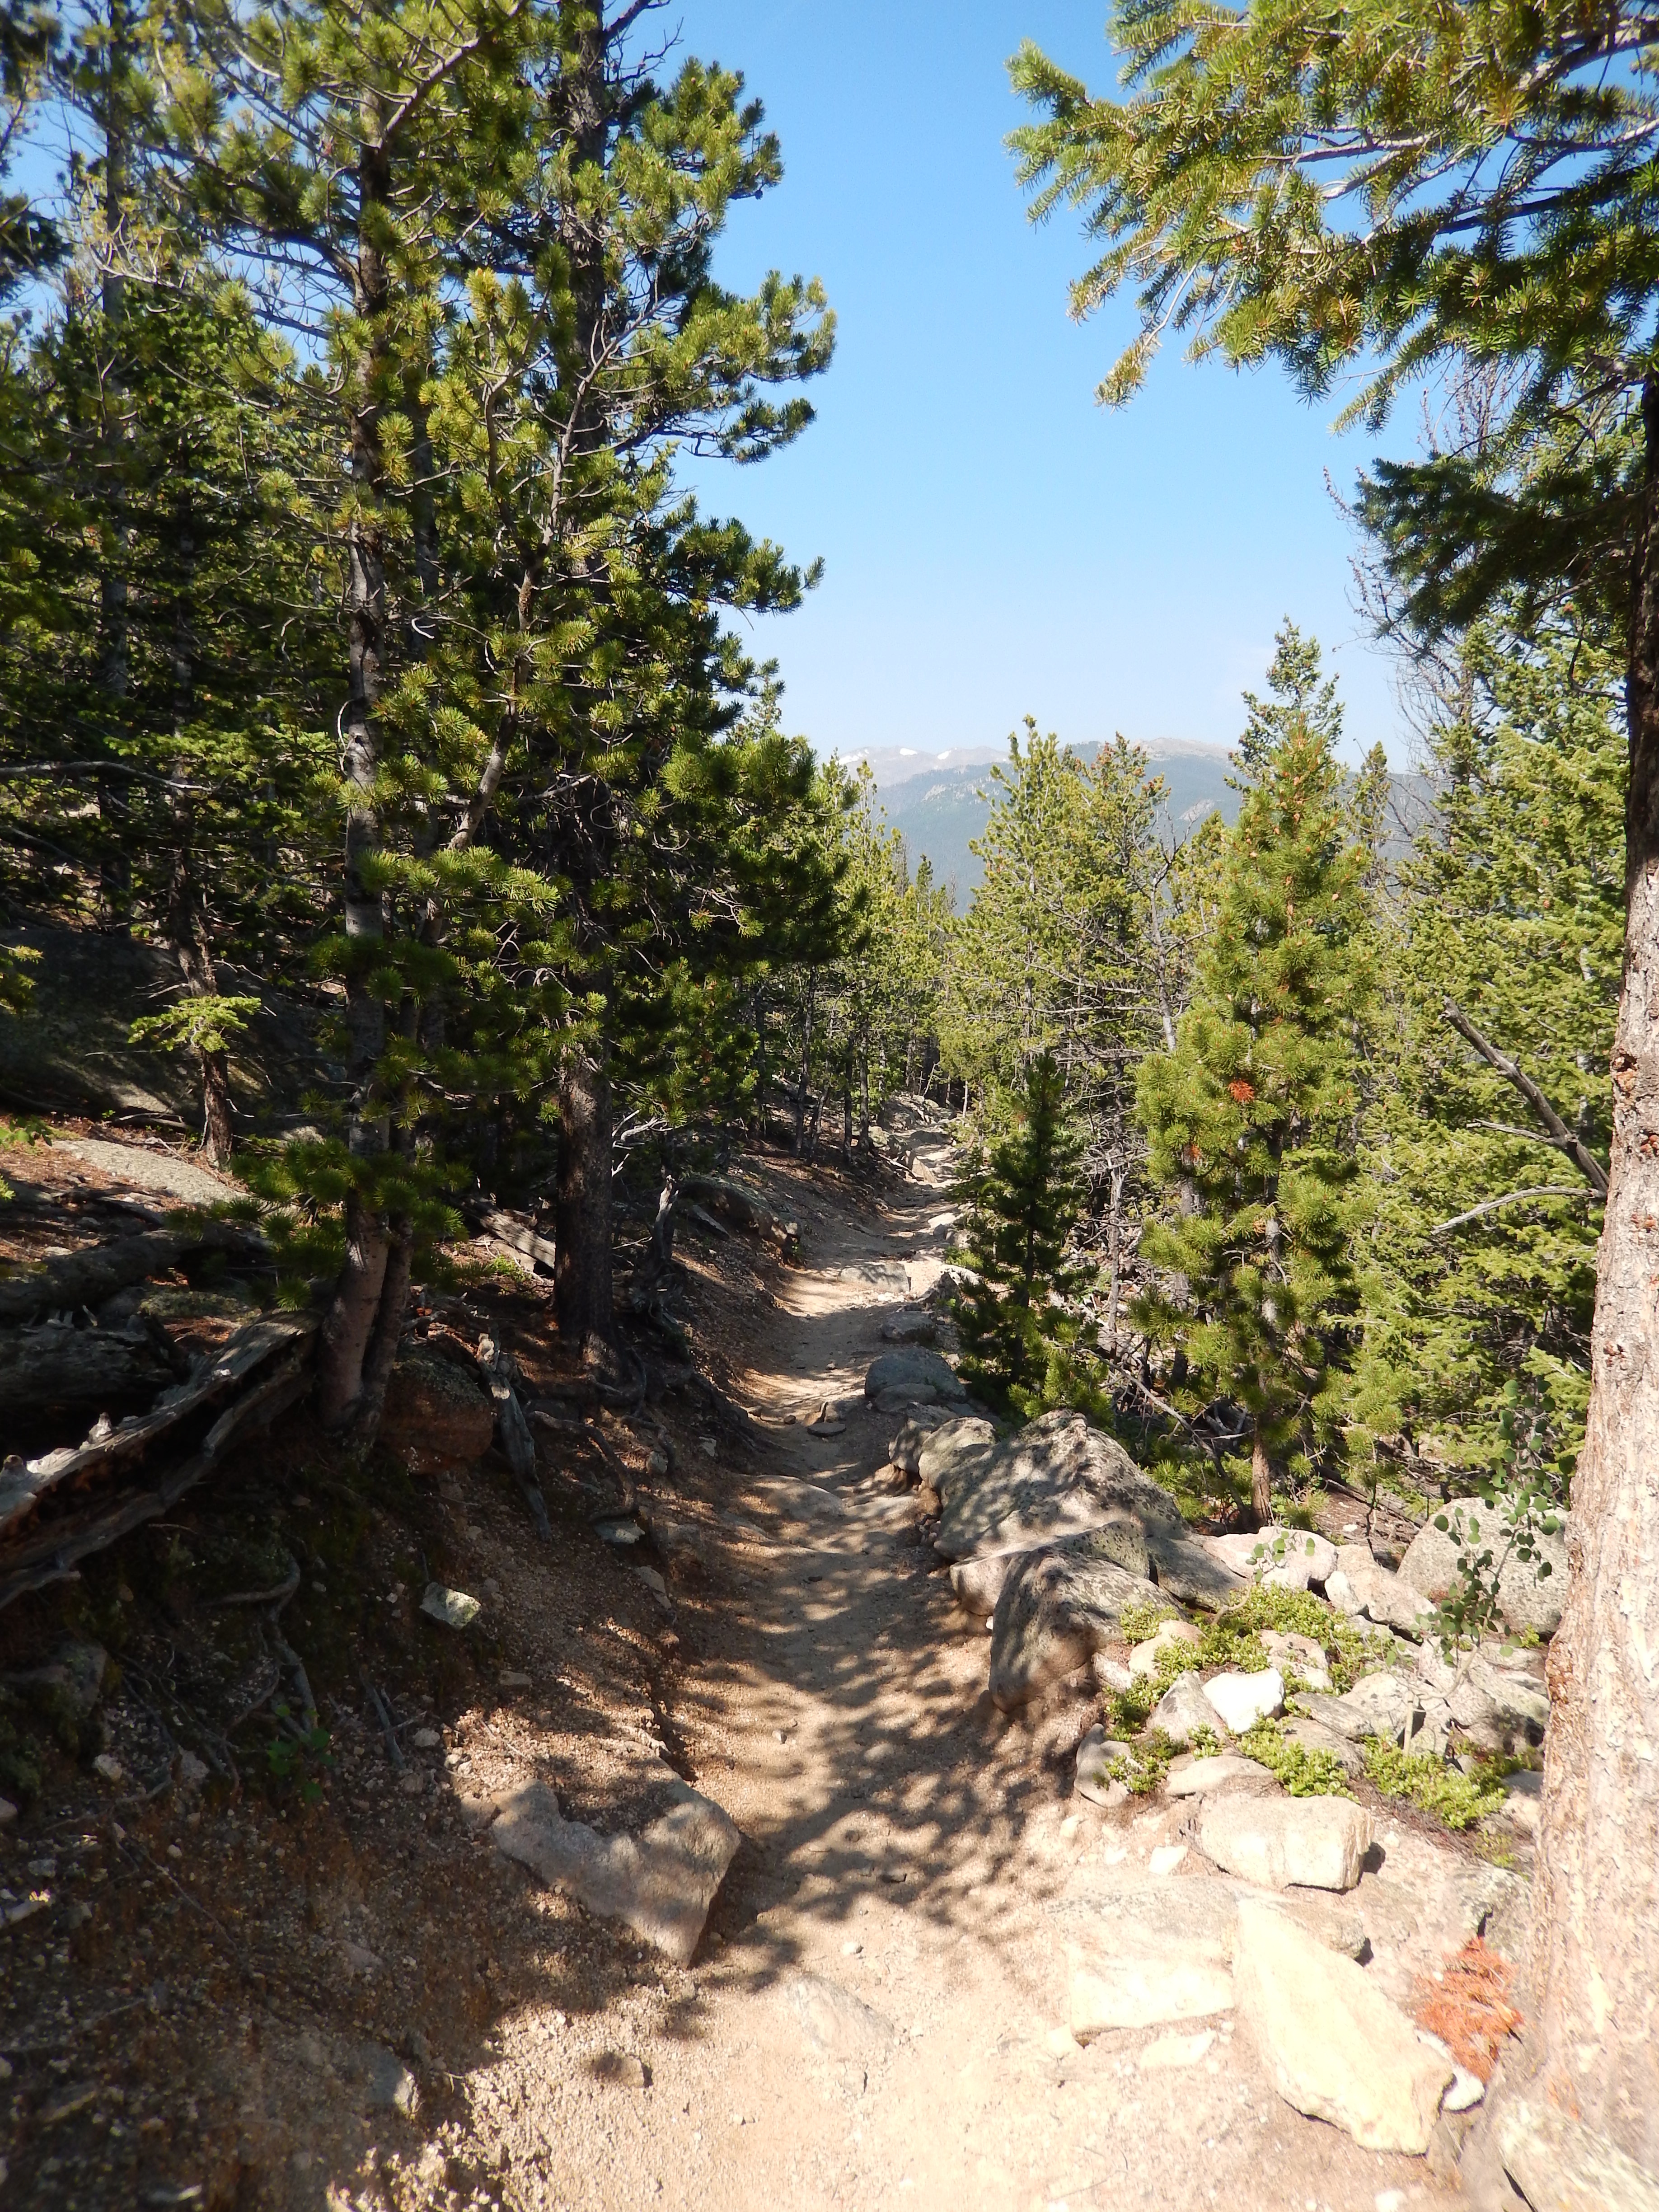
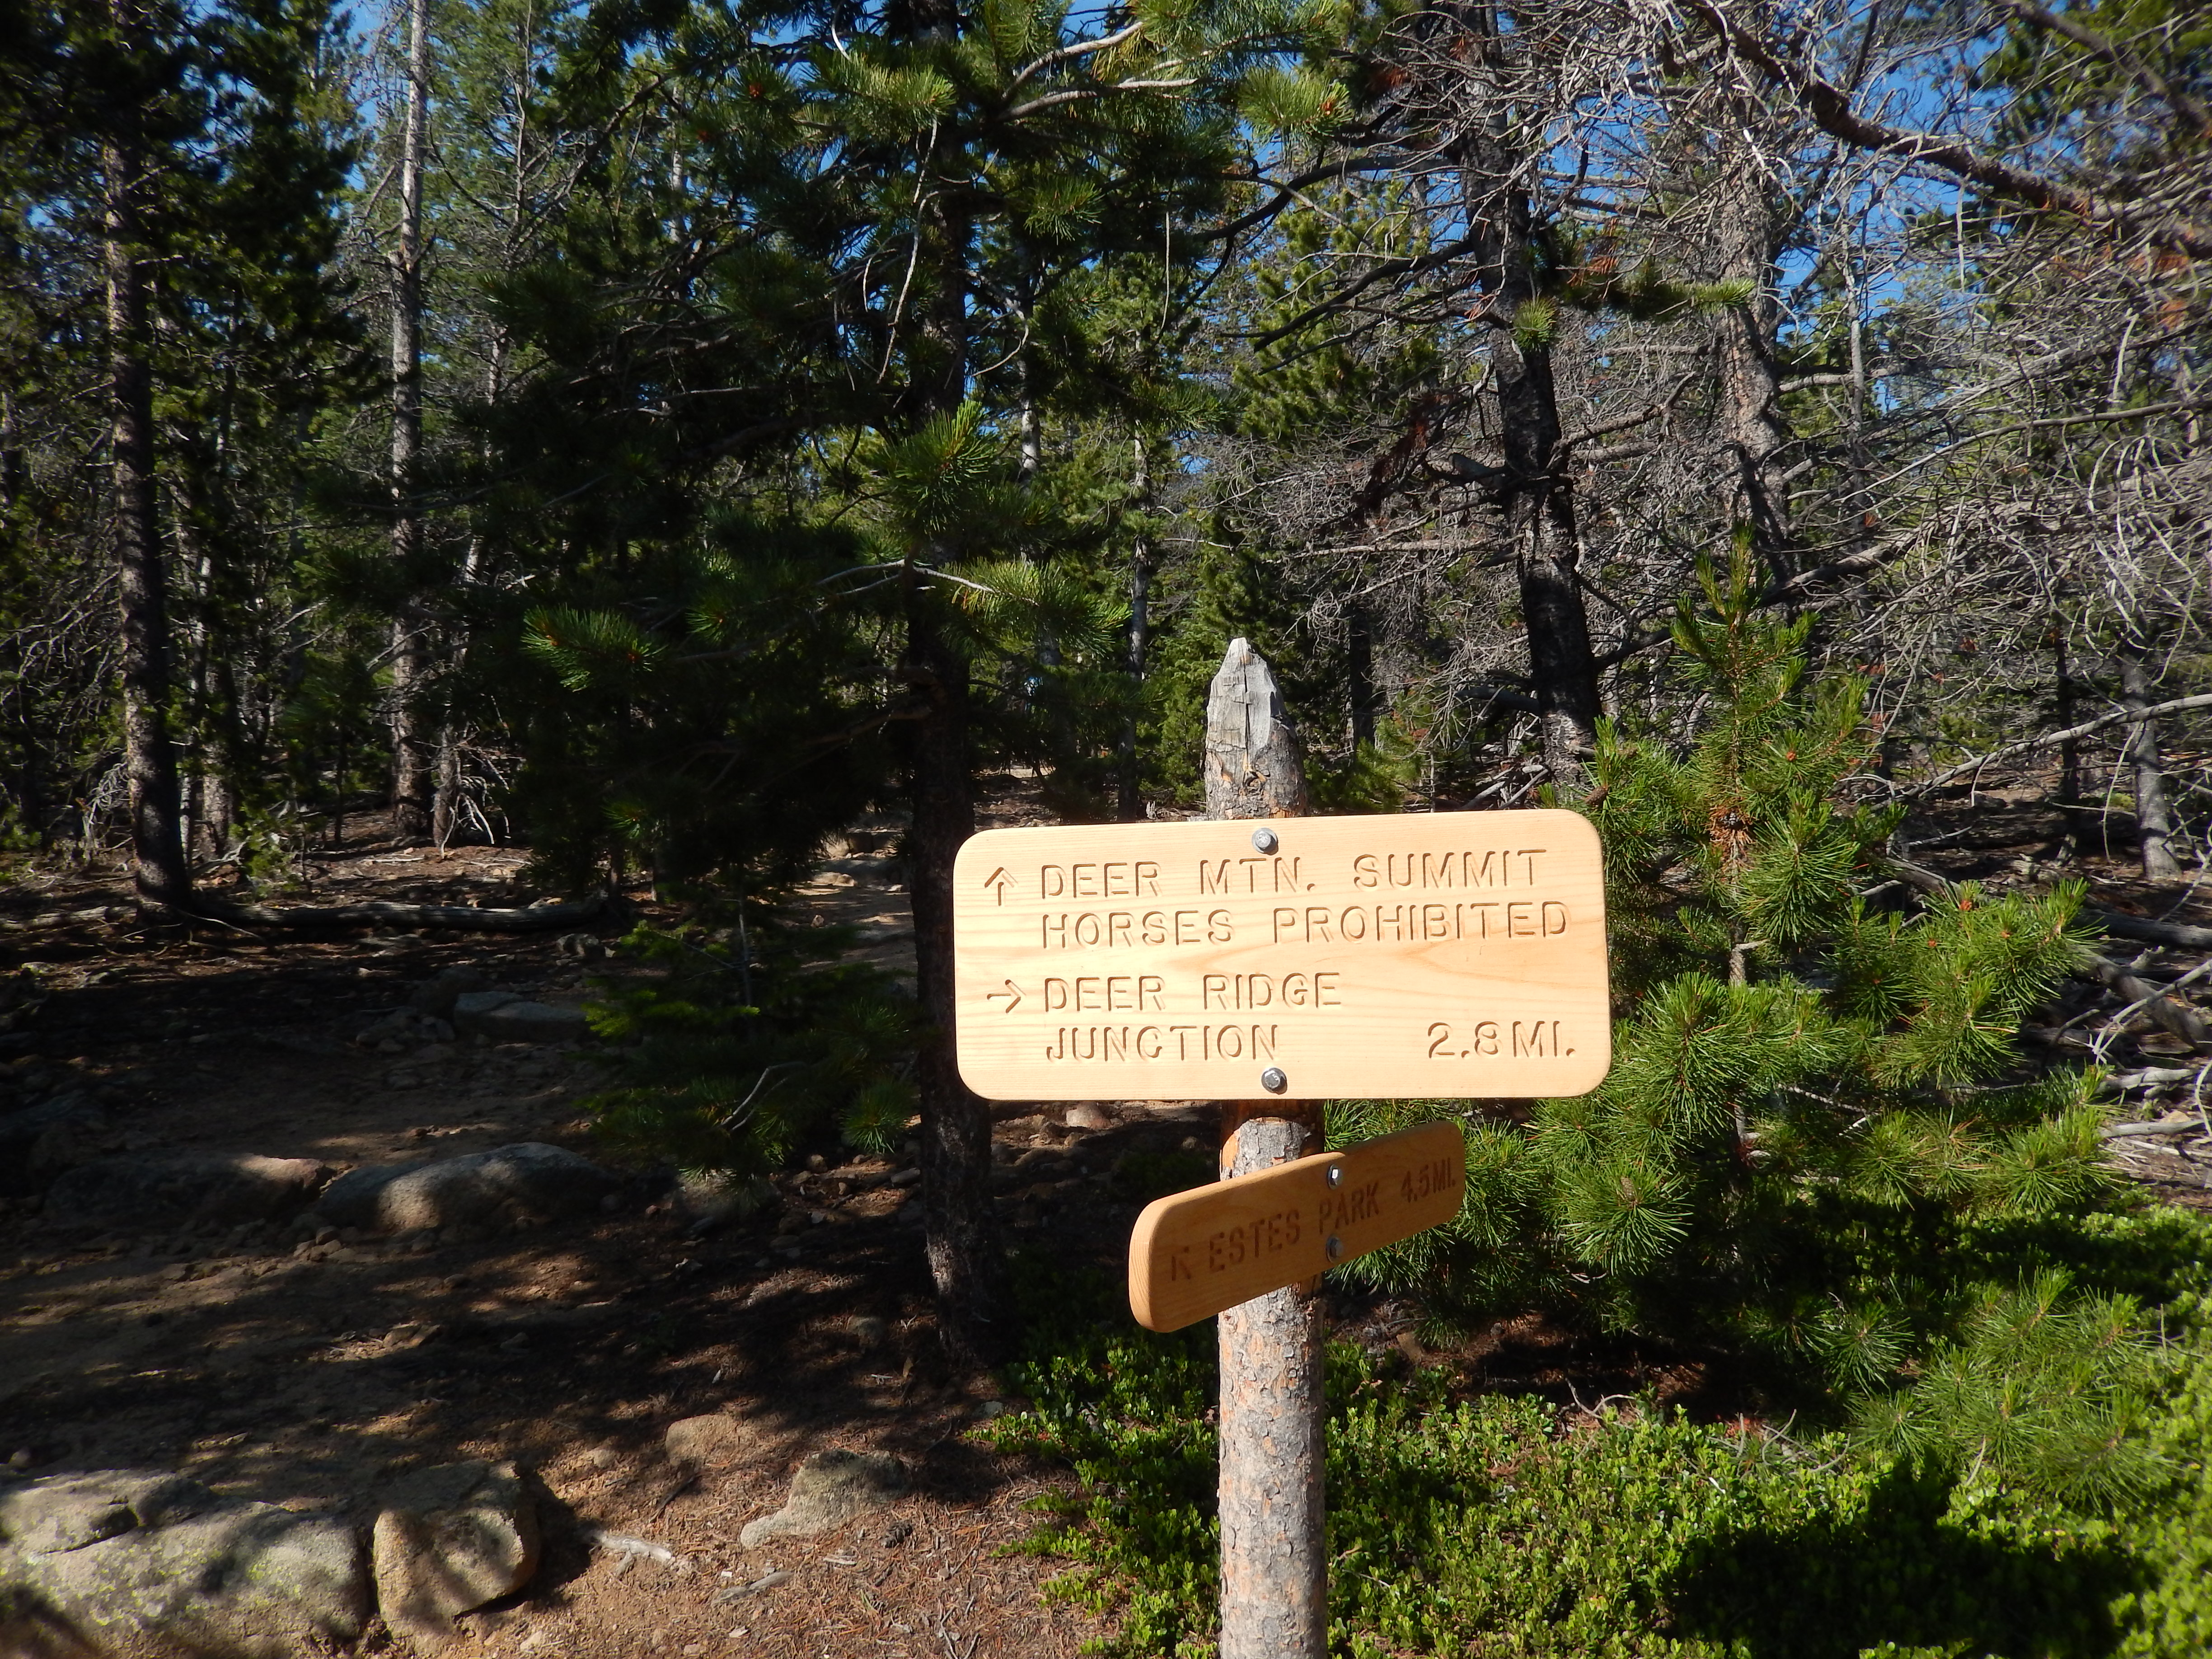
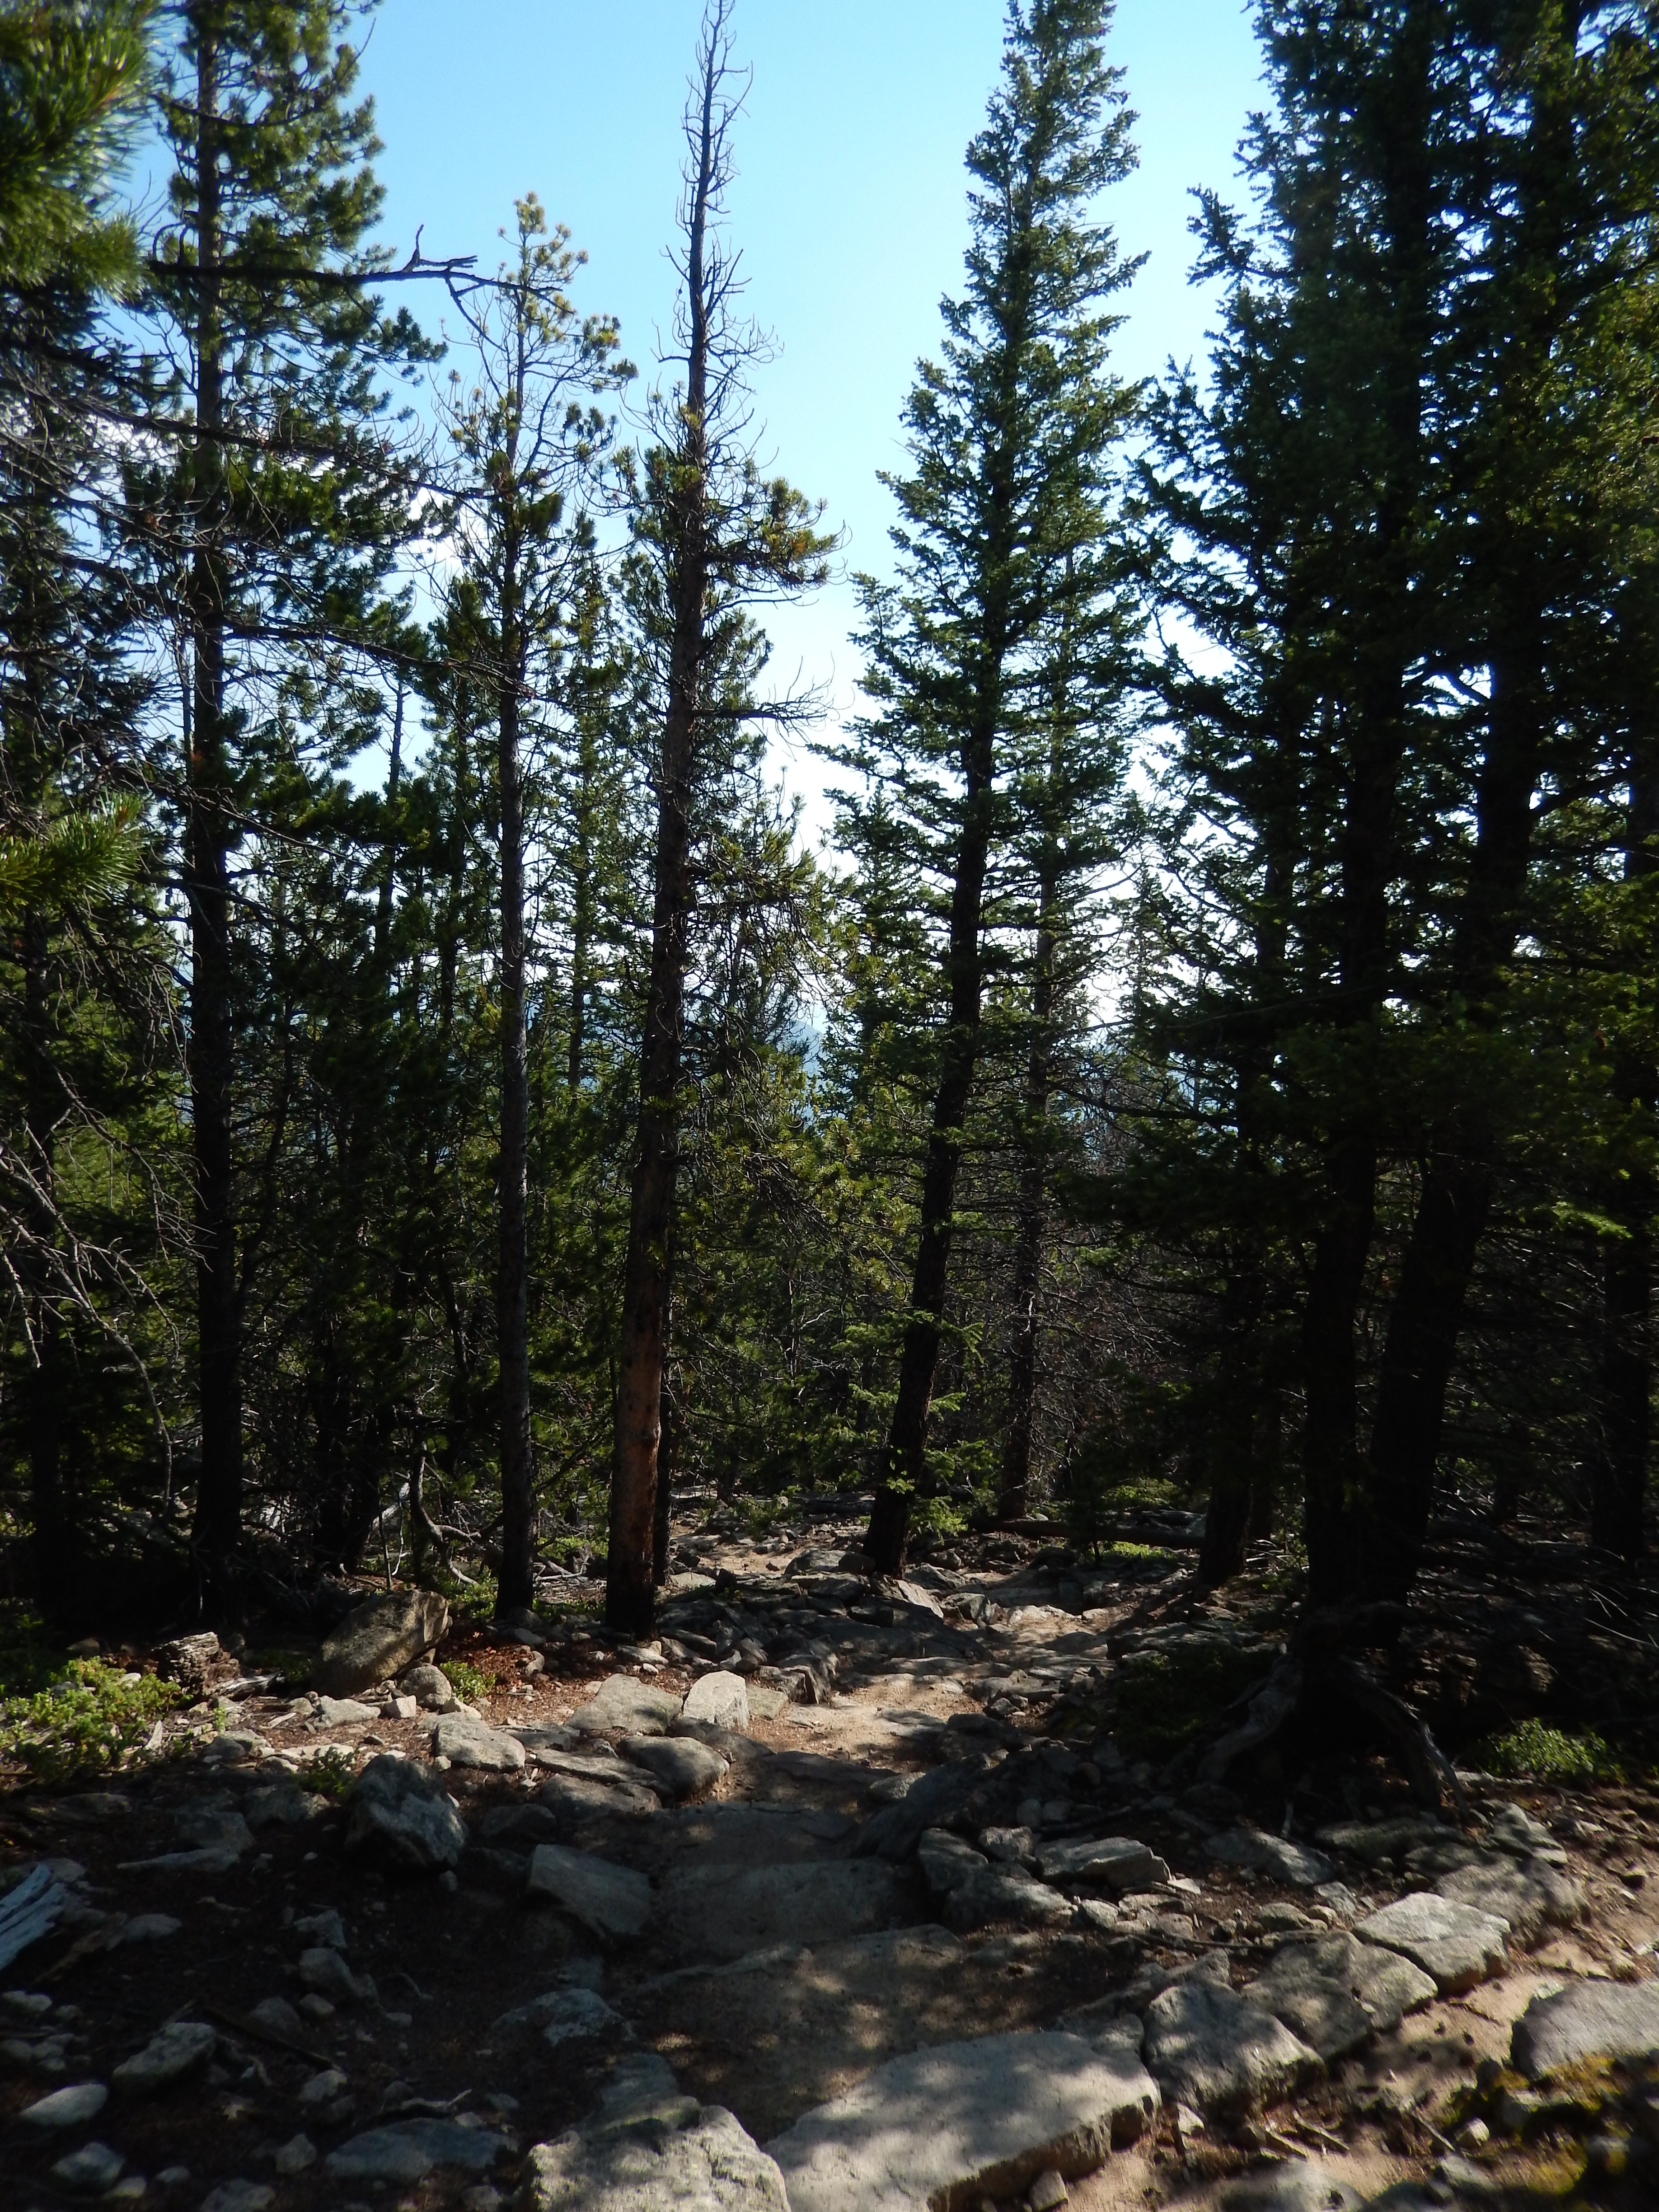
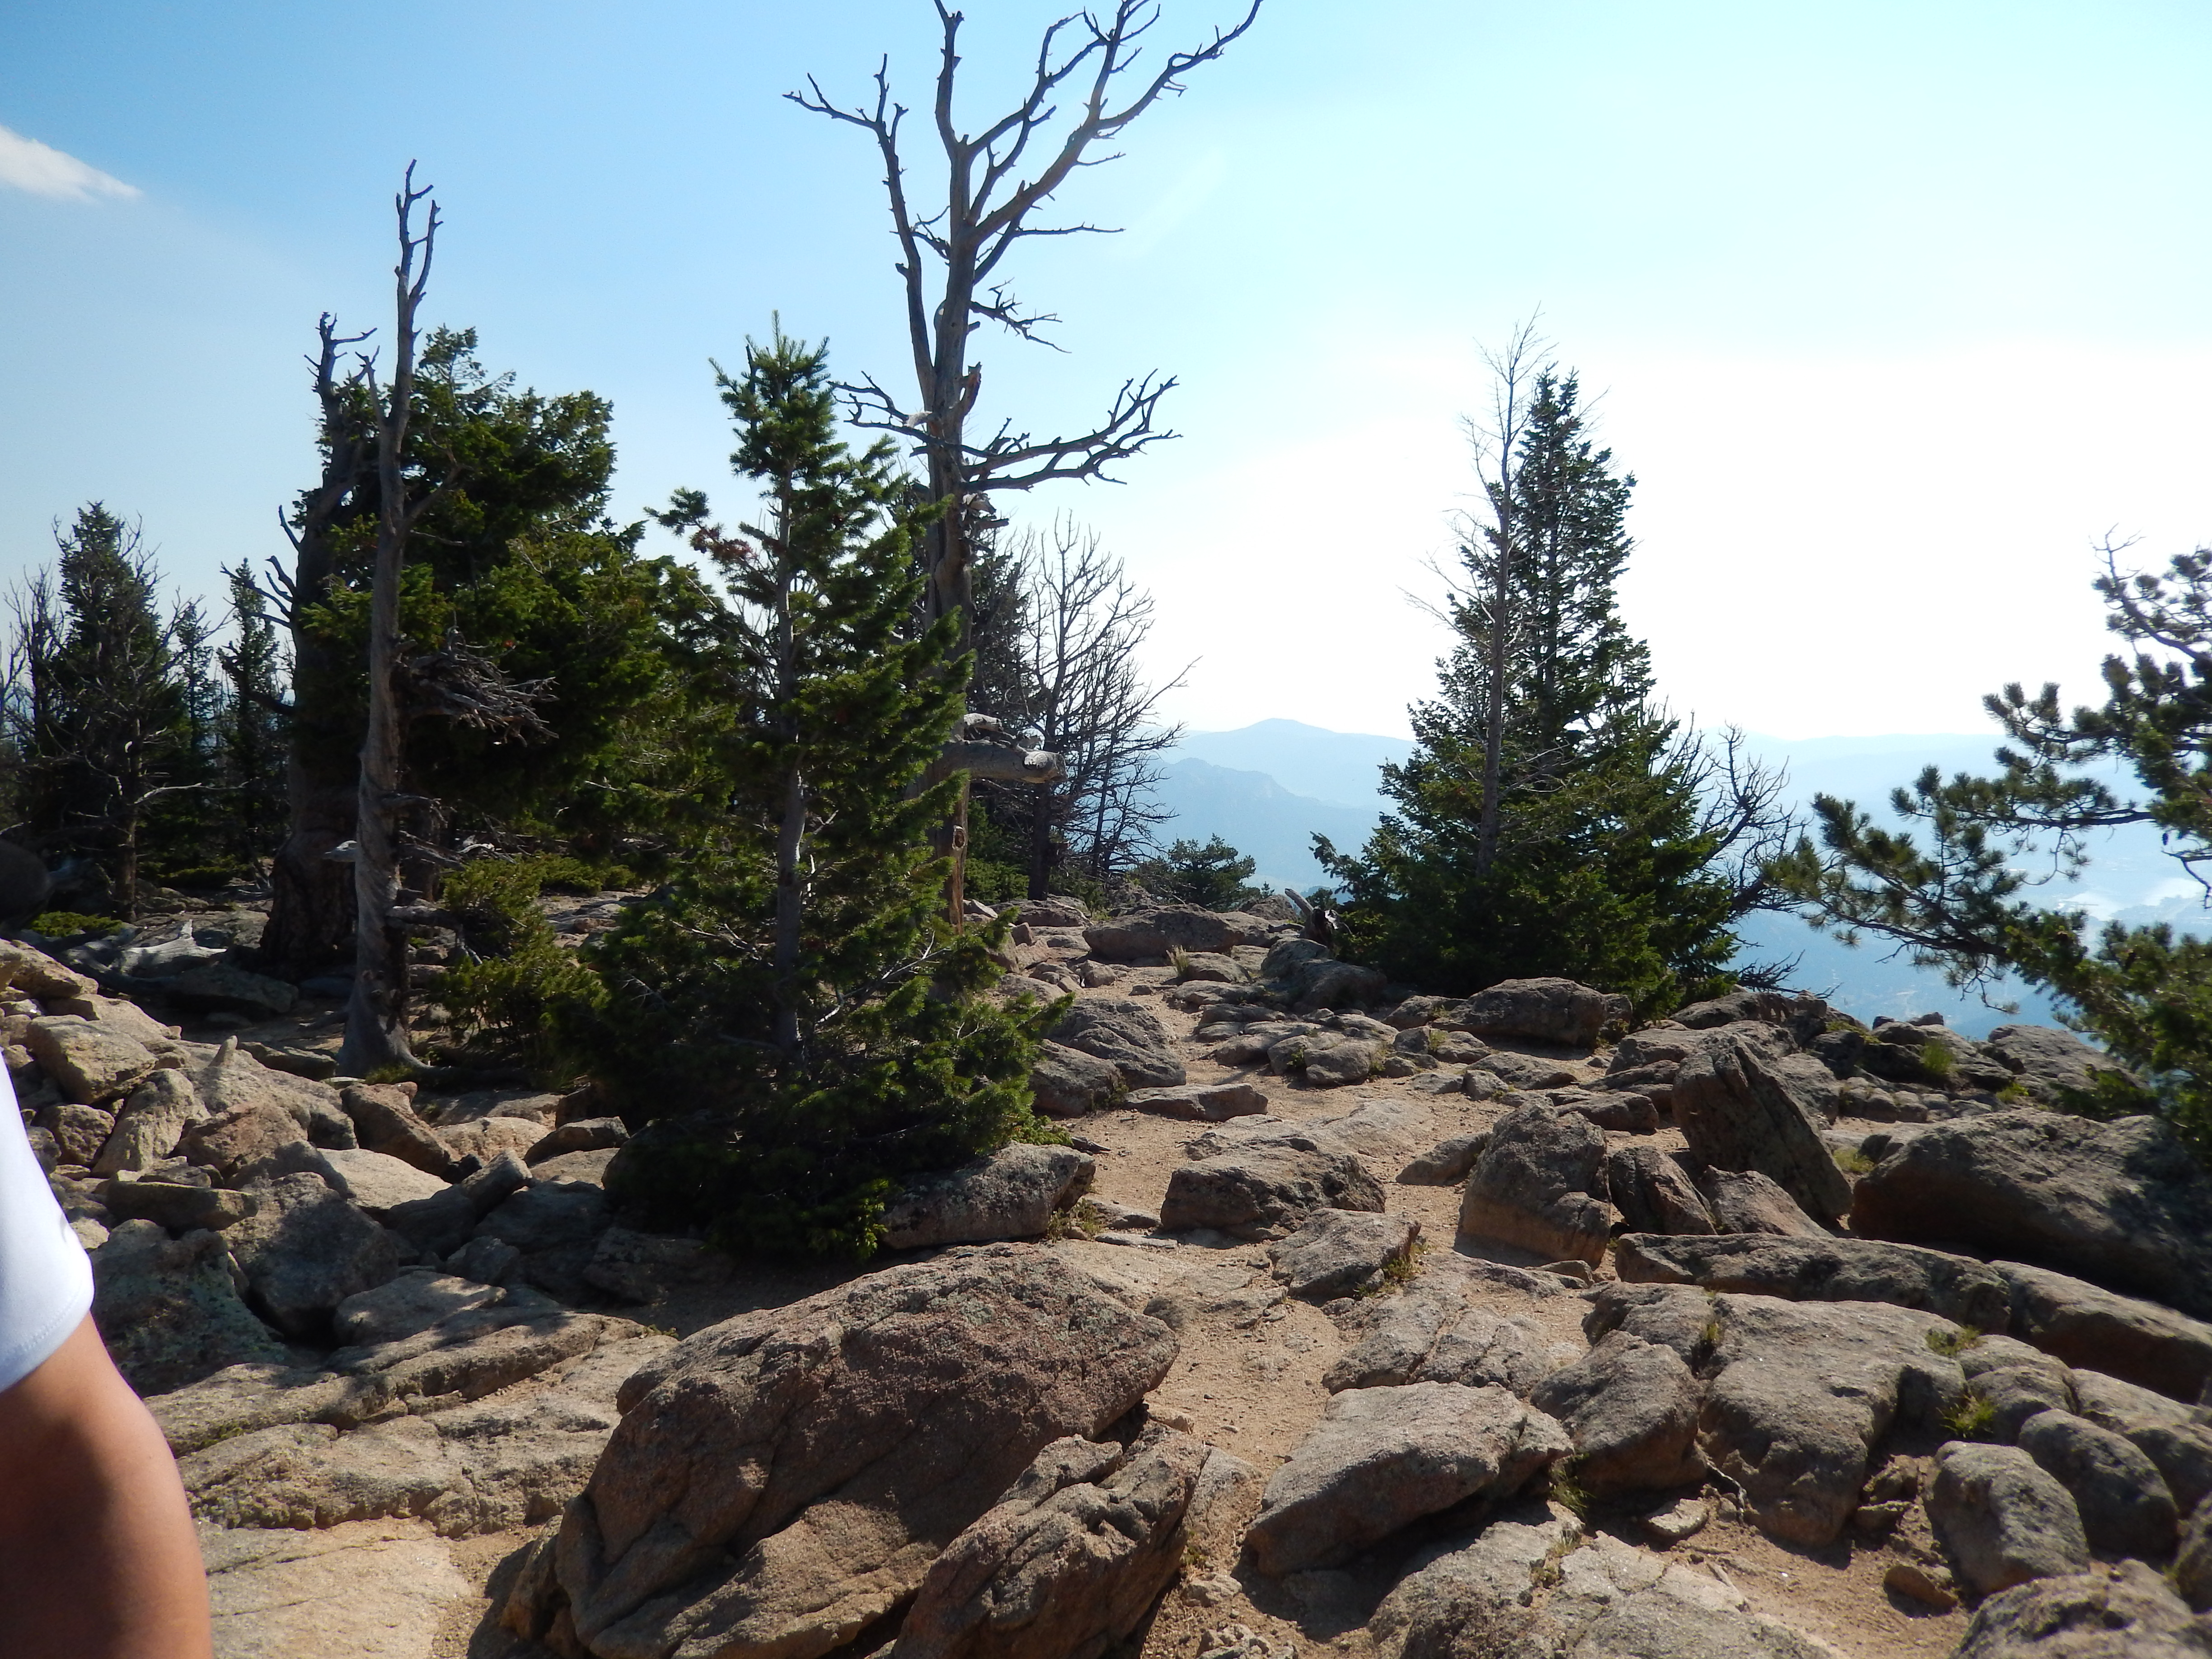
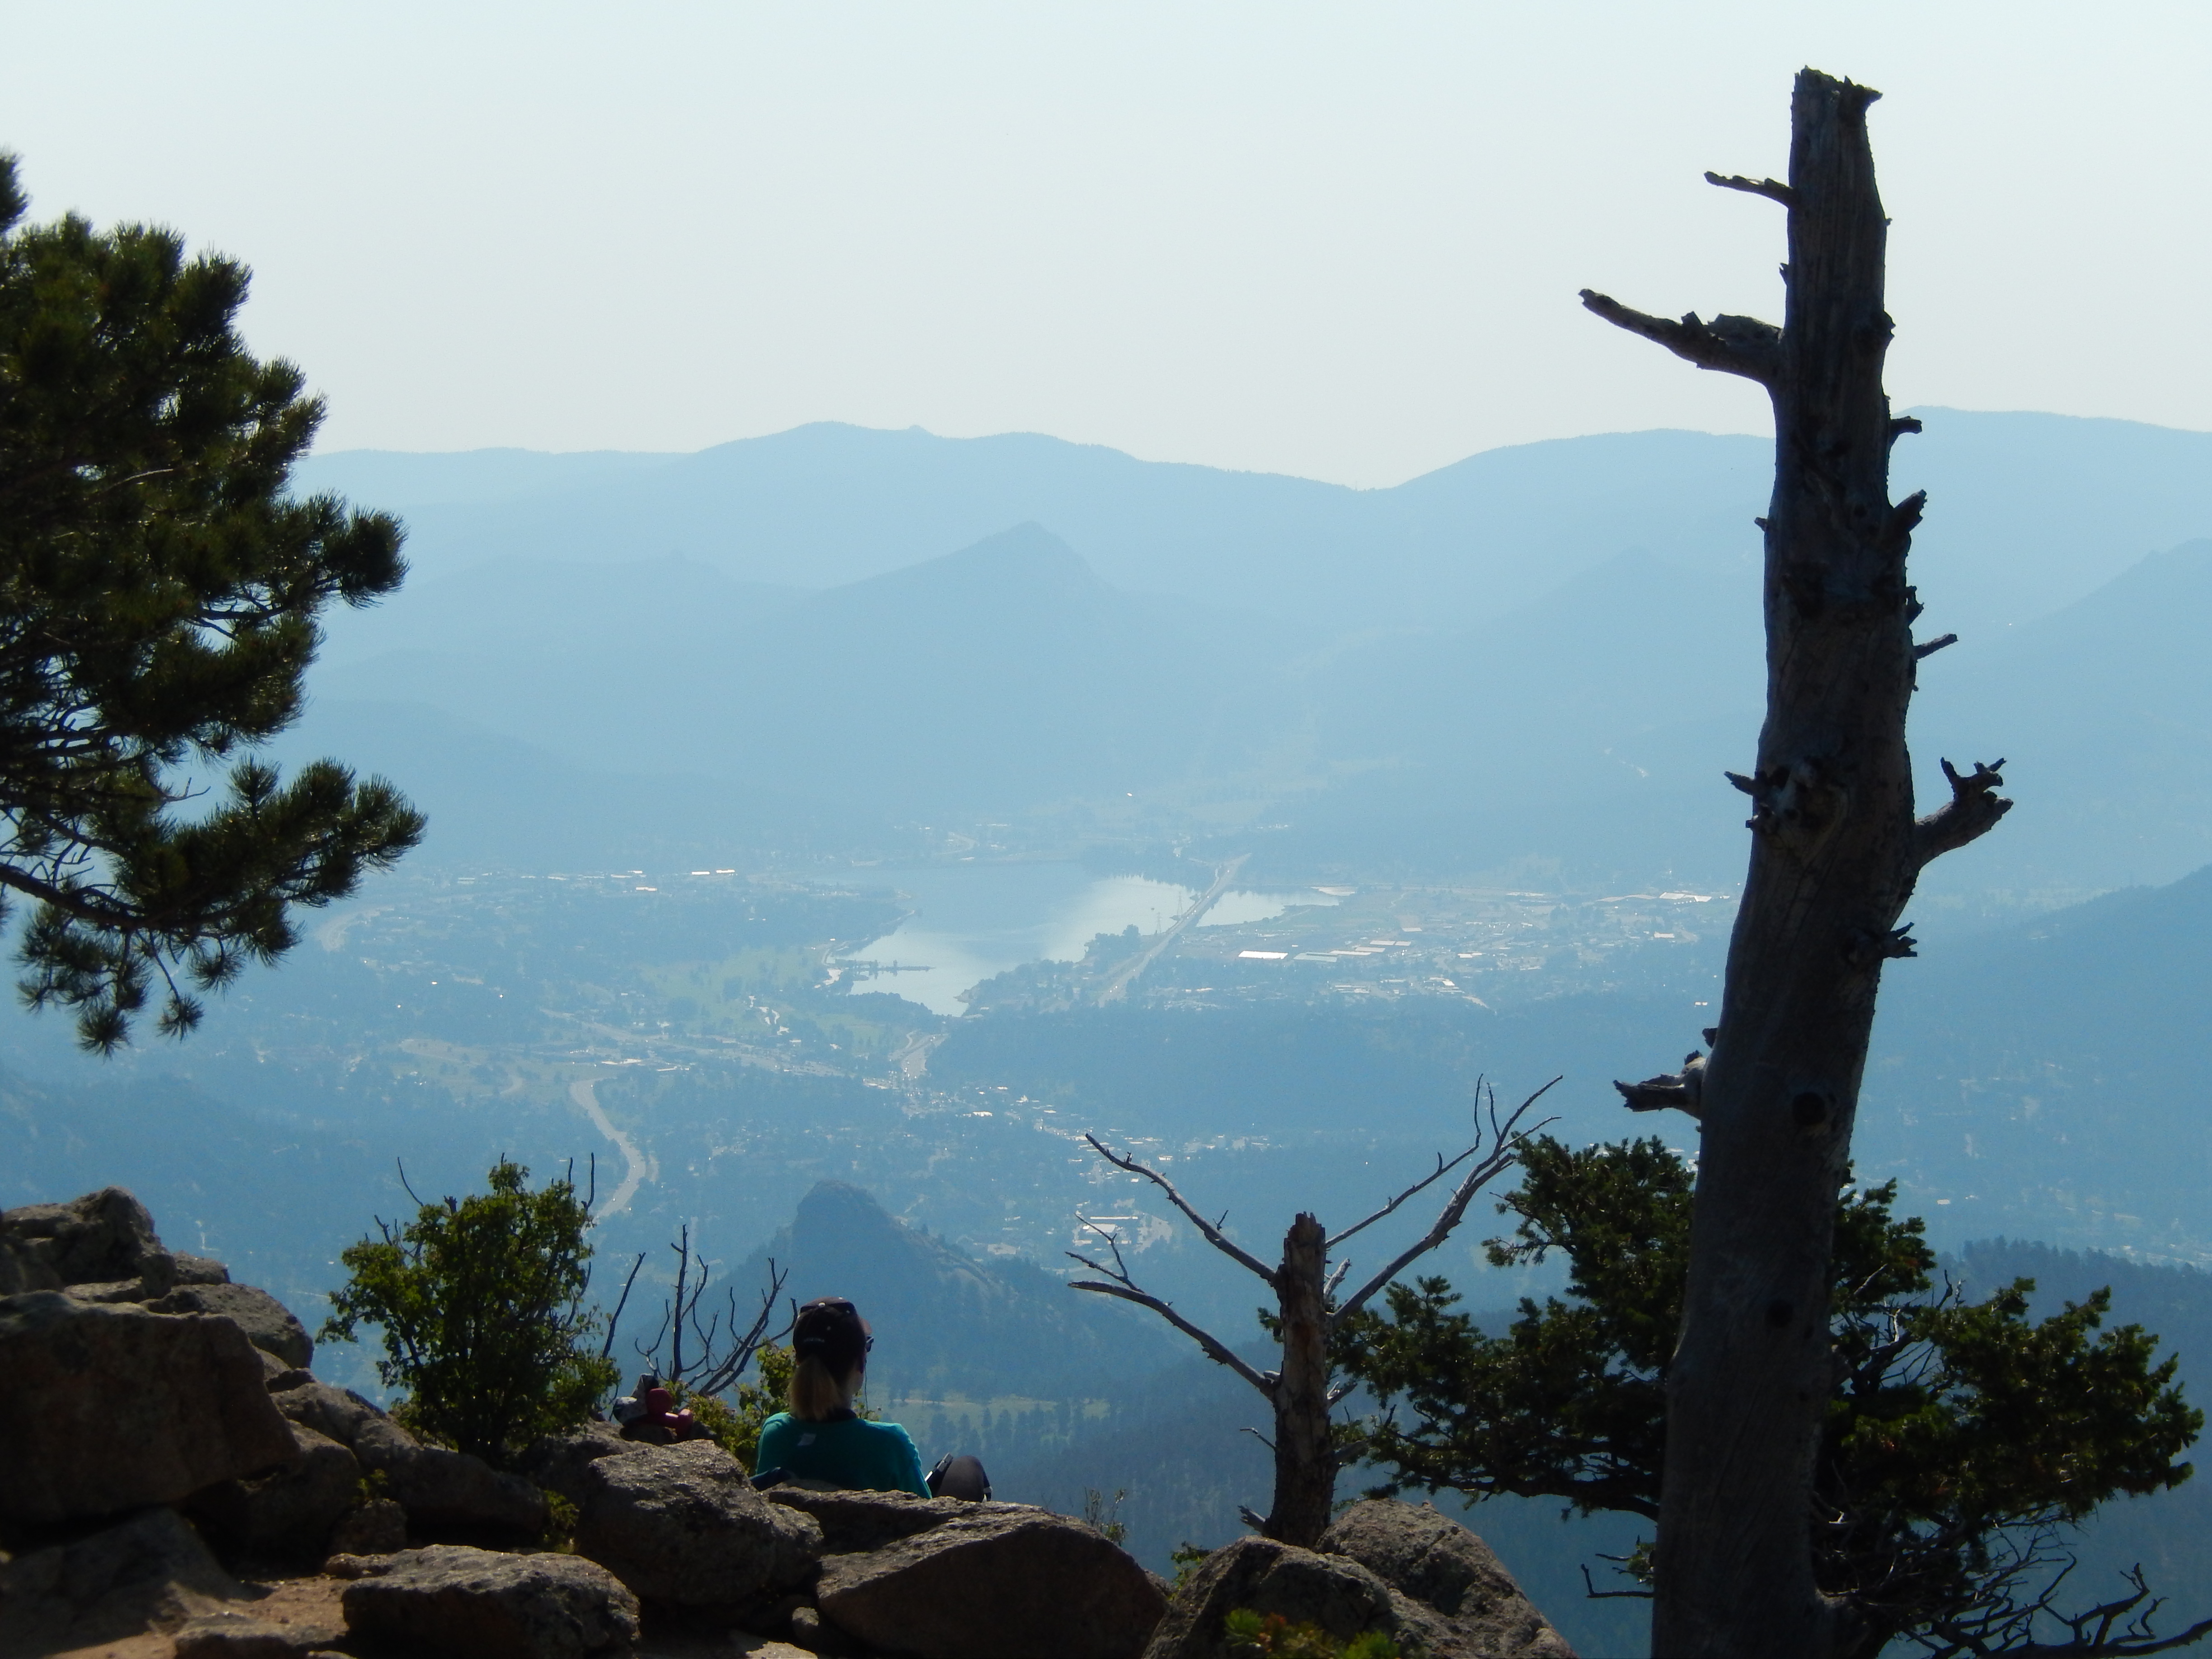
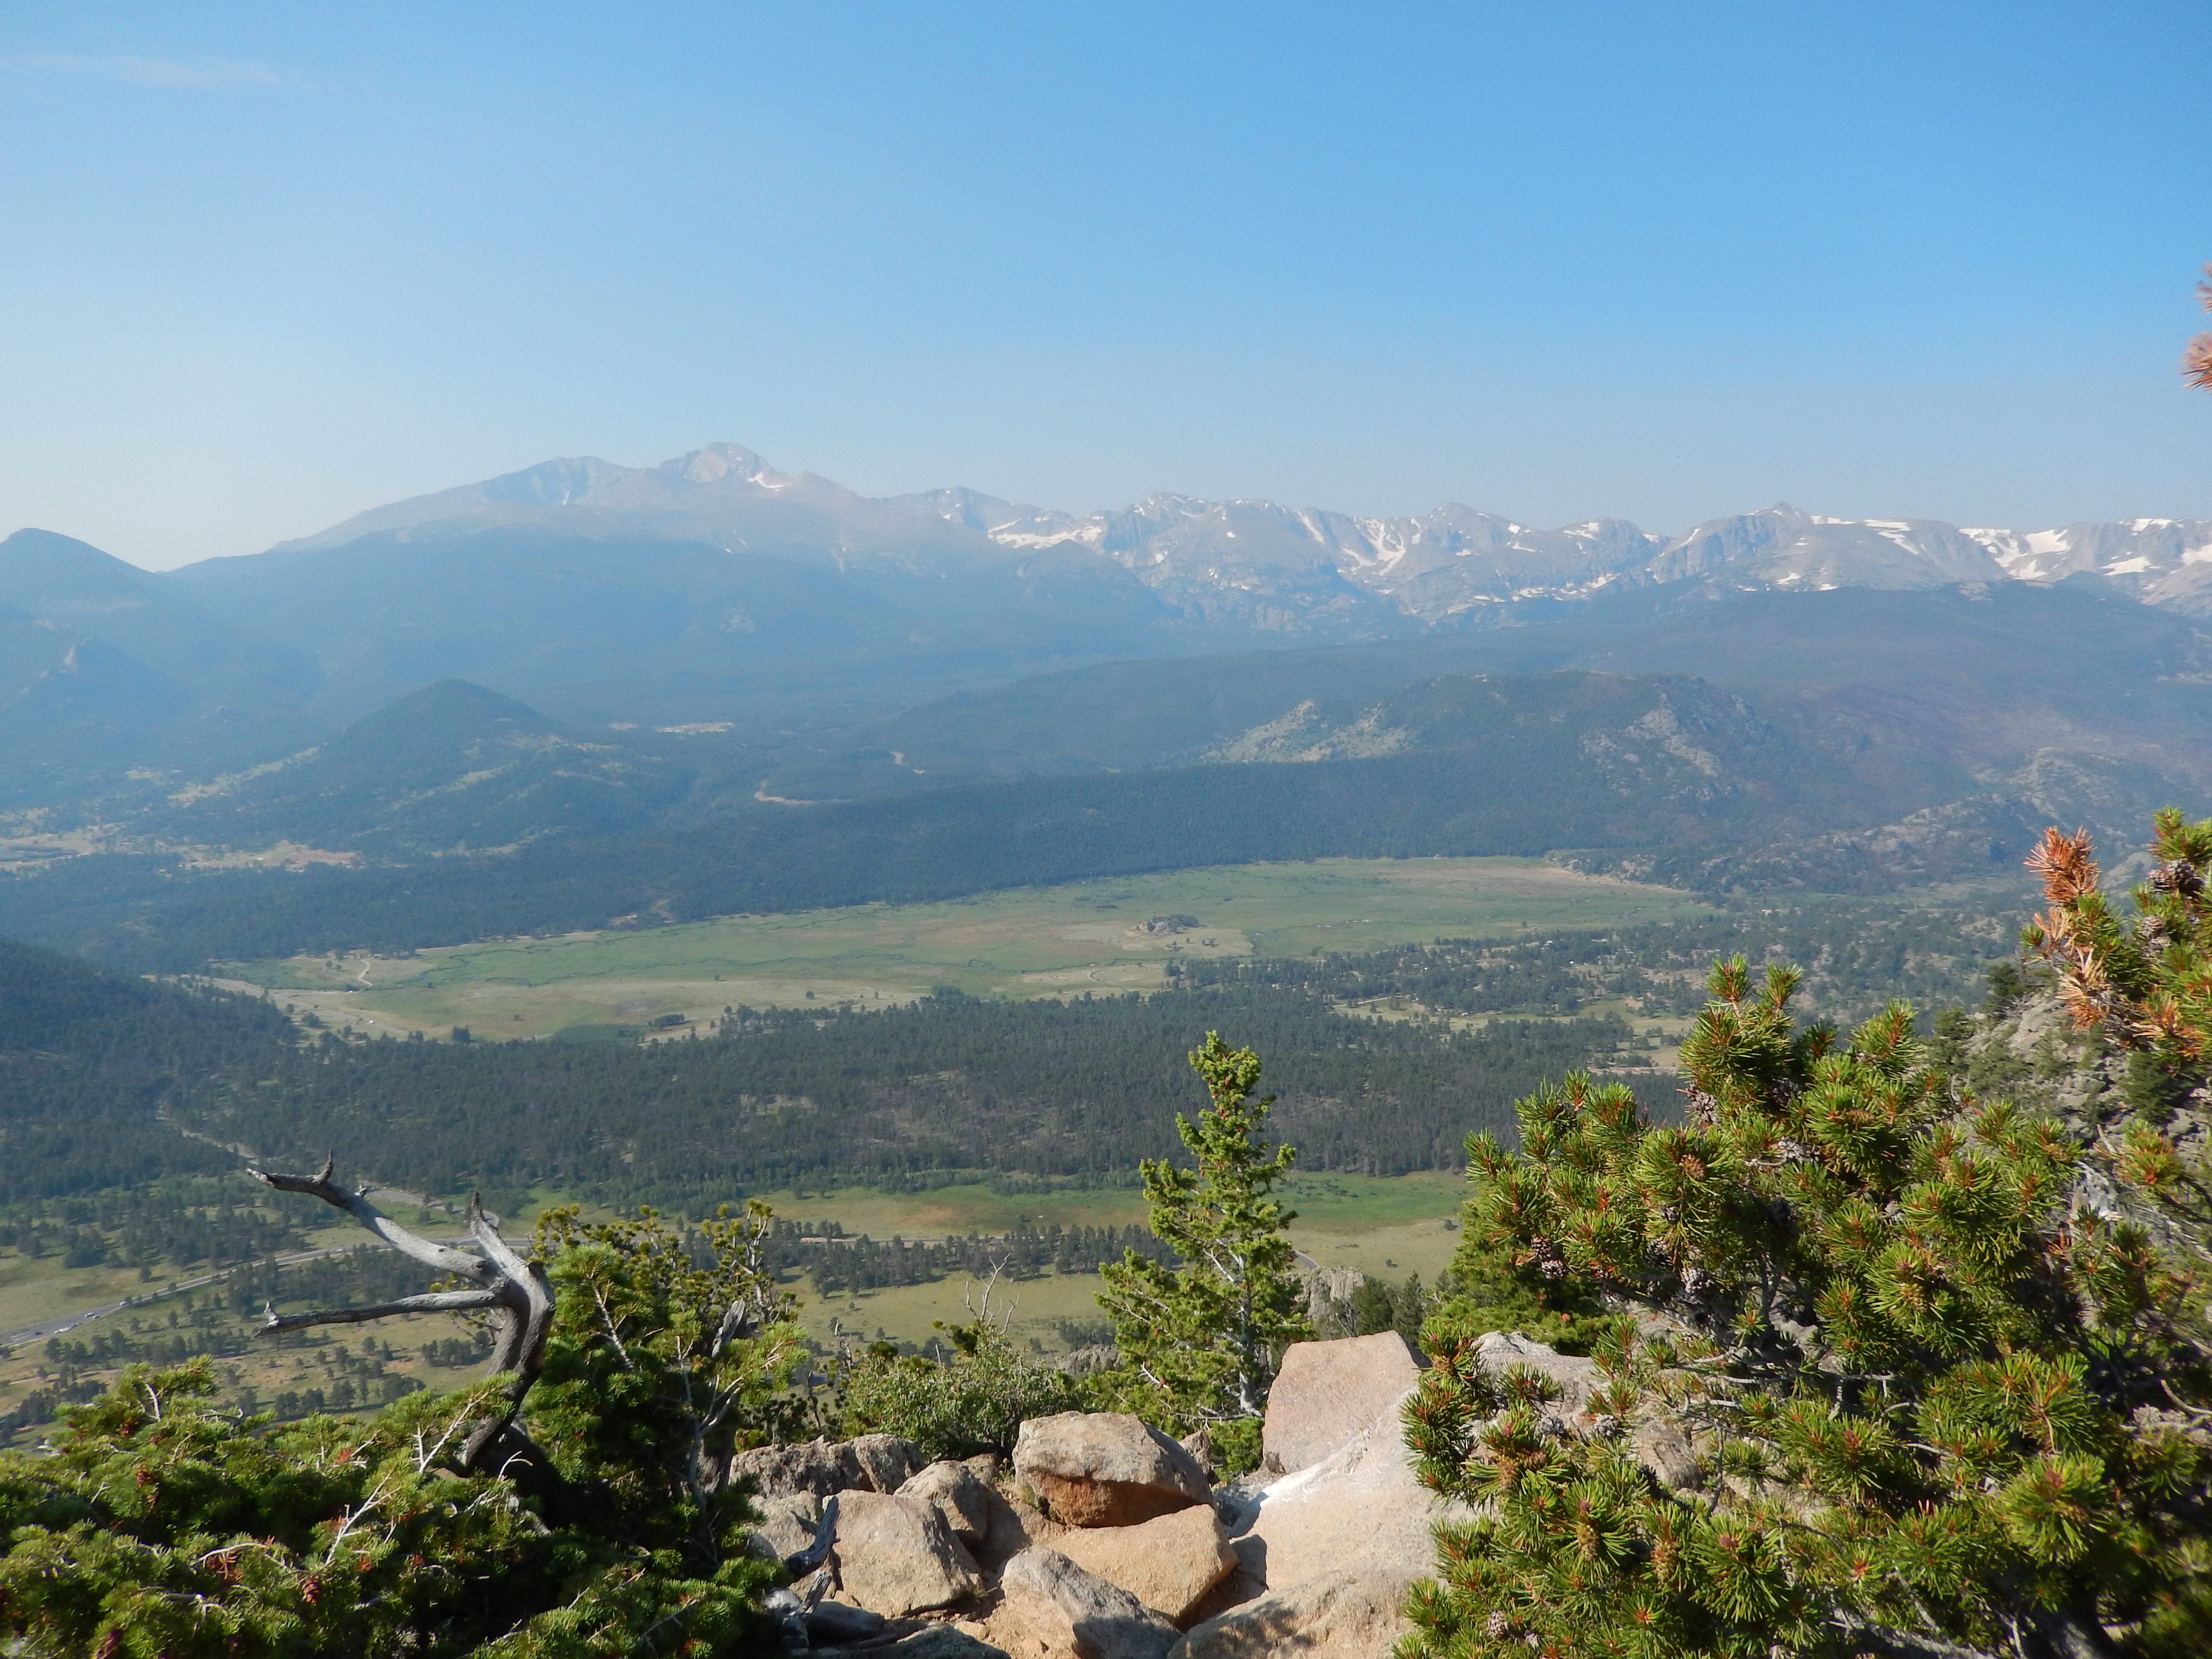
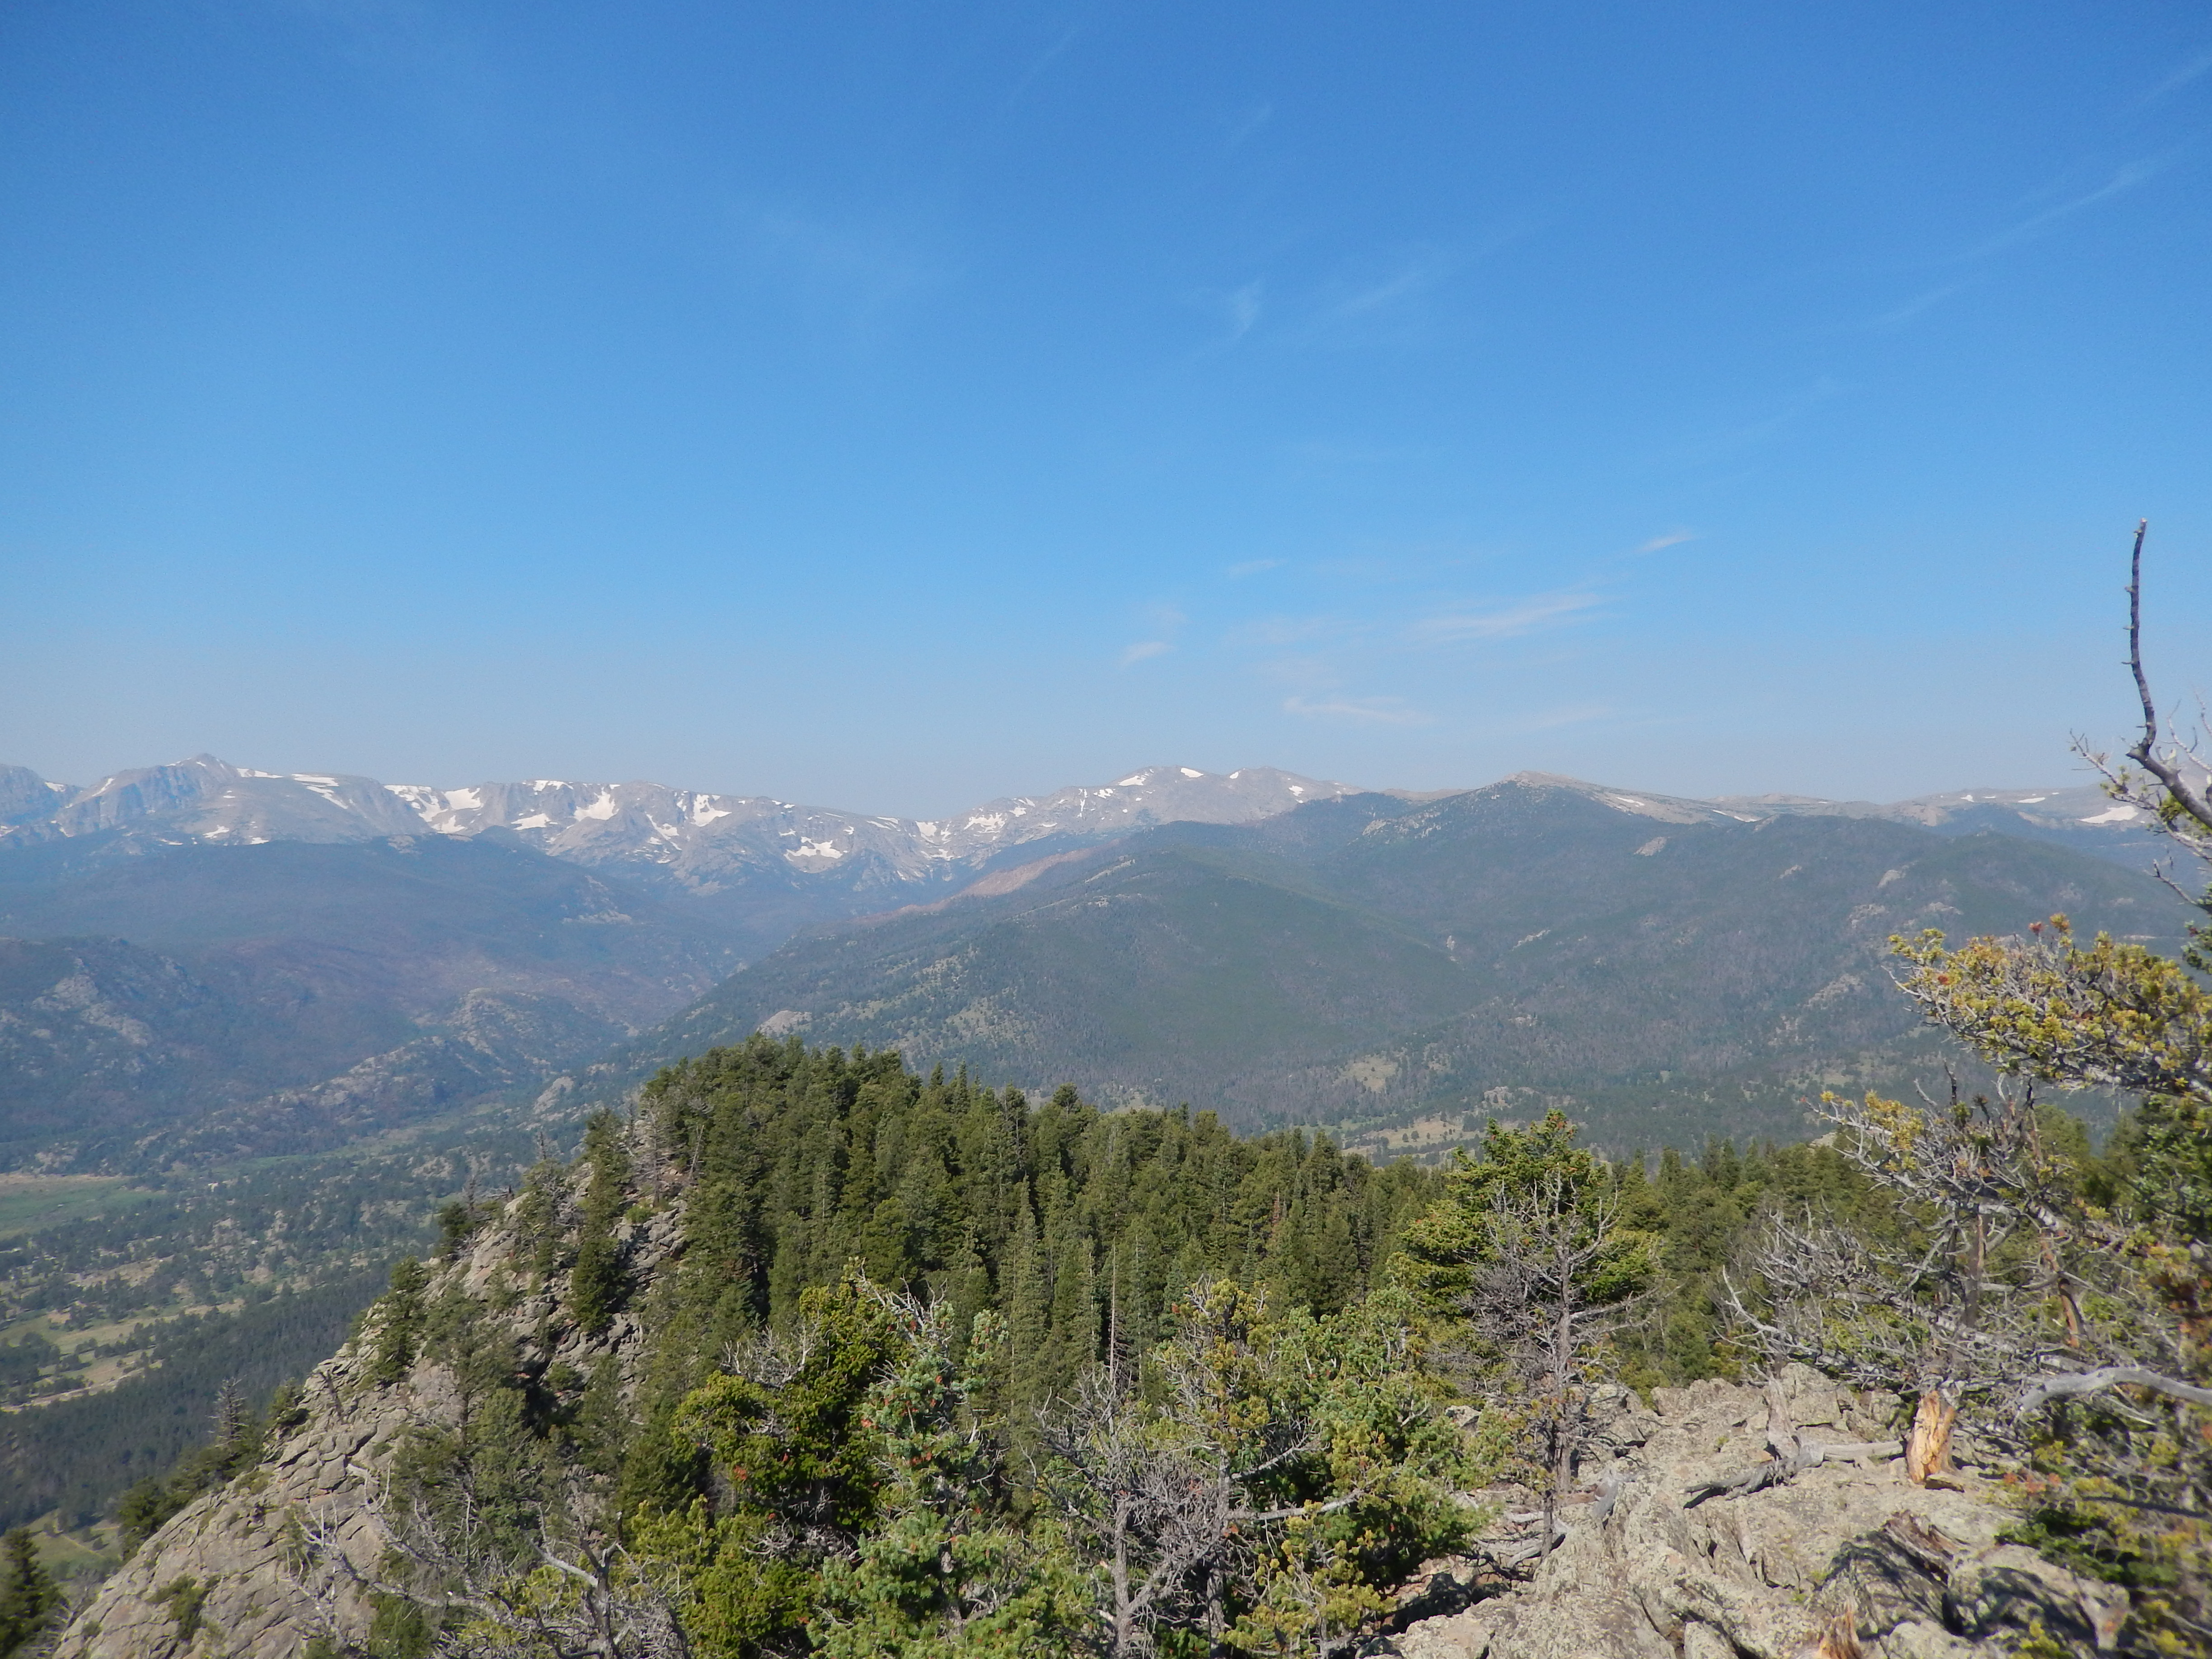
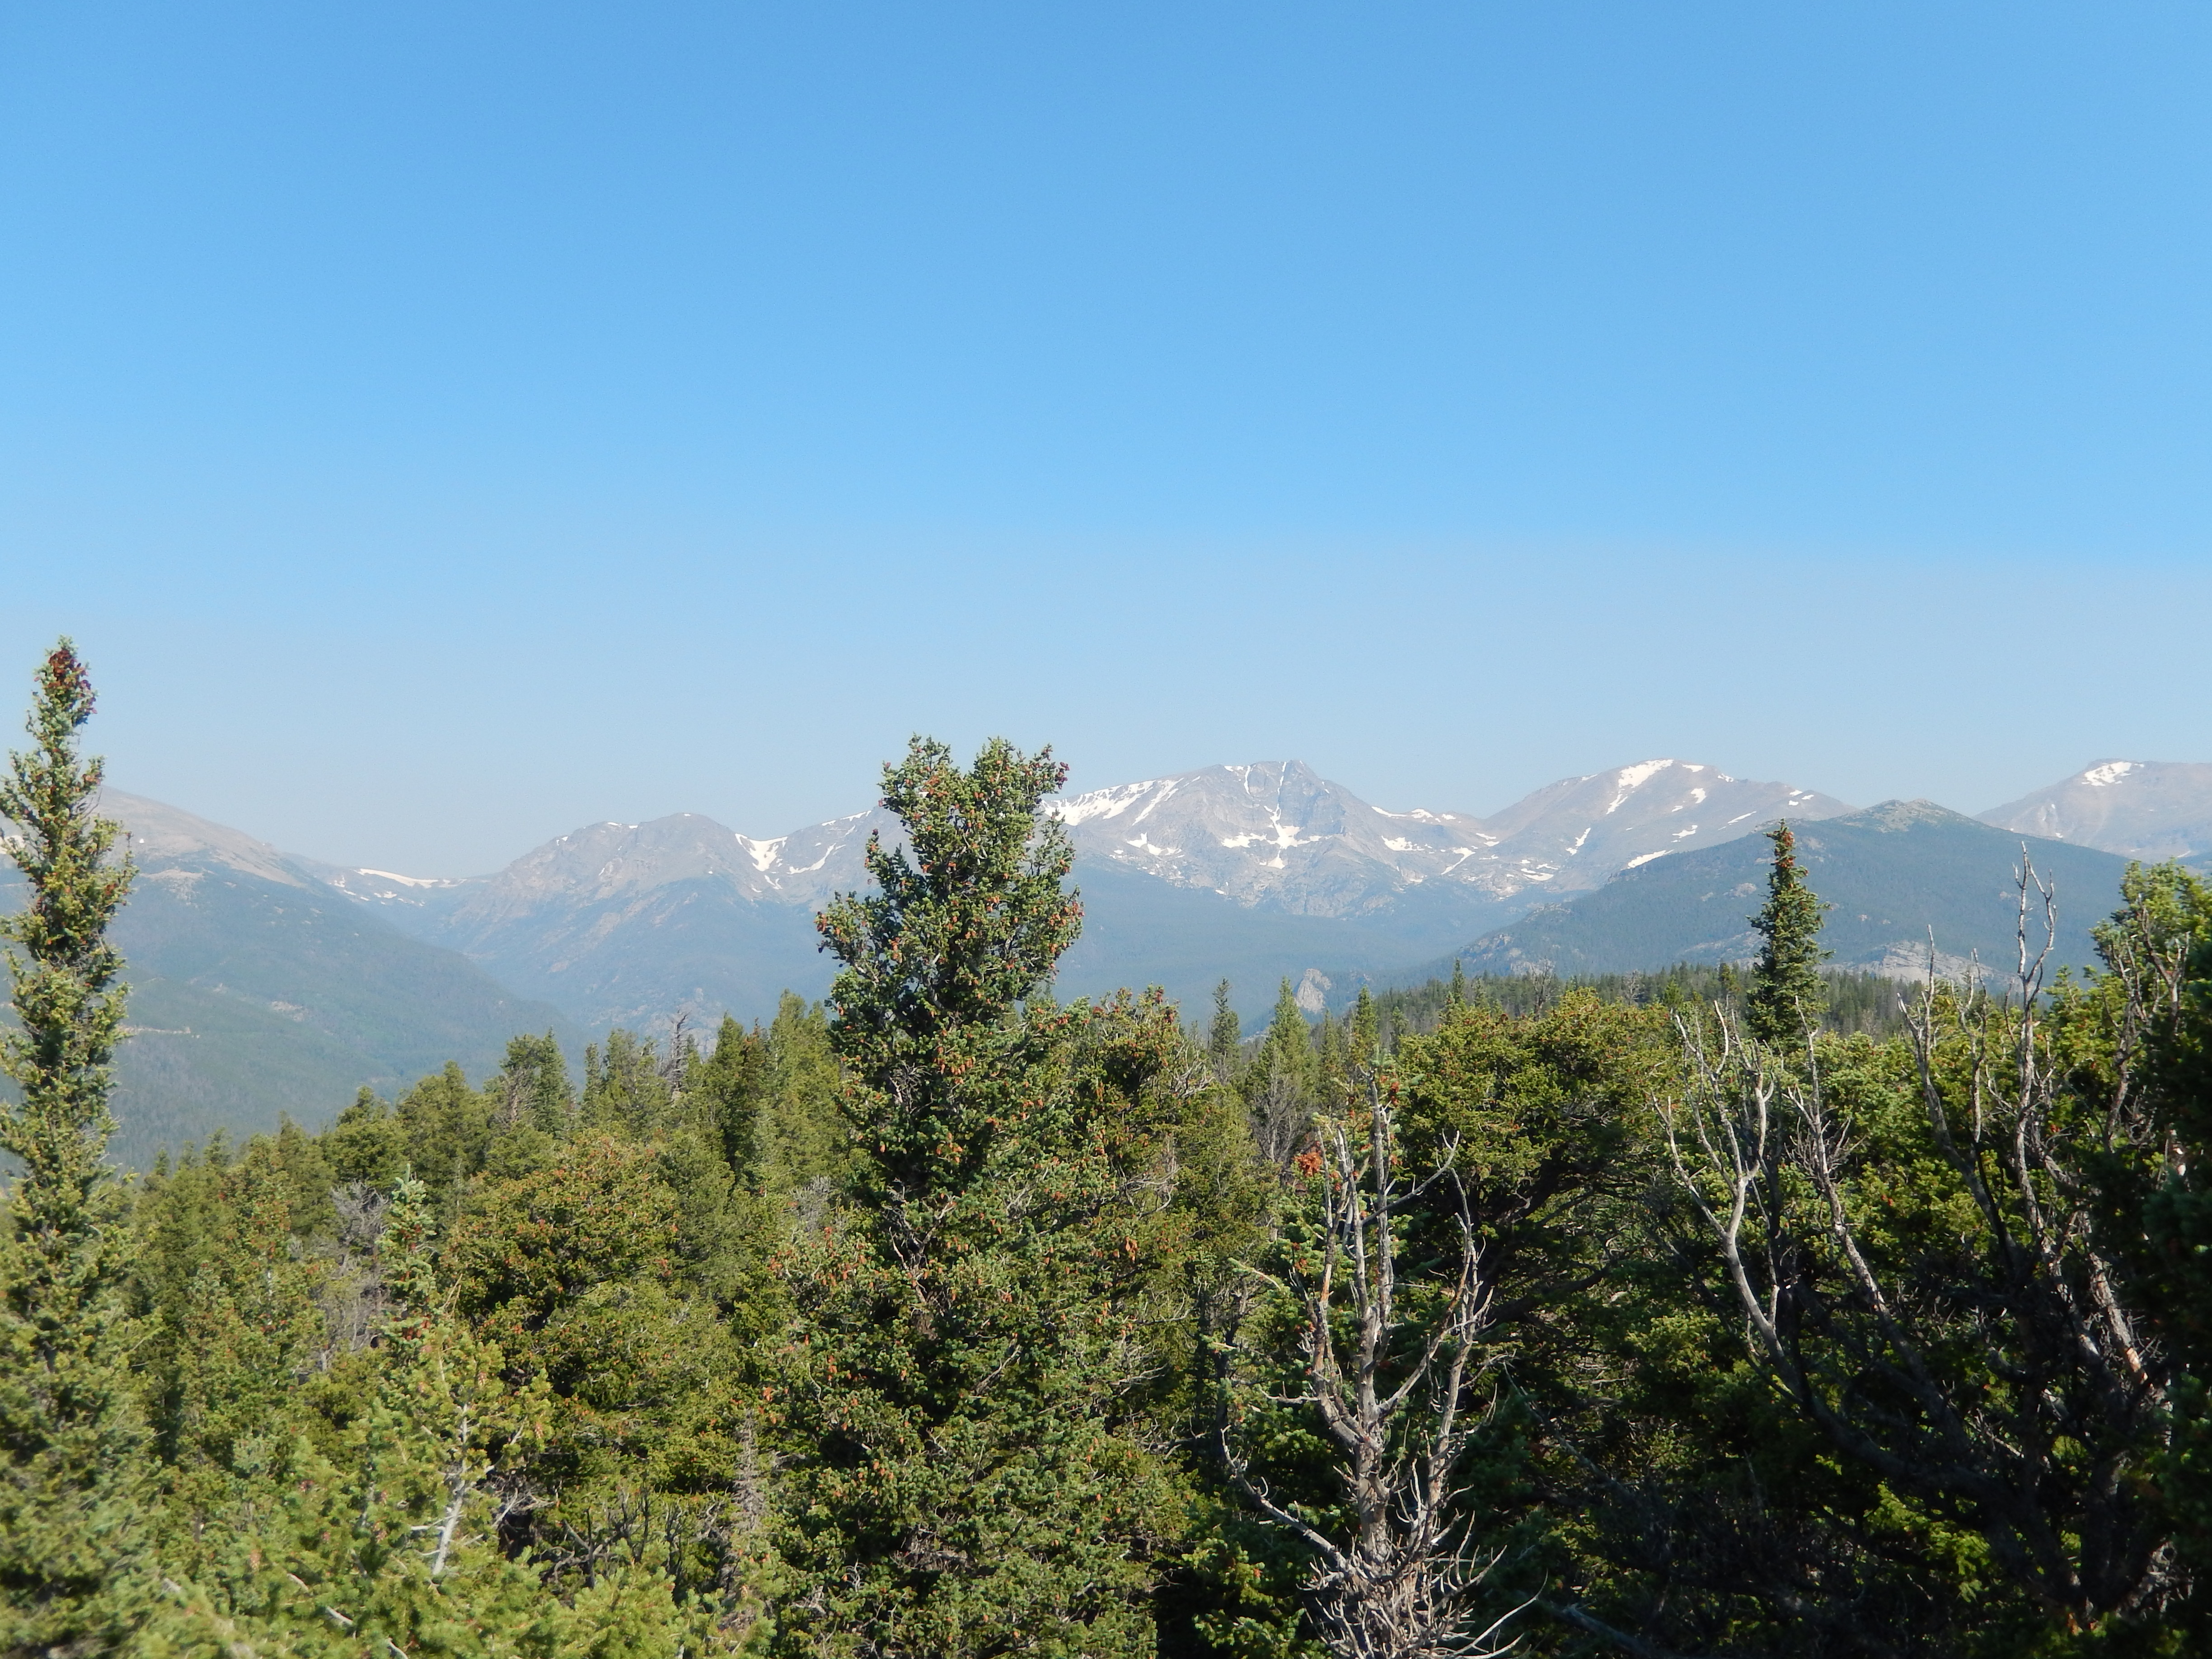
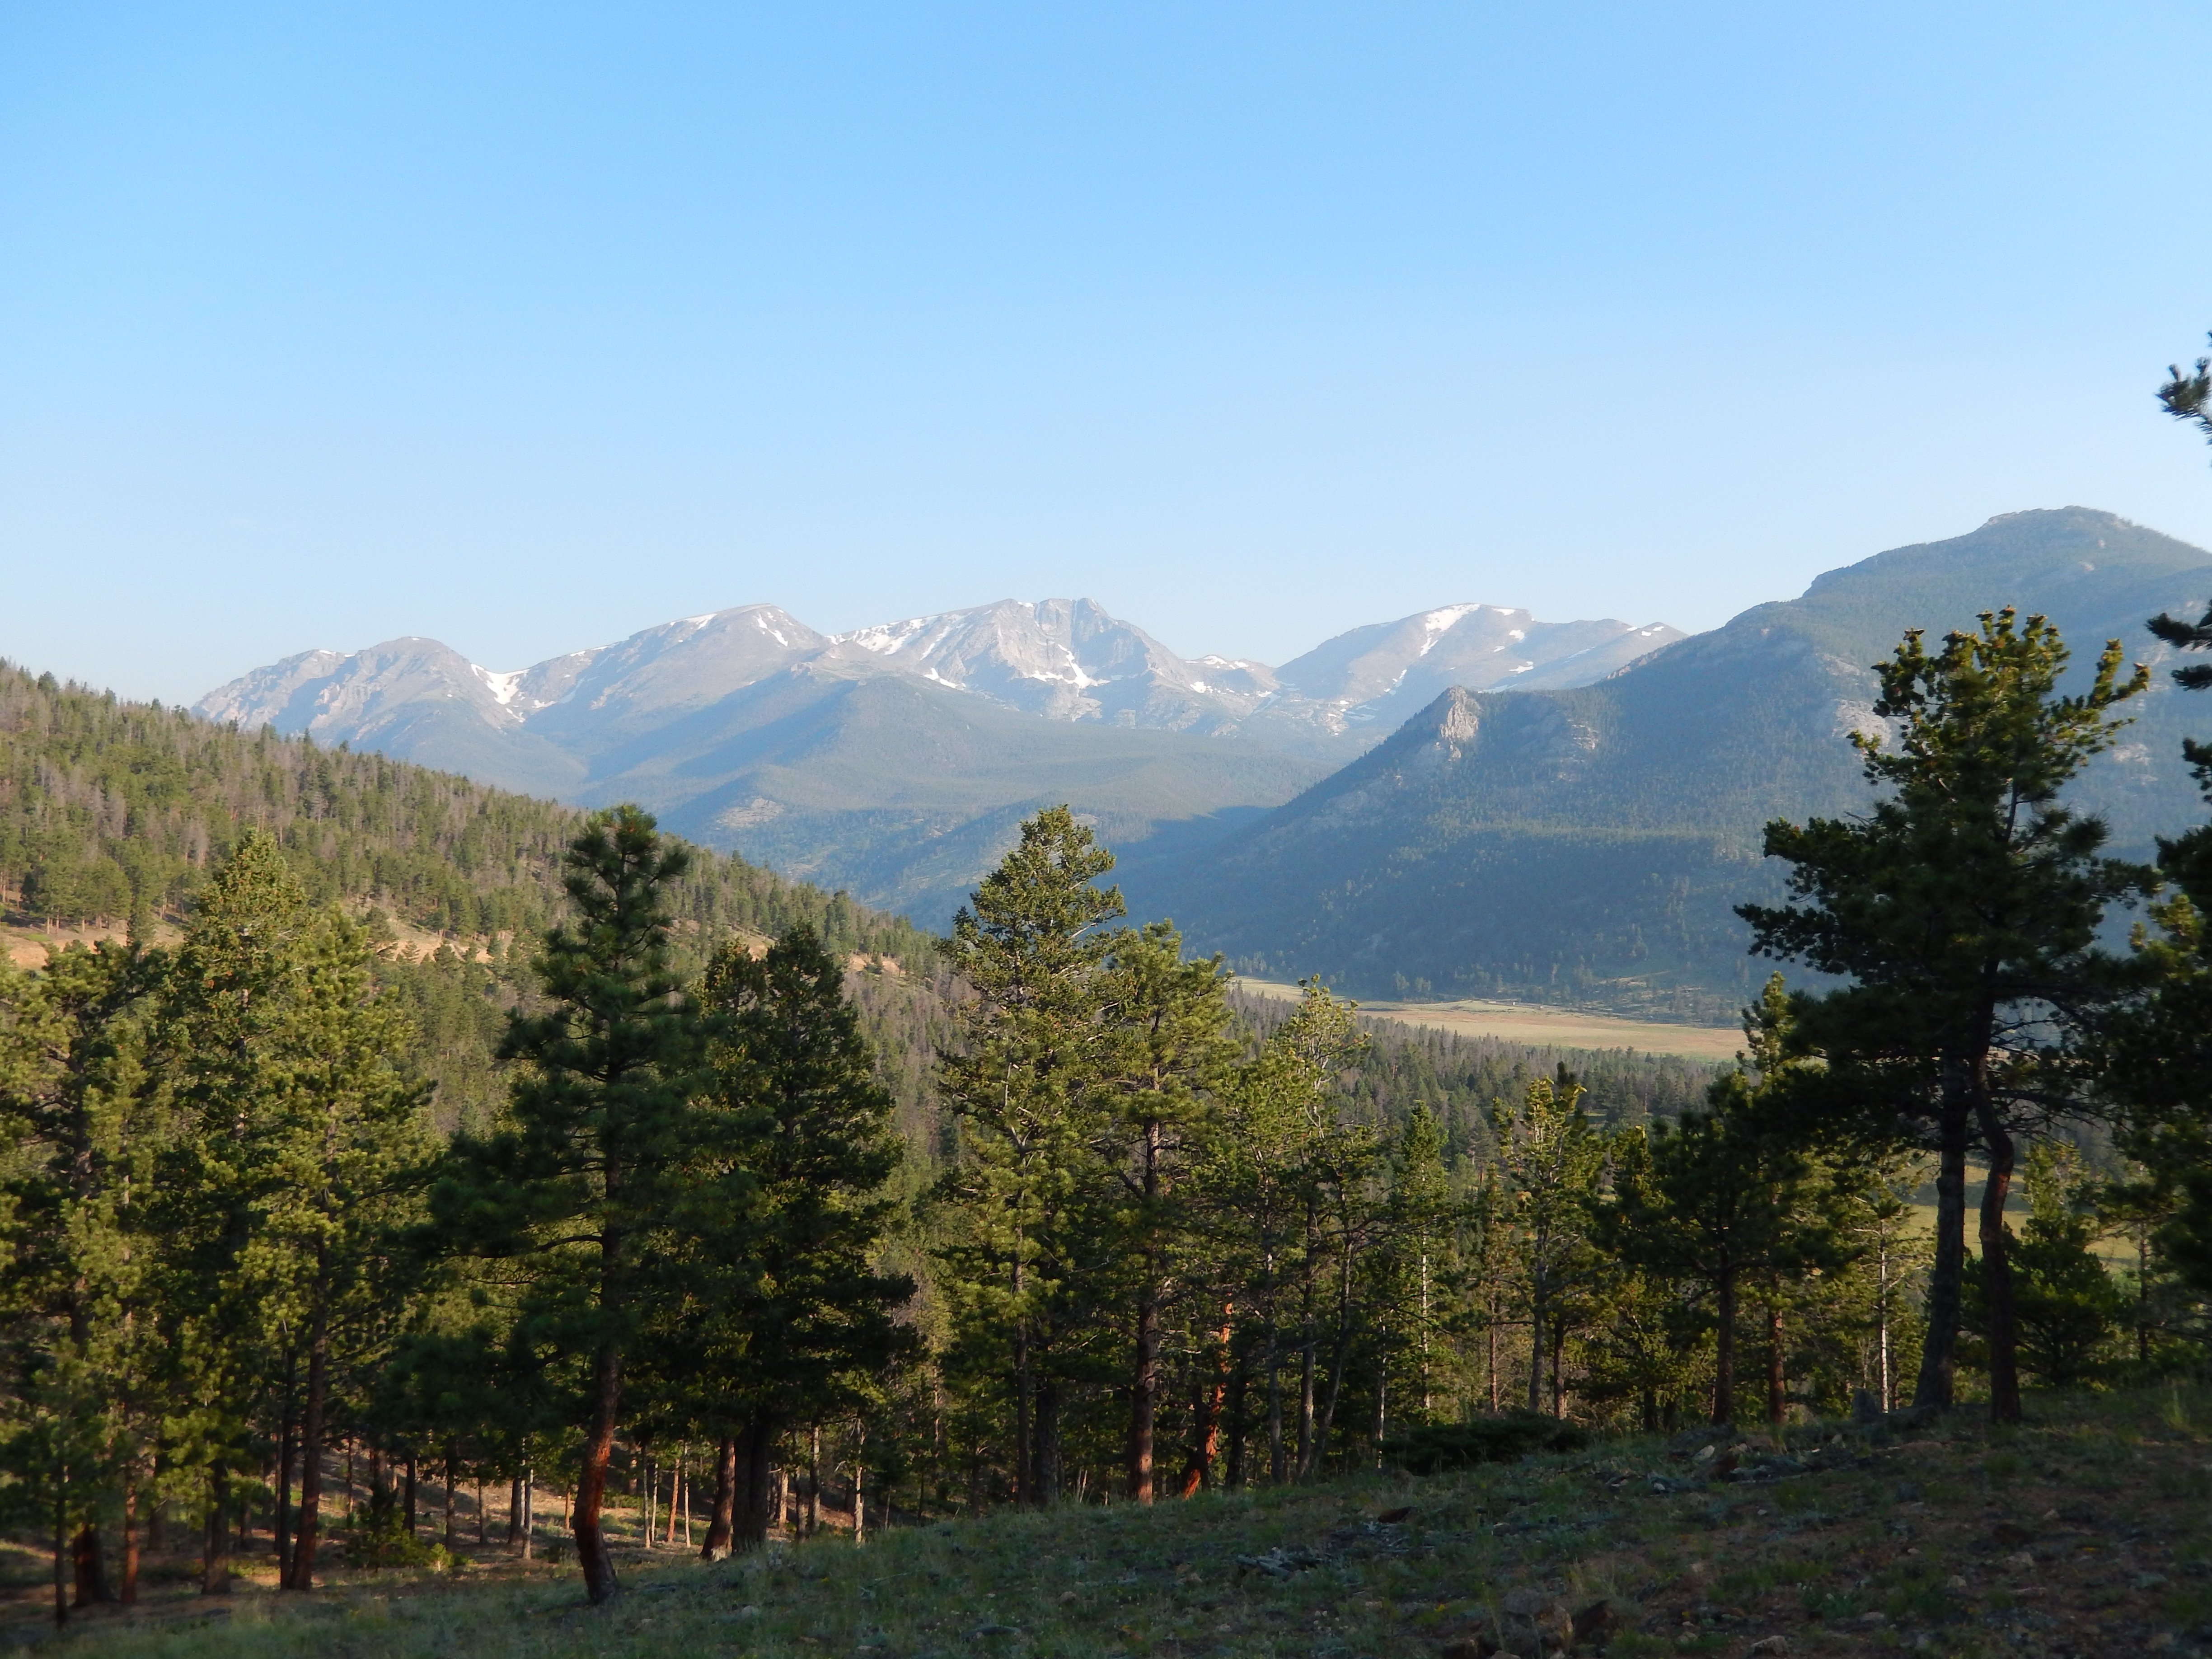
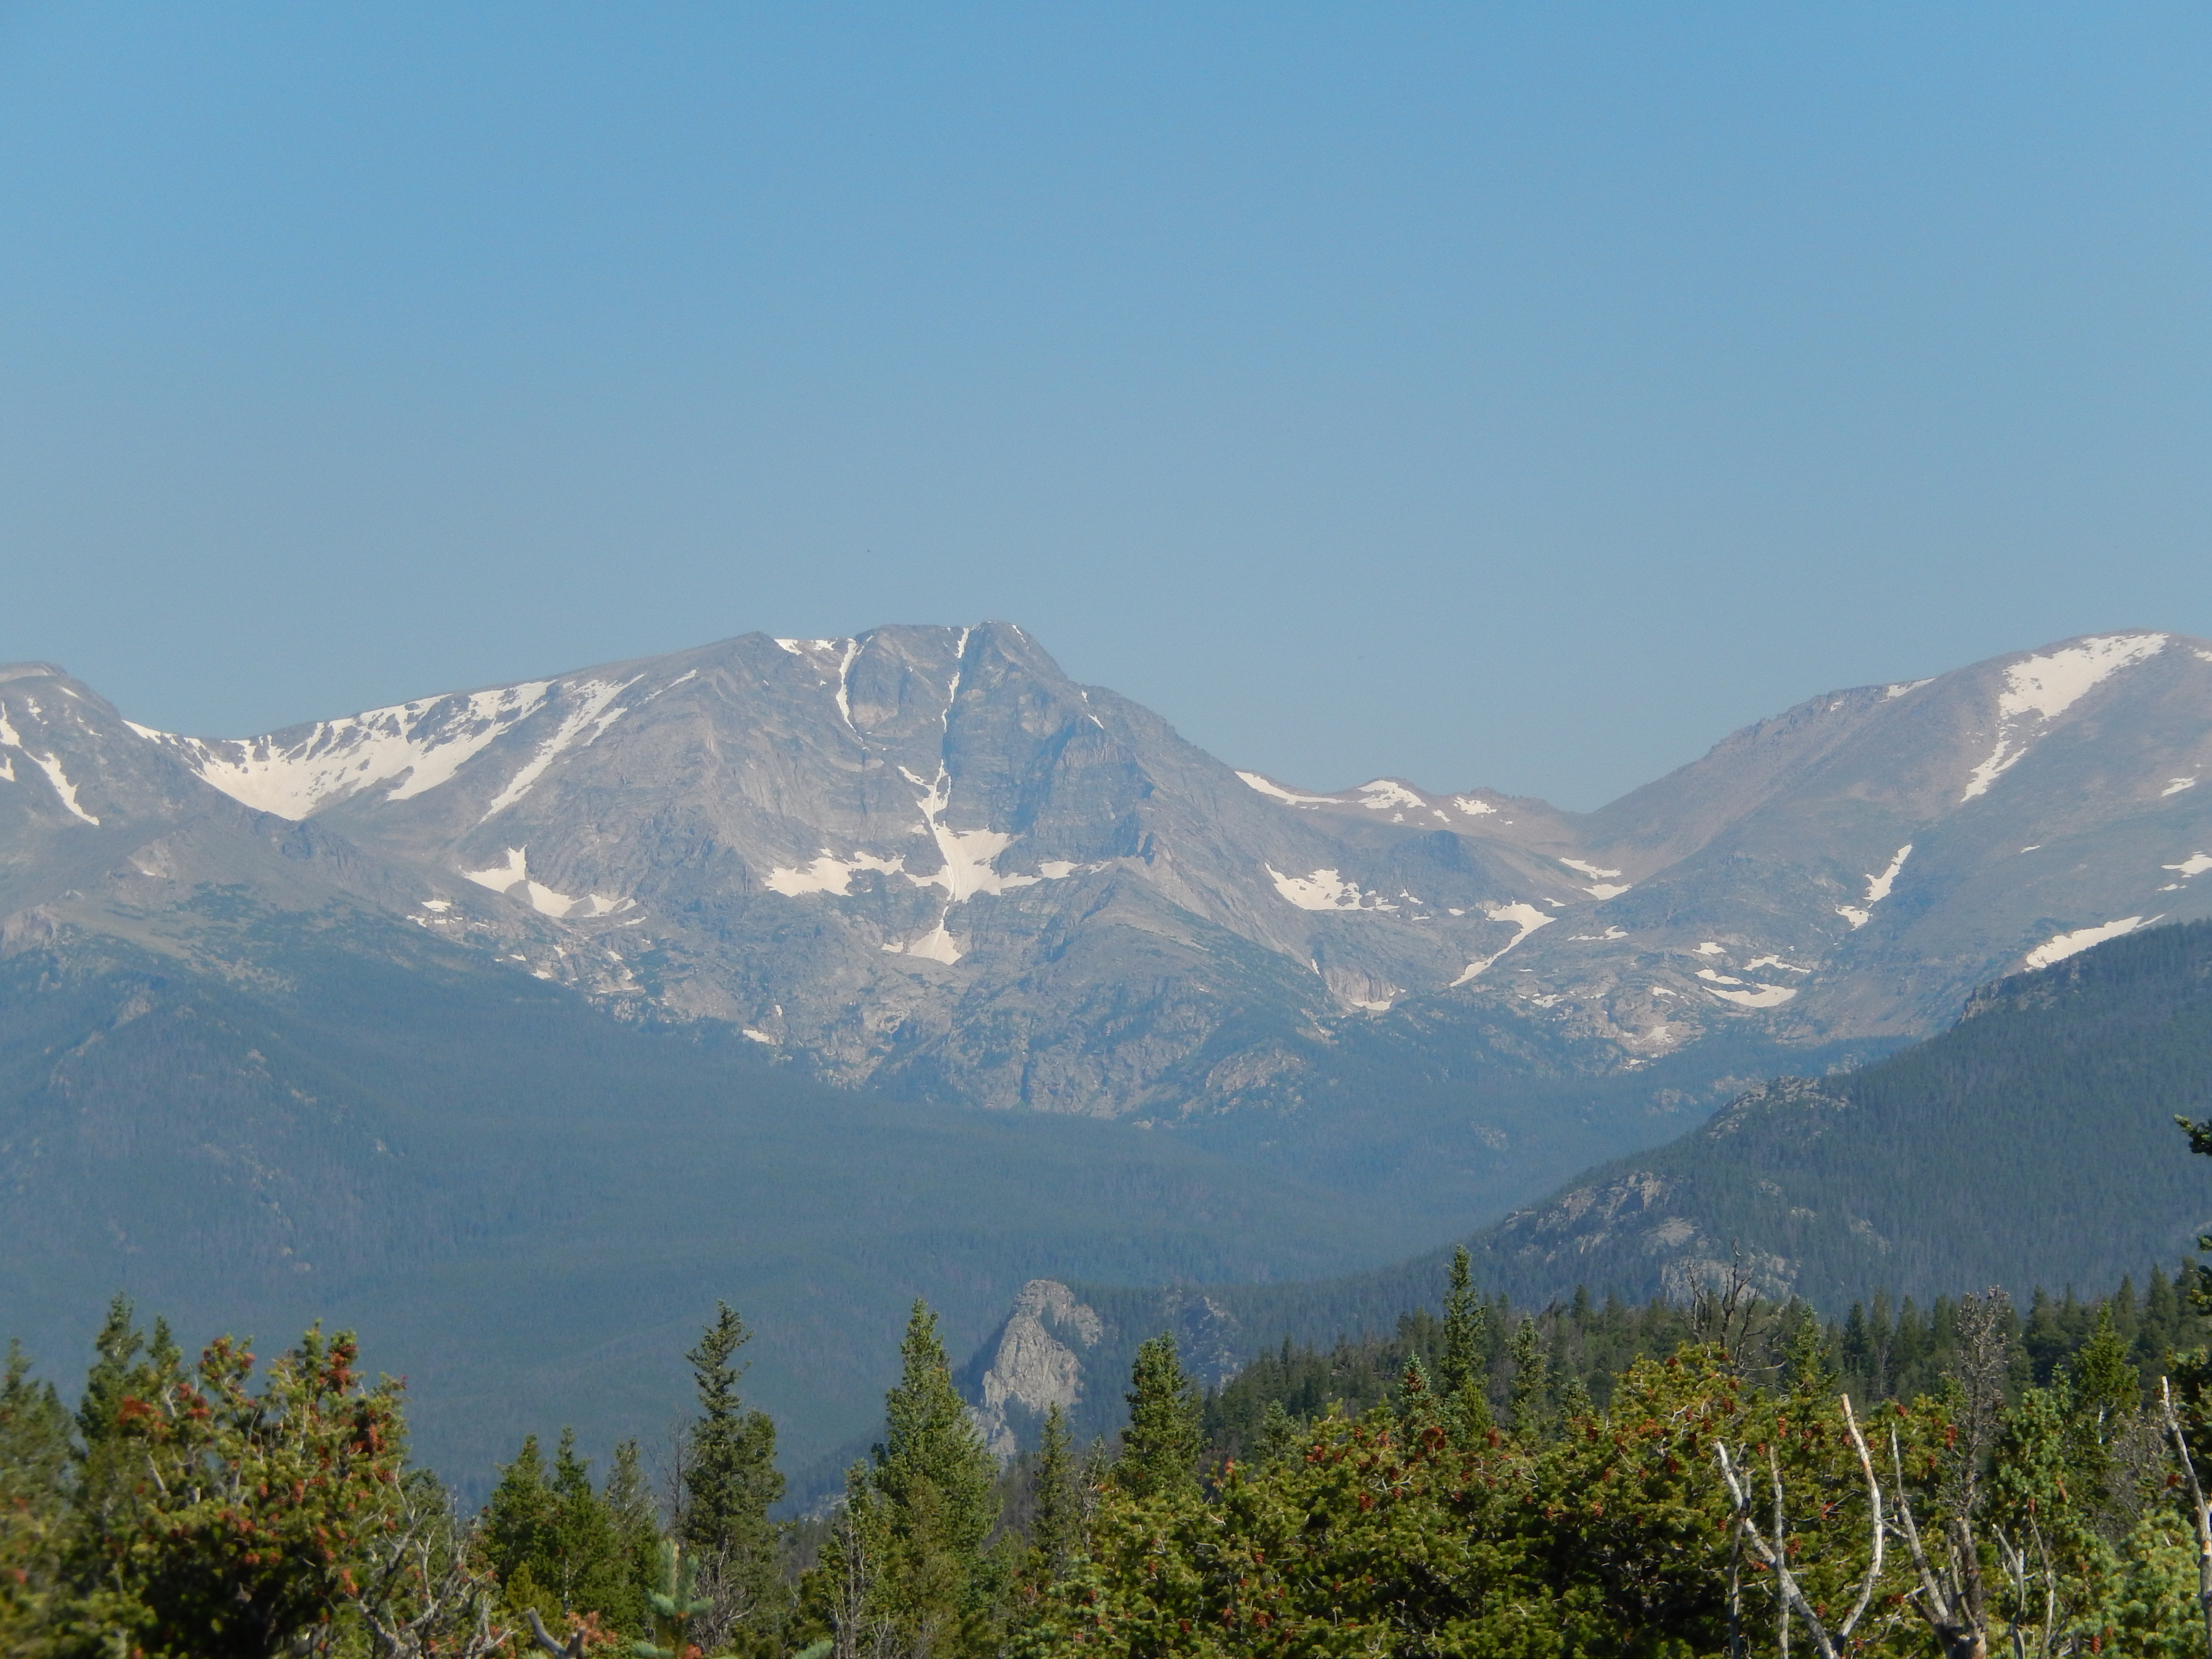
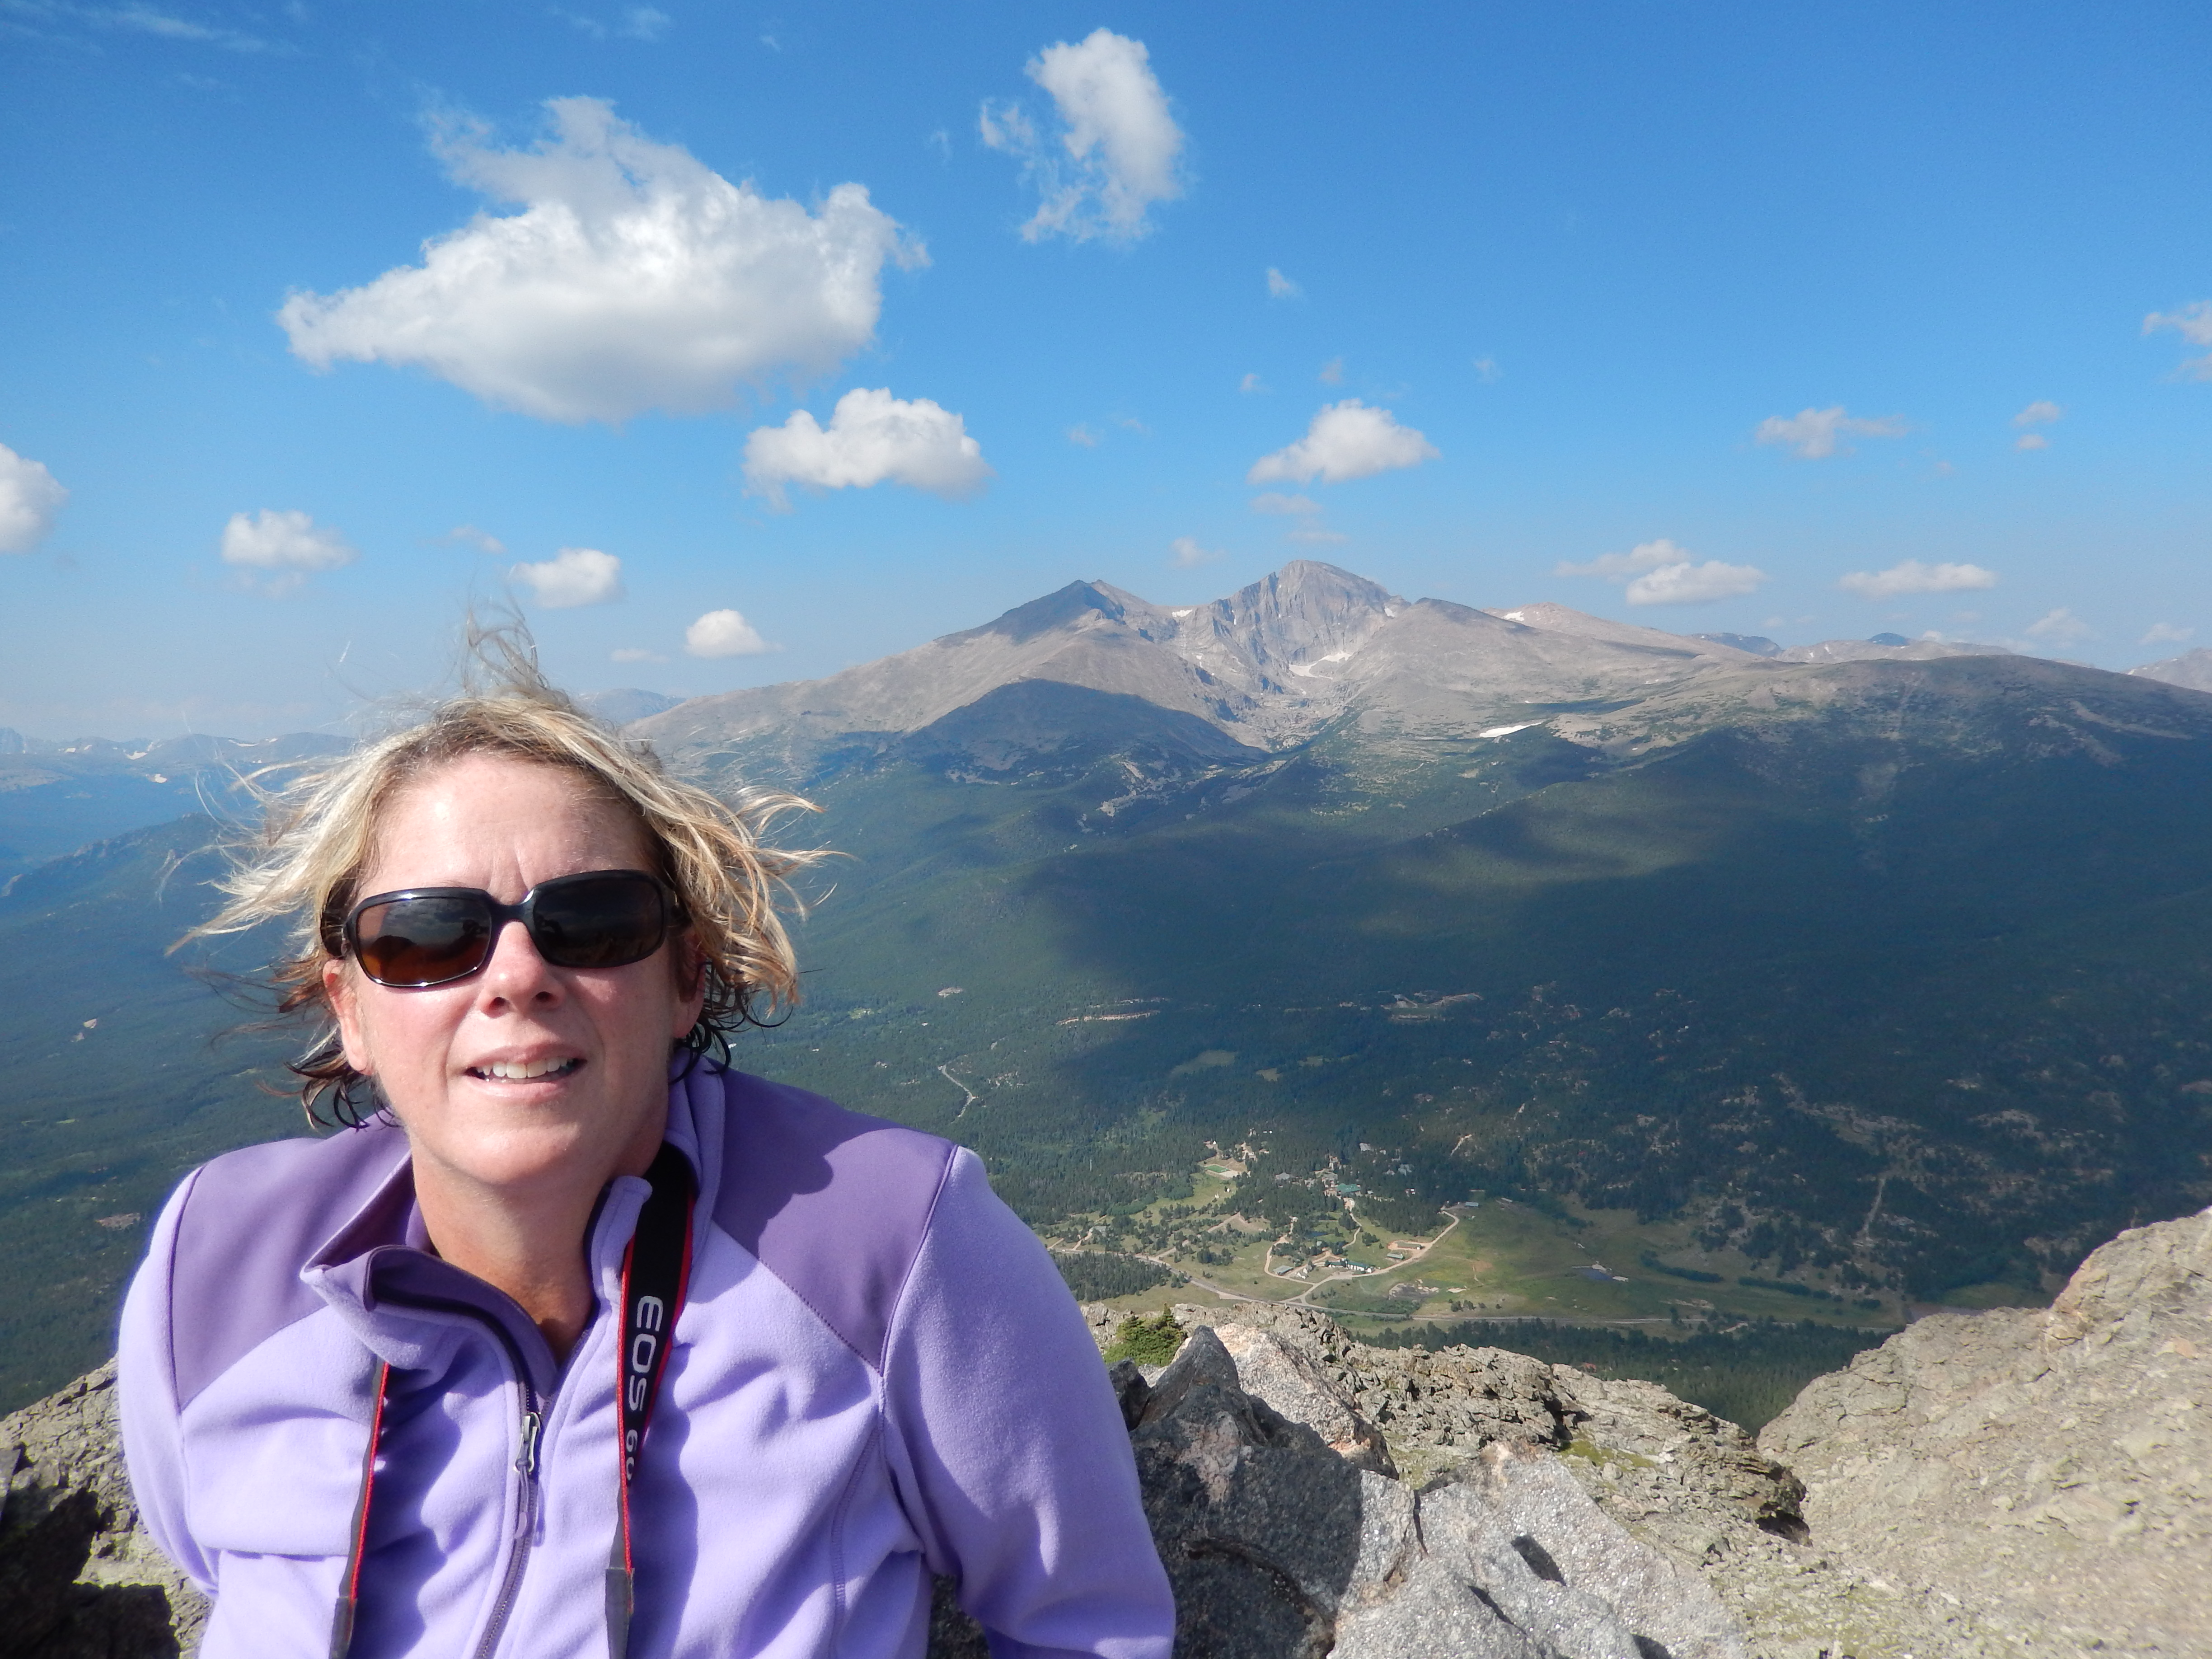
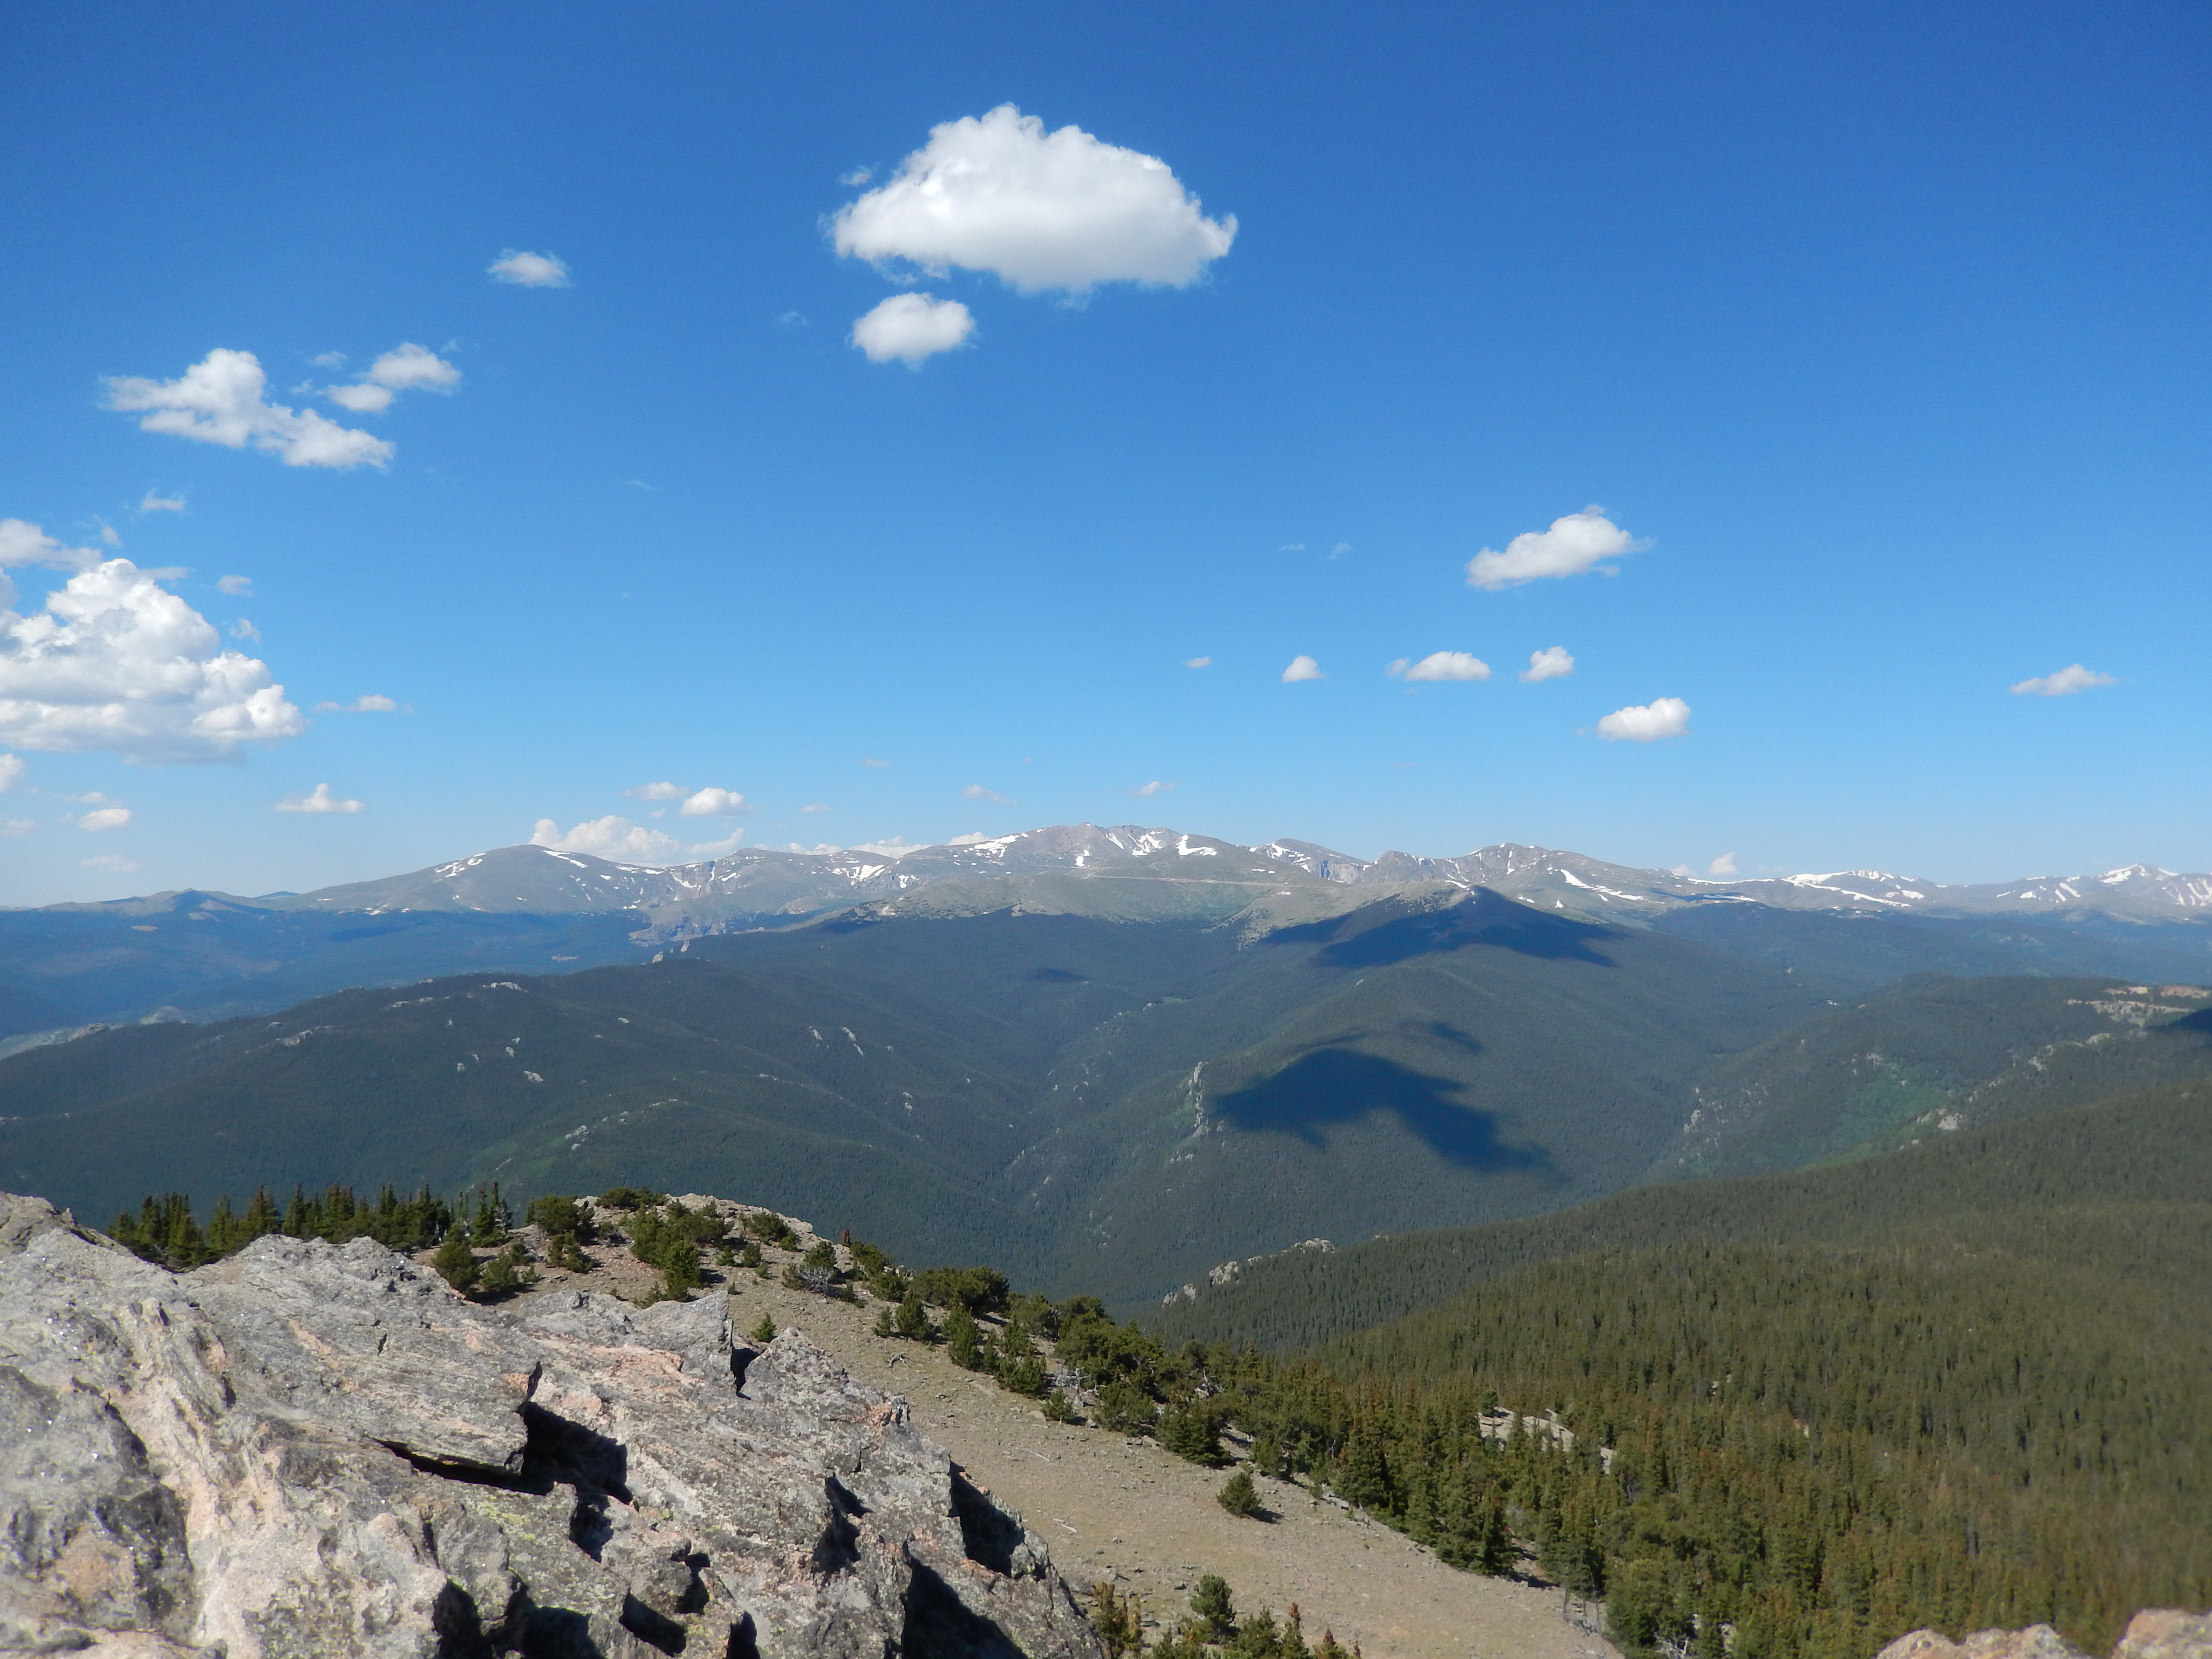
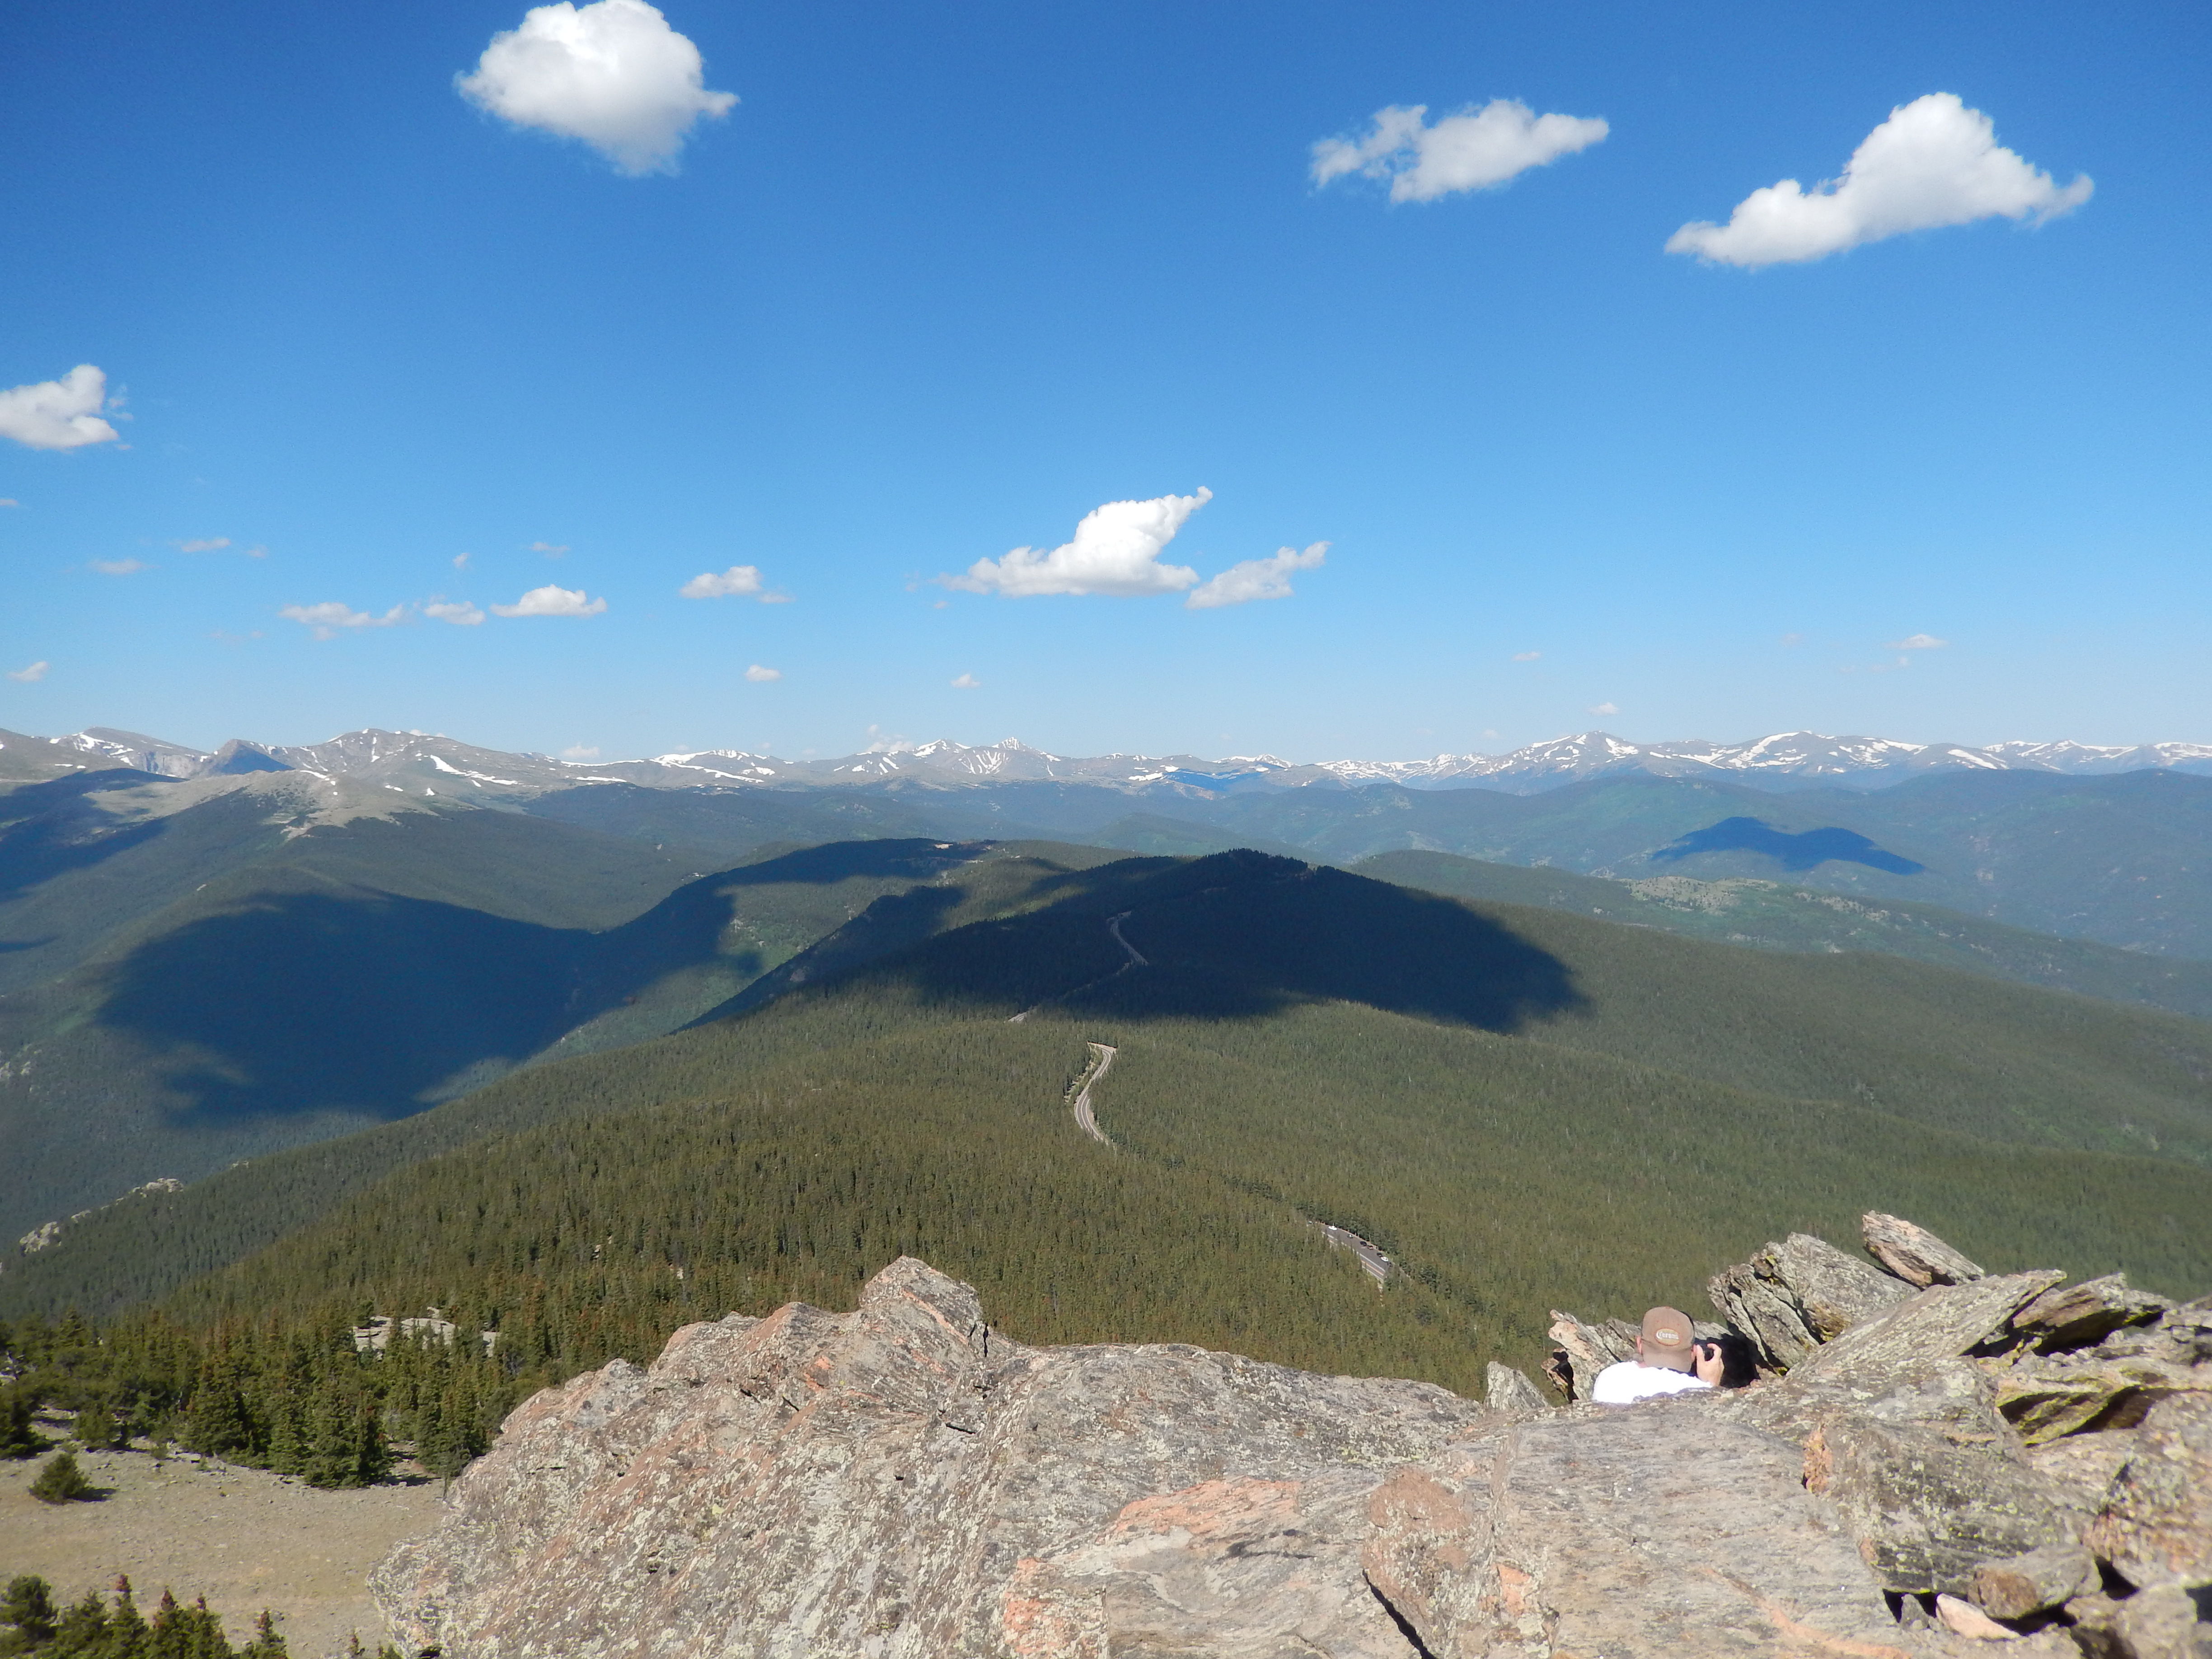
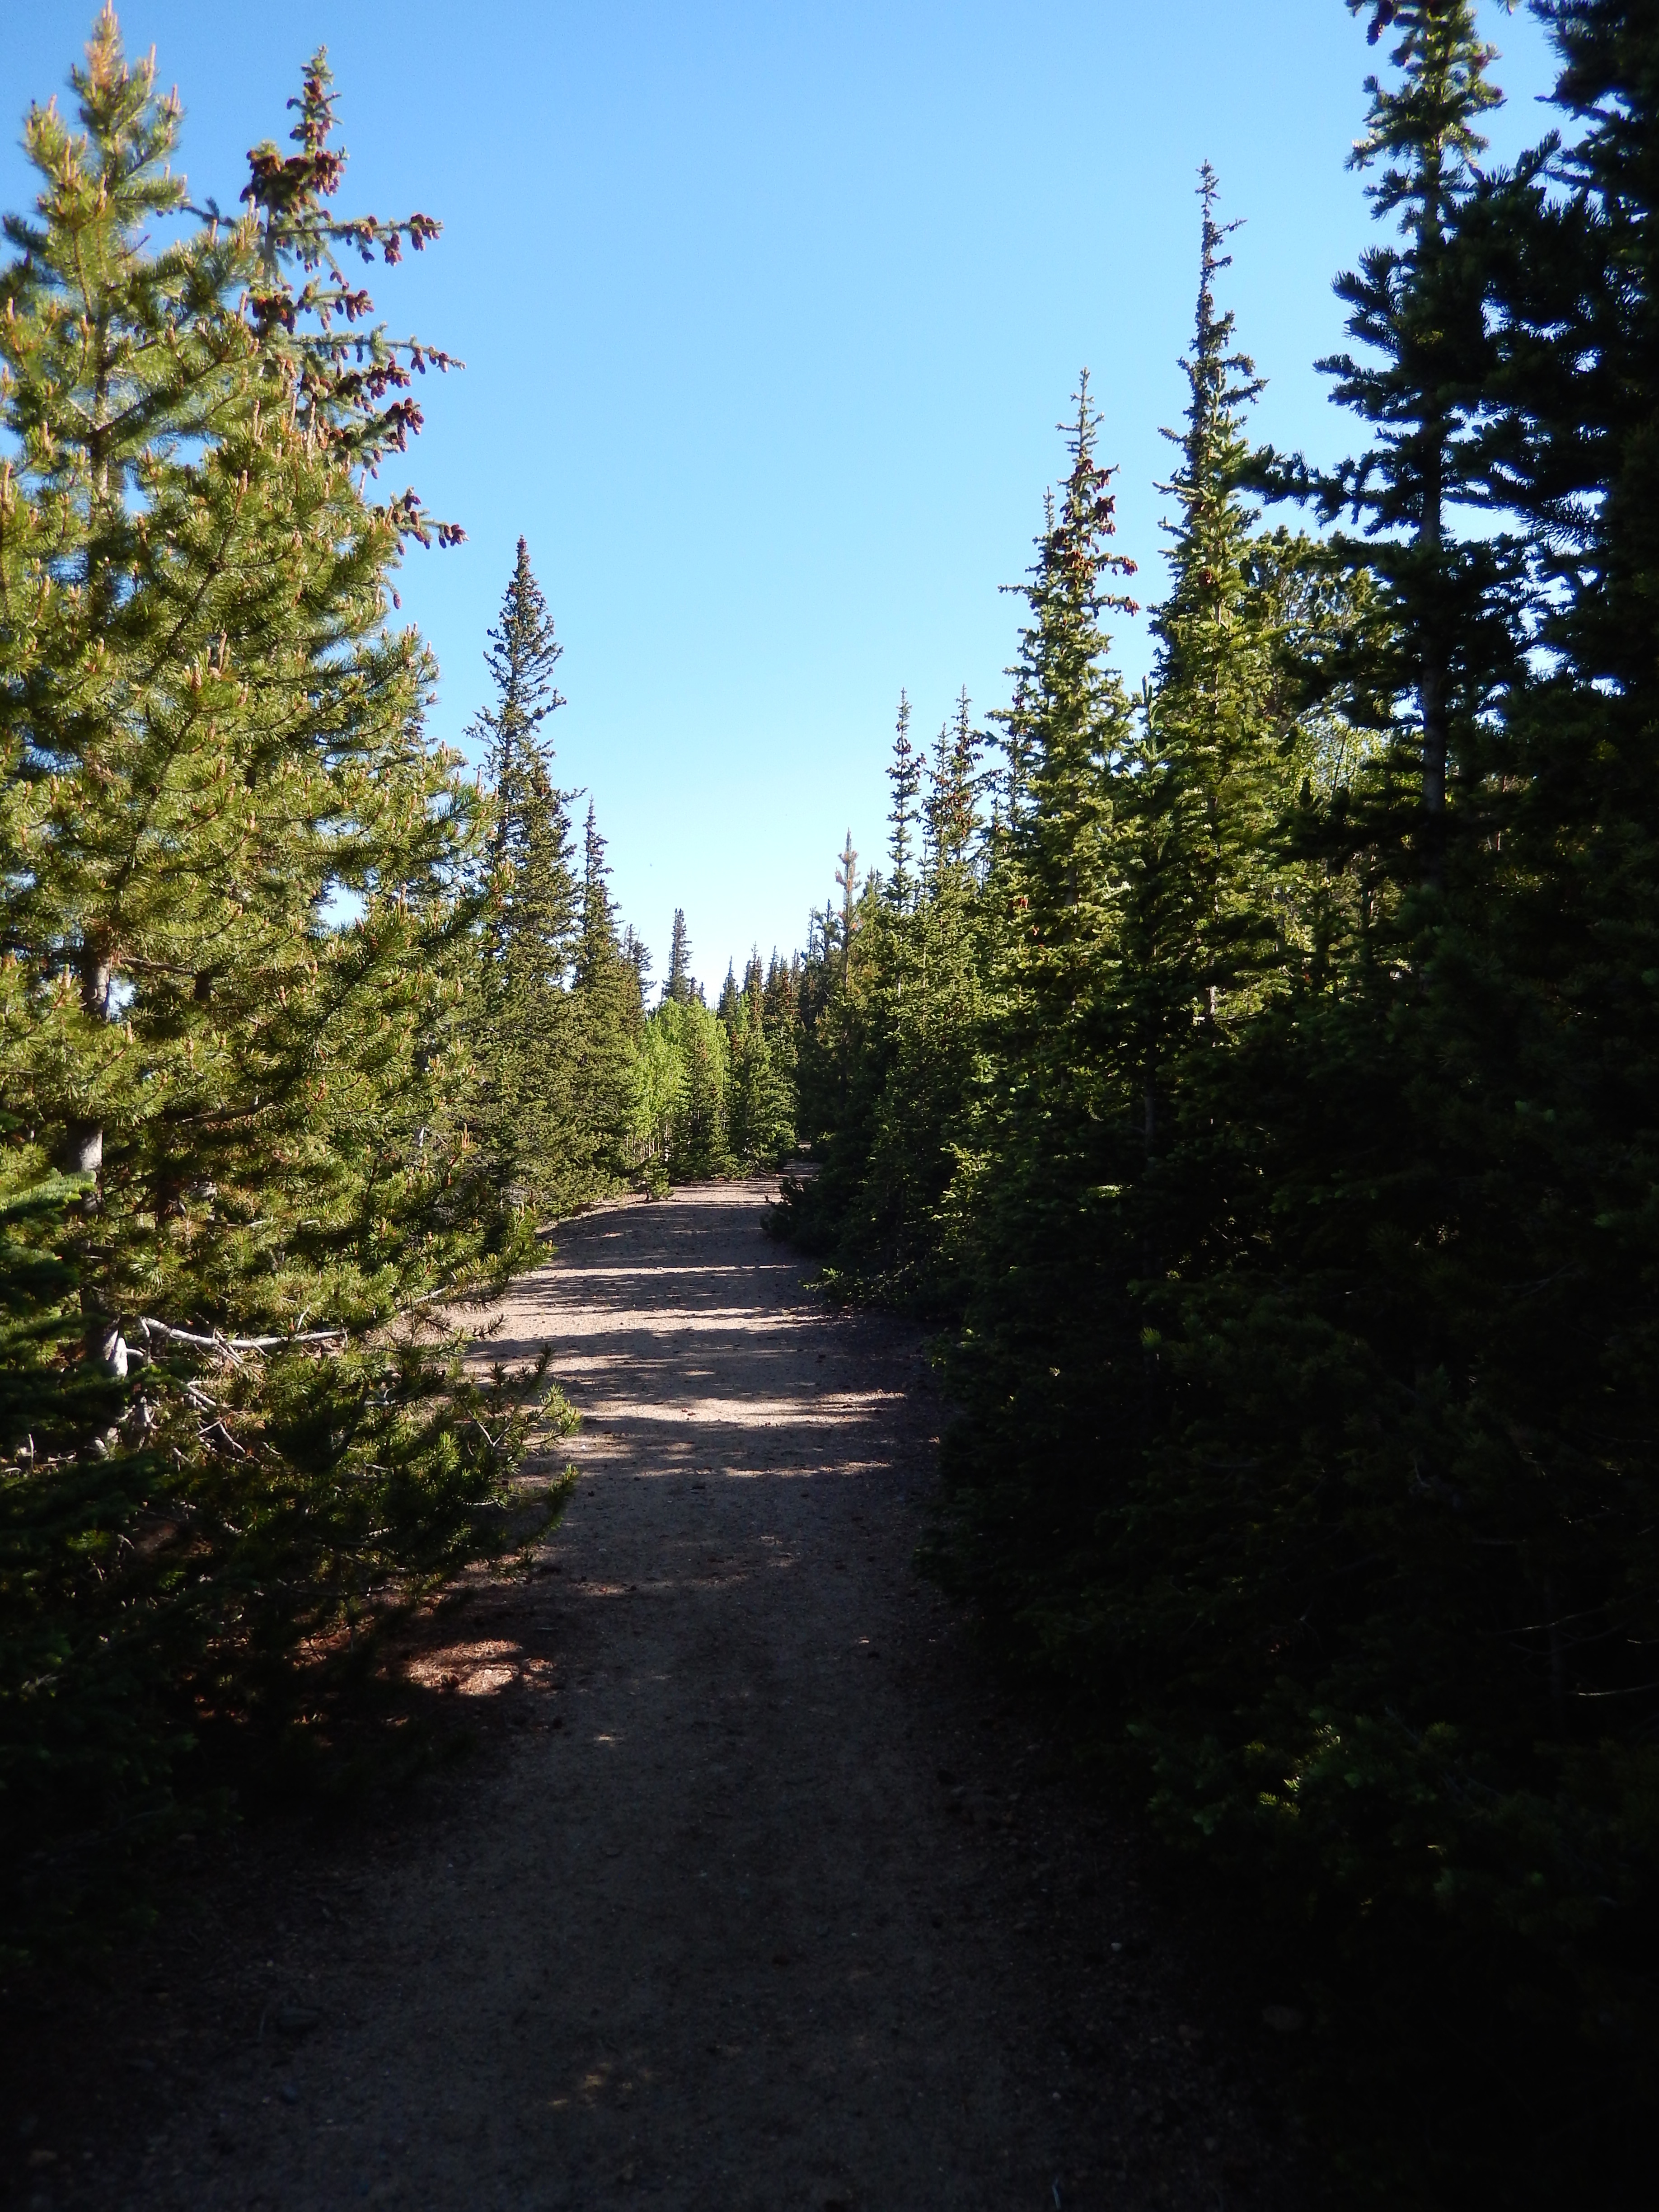
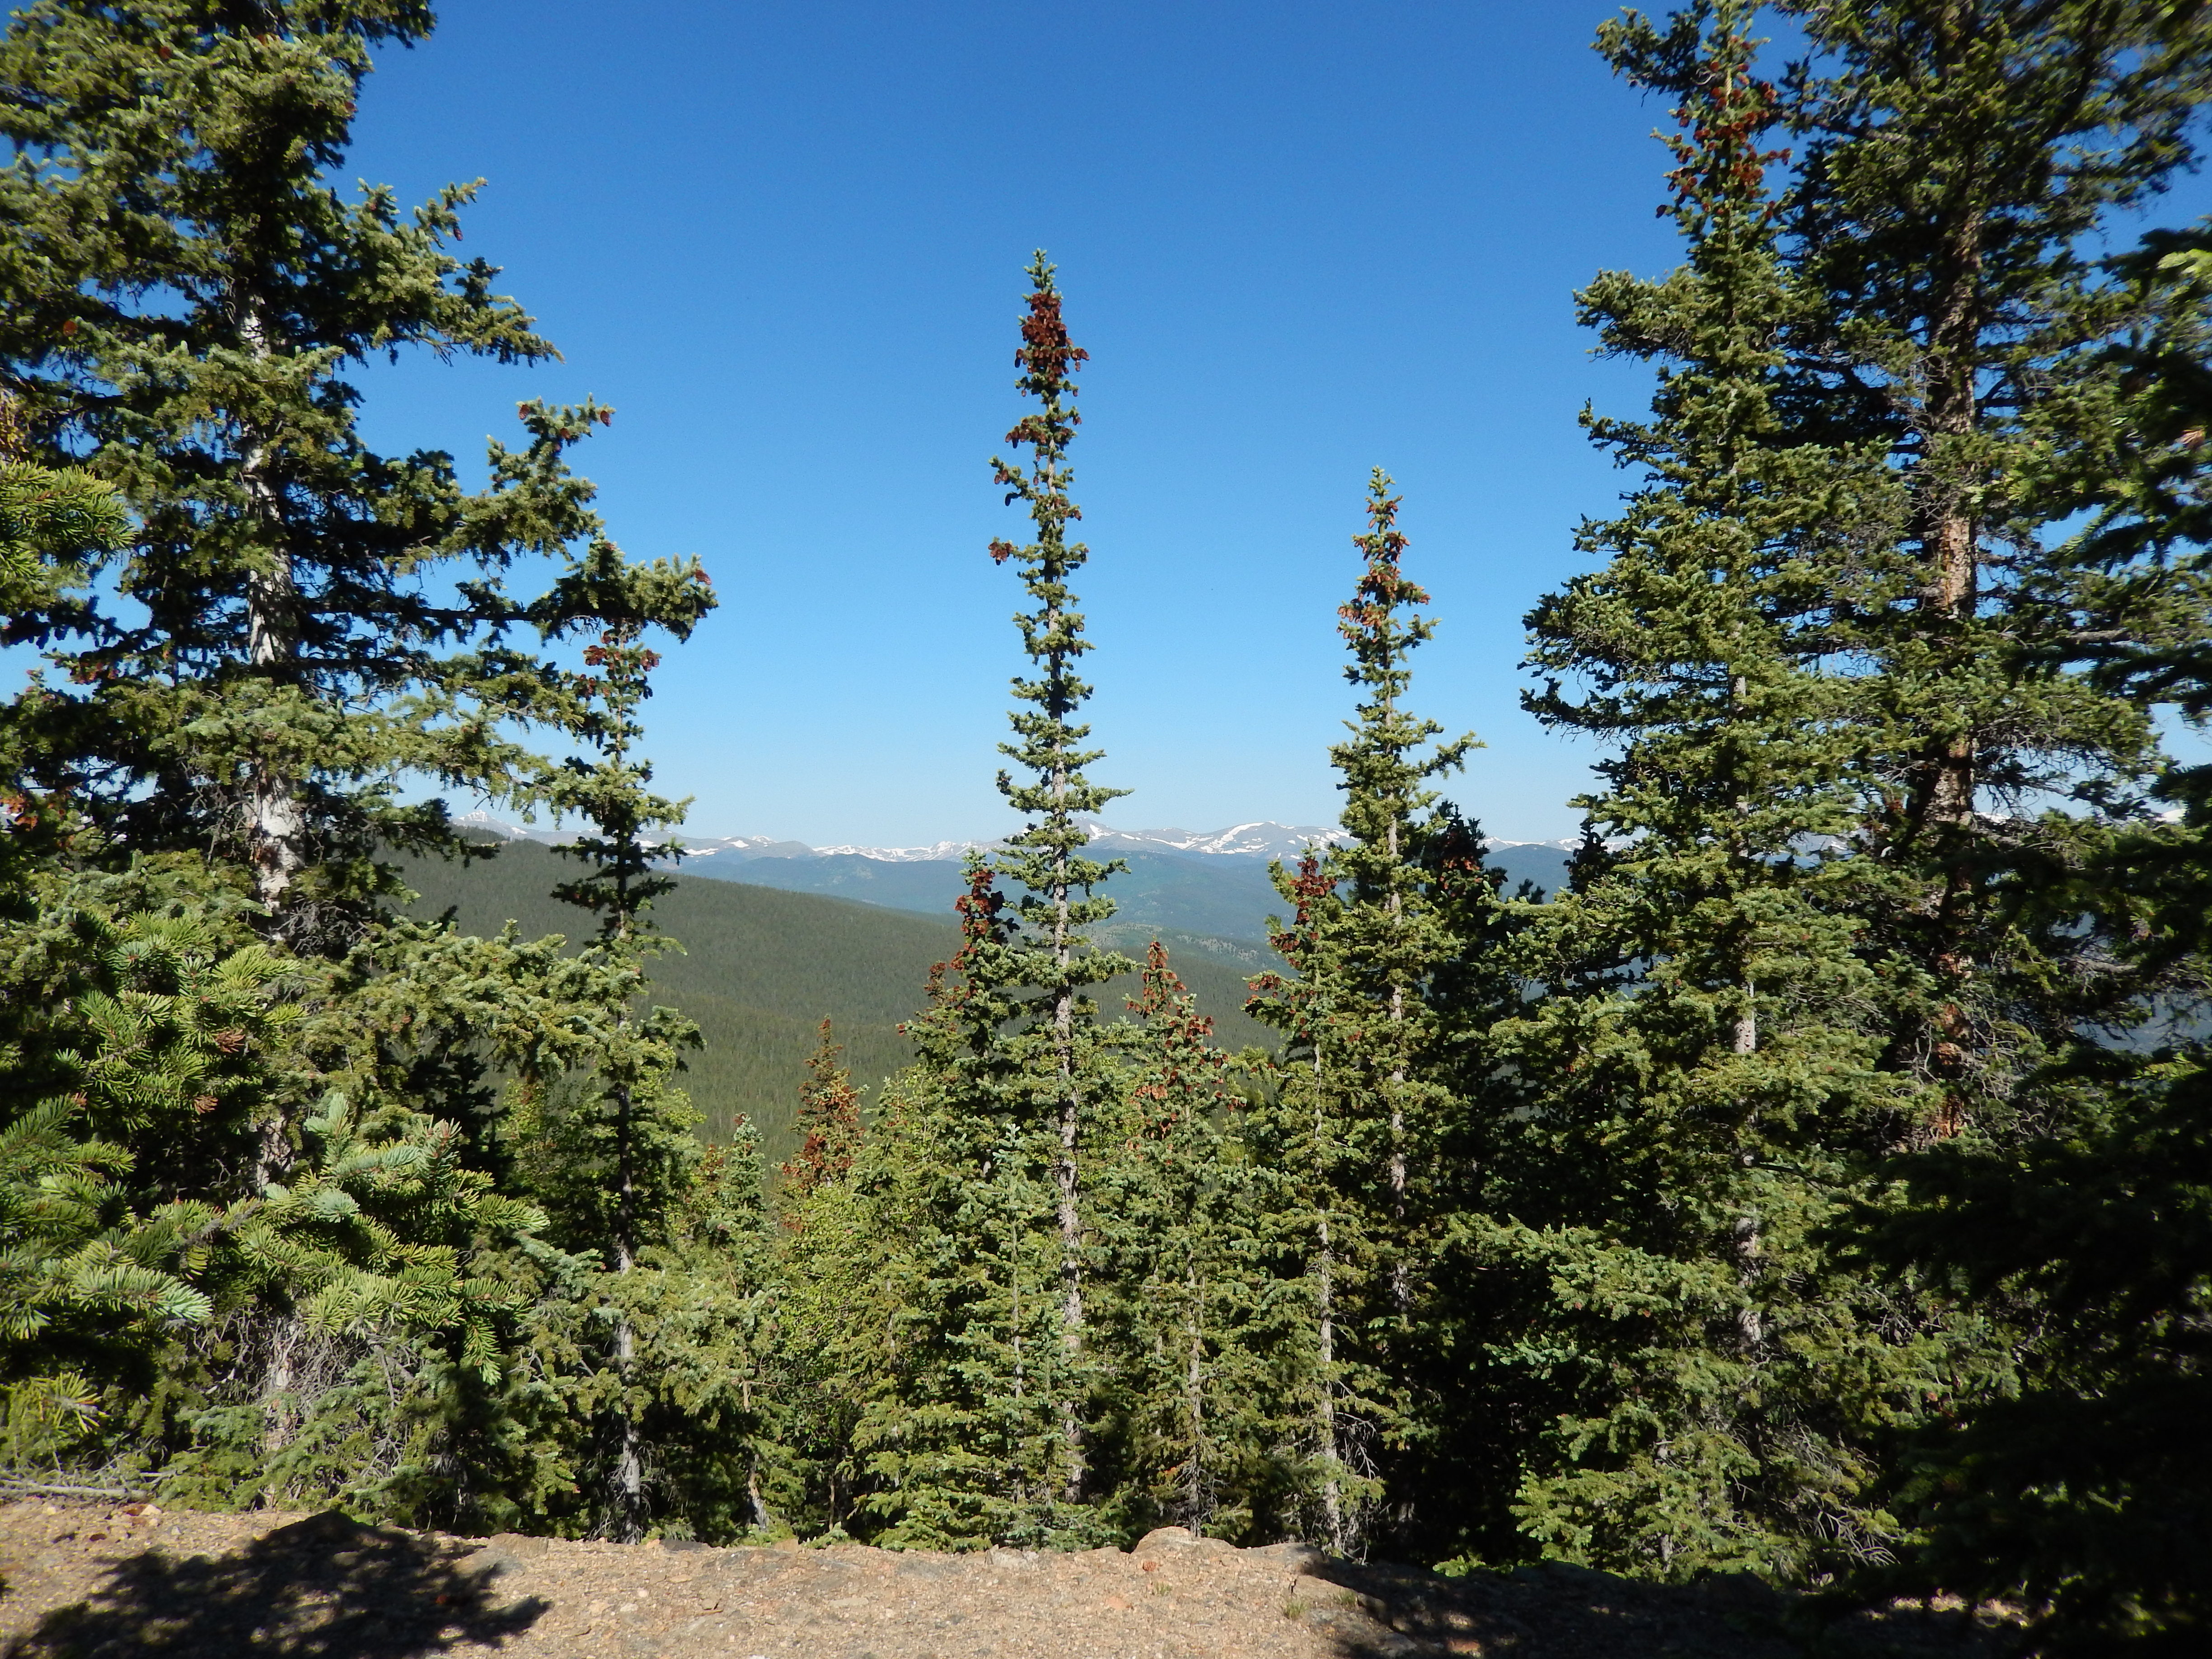
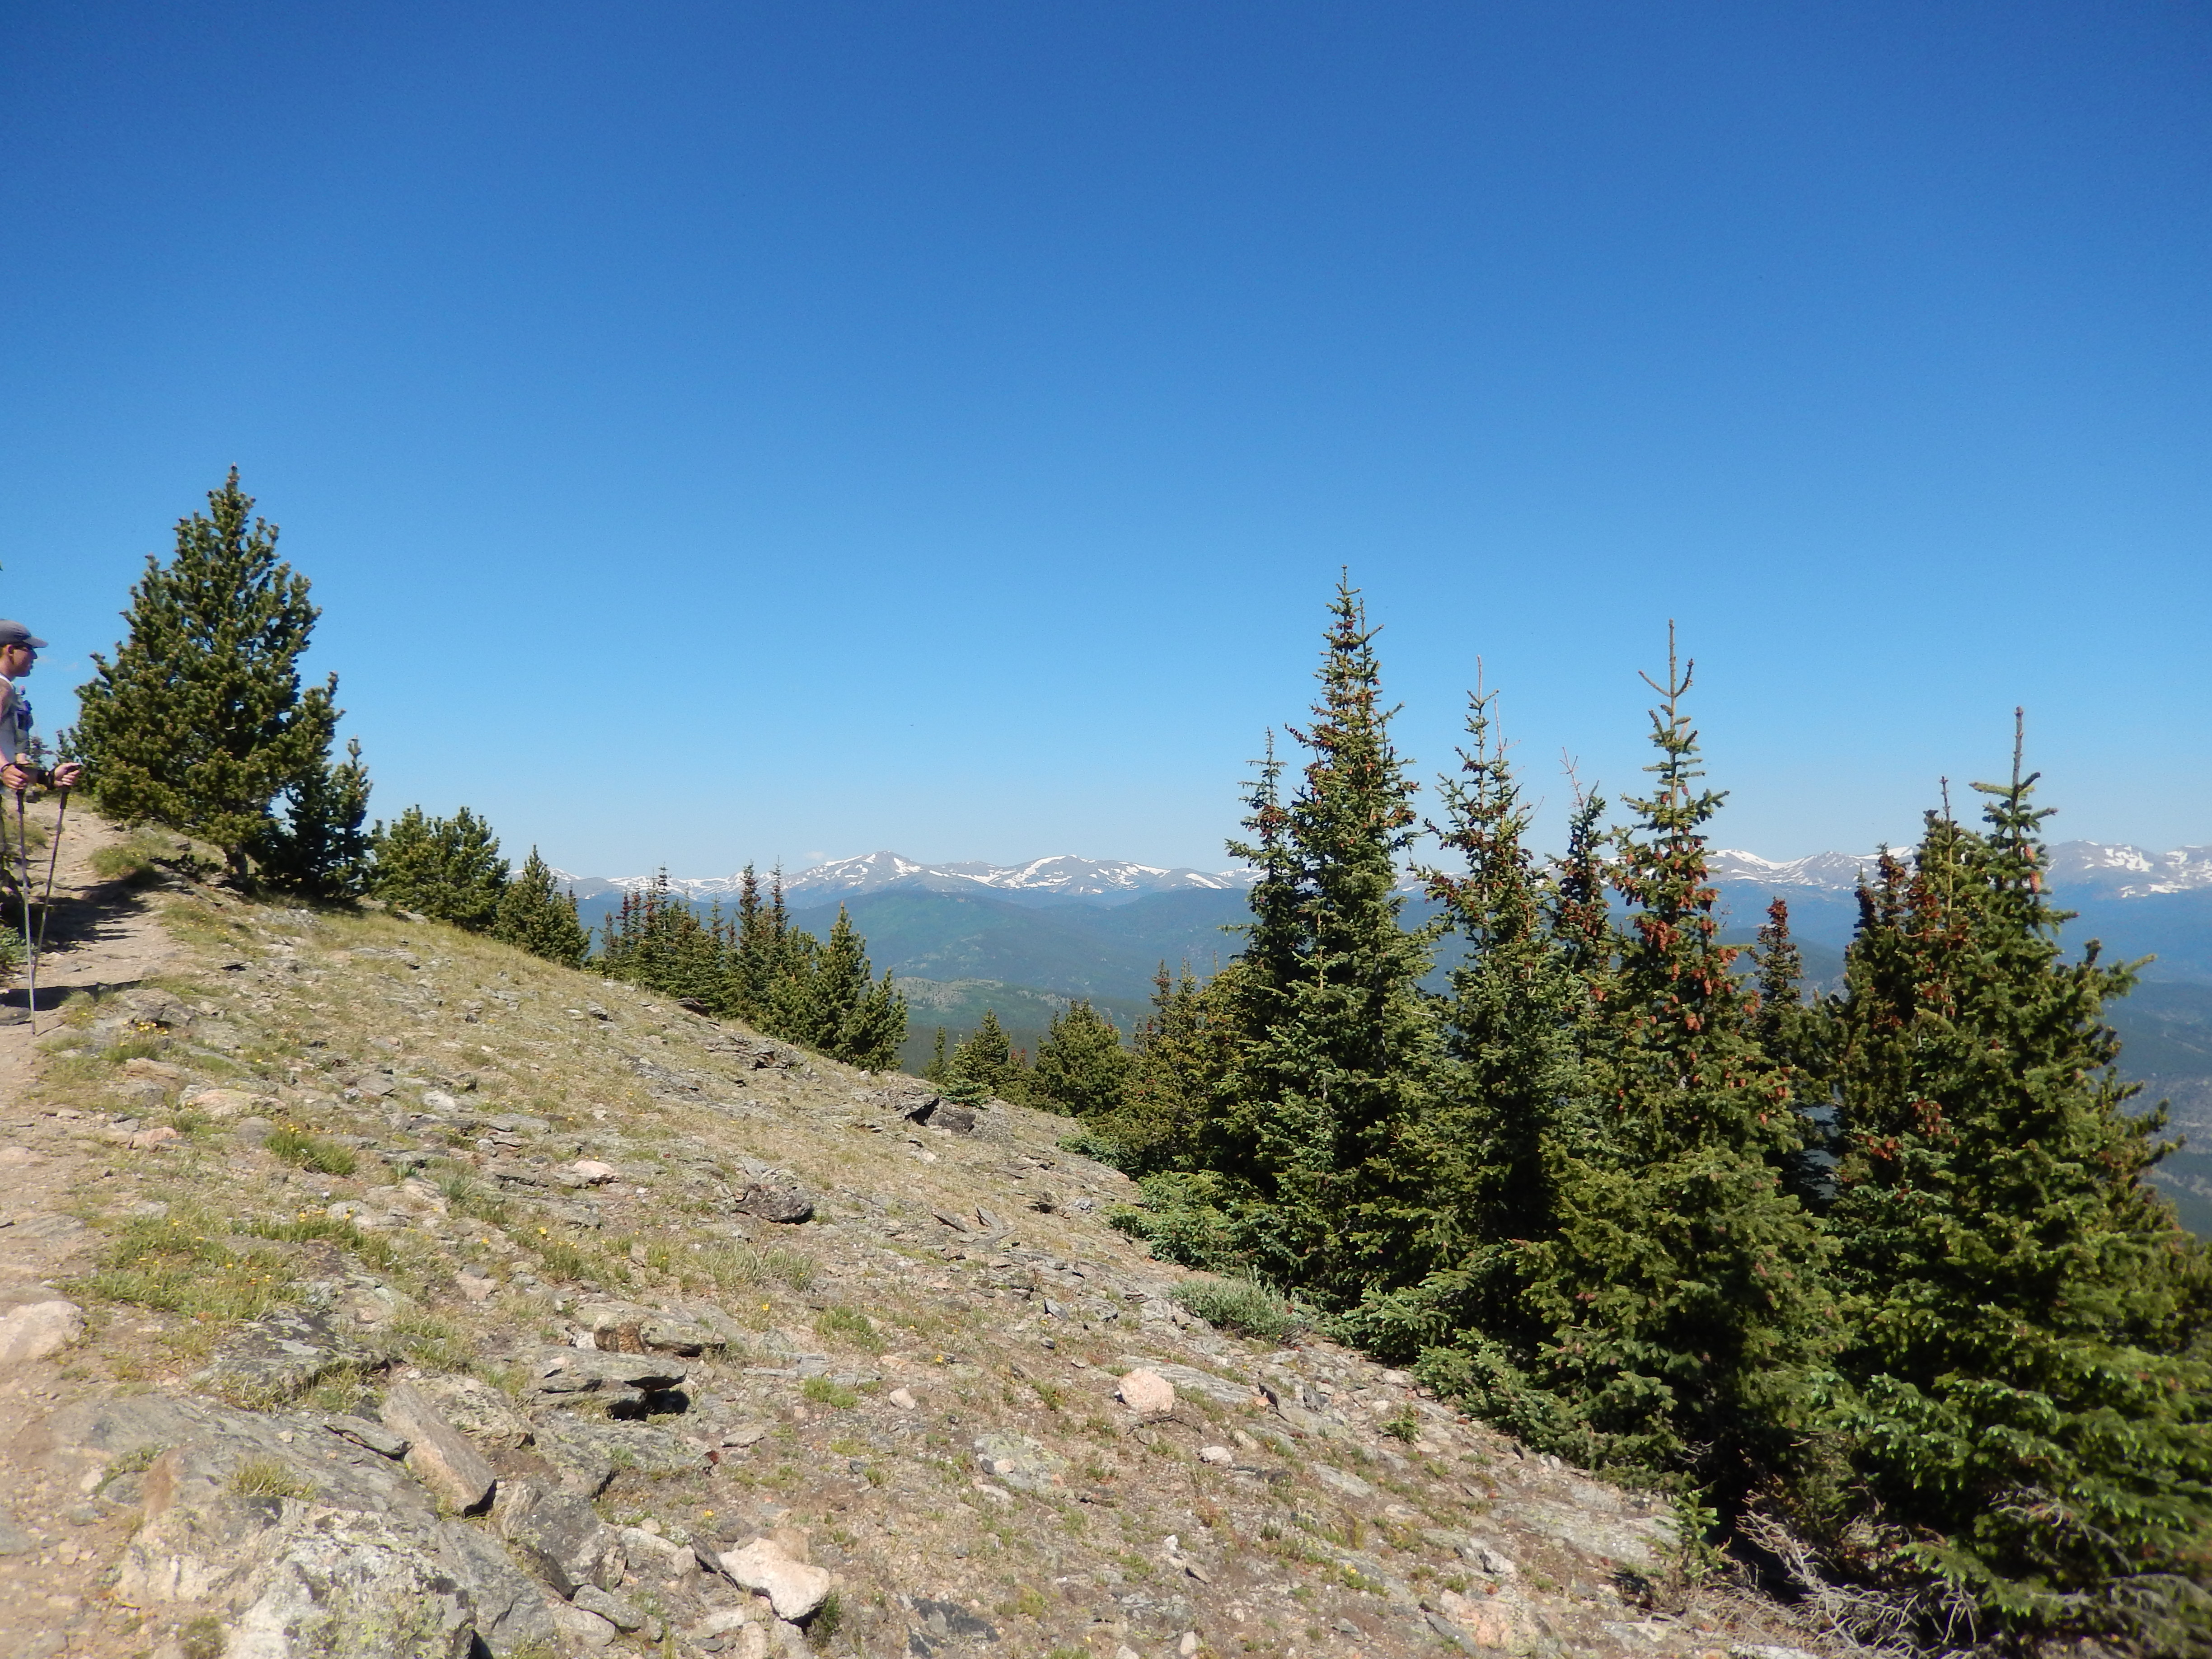
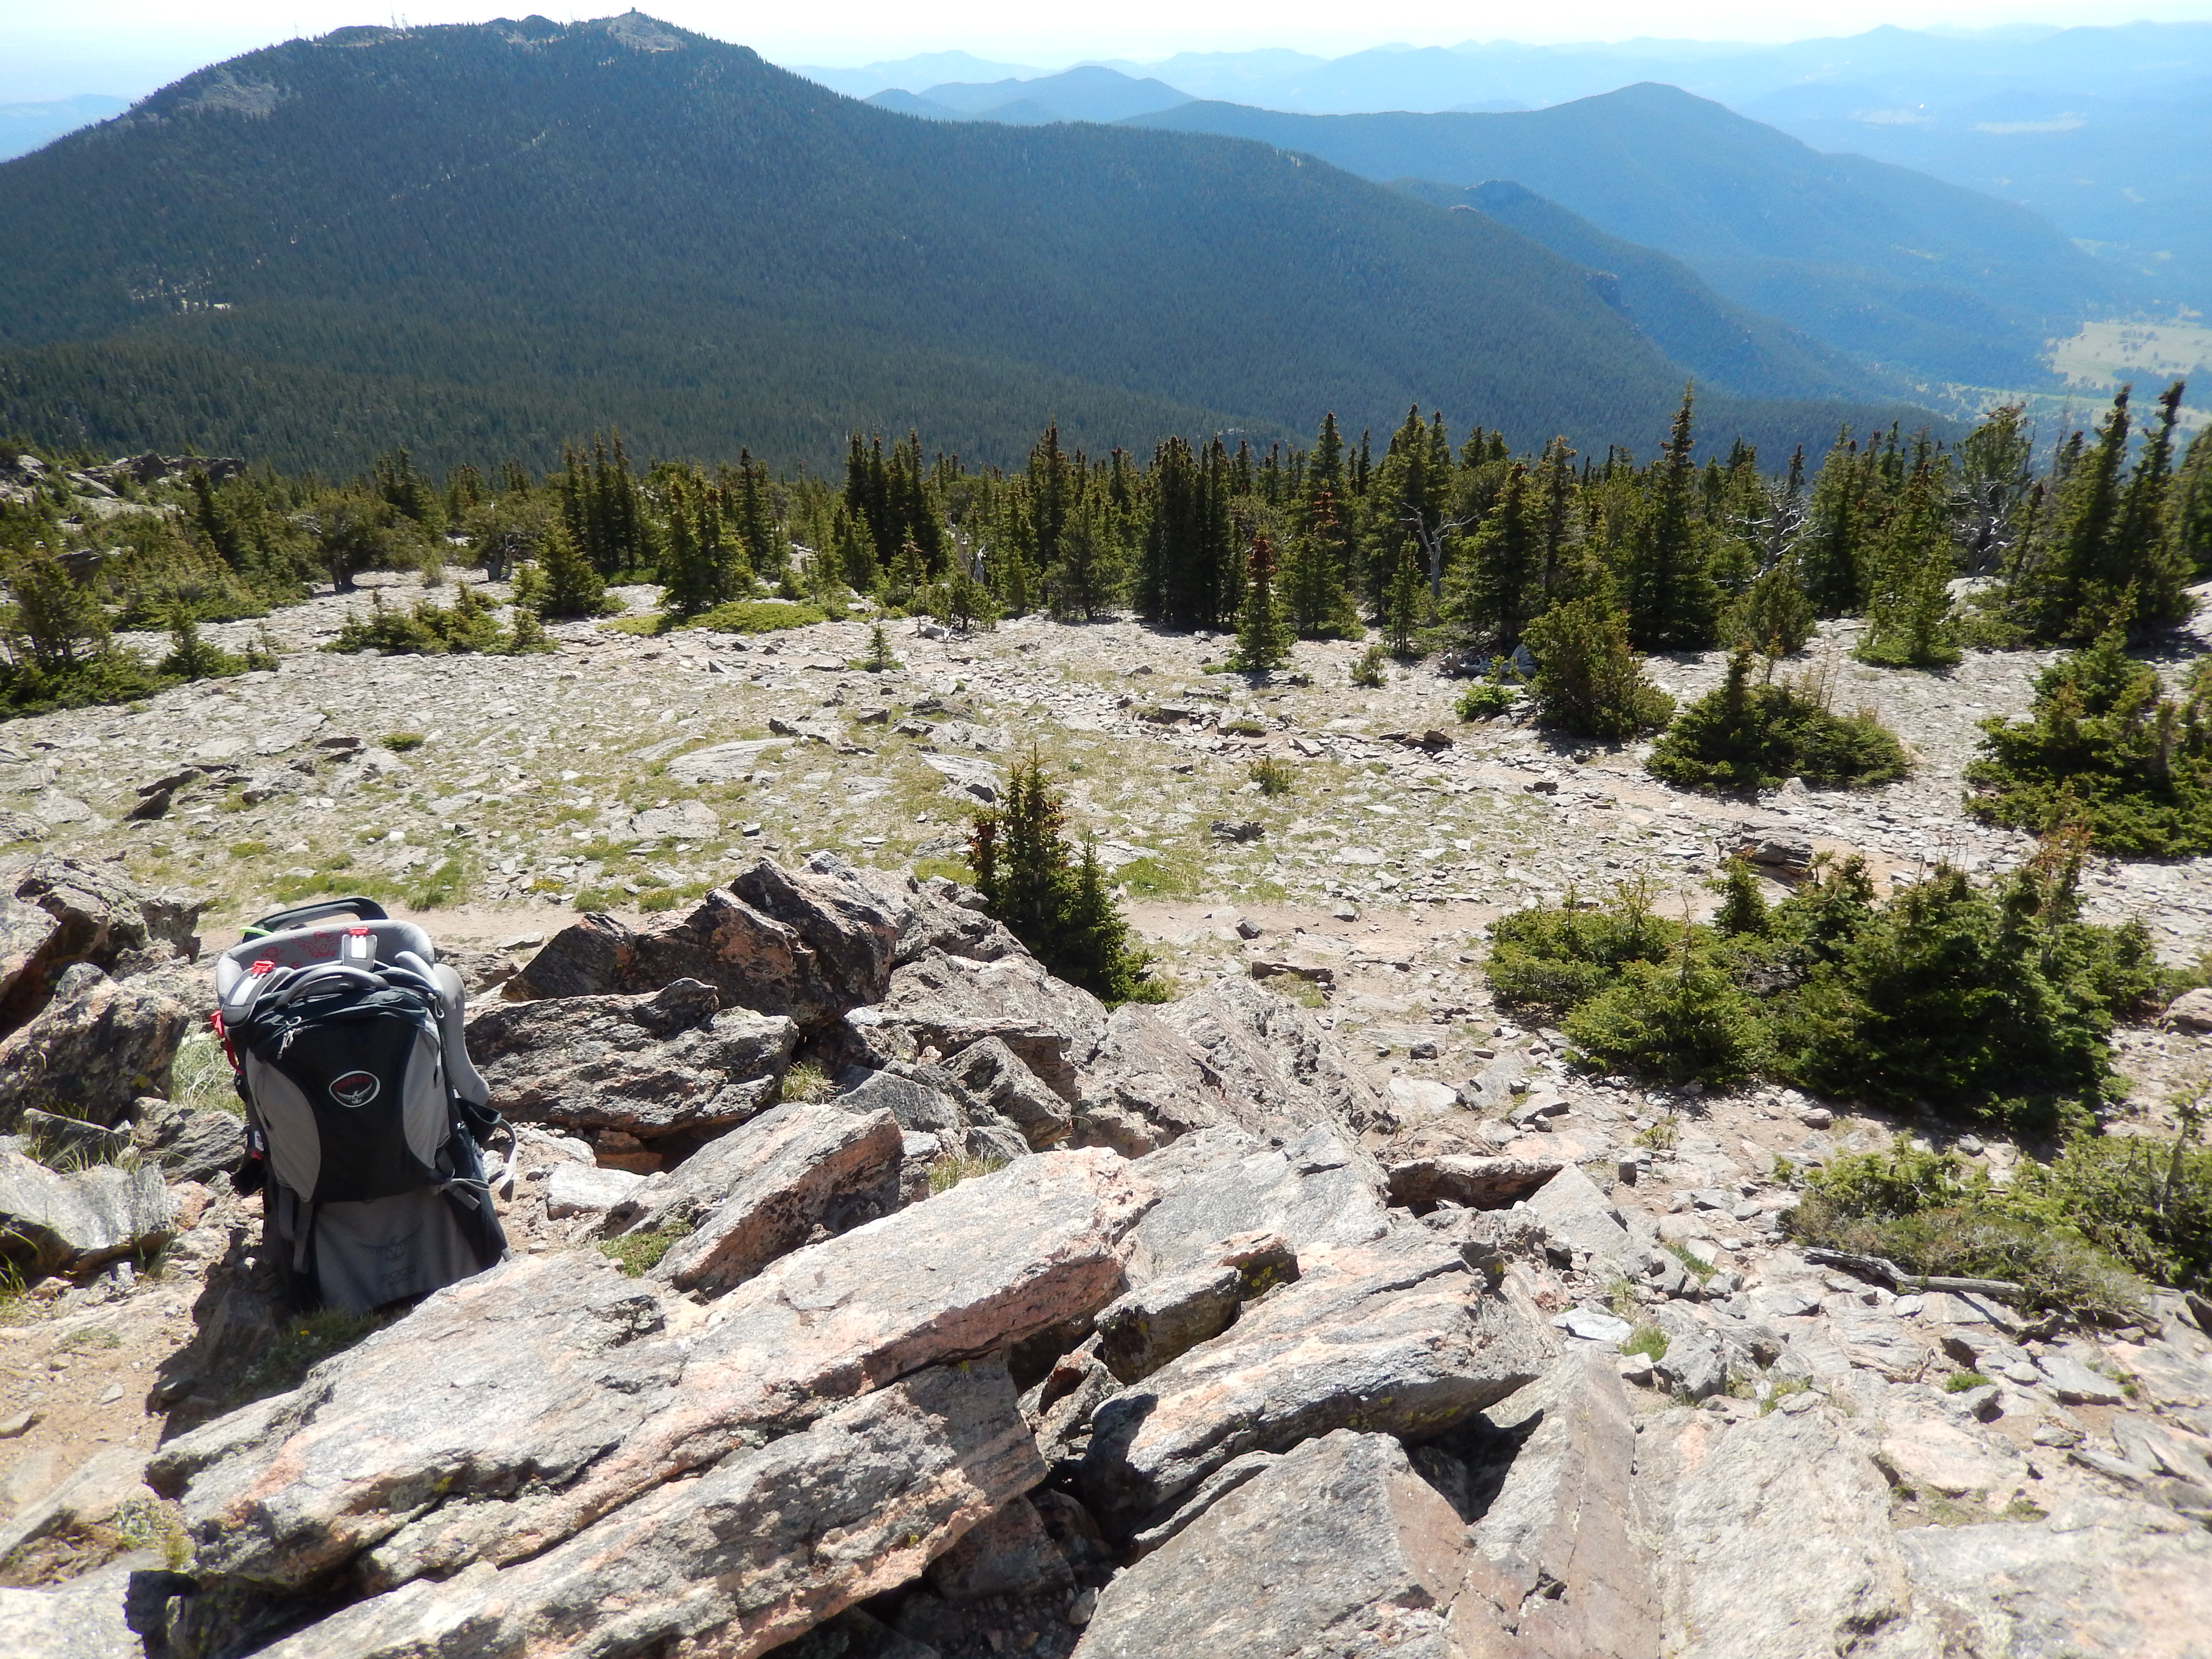
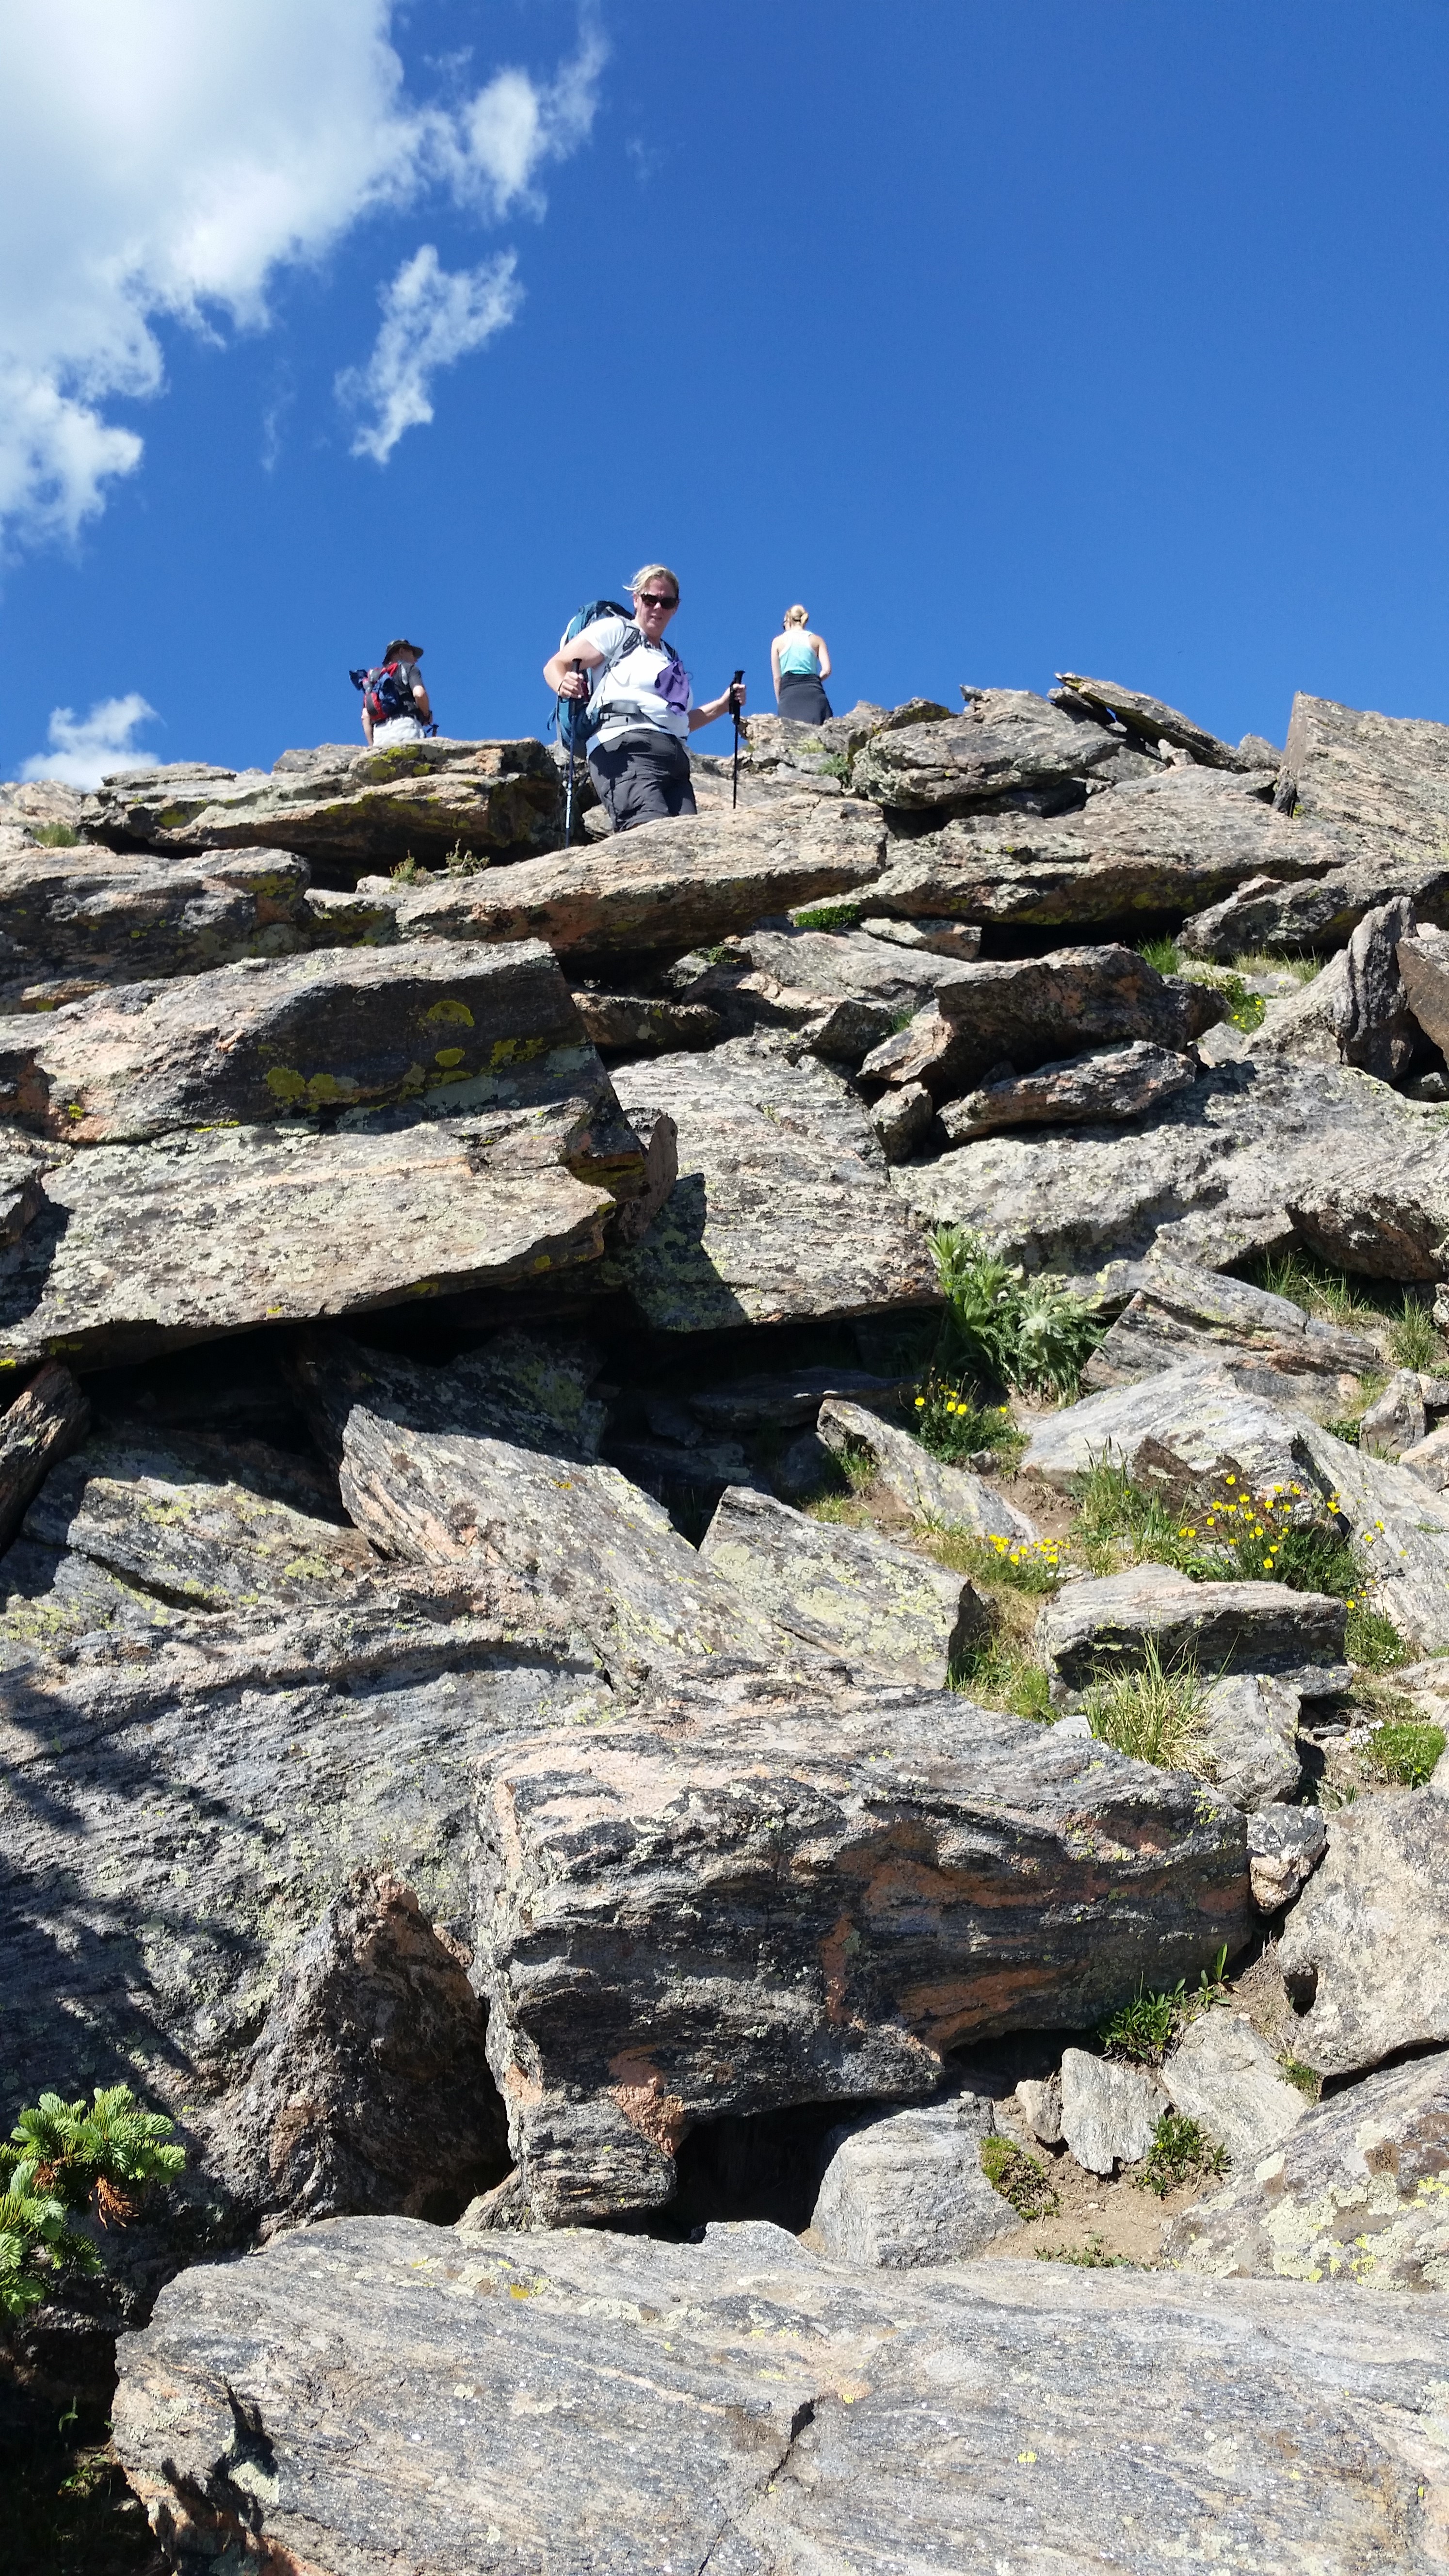
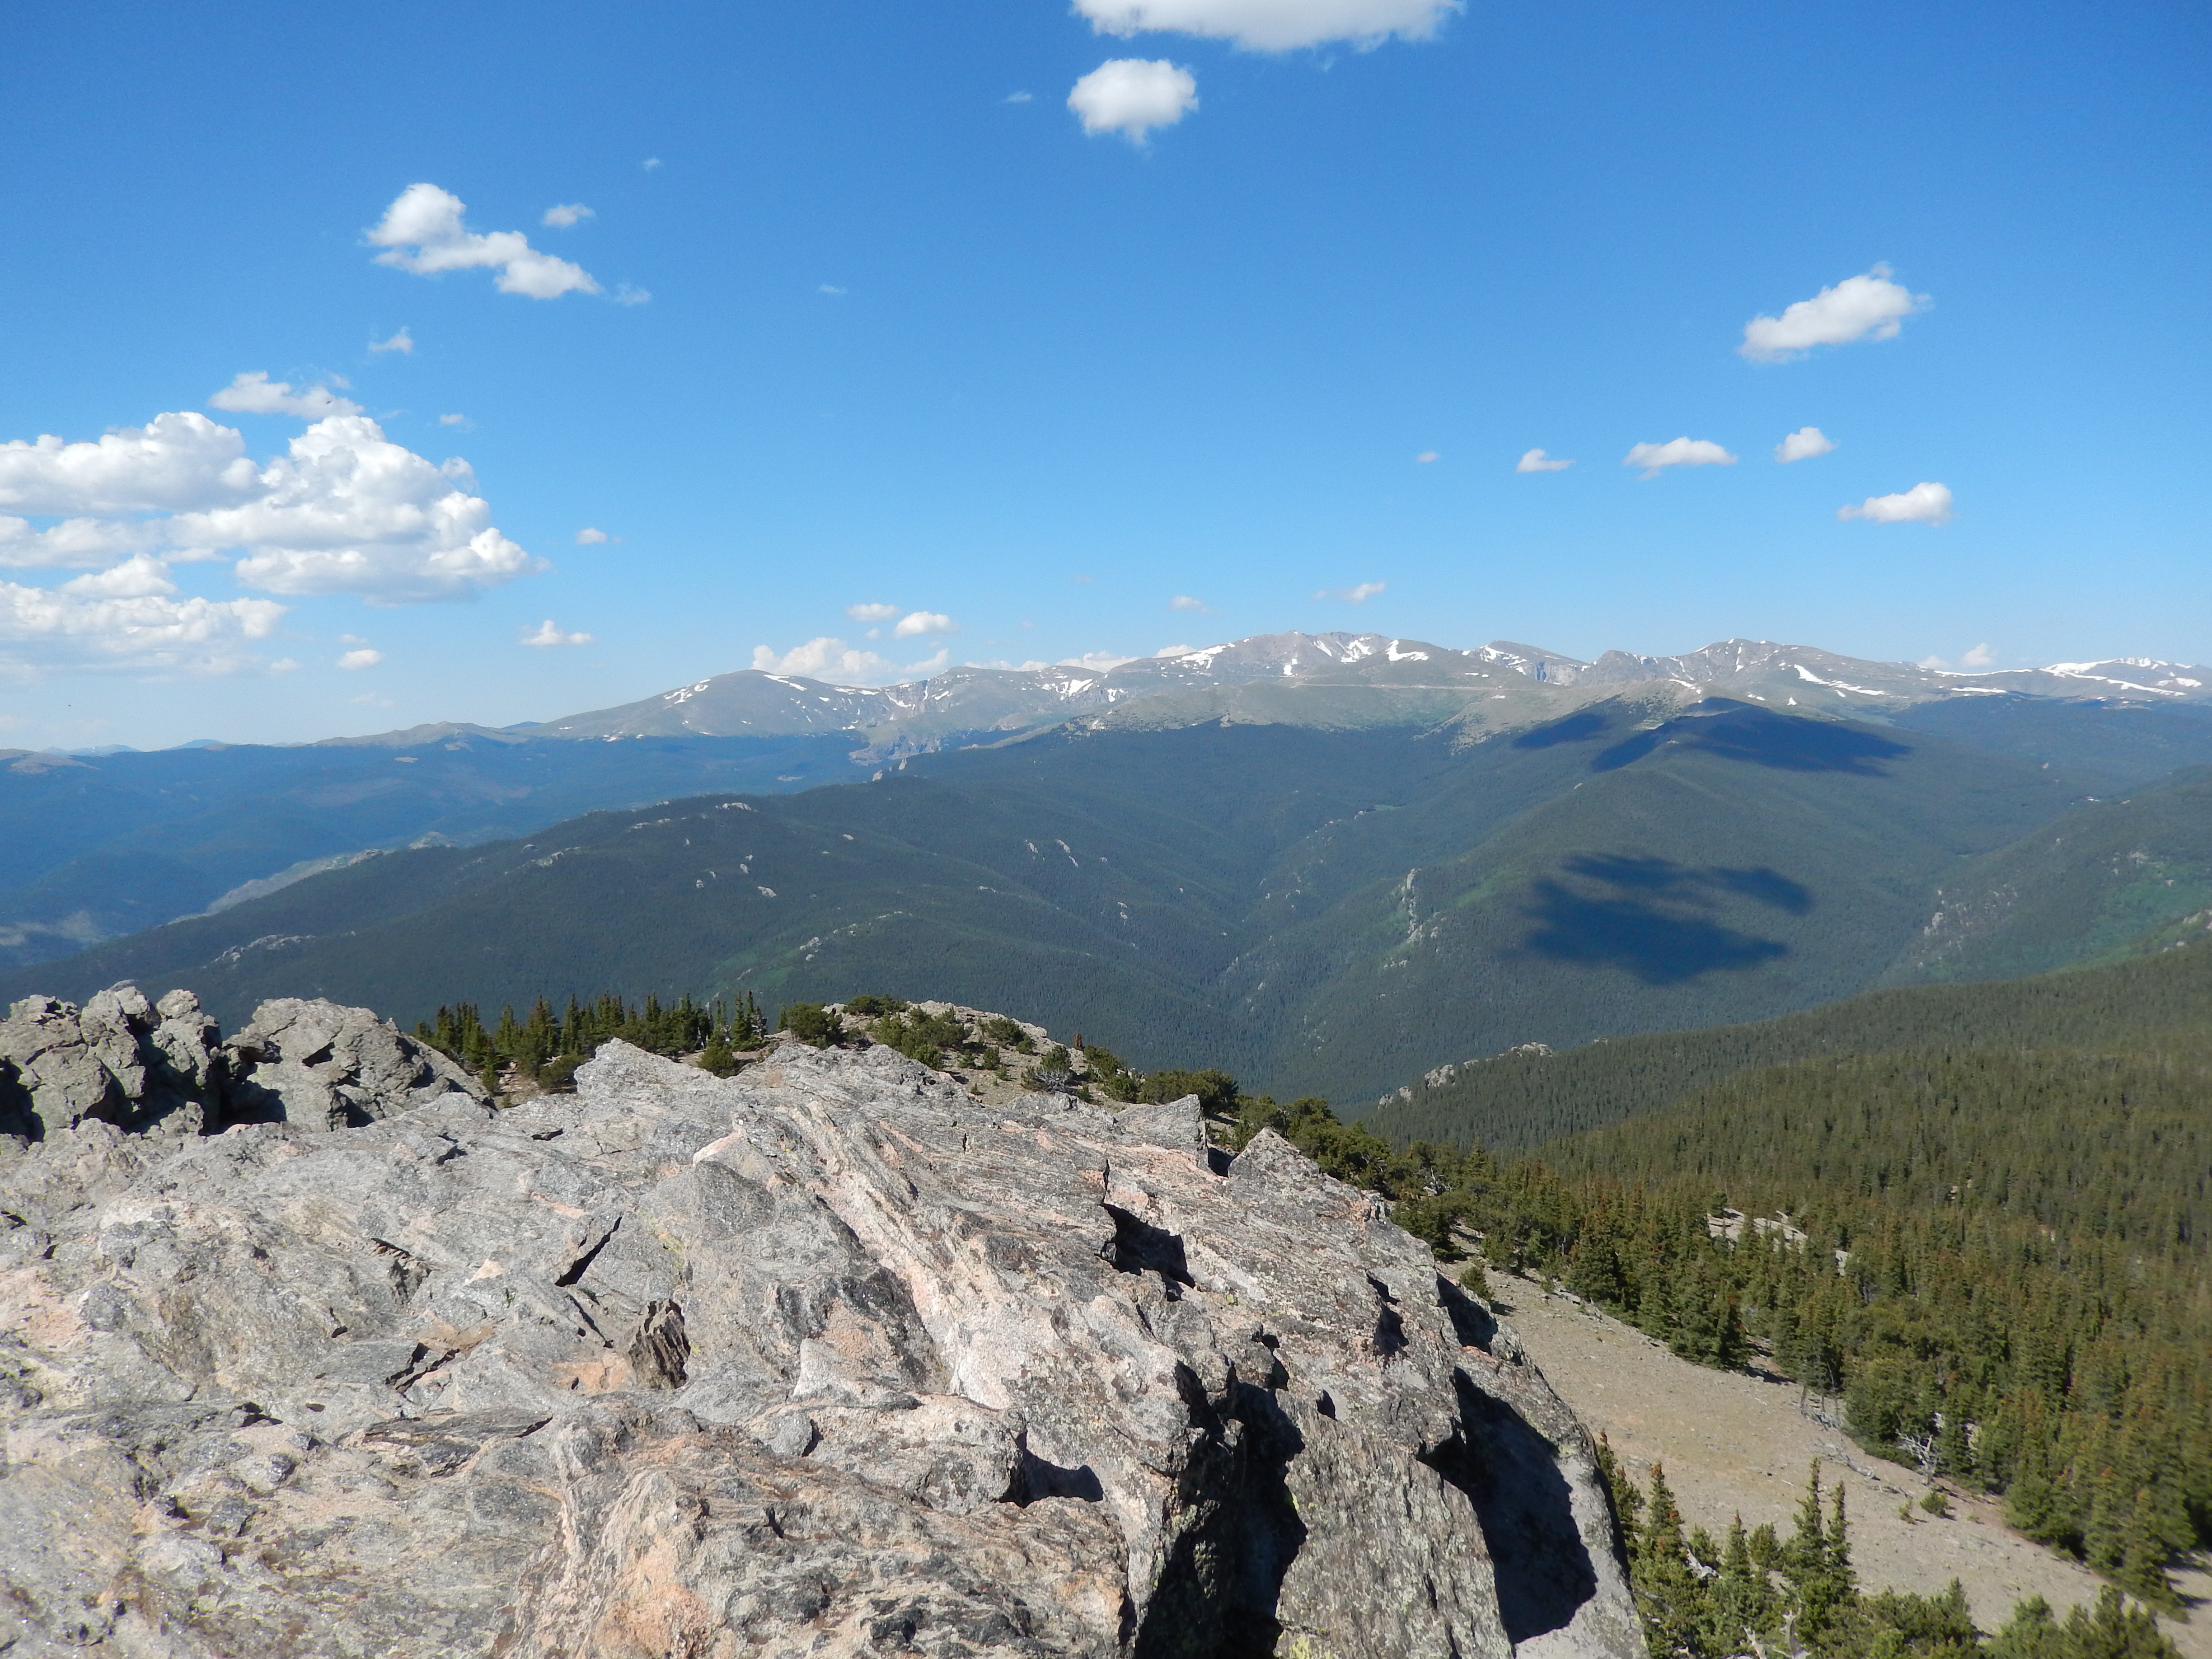
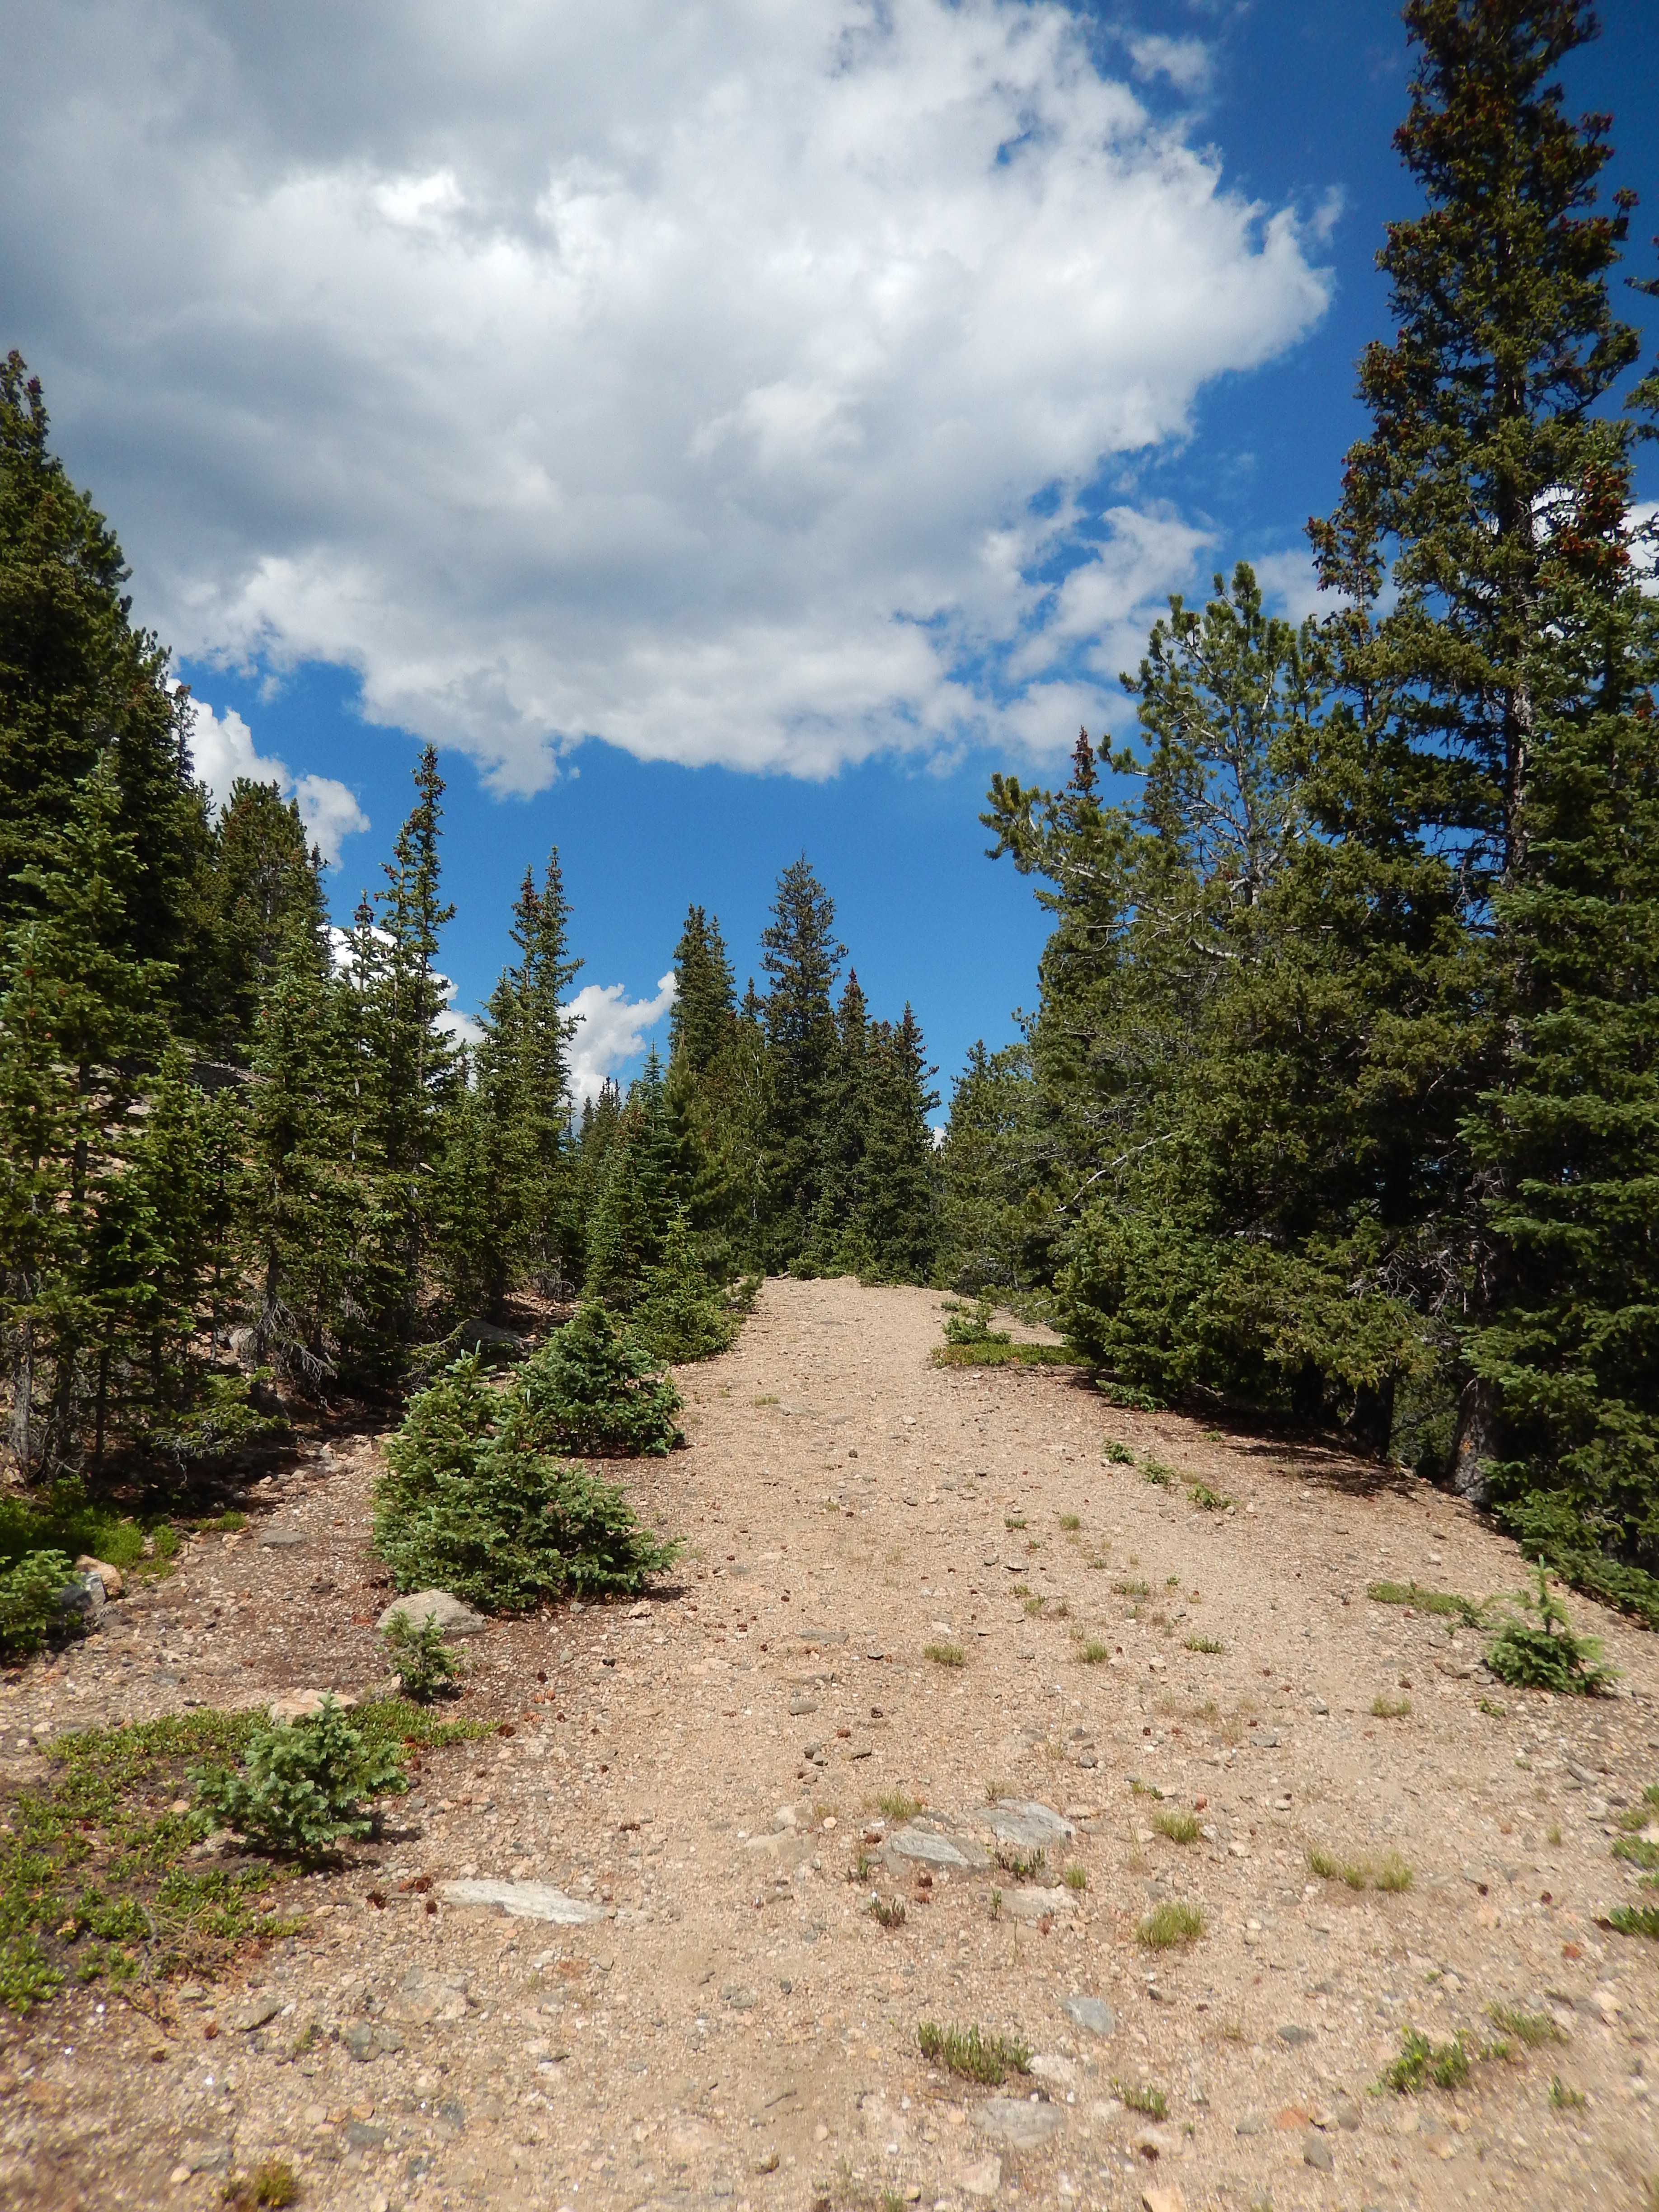
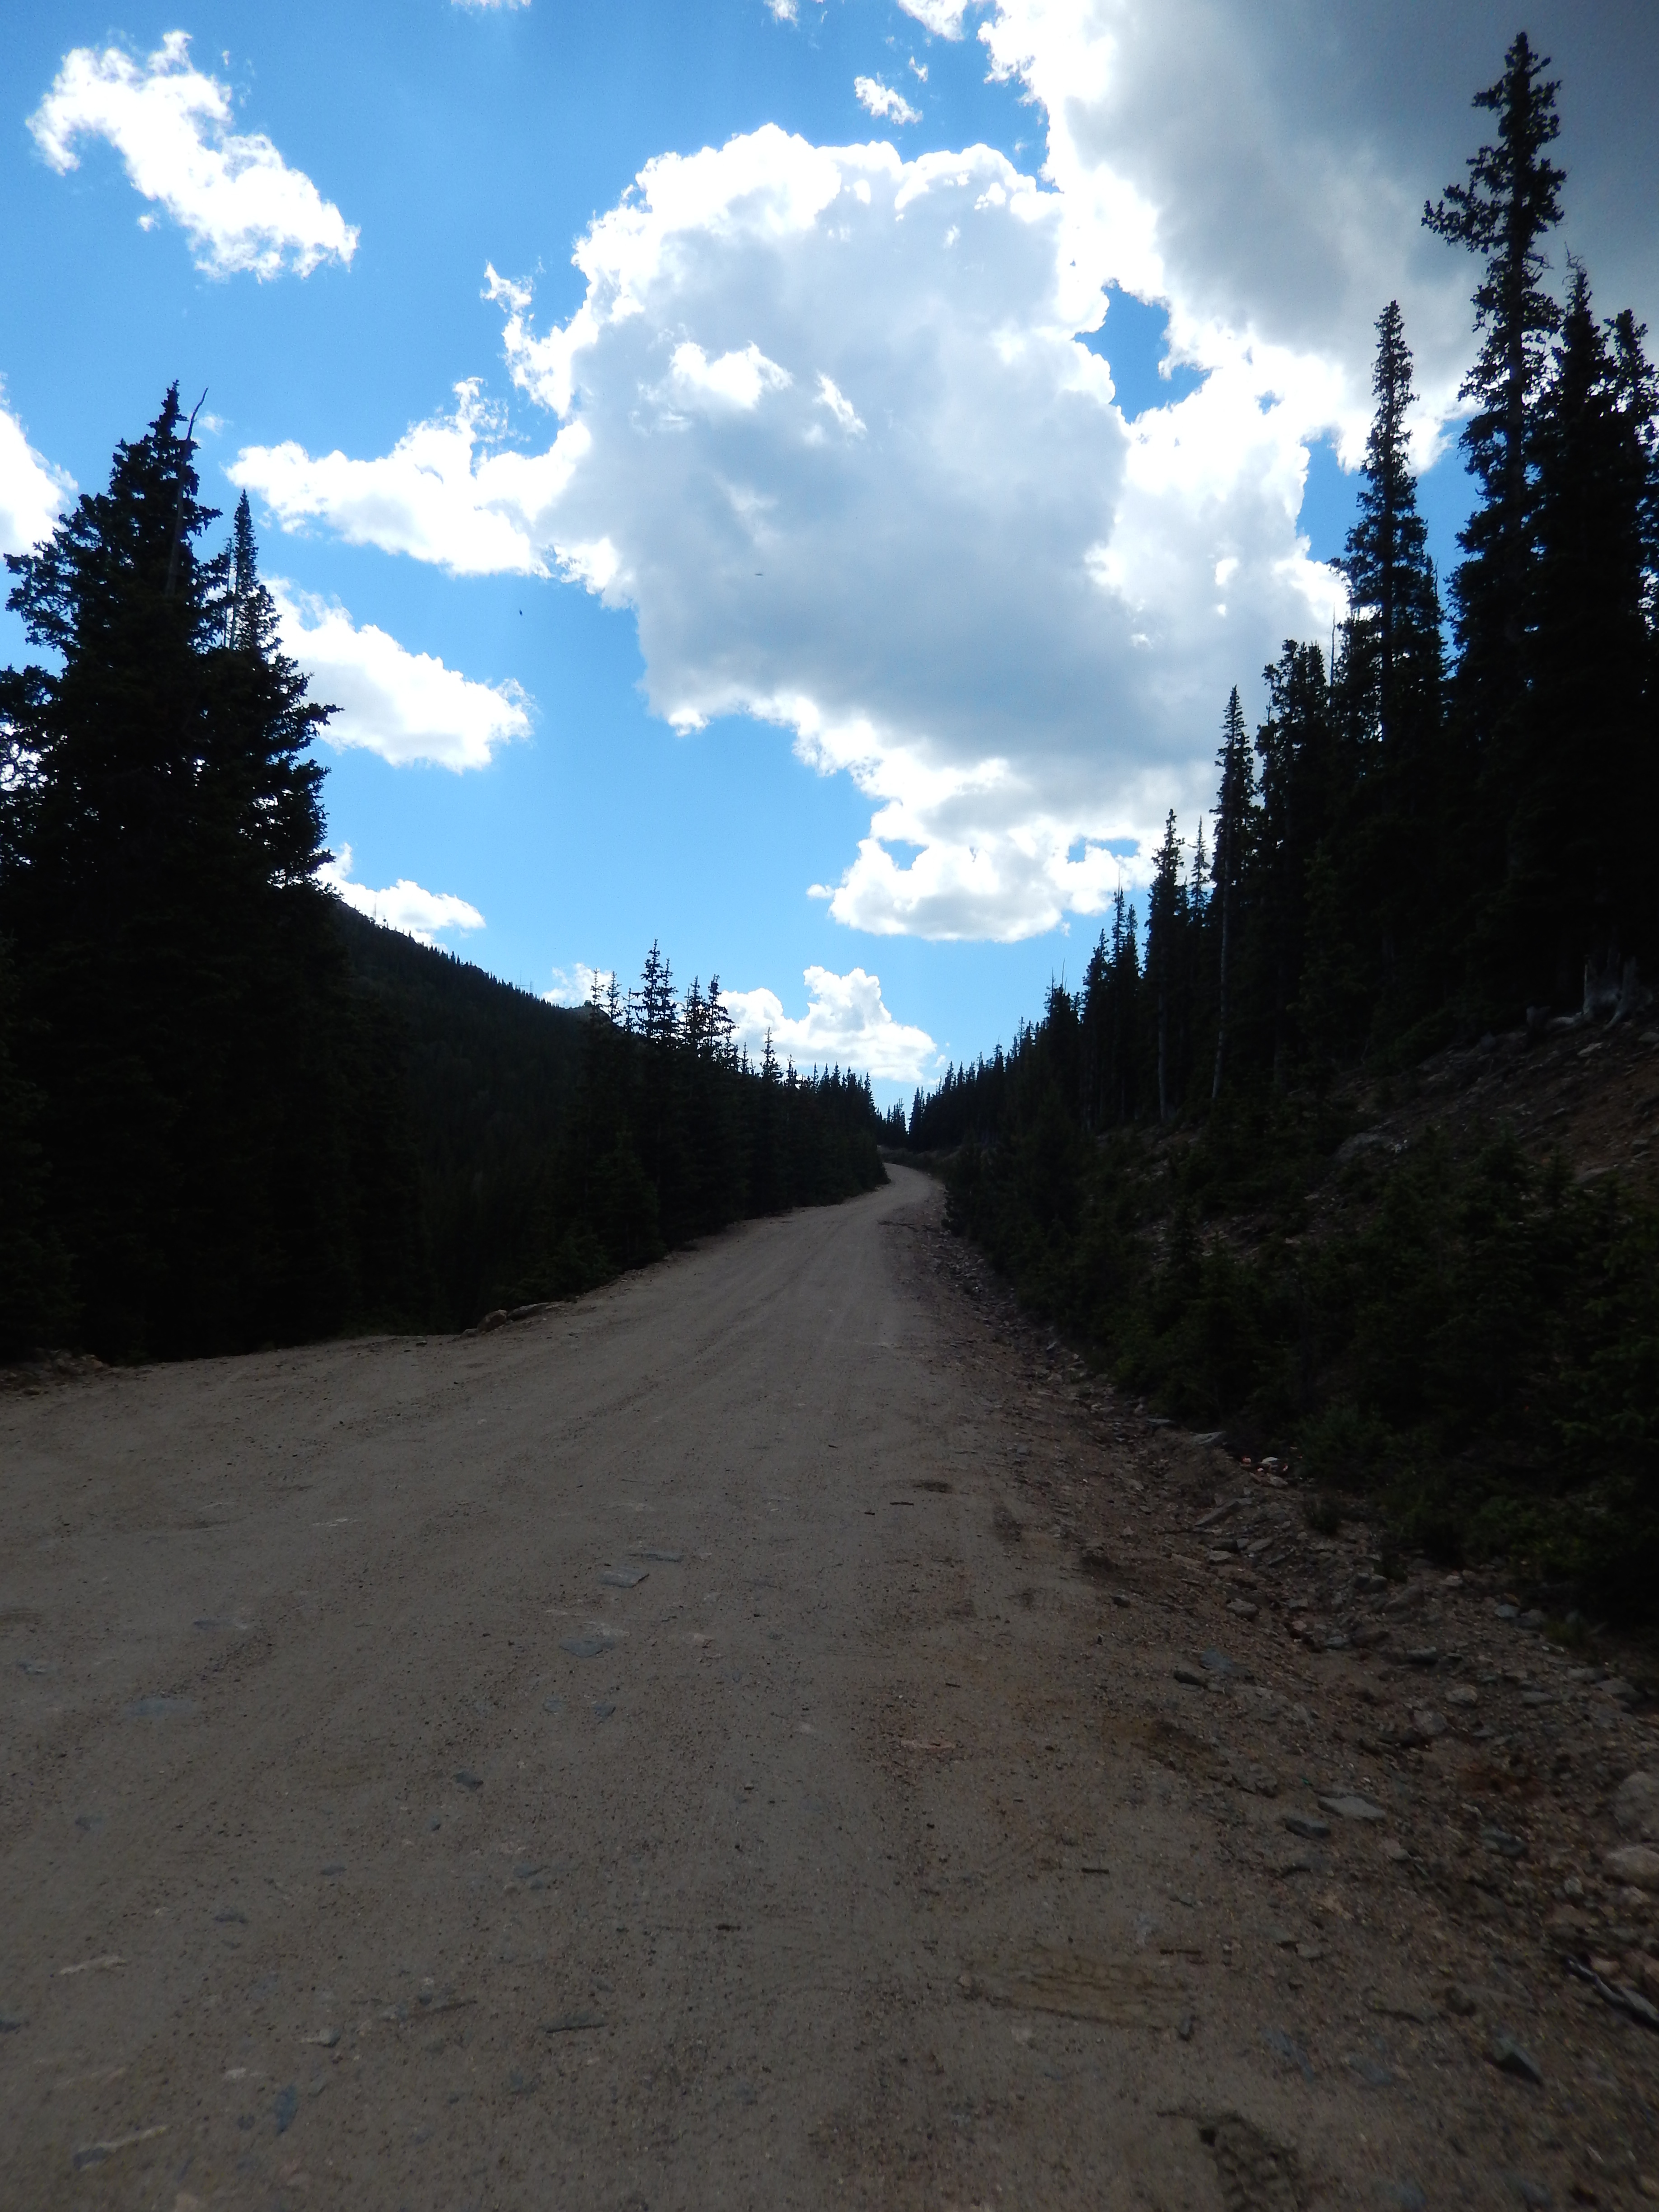
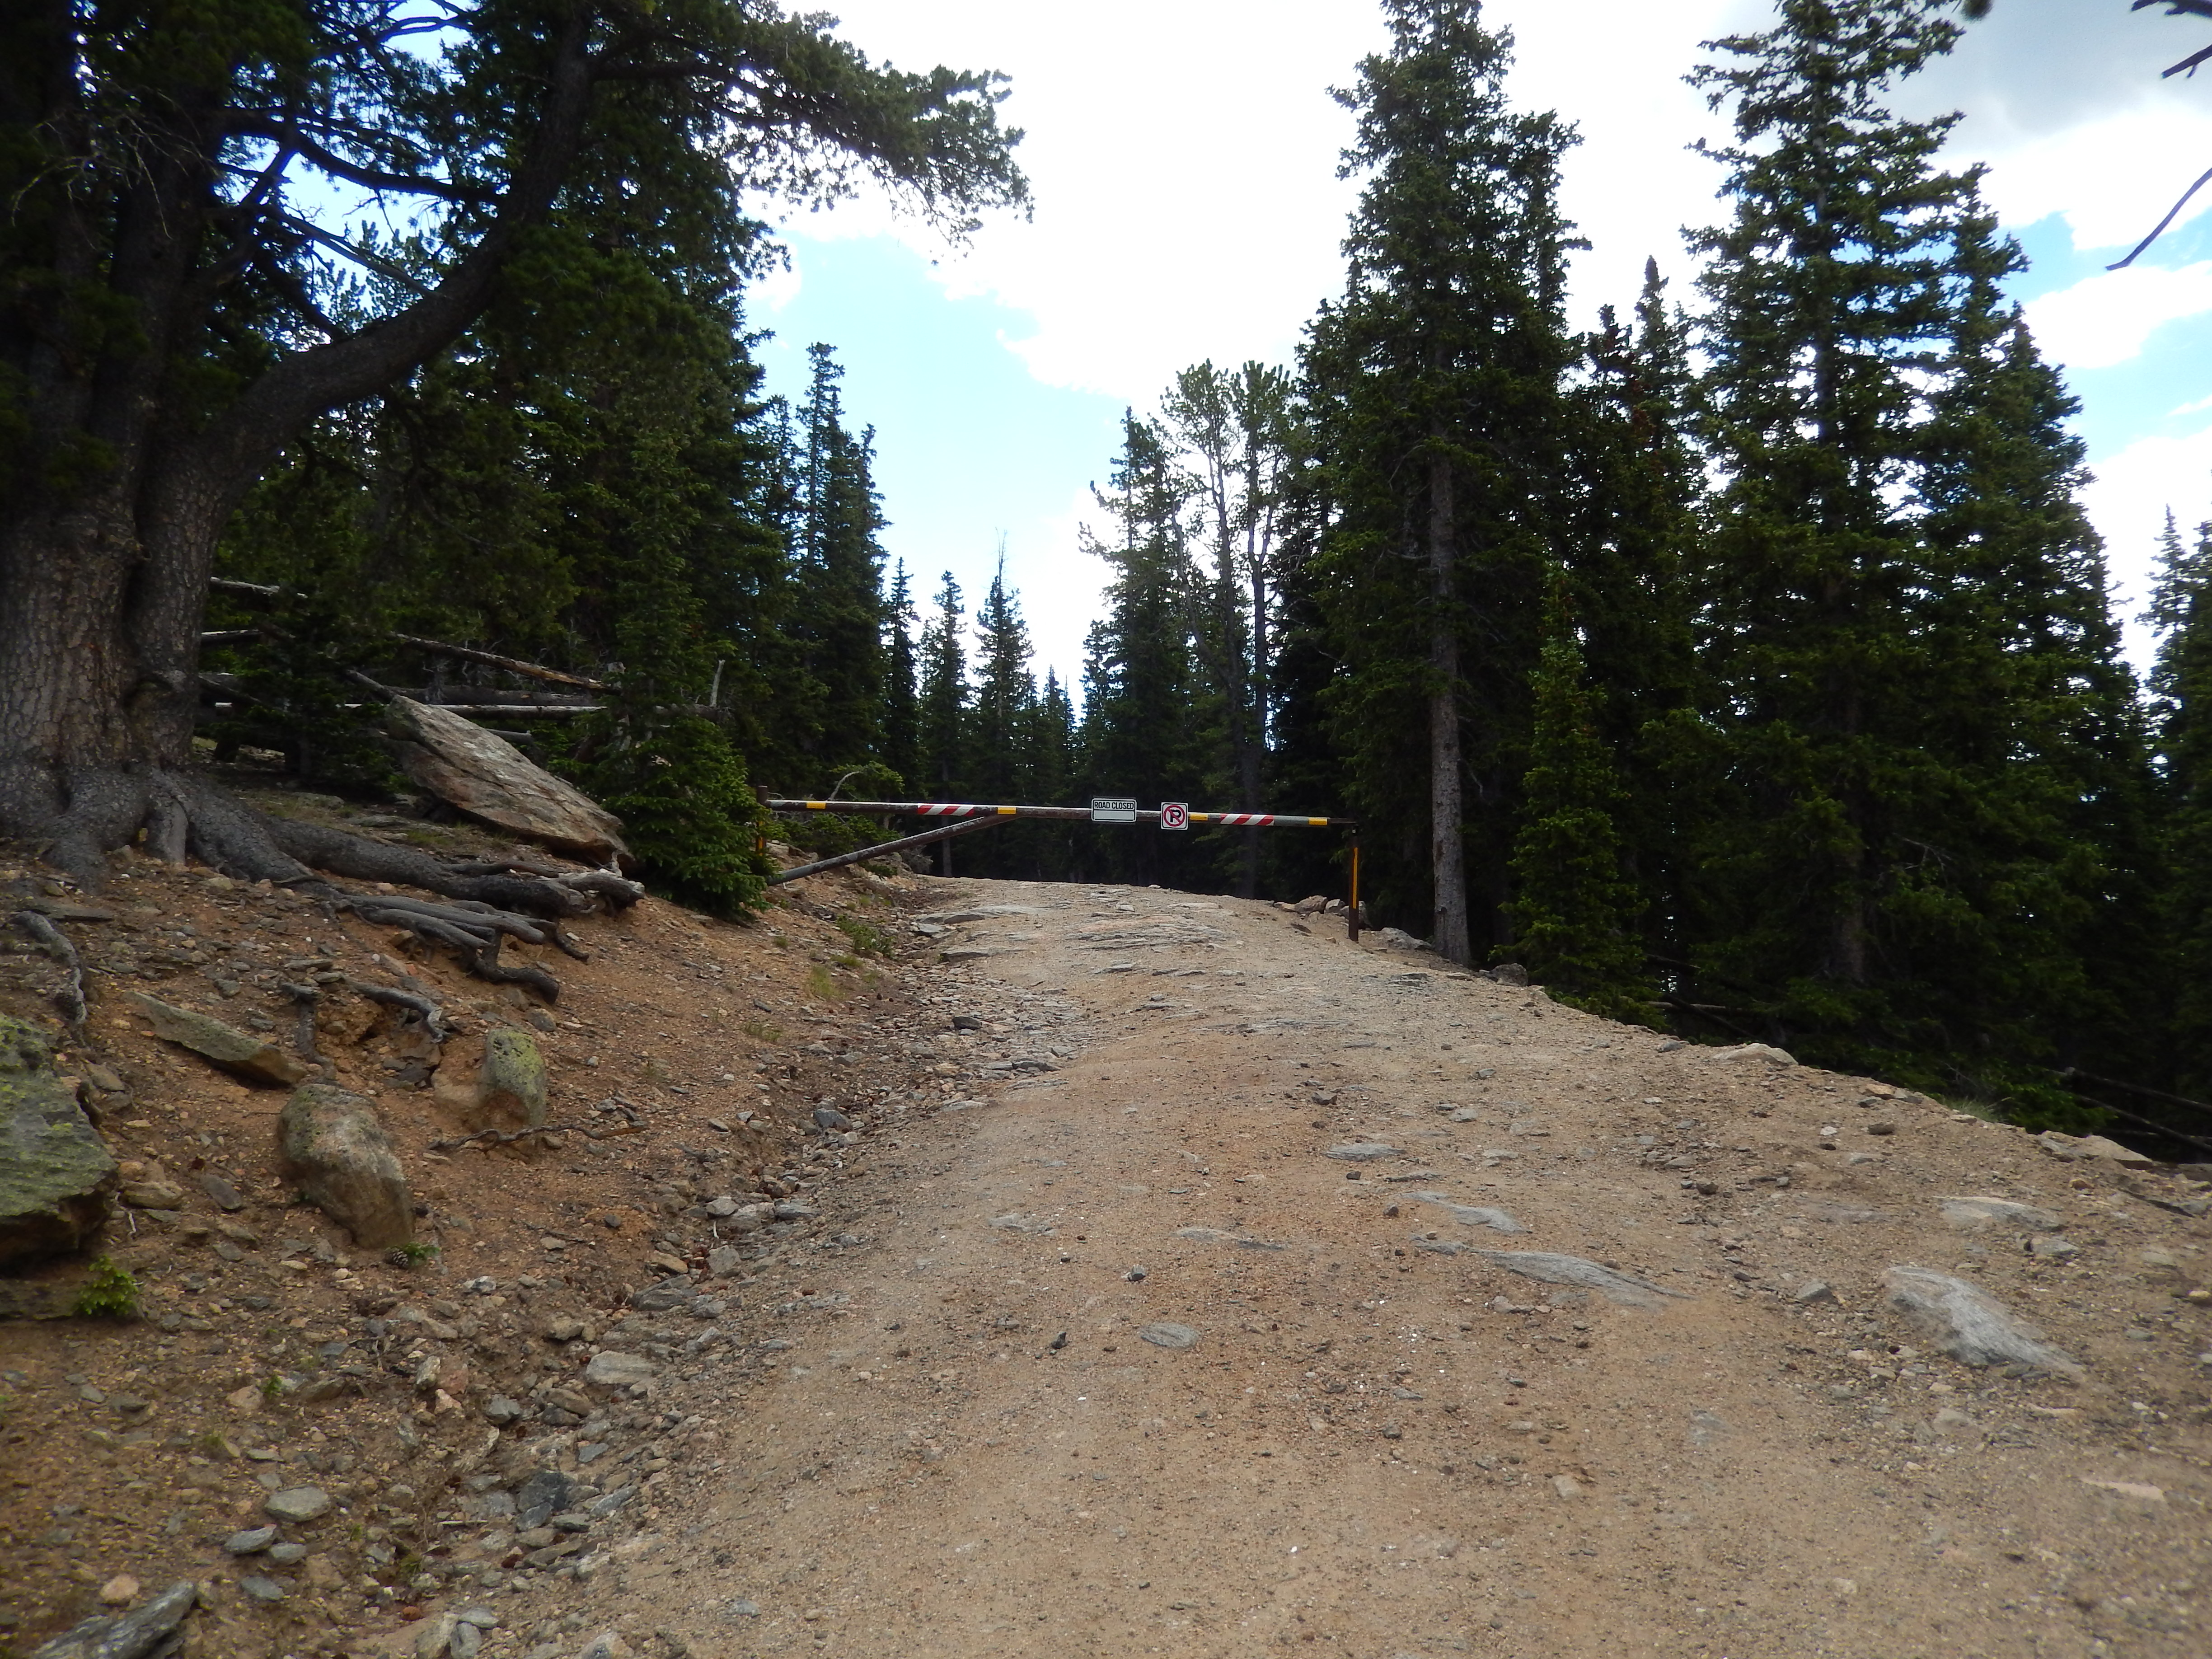
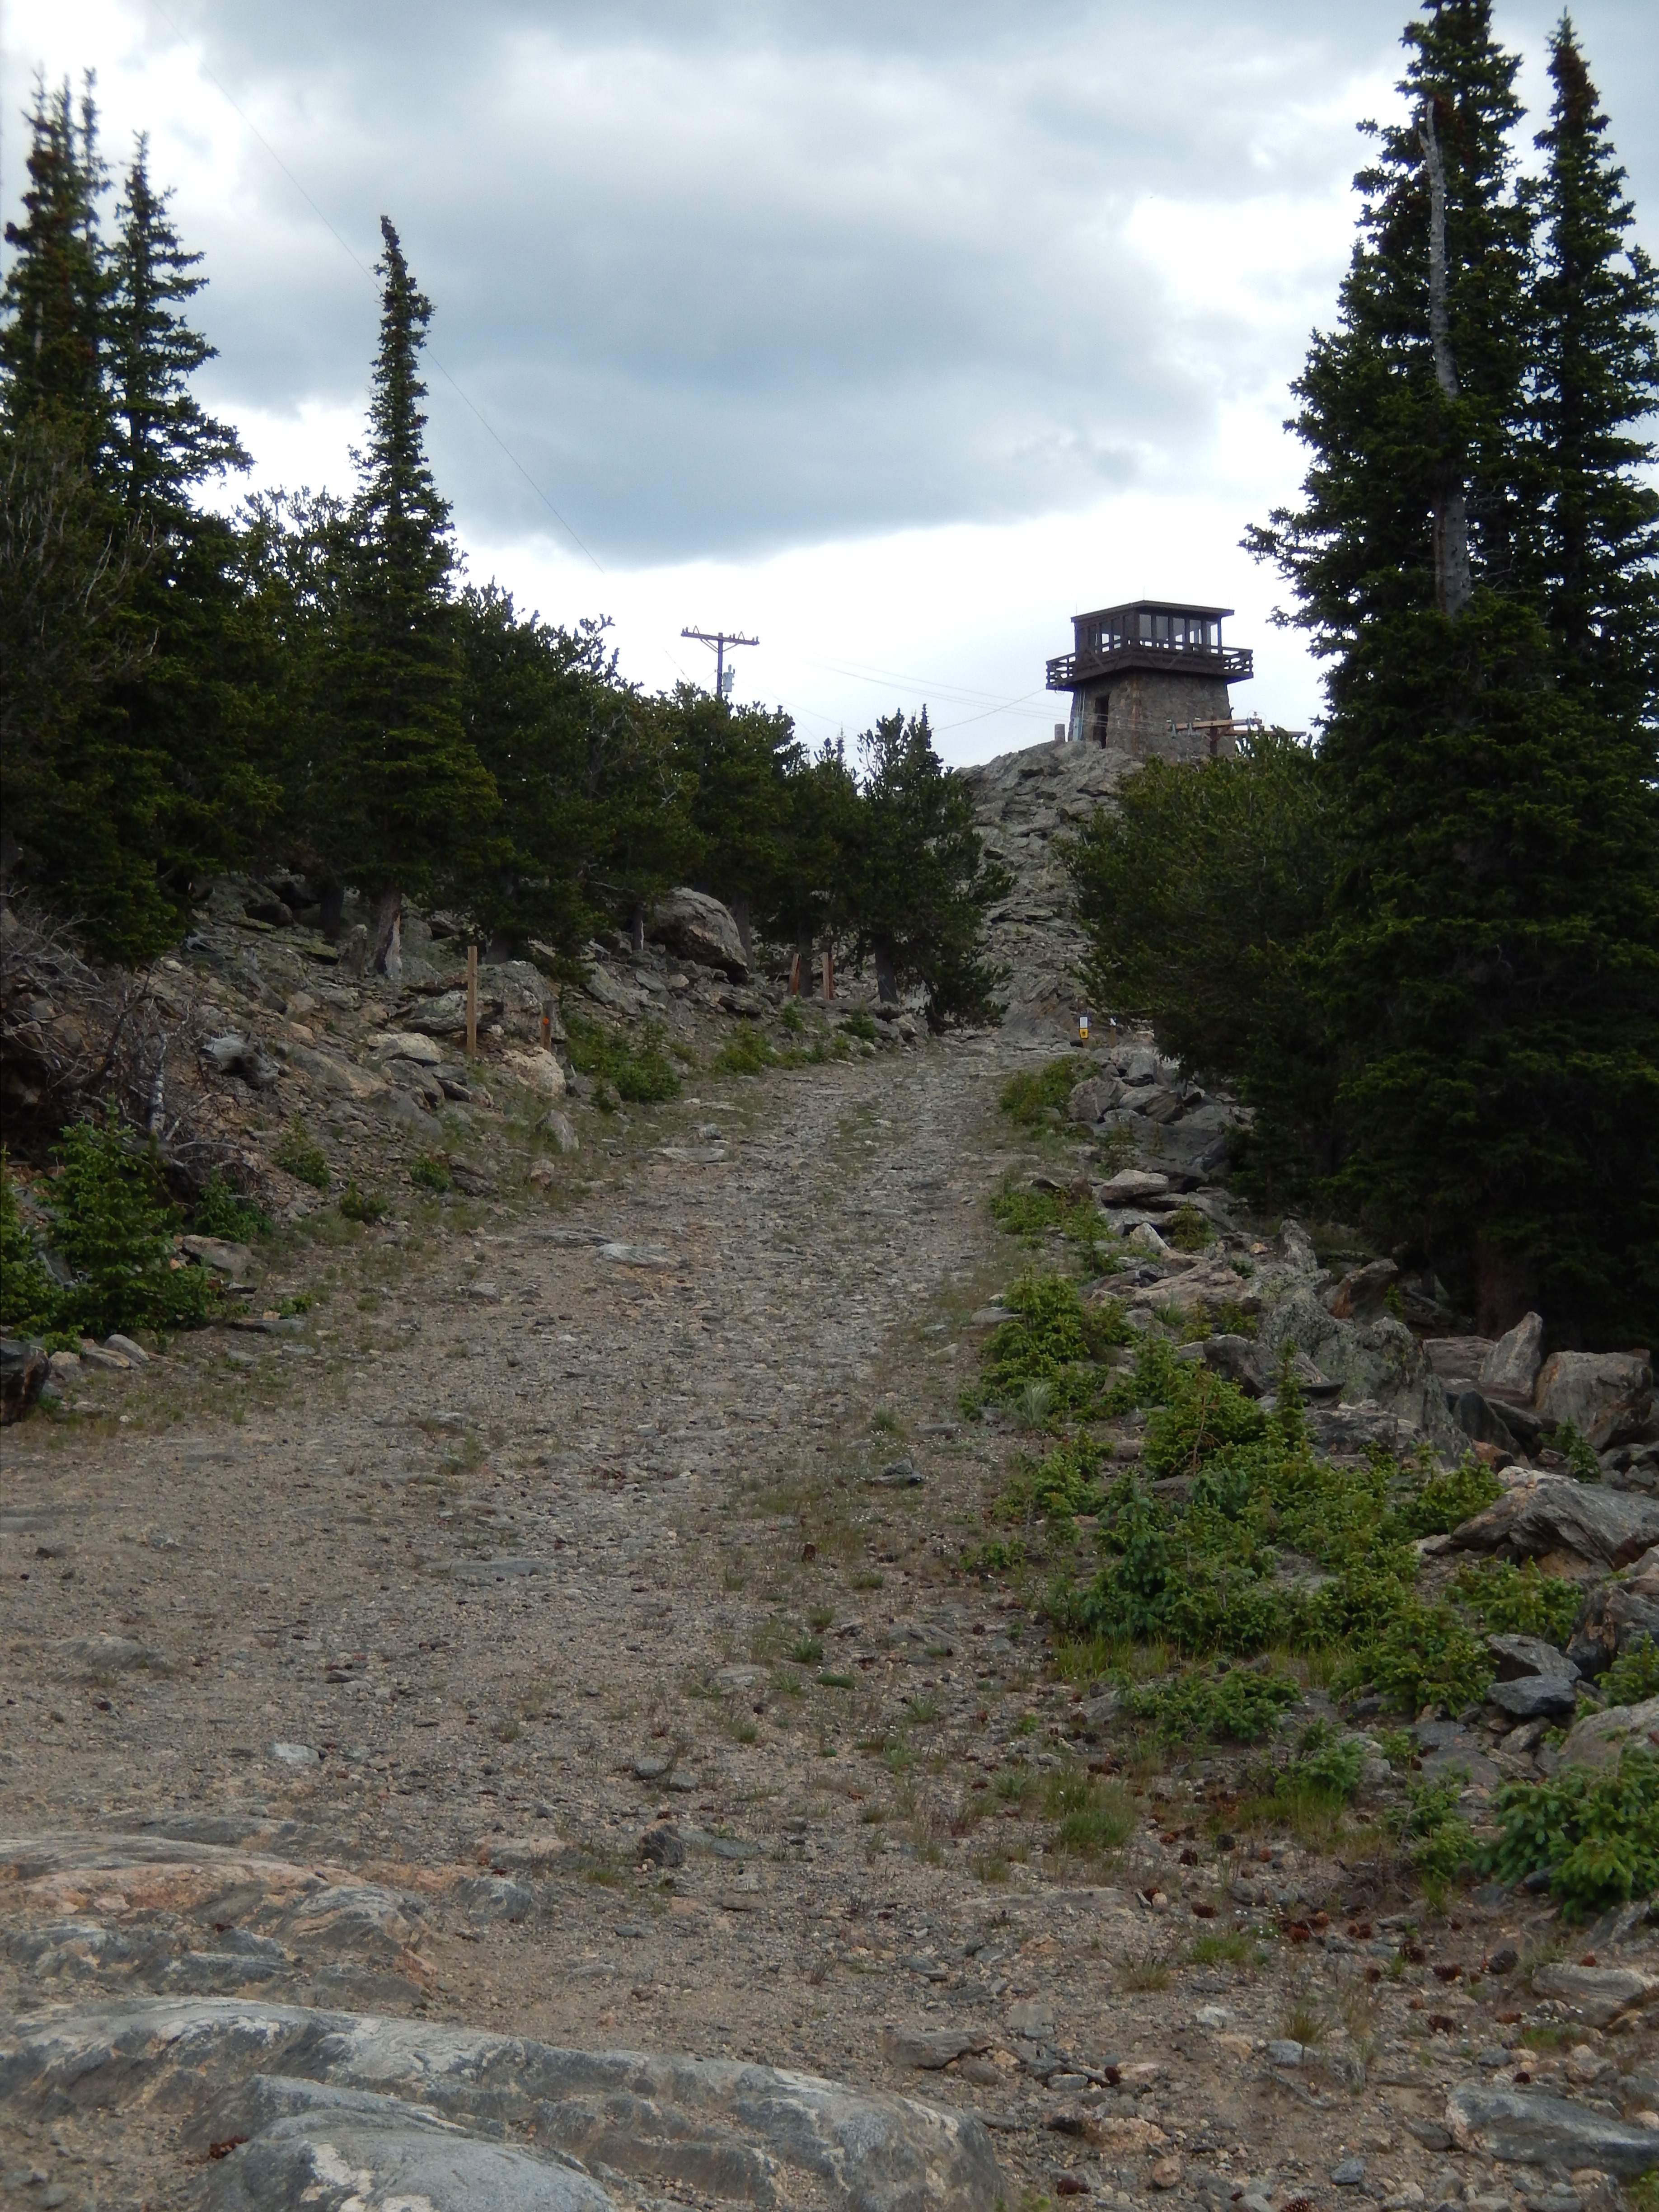
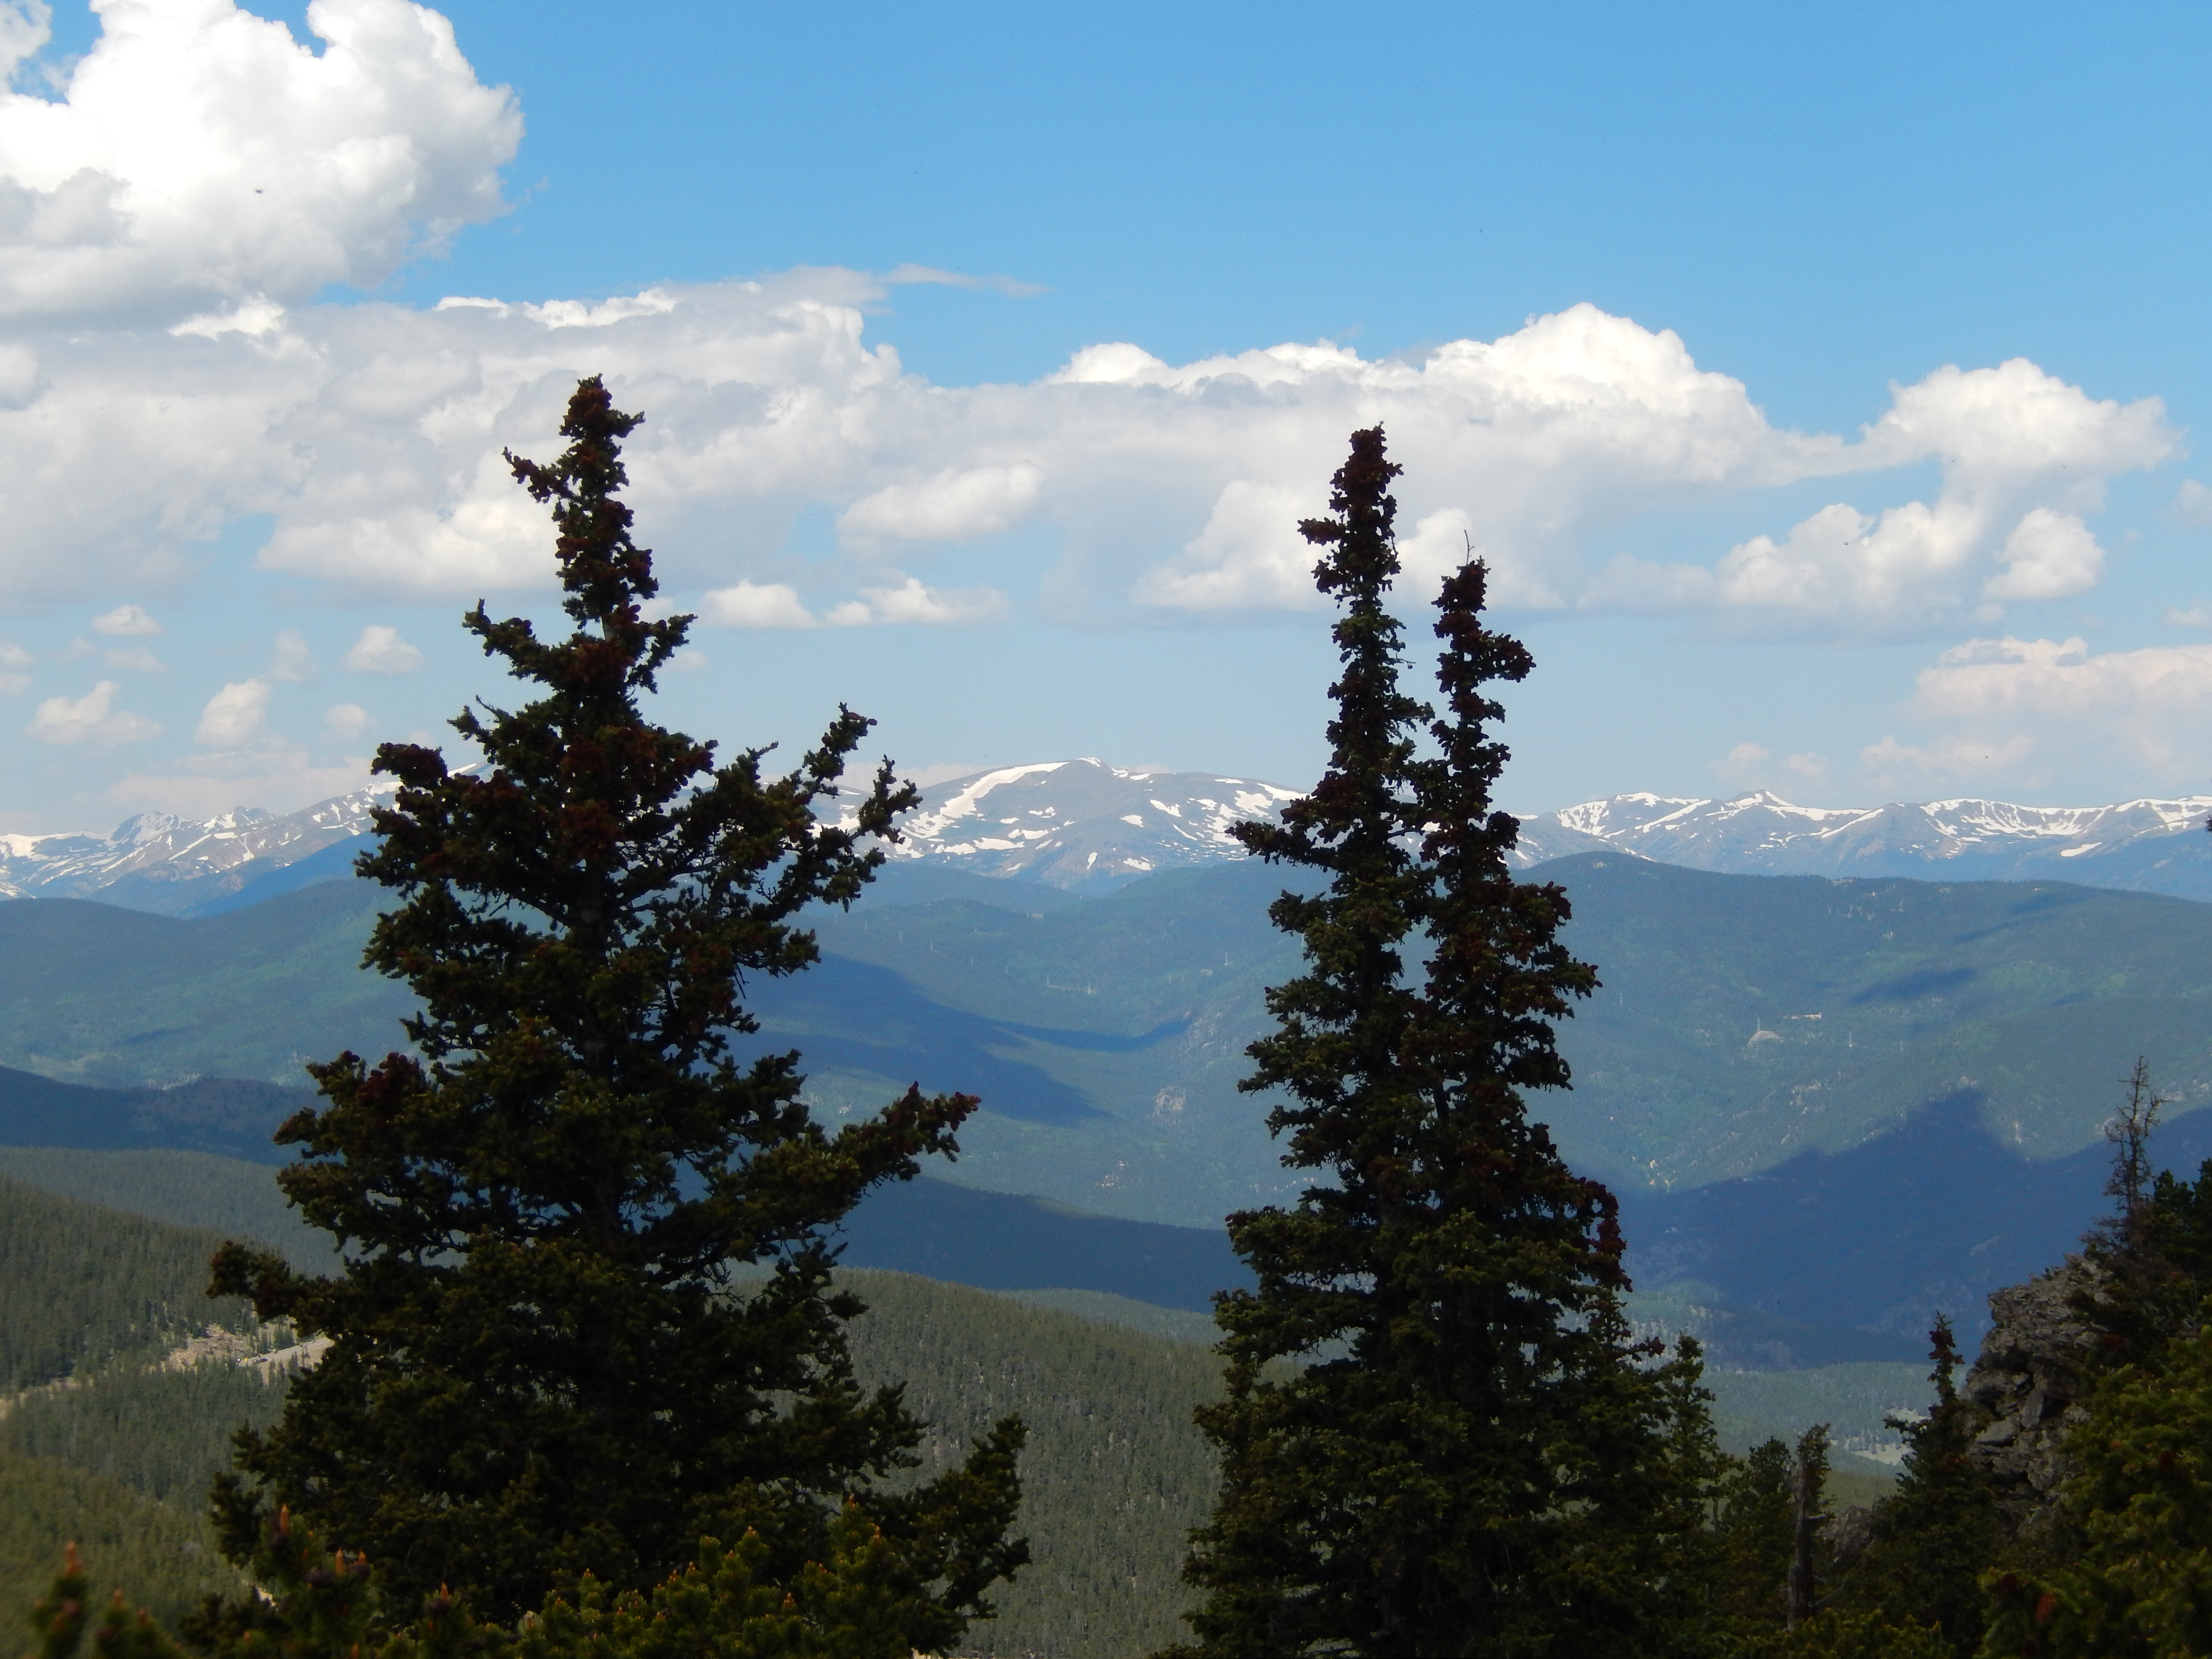
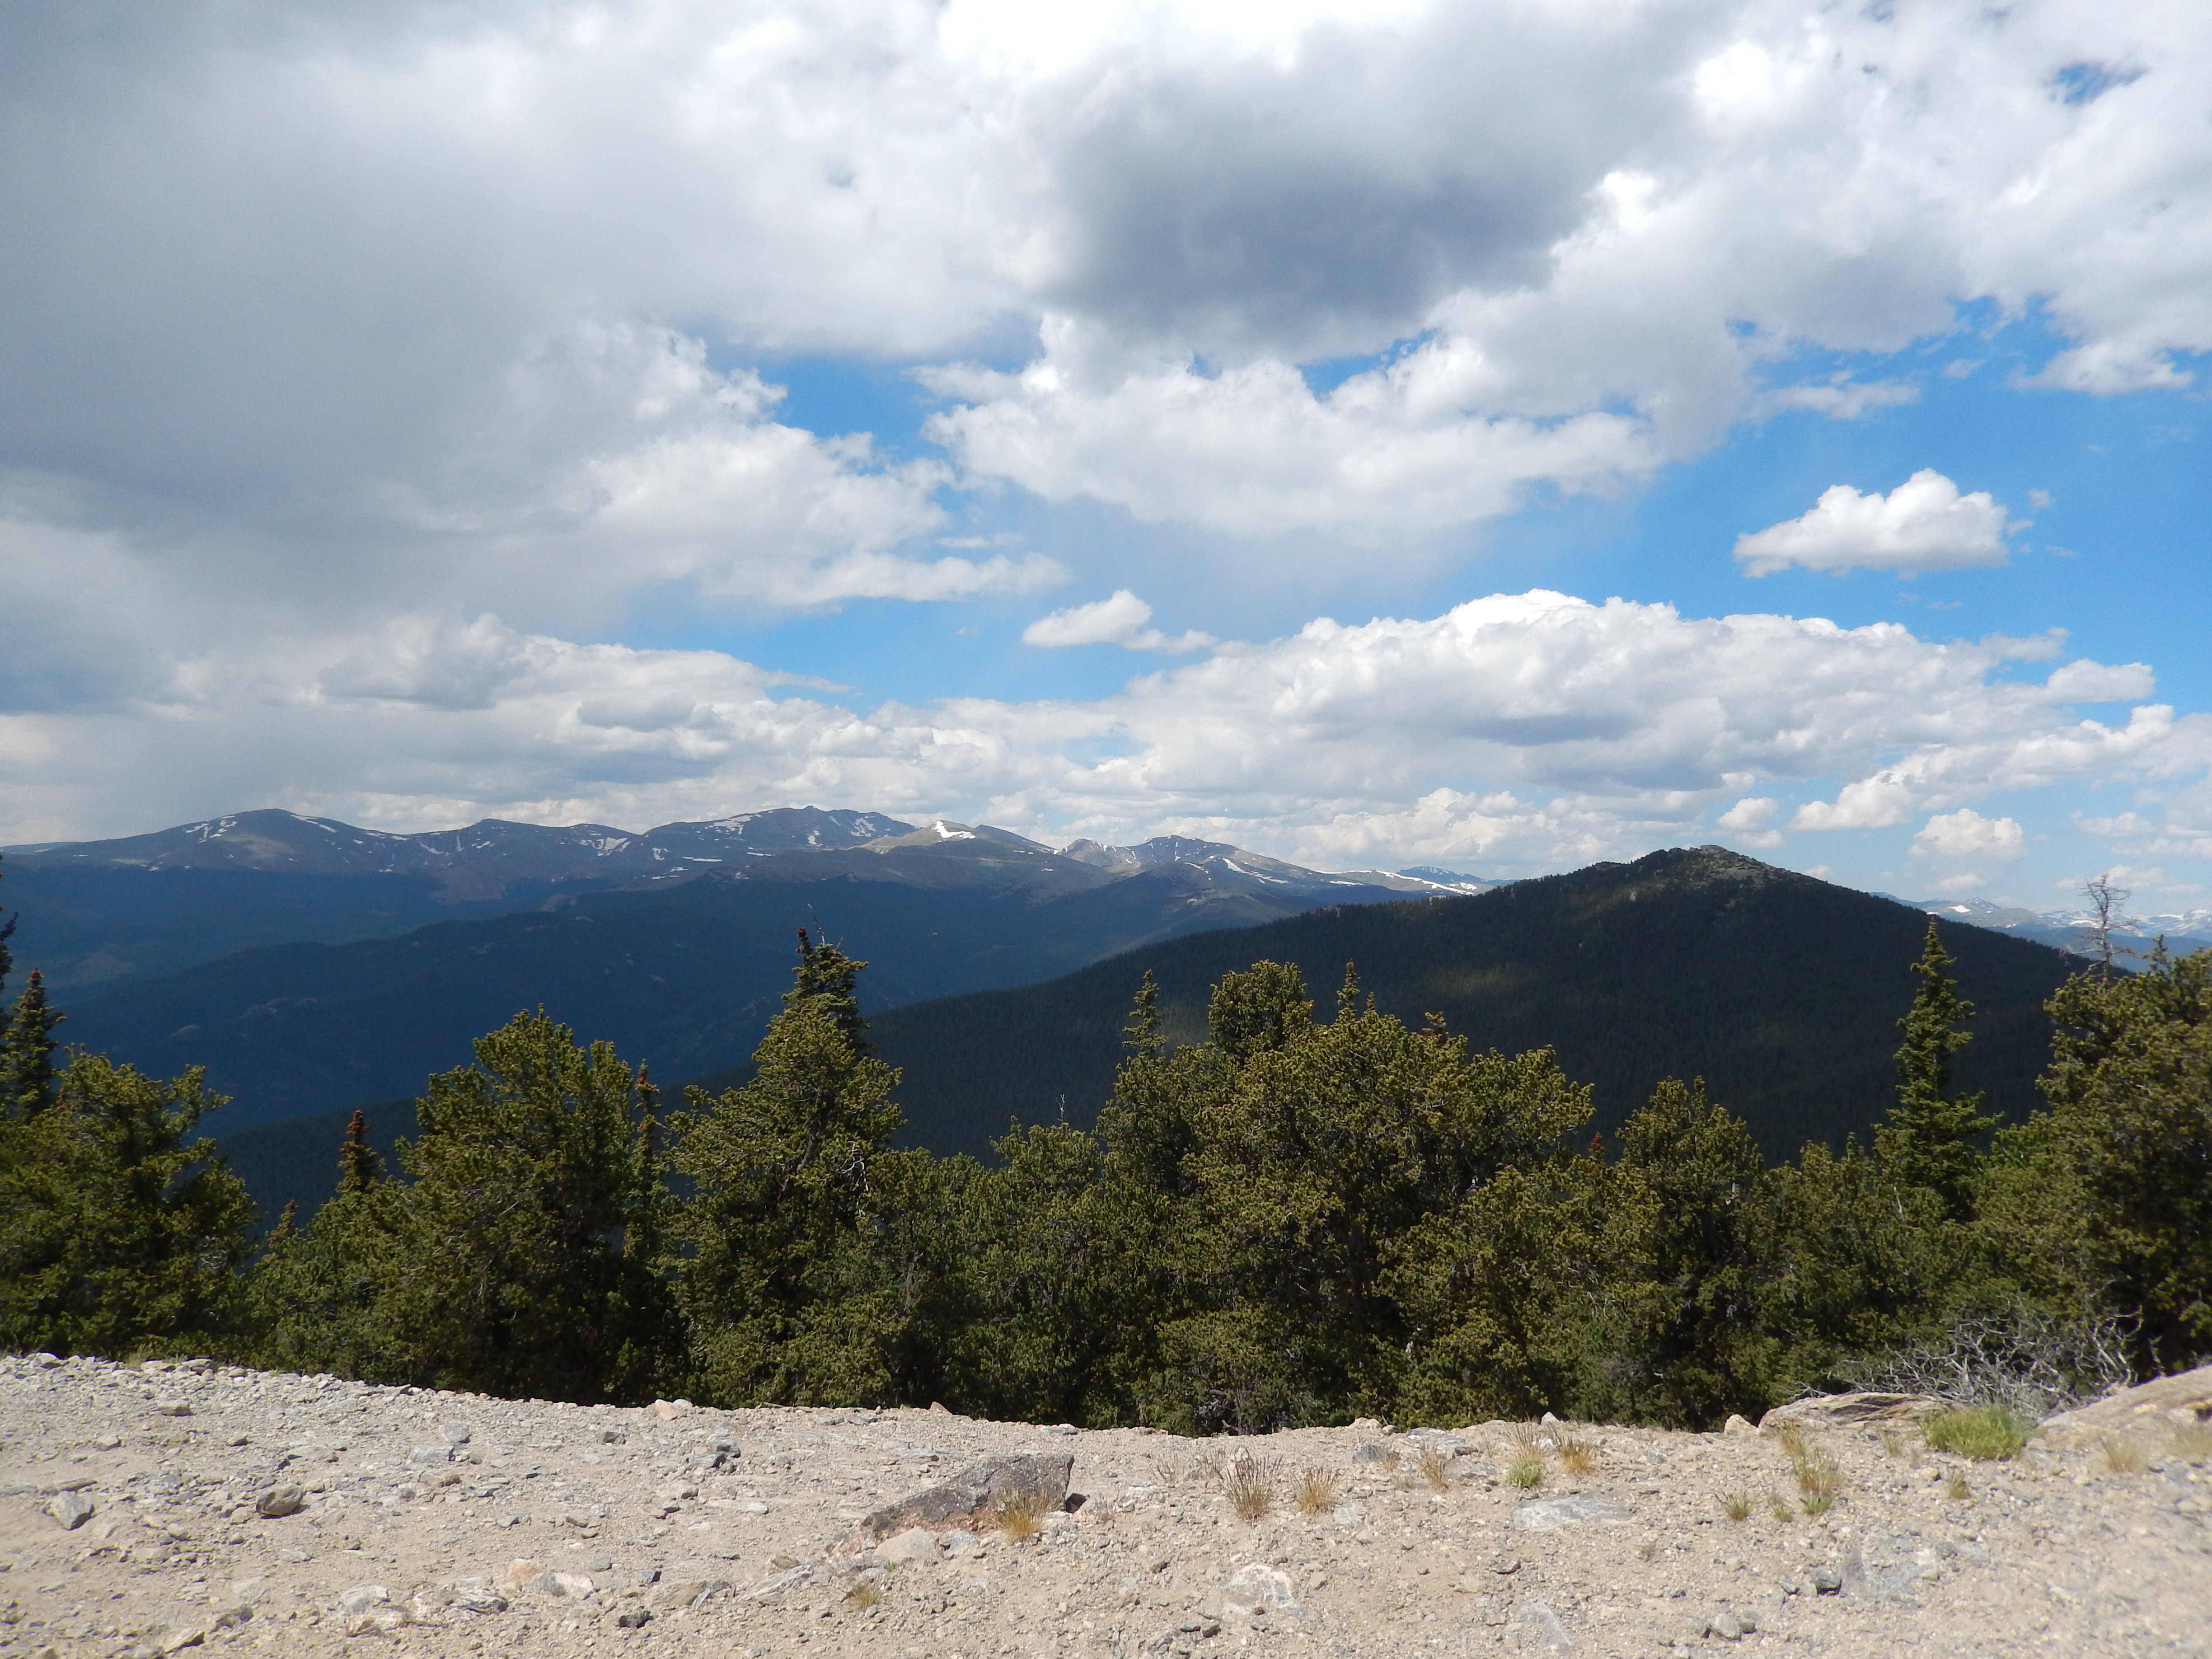
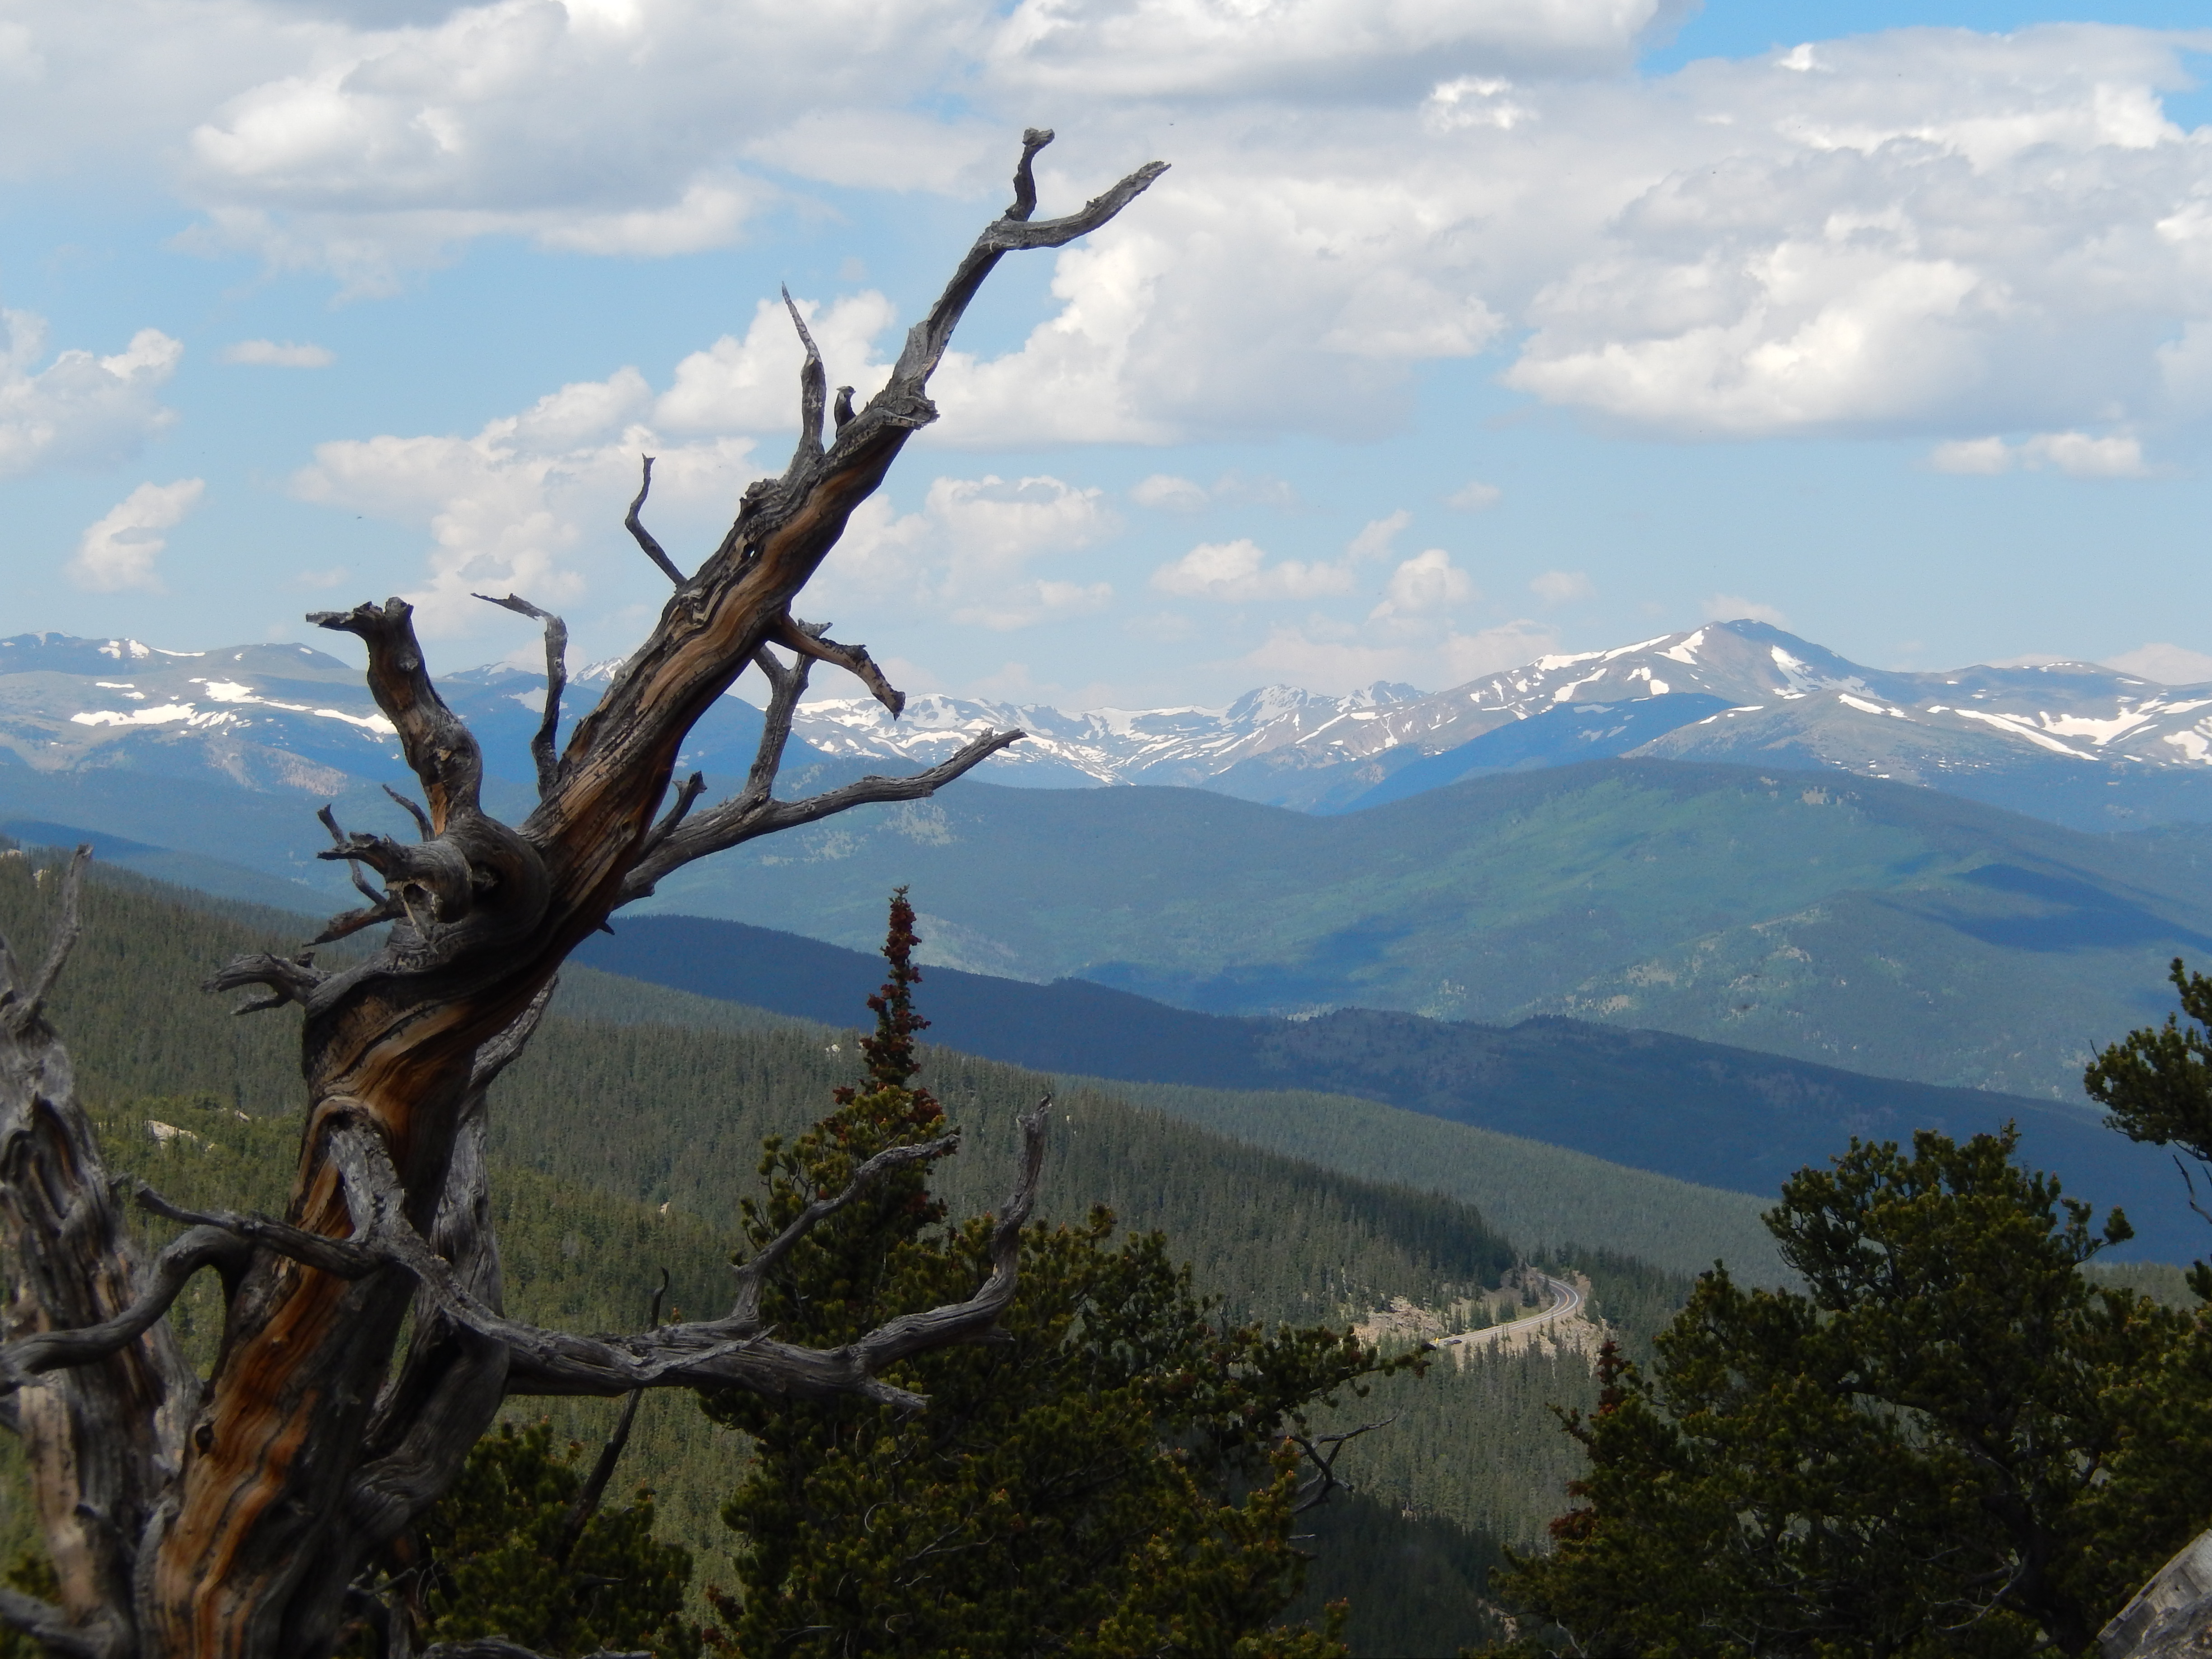
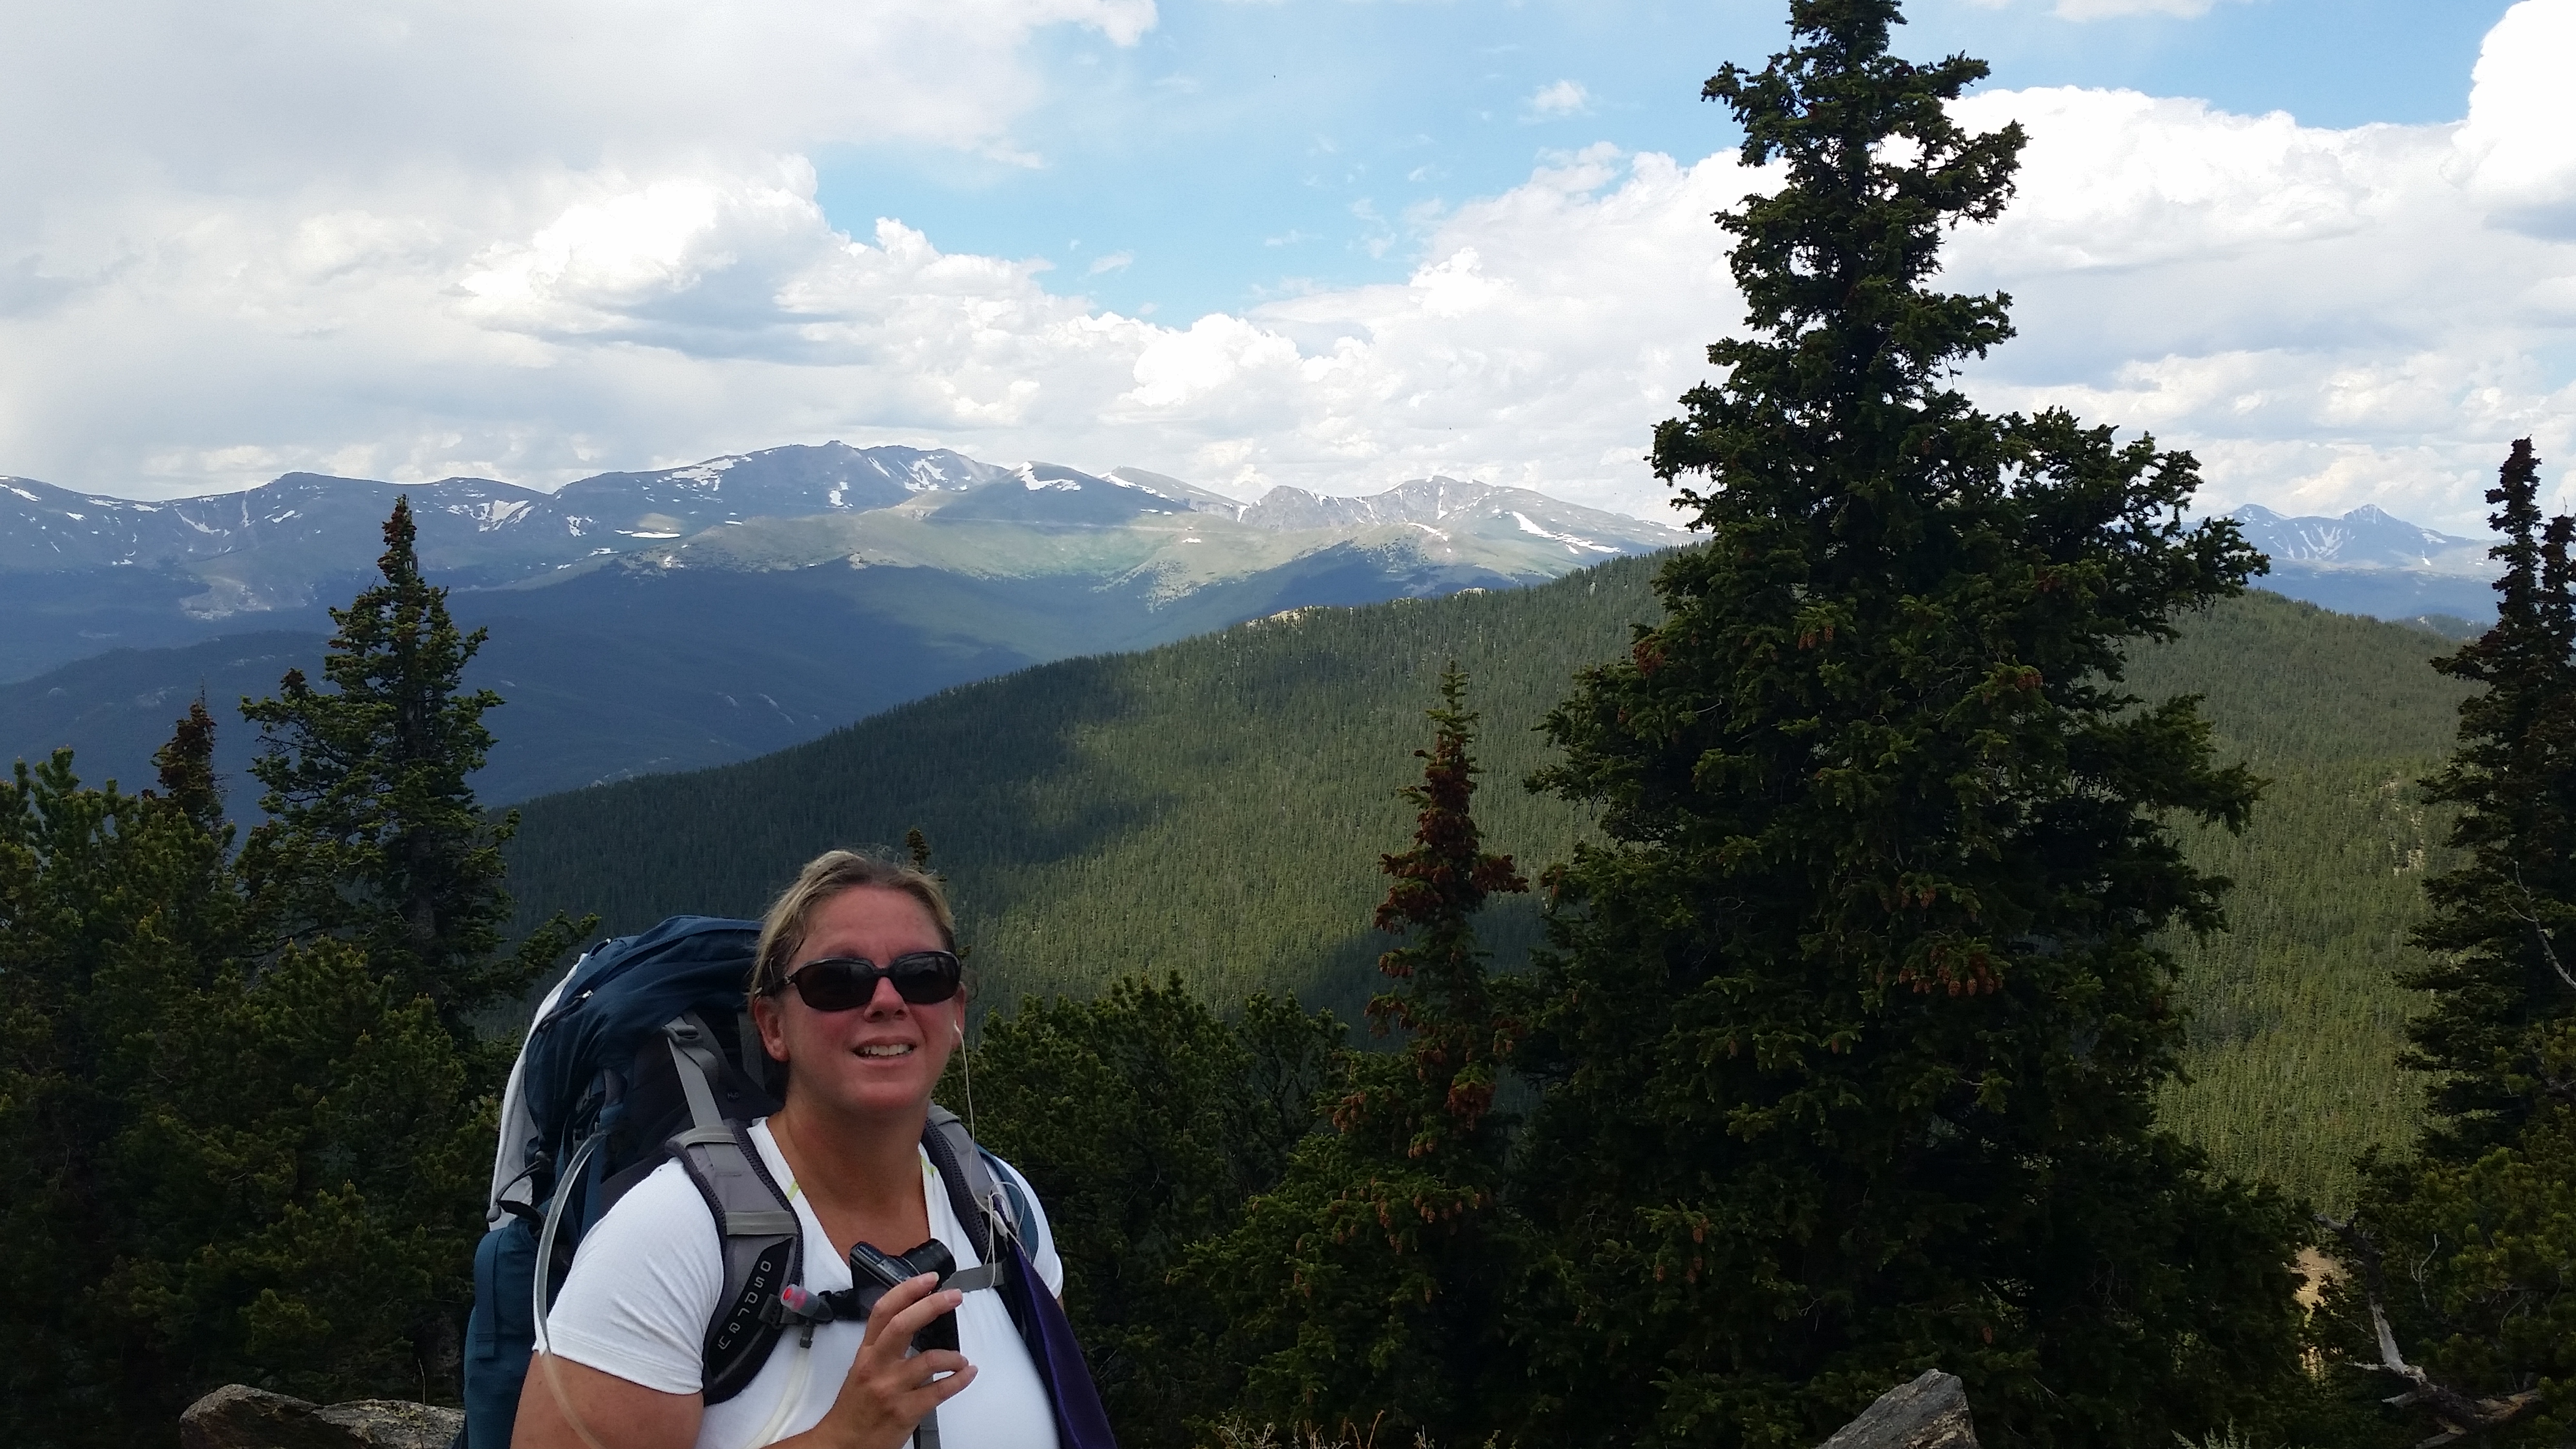
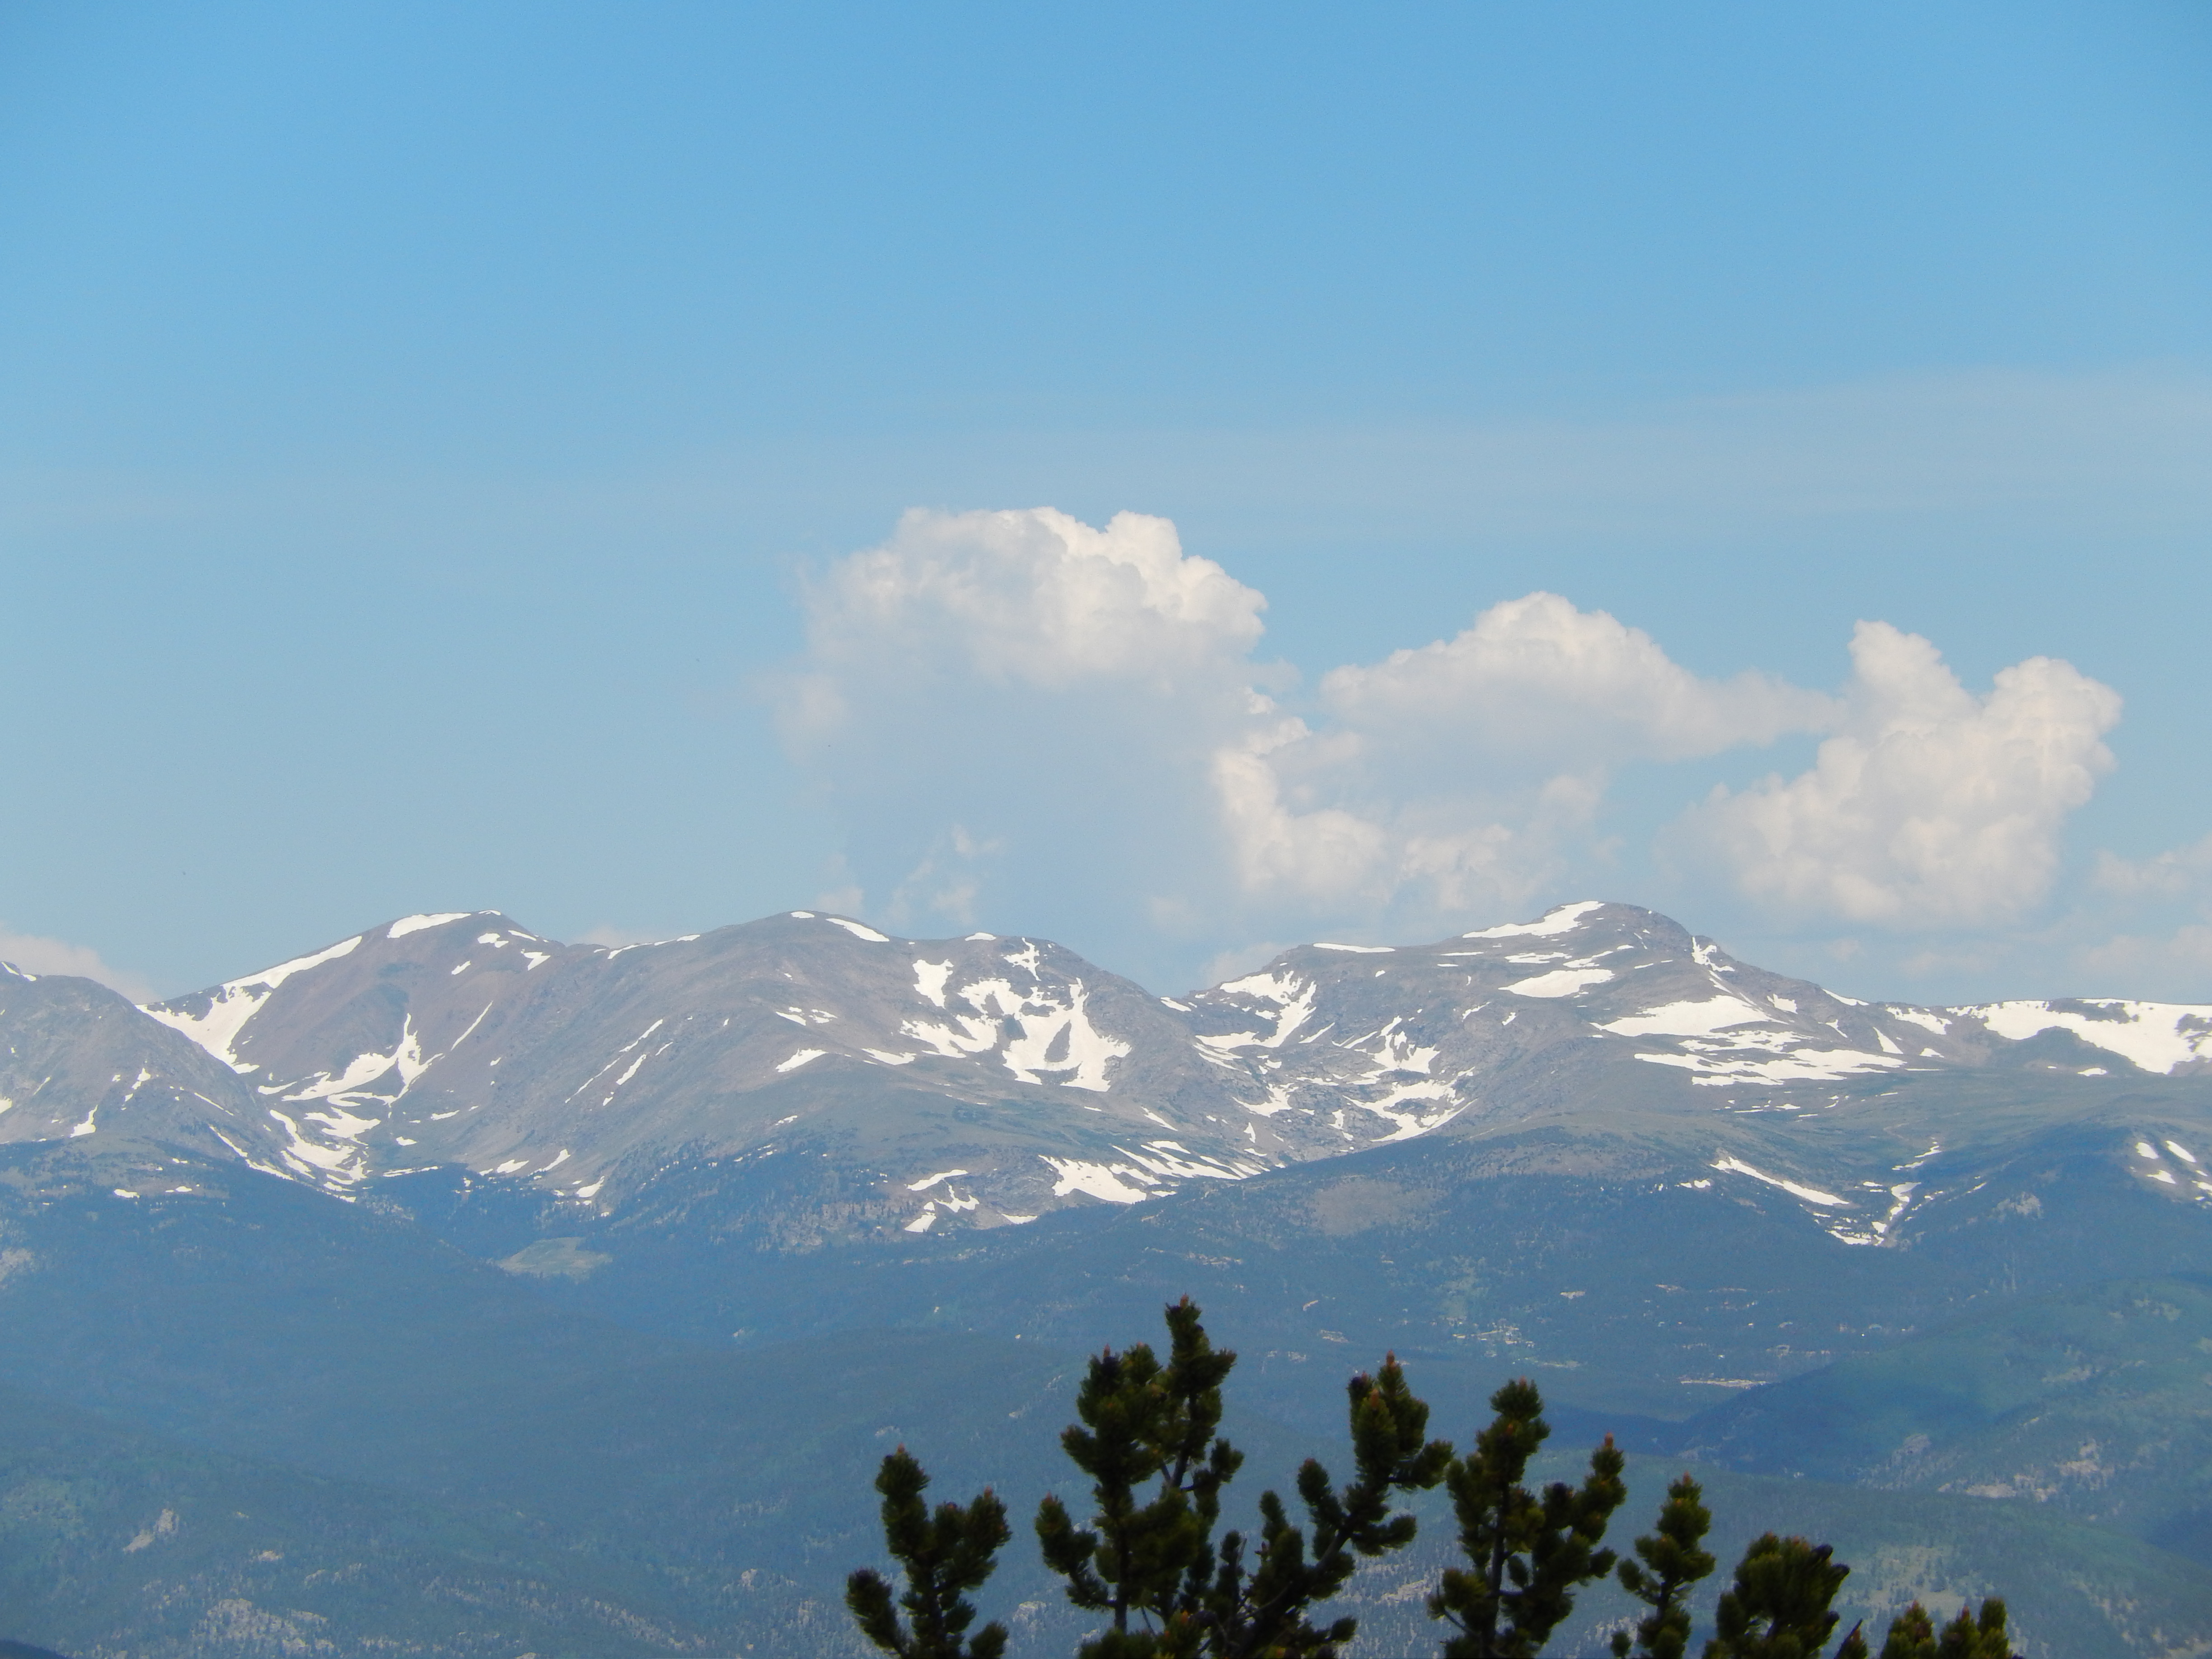
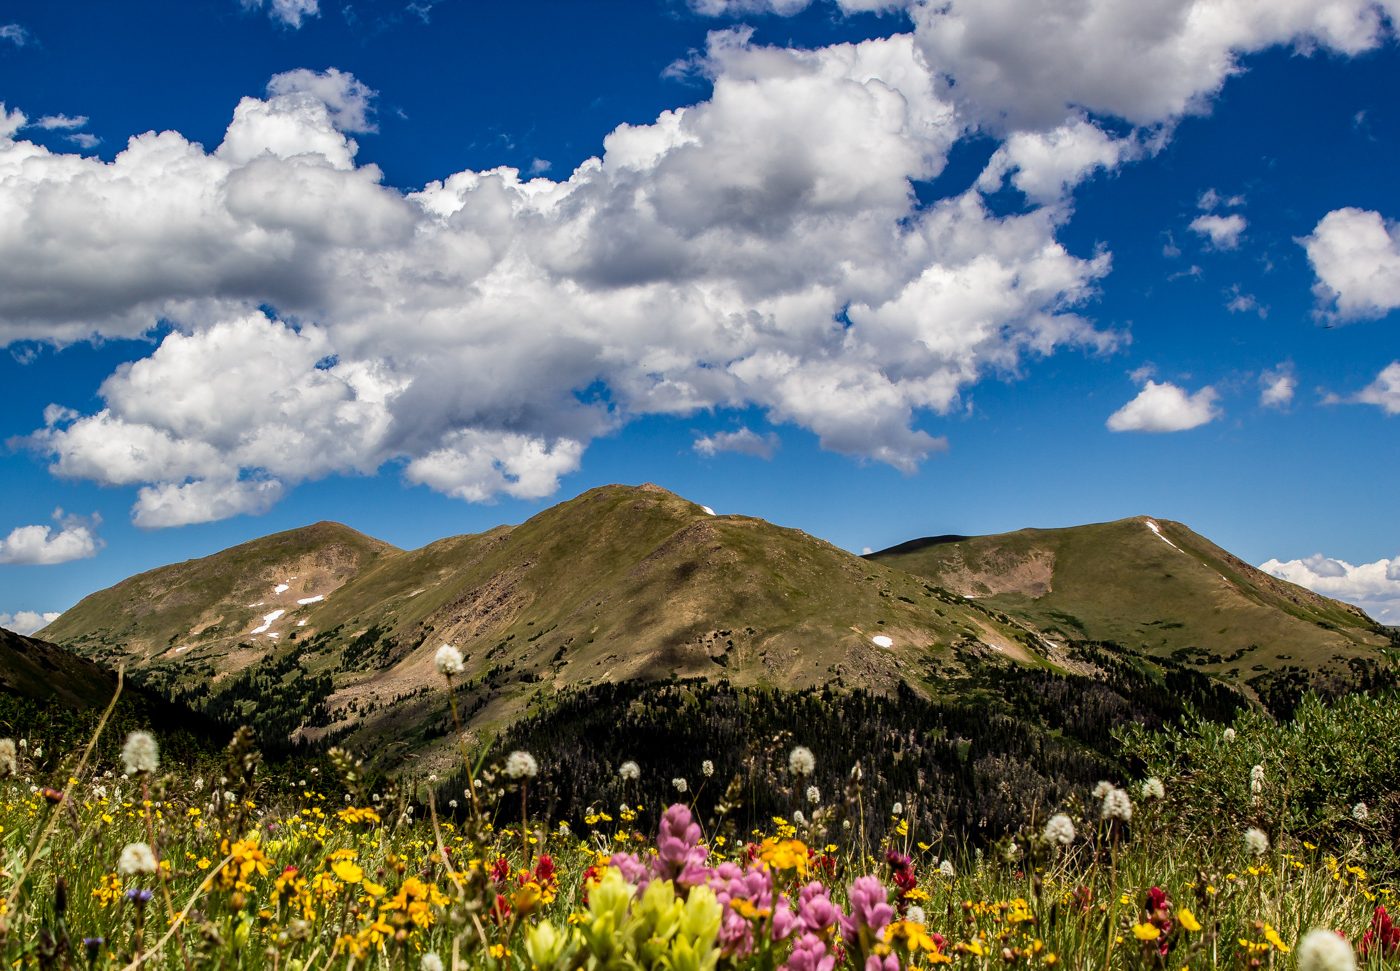
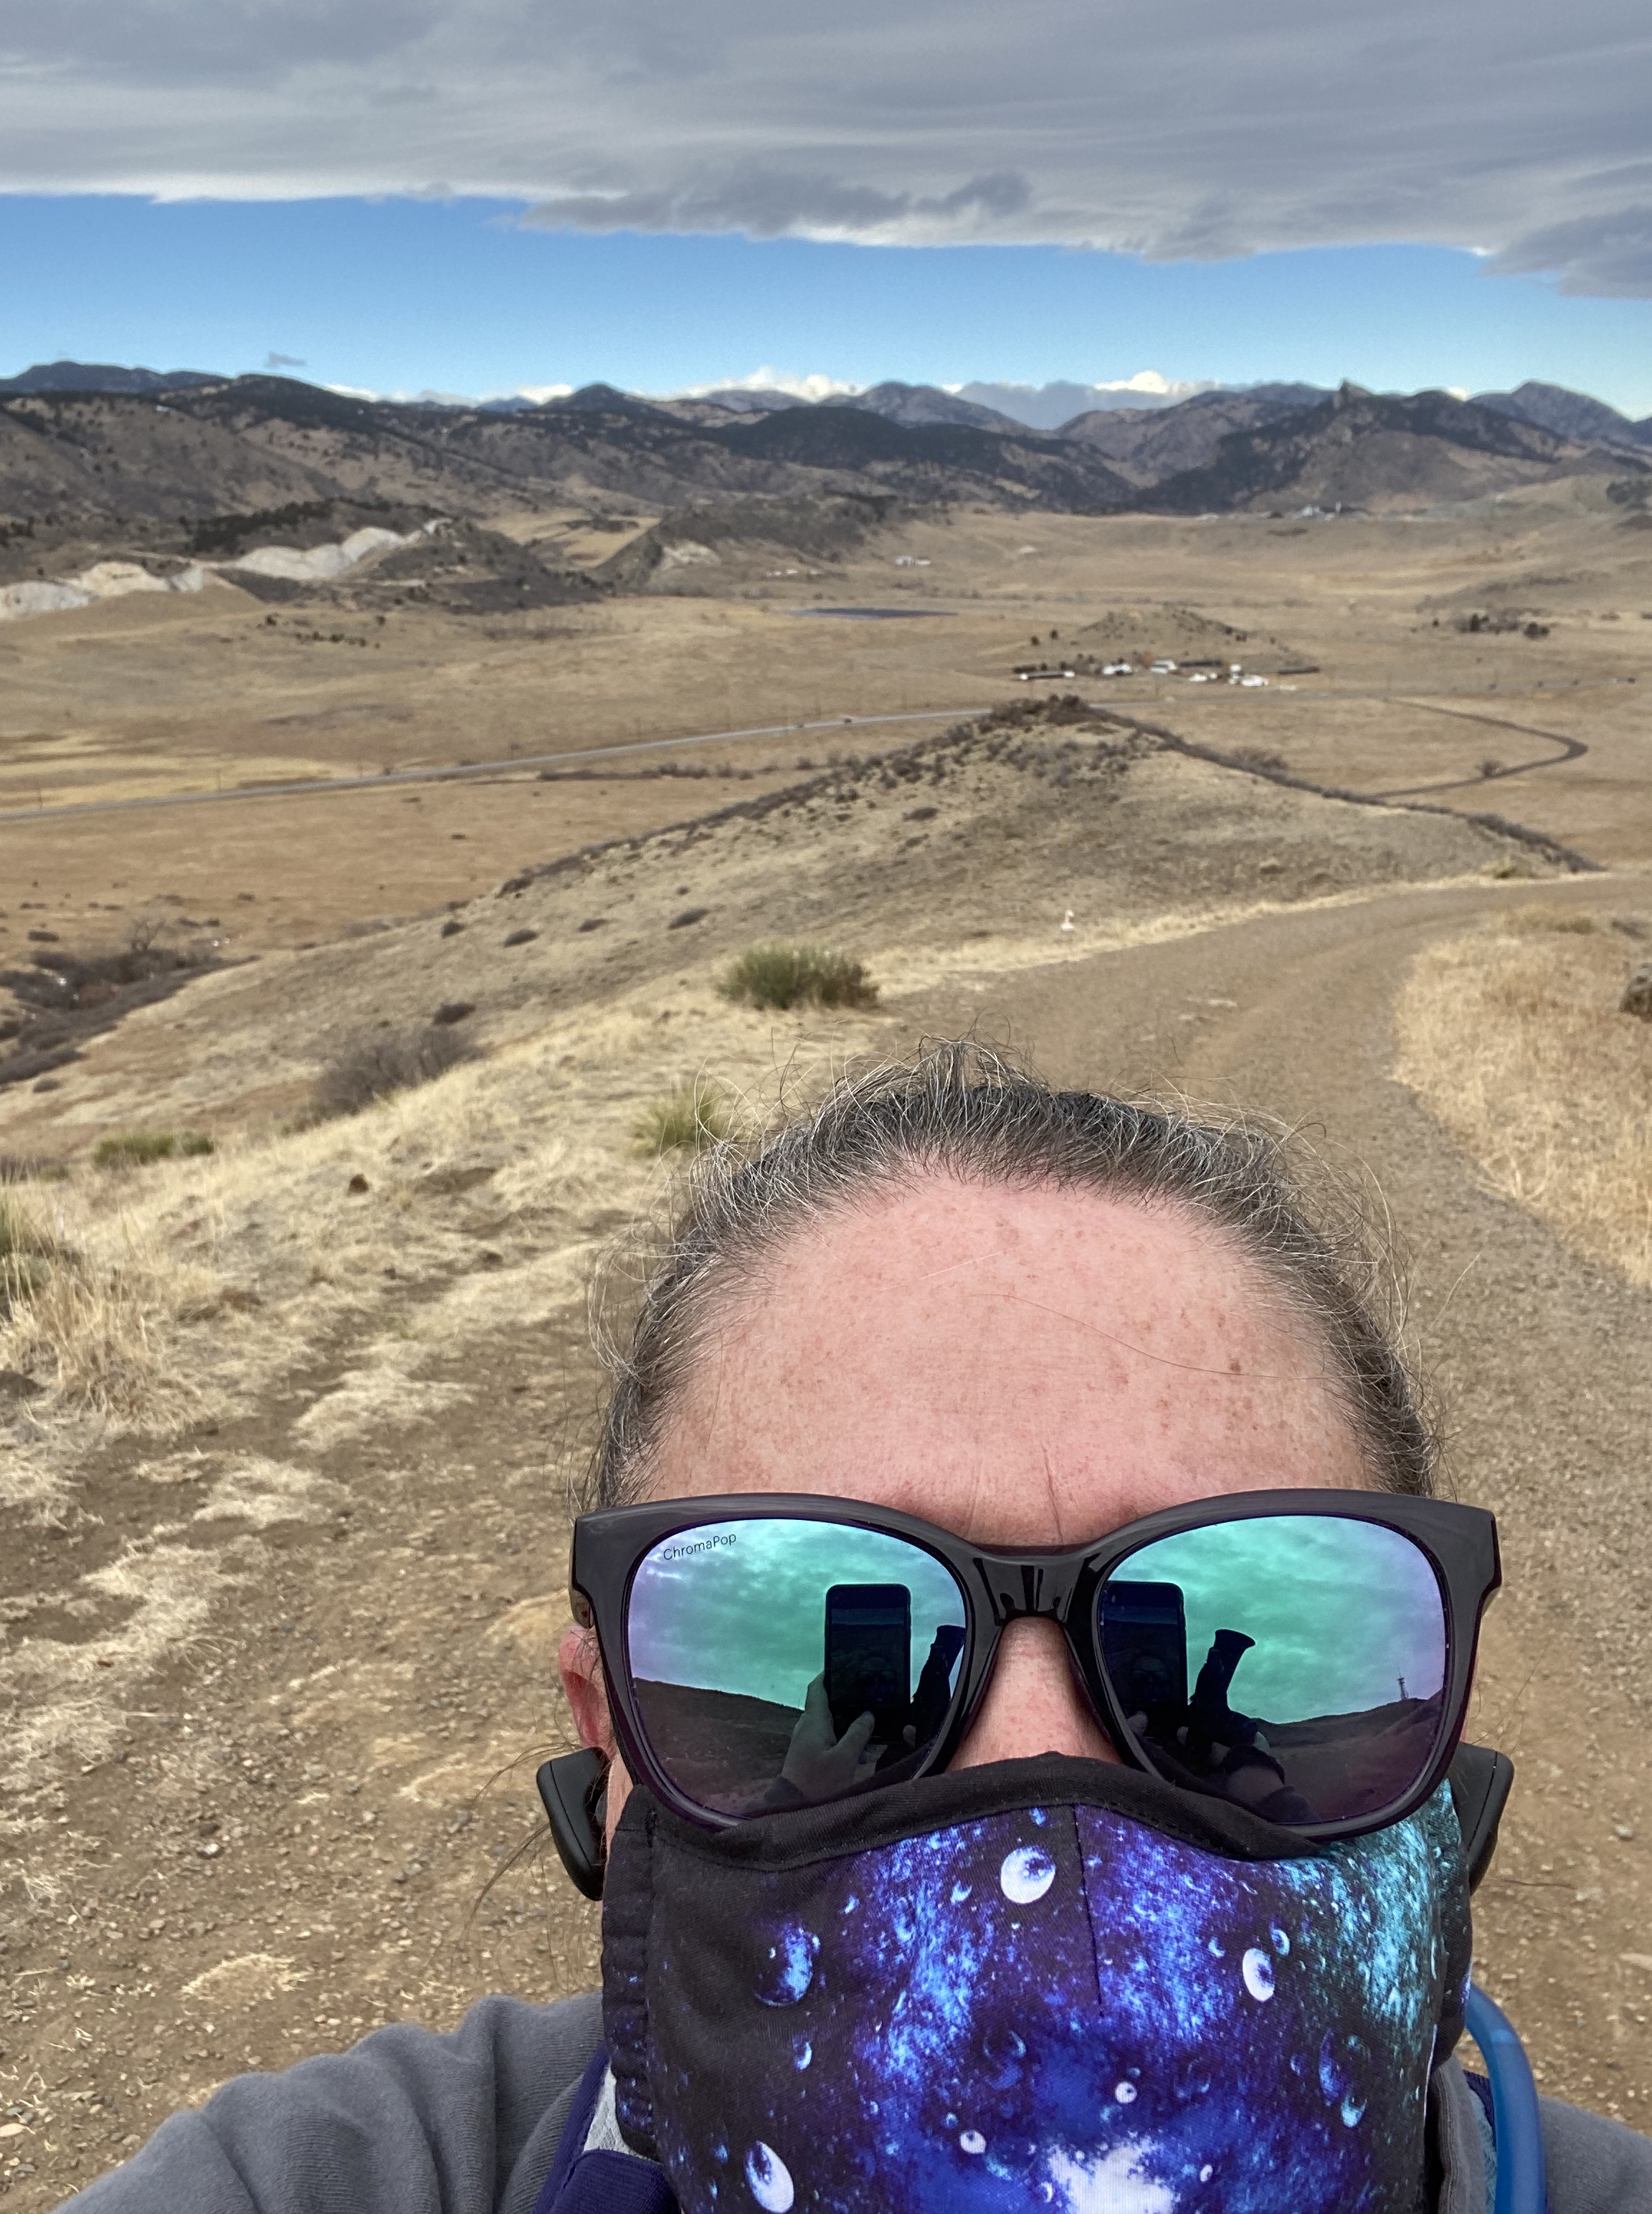
Yesterday I took the day off work and when I got up there was only one thing on my mind. I wanted to climb a mountain……. literally not figuratively.

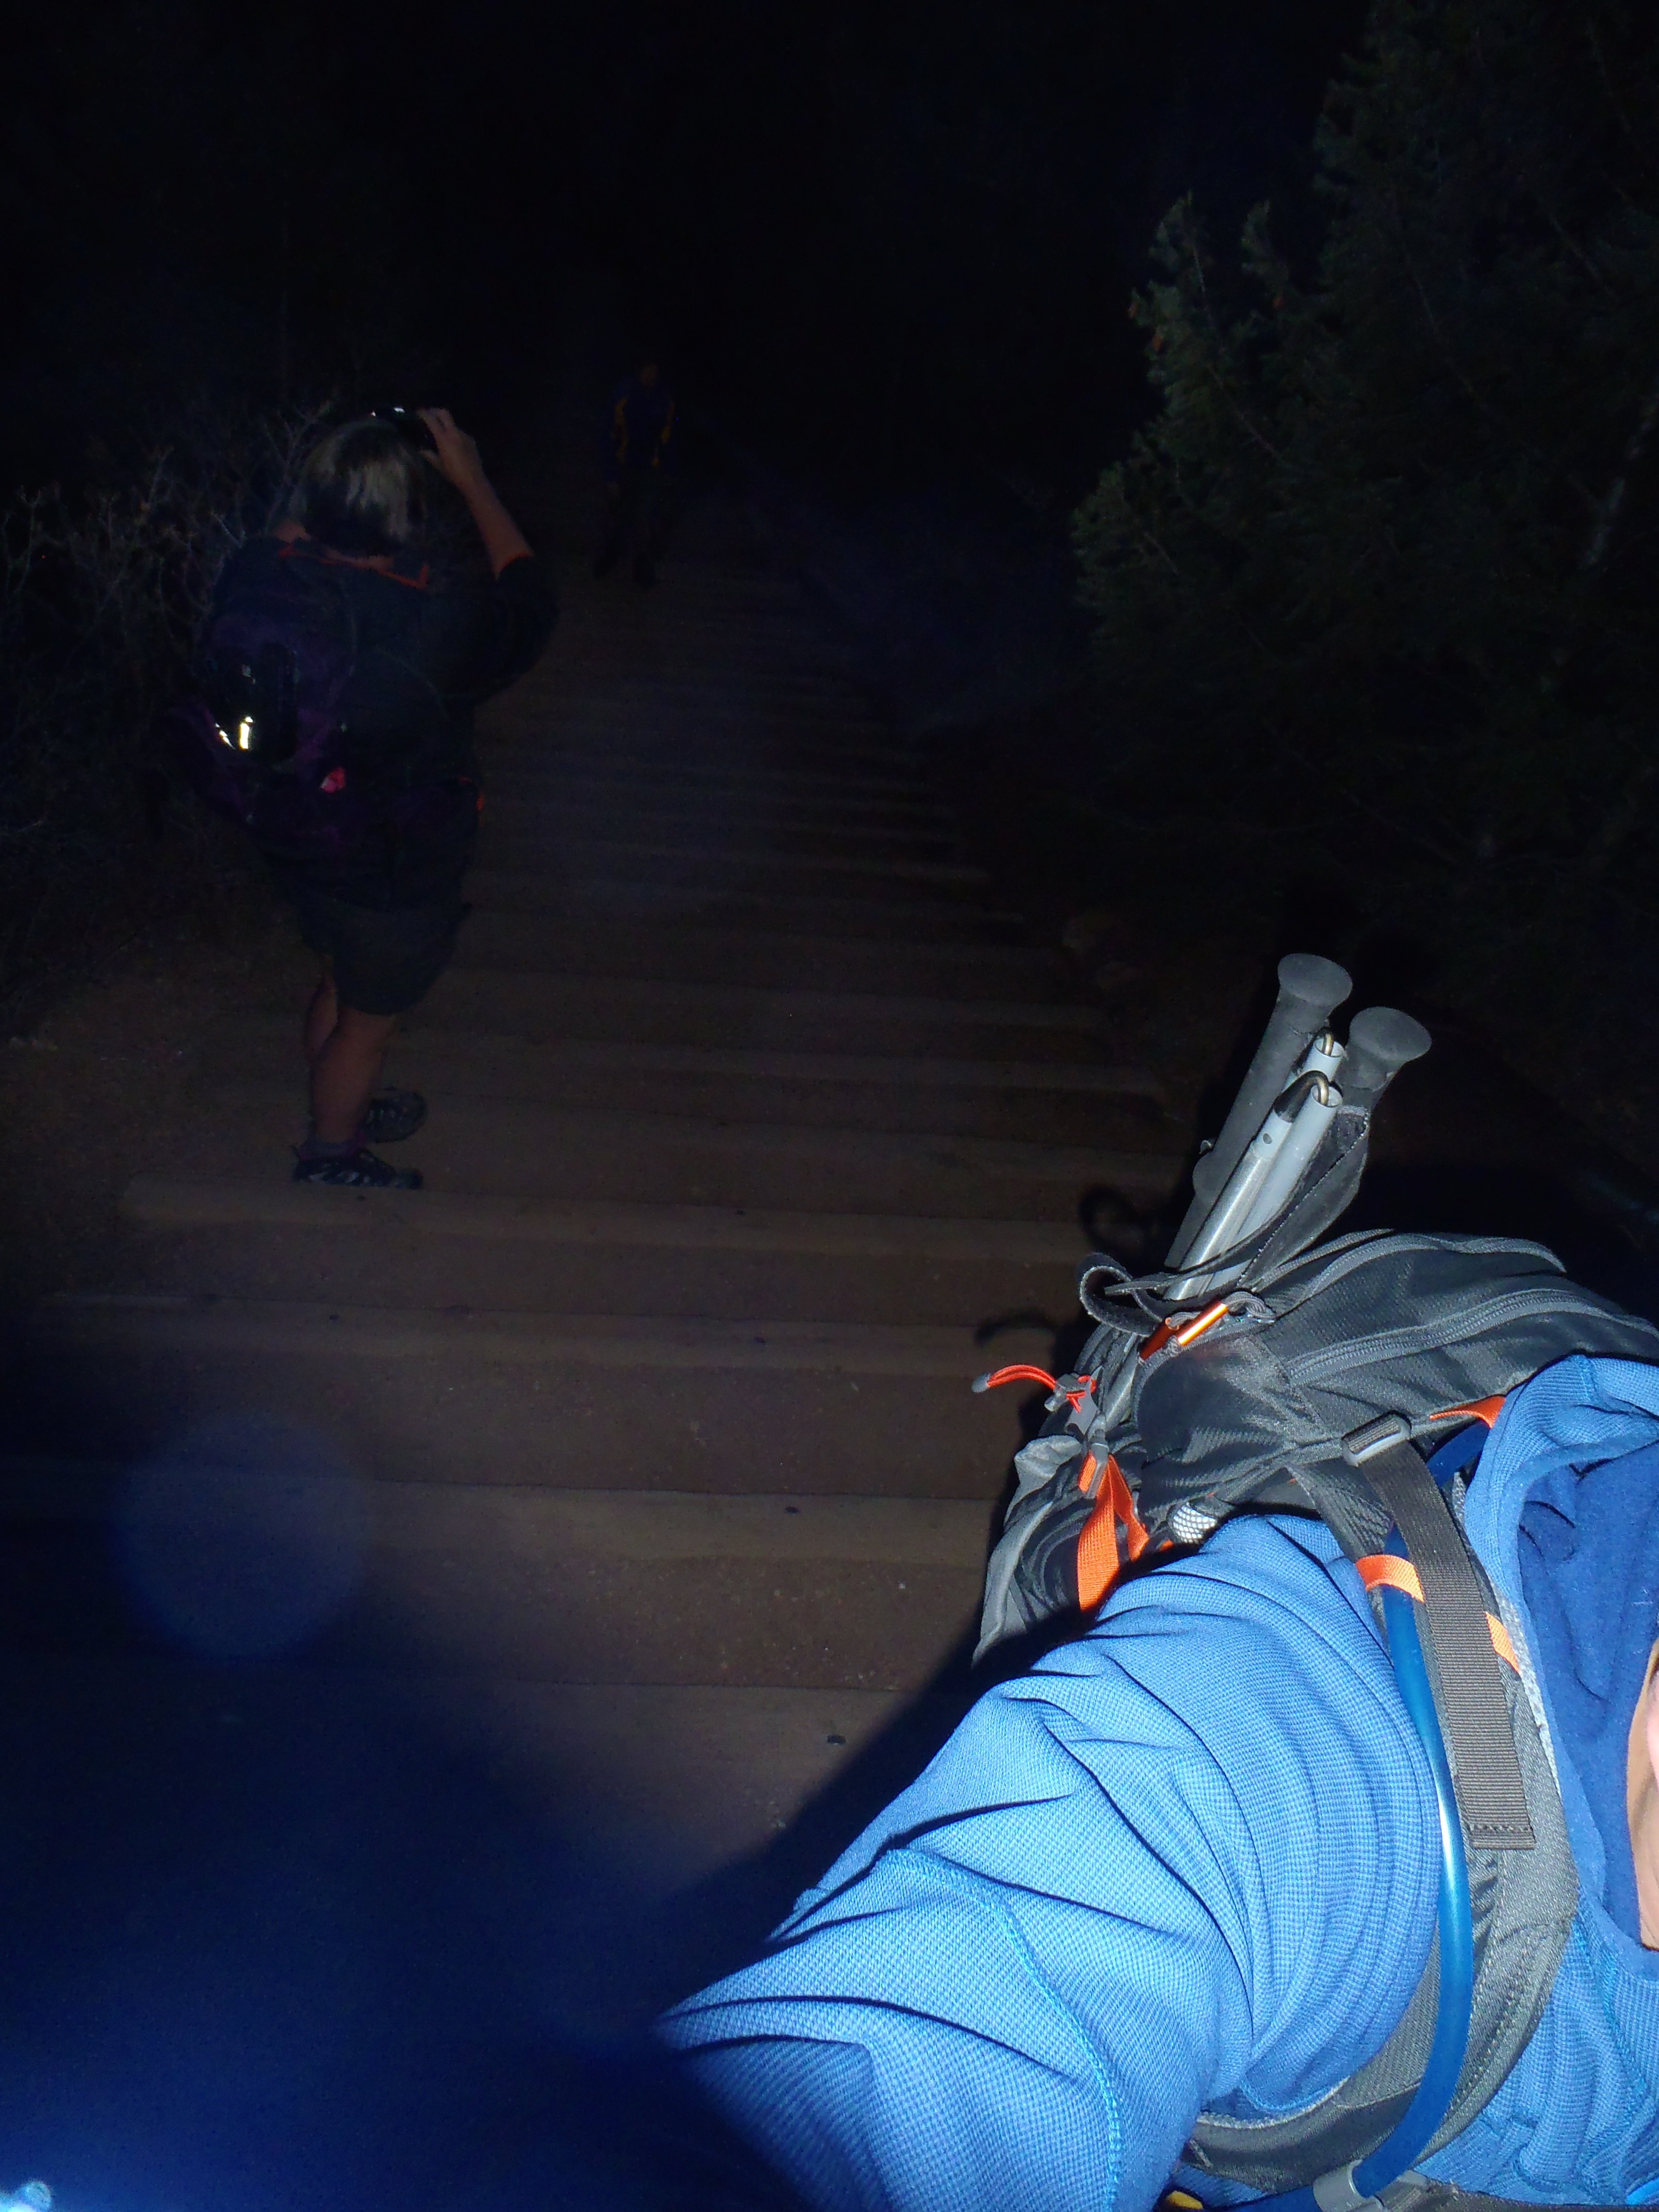
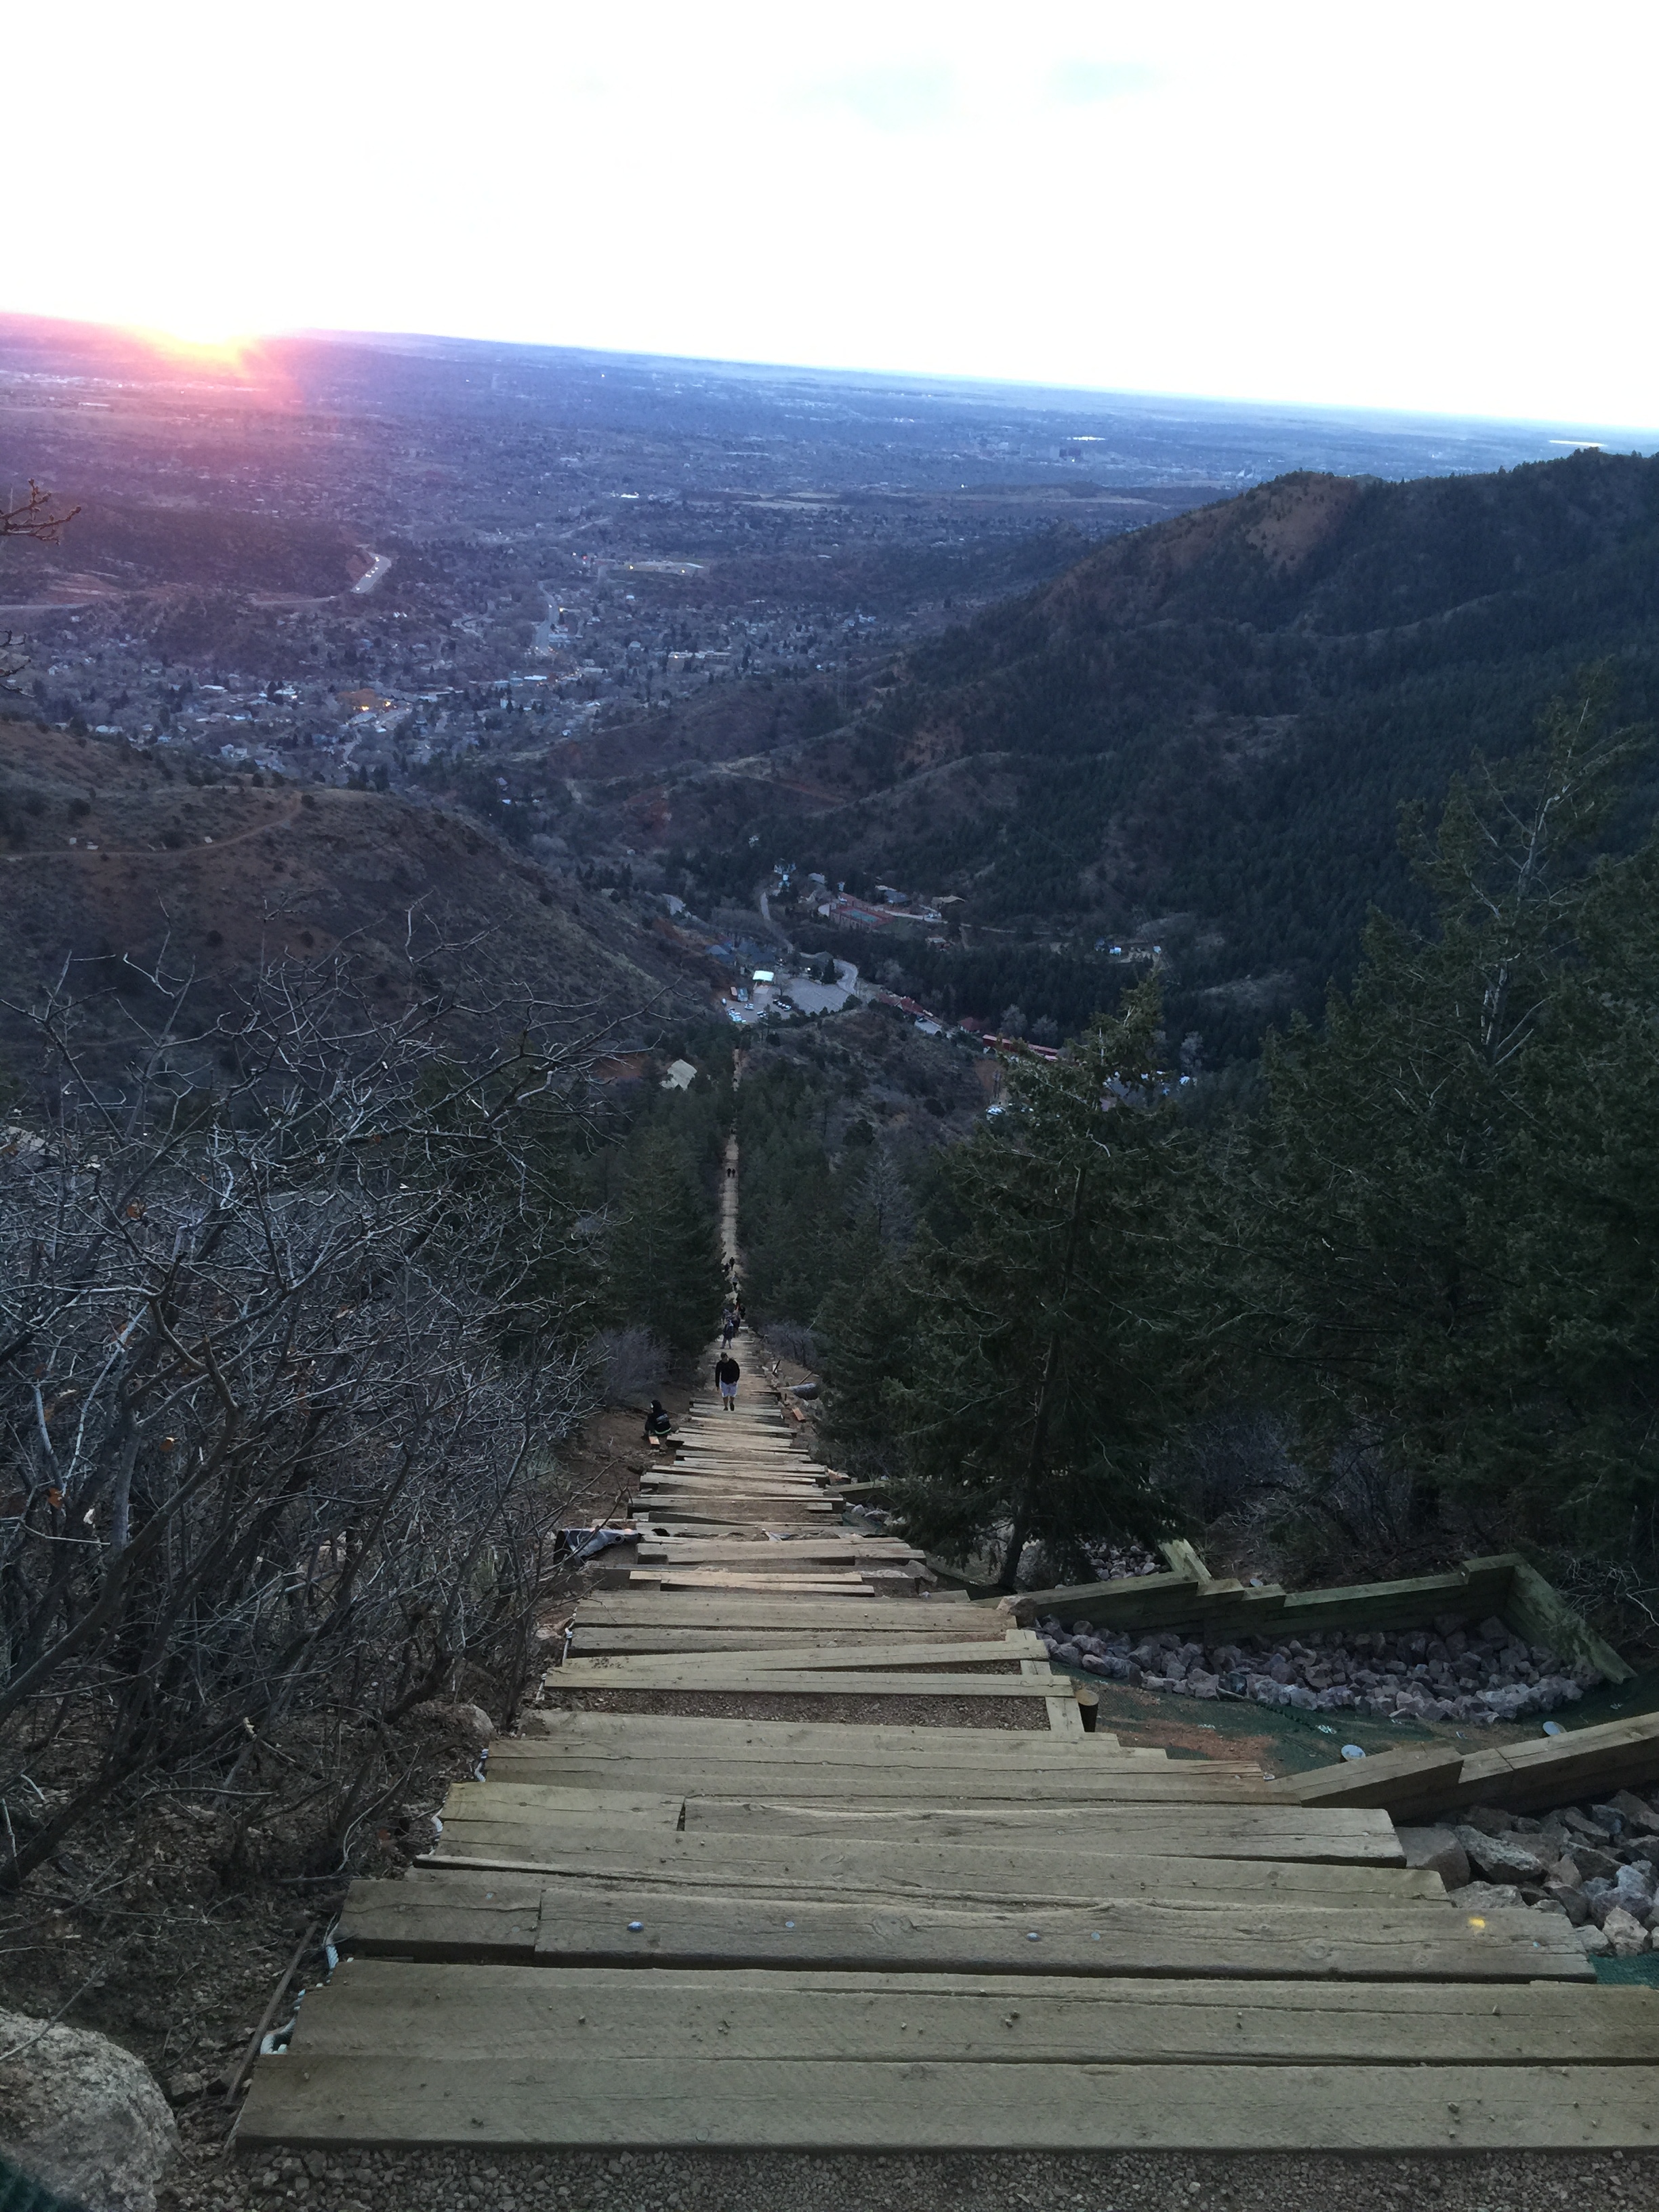
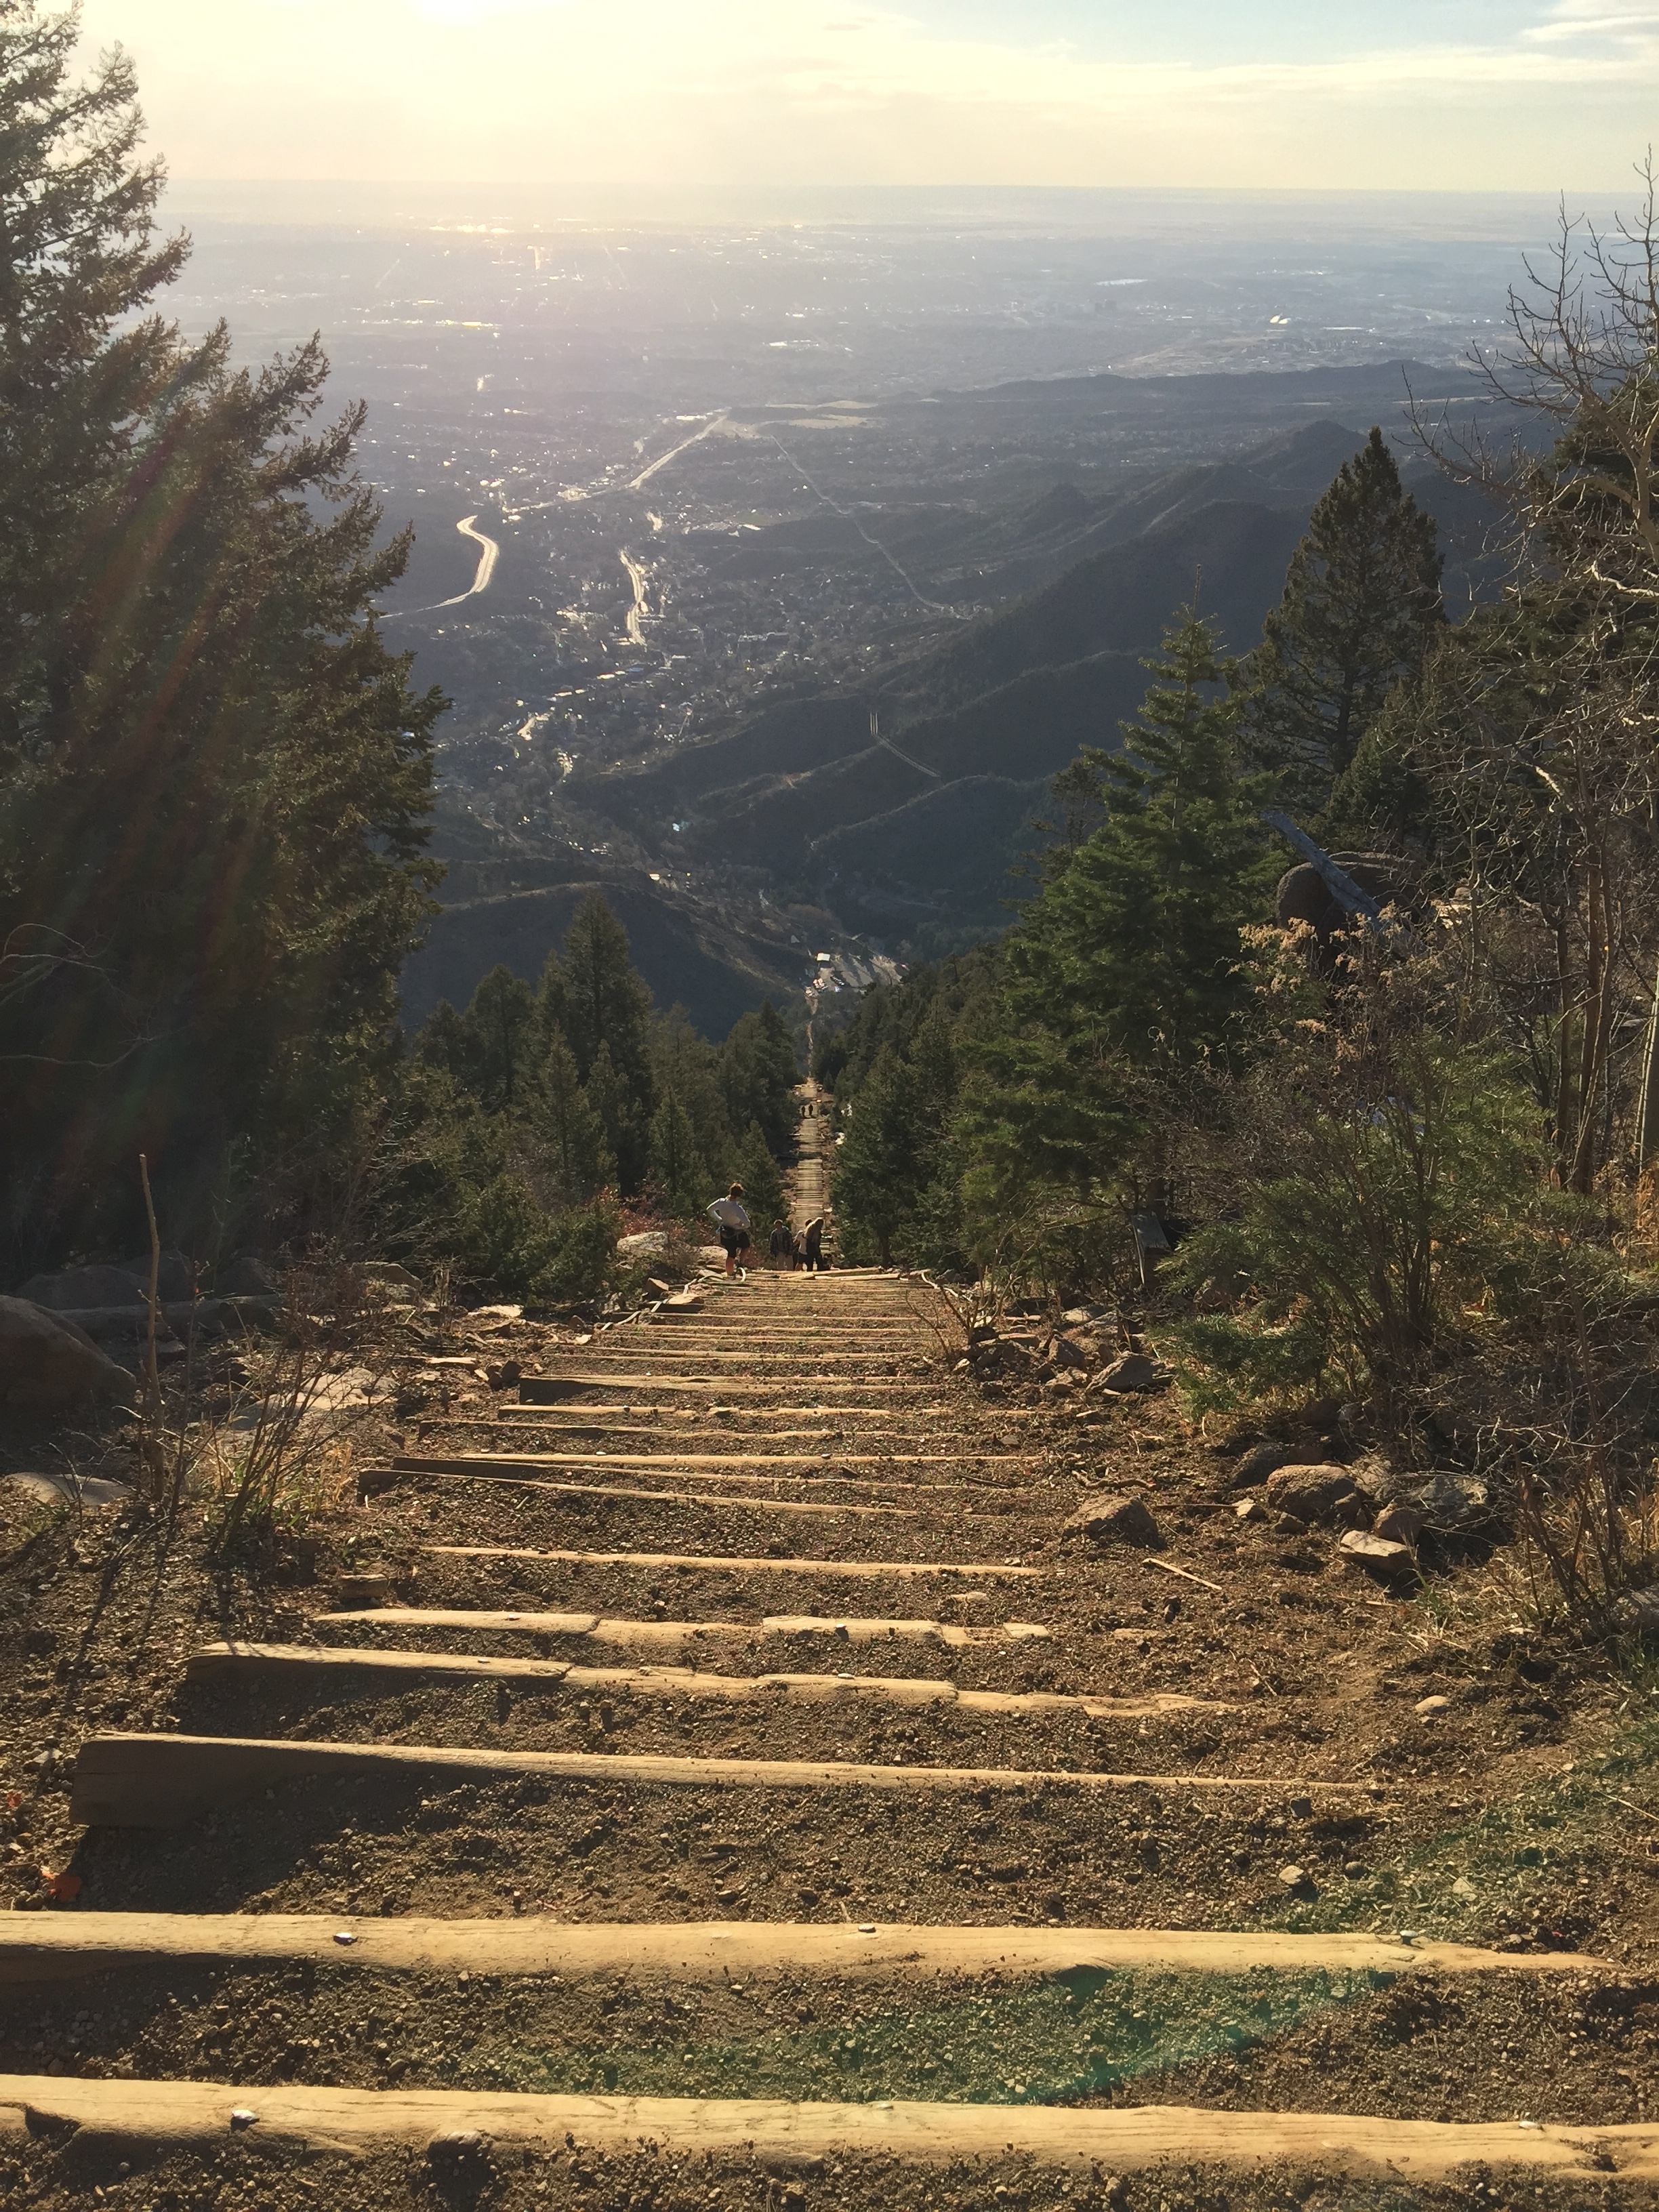
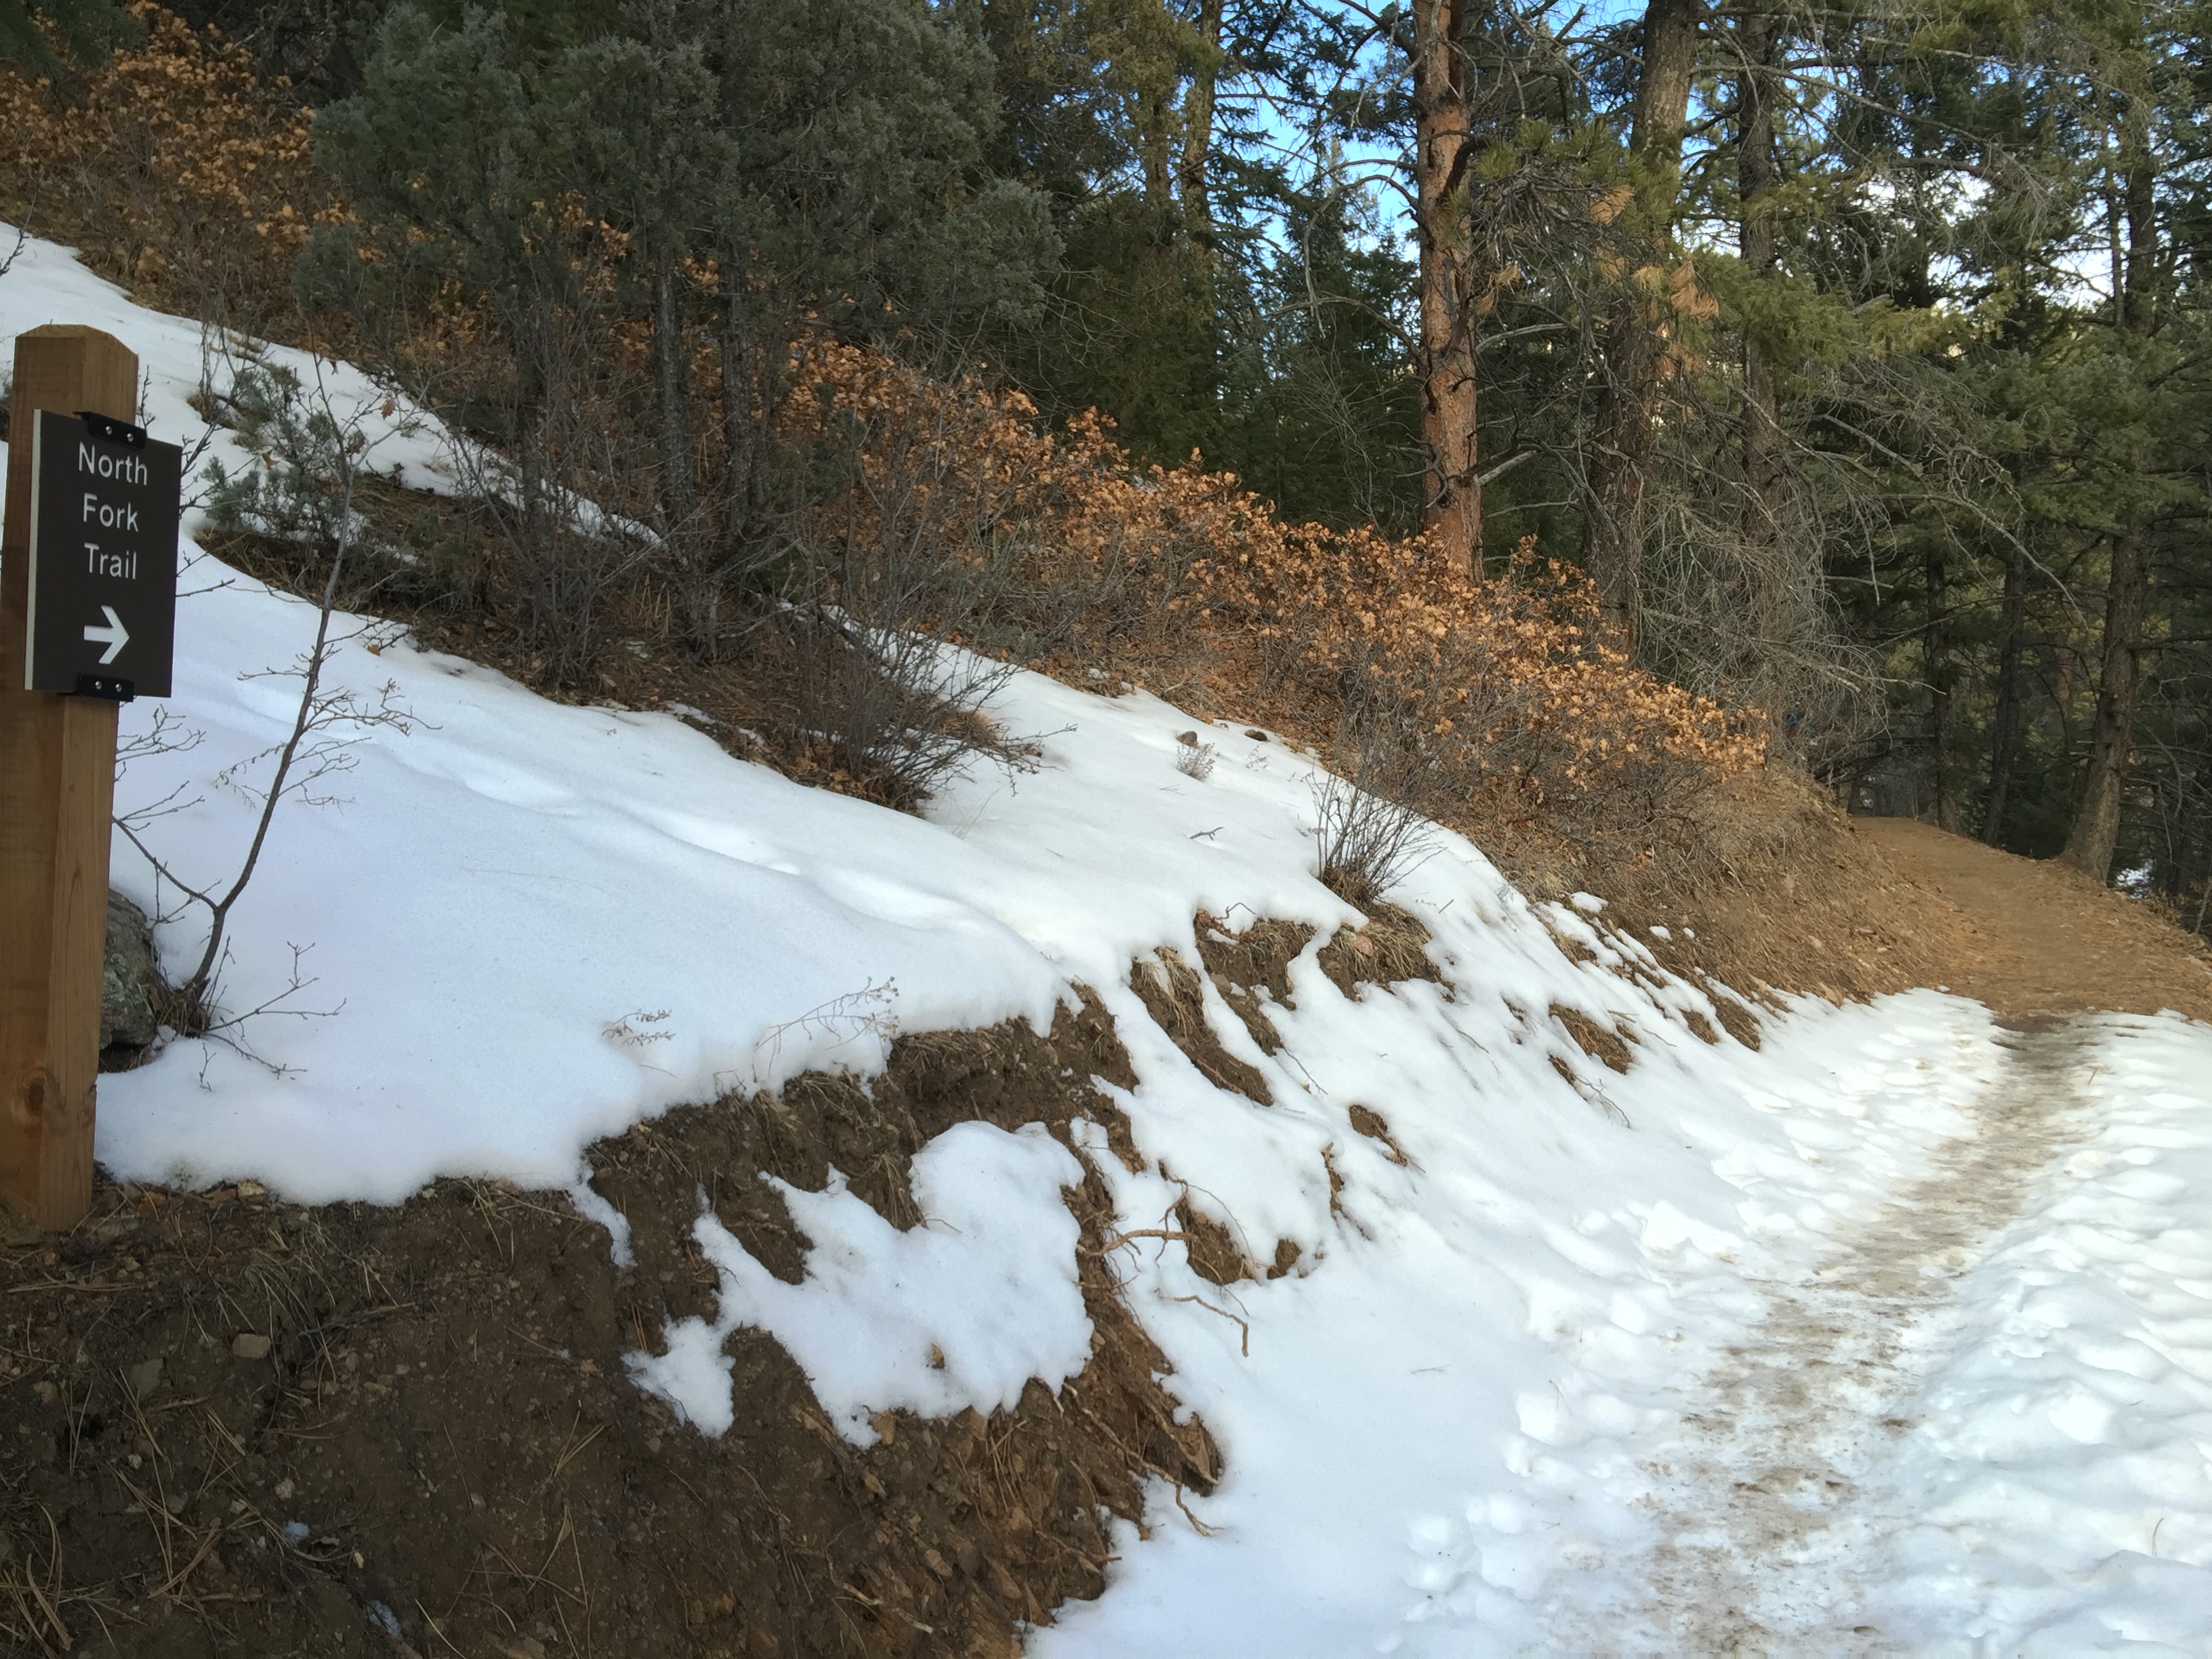
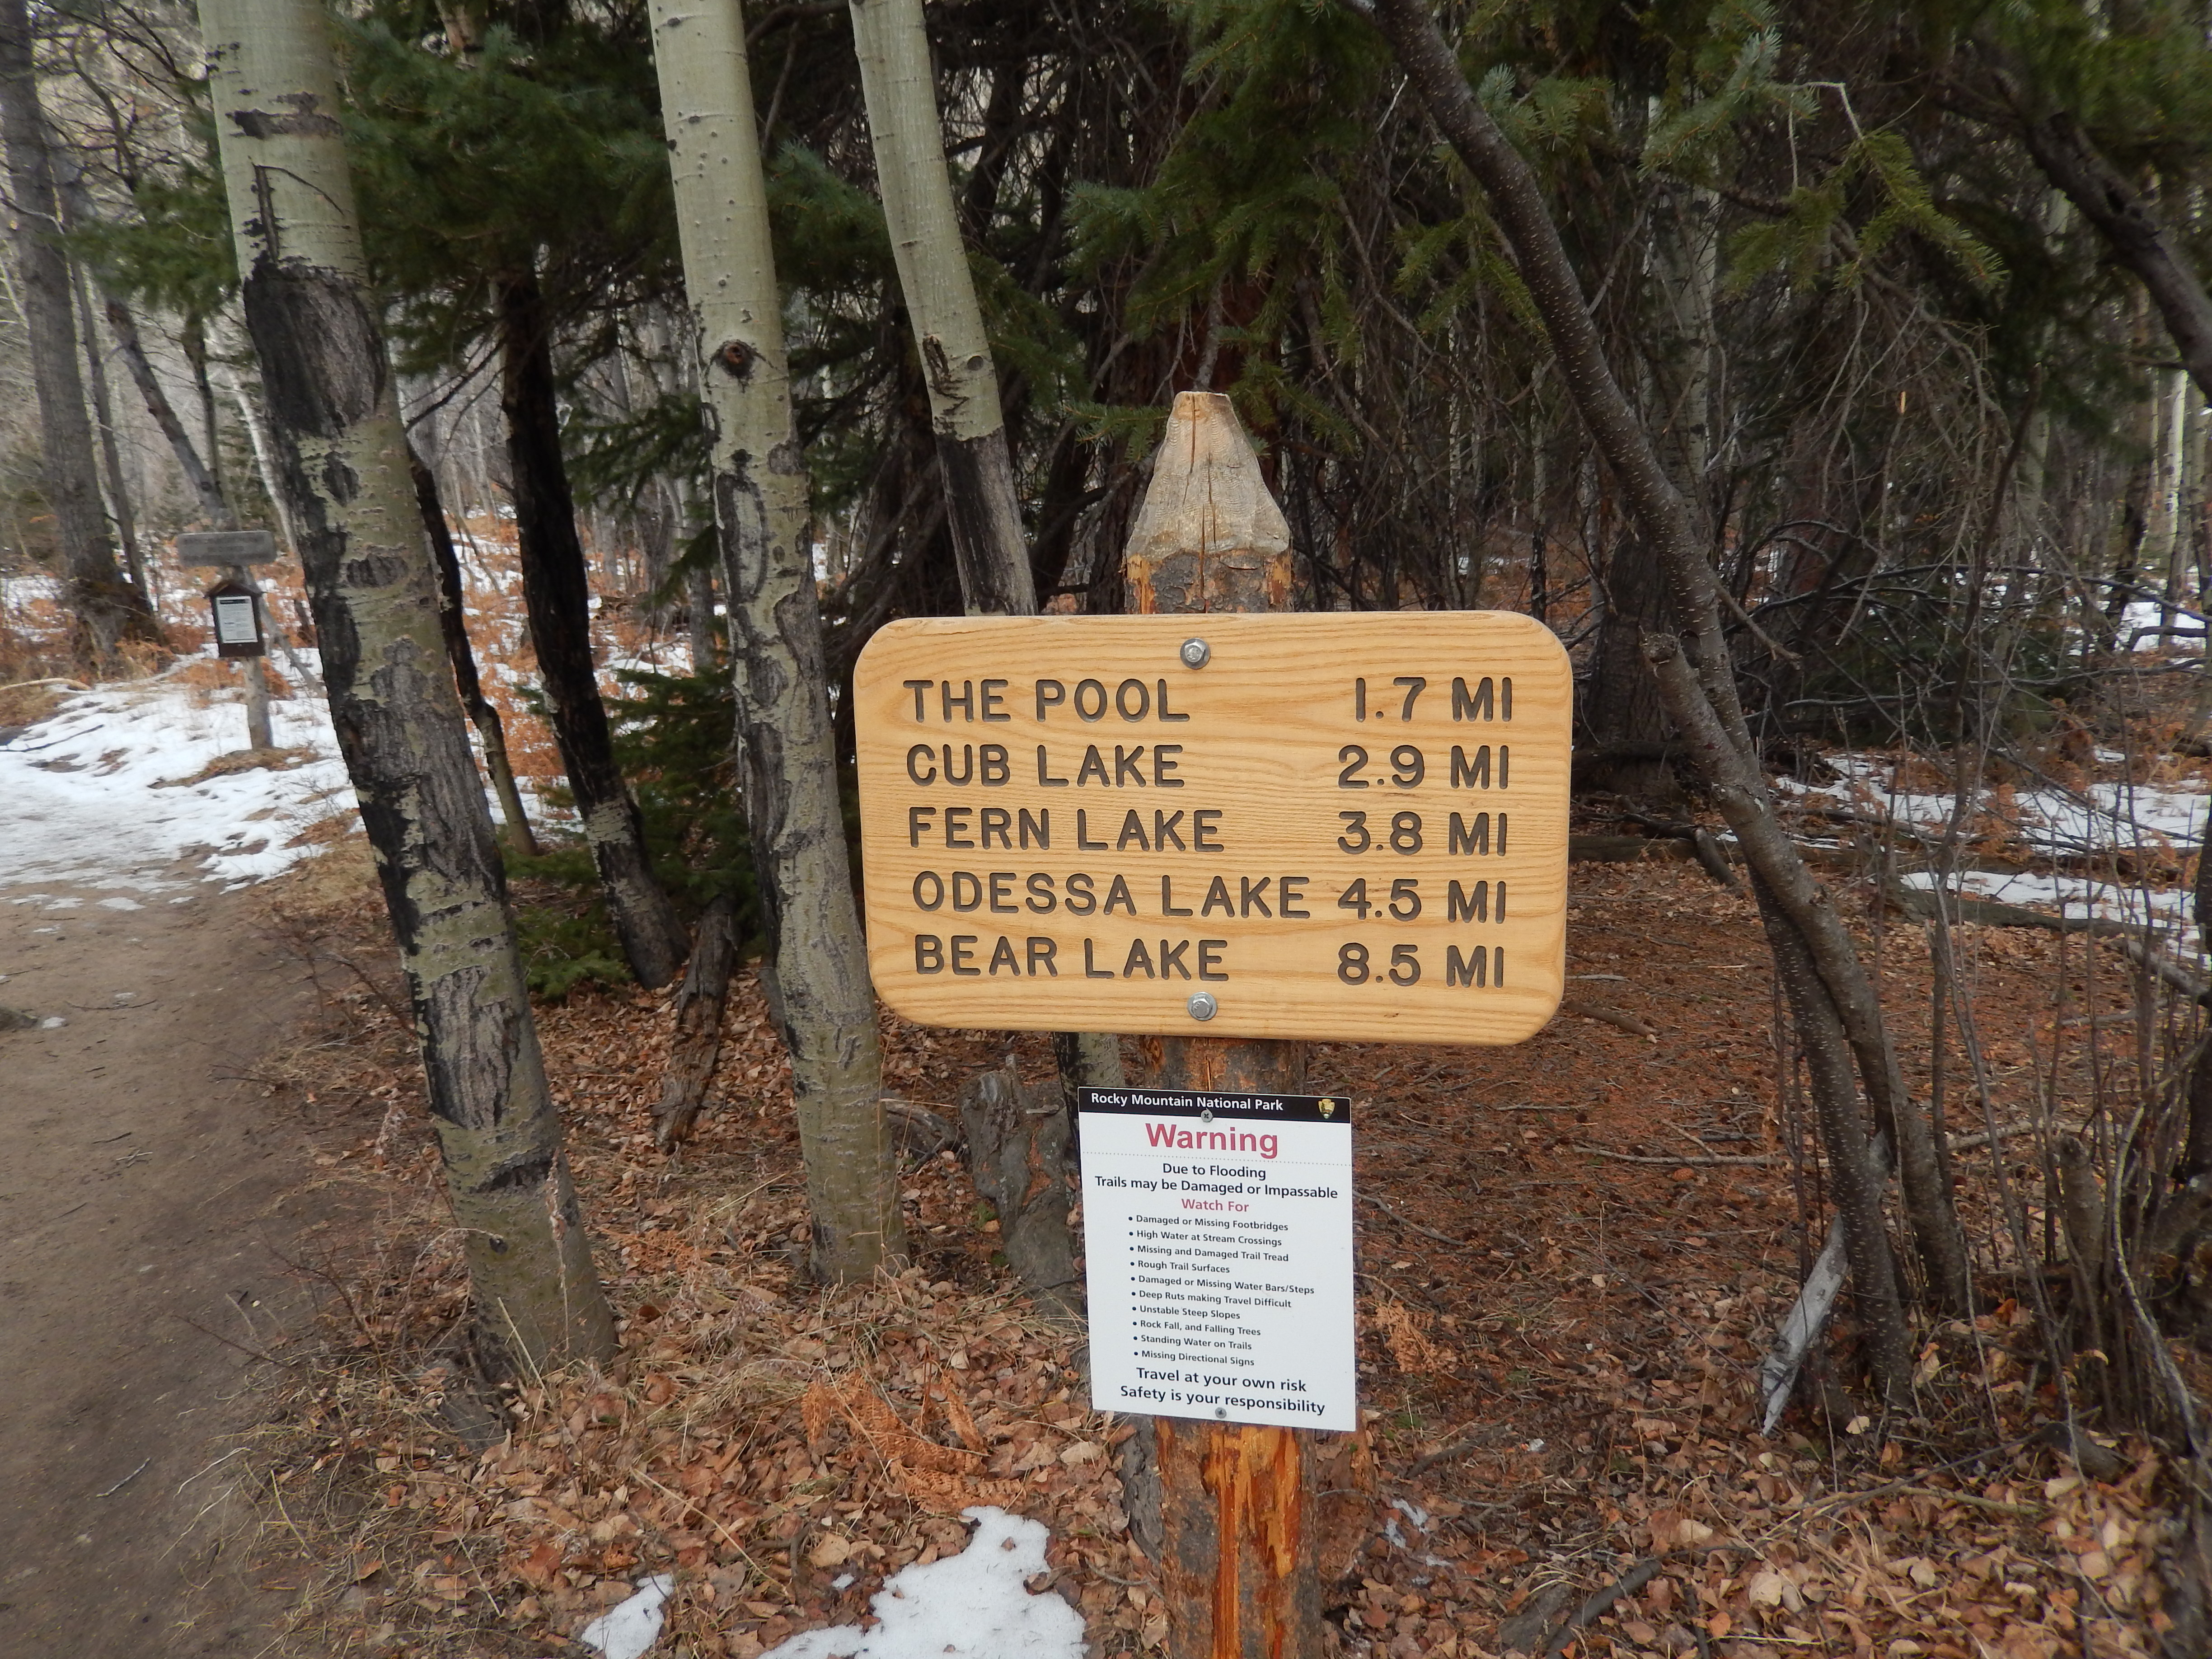
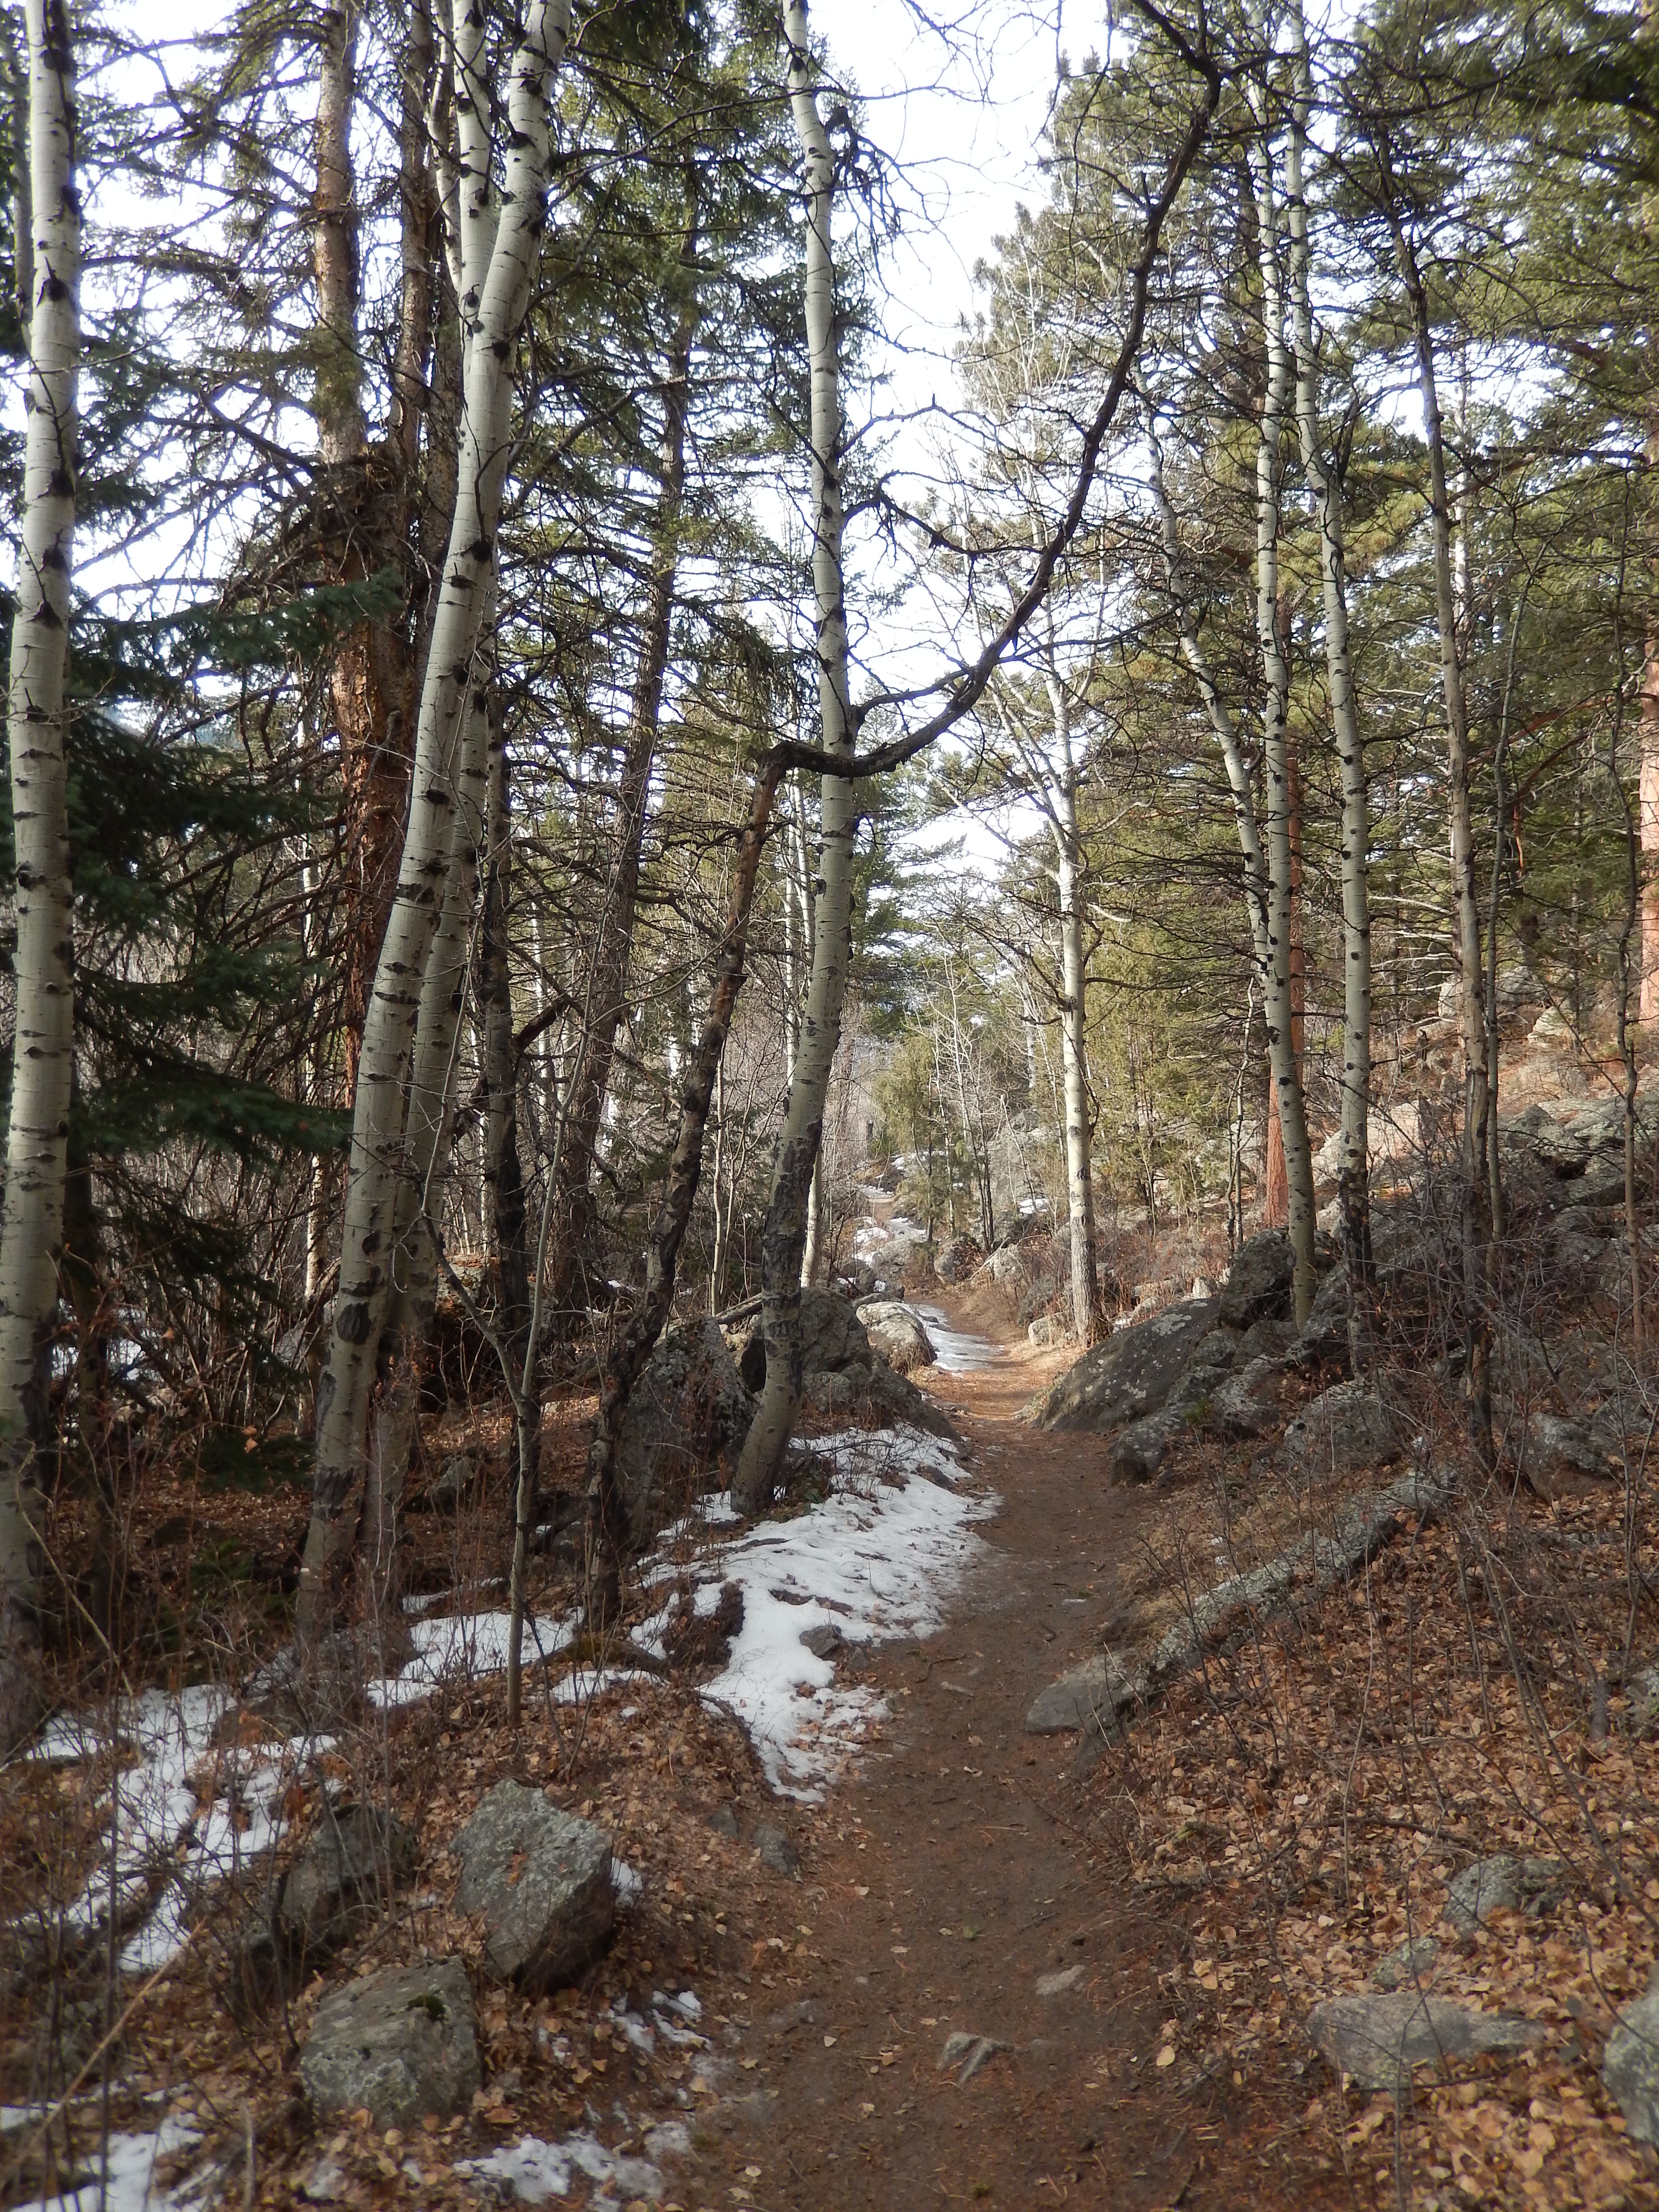
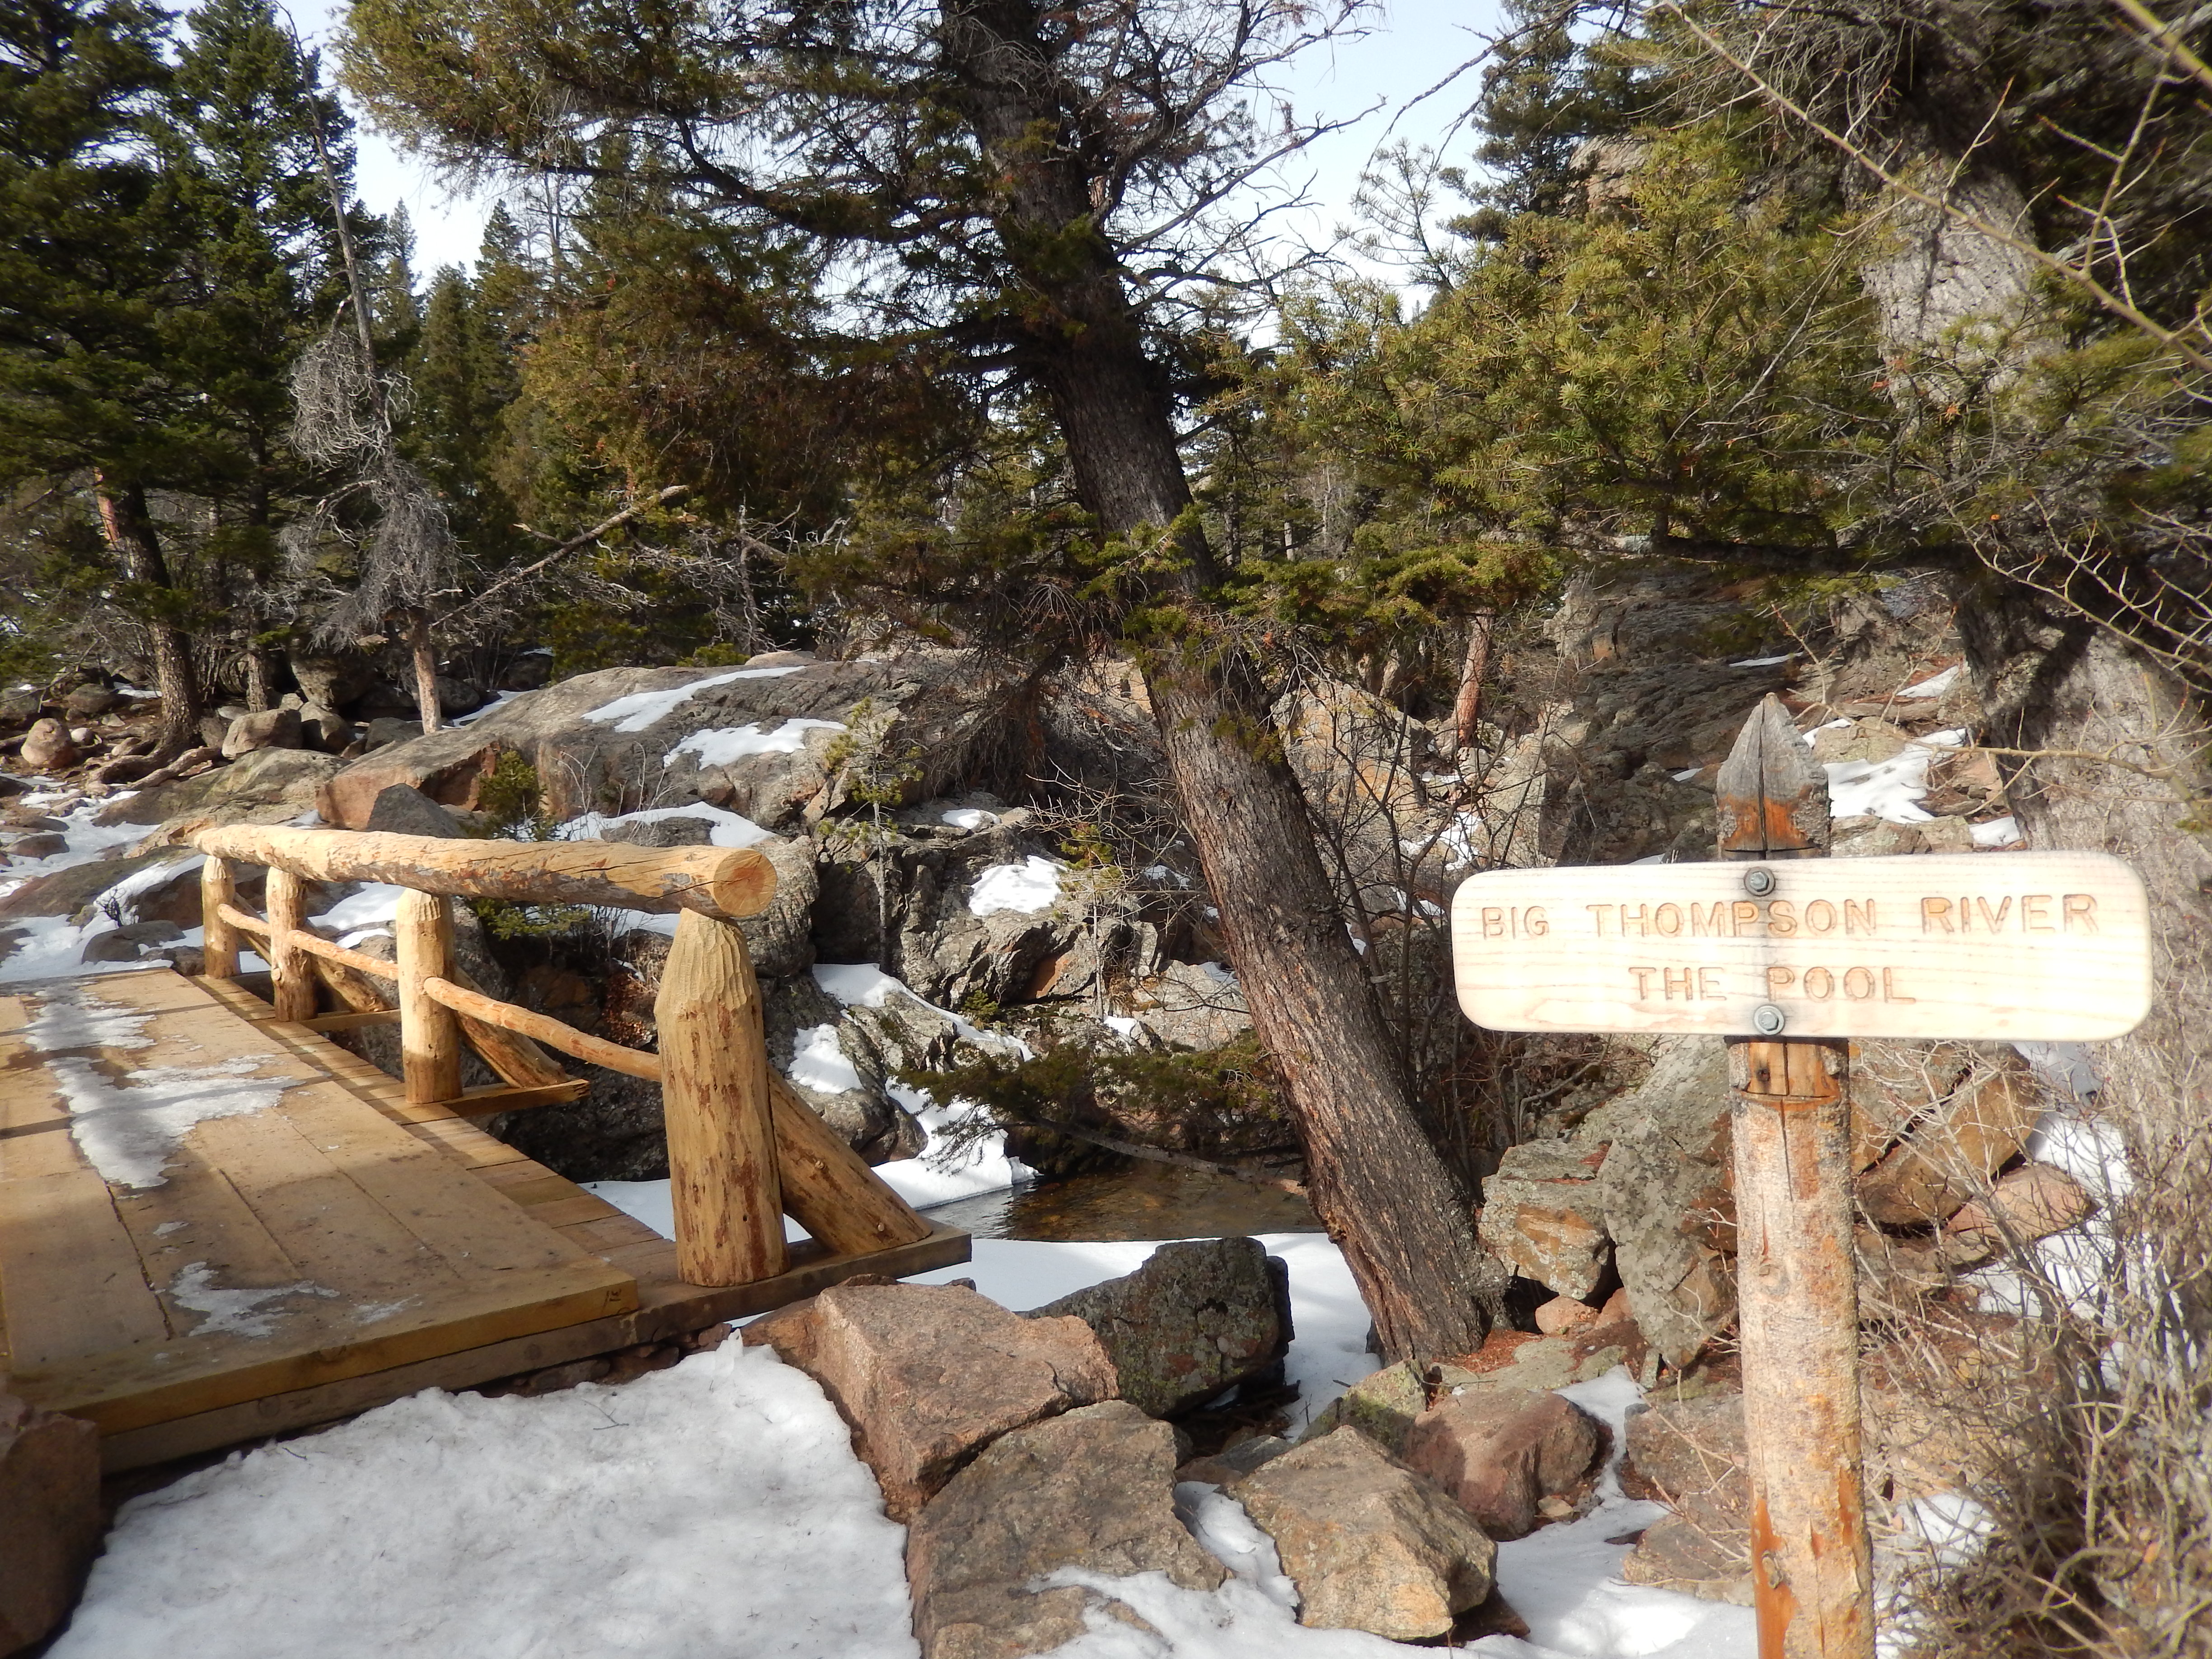
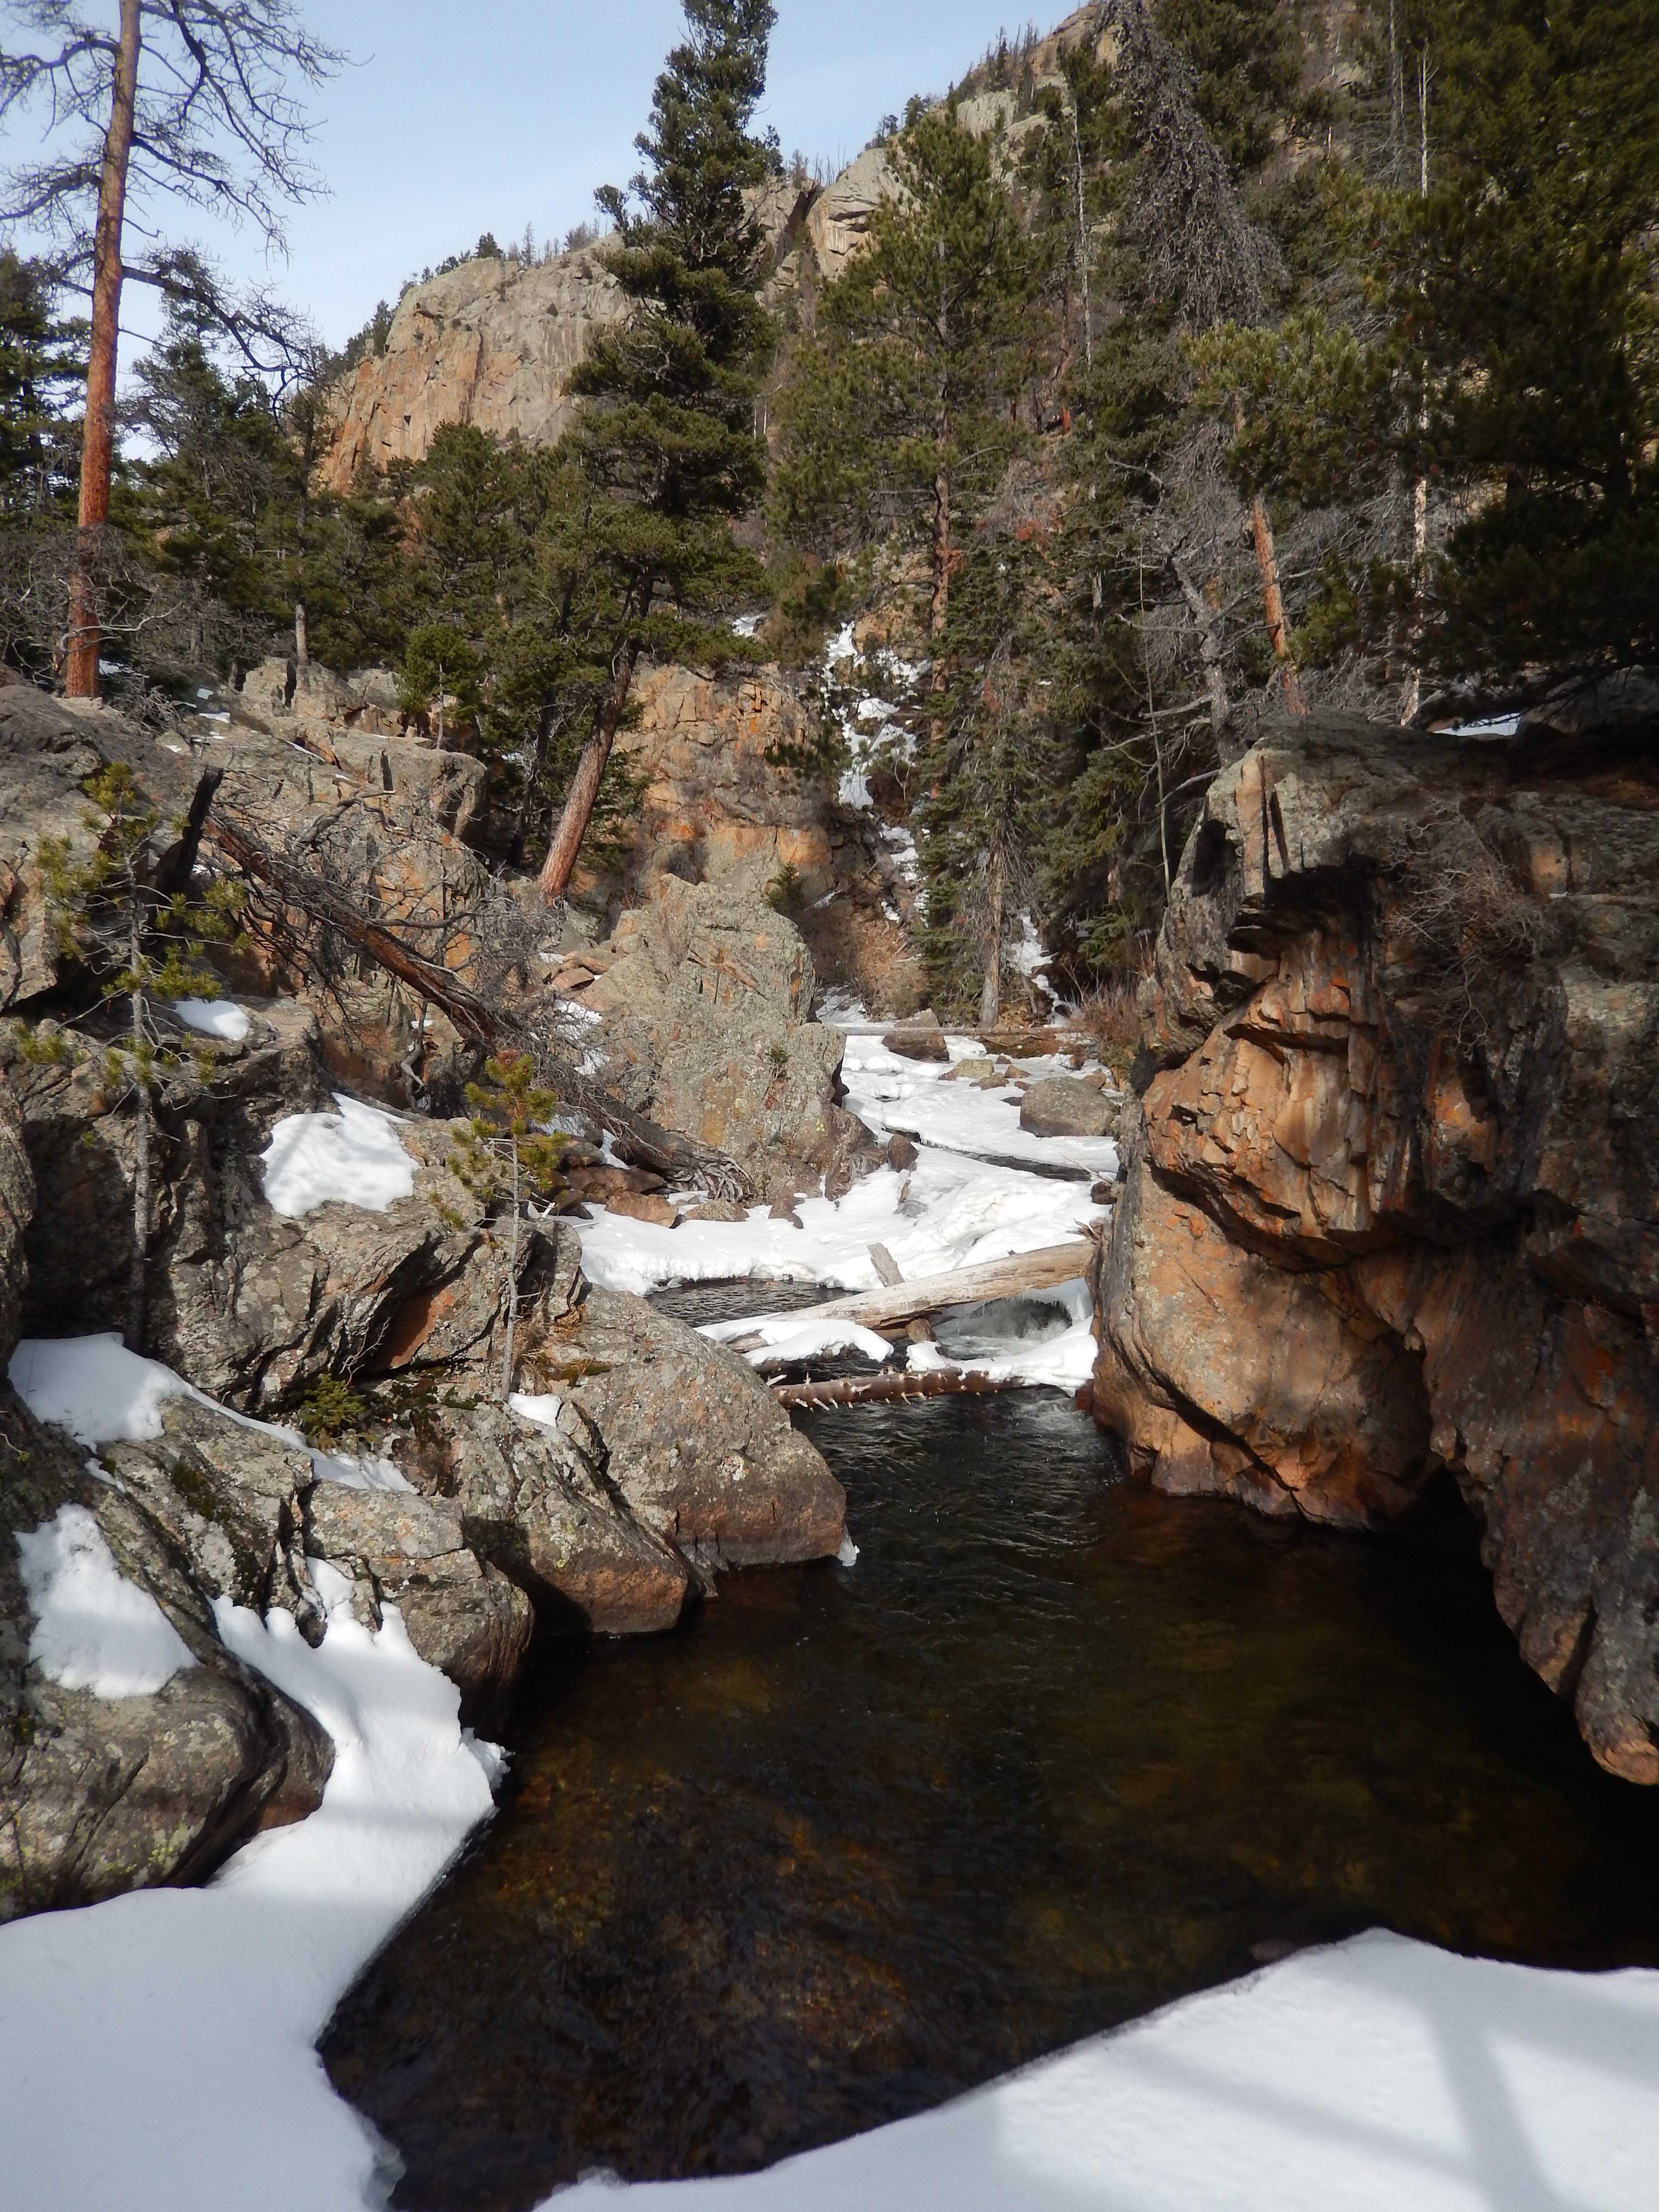
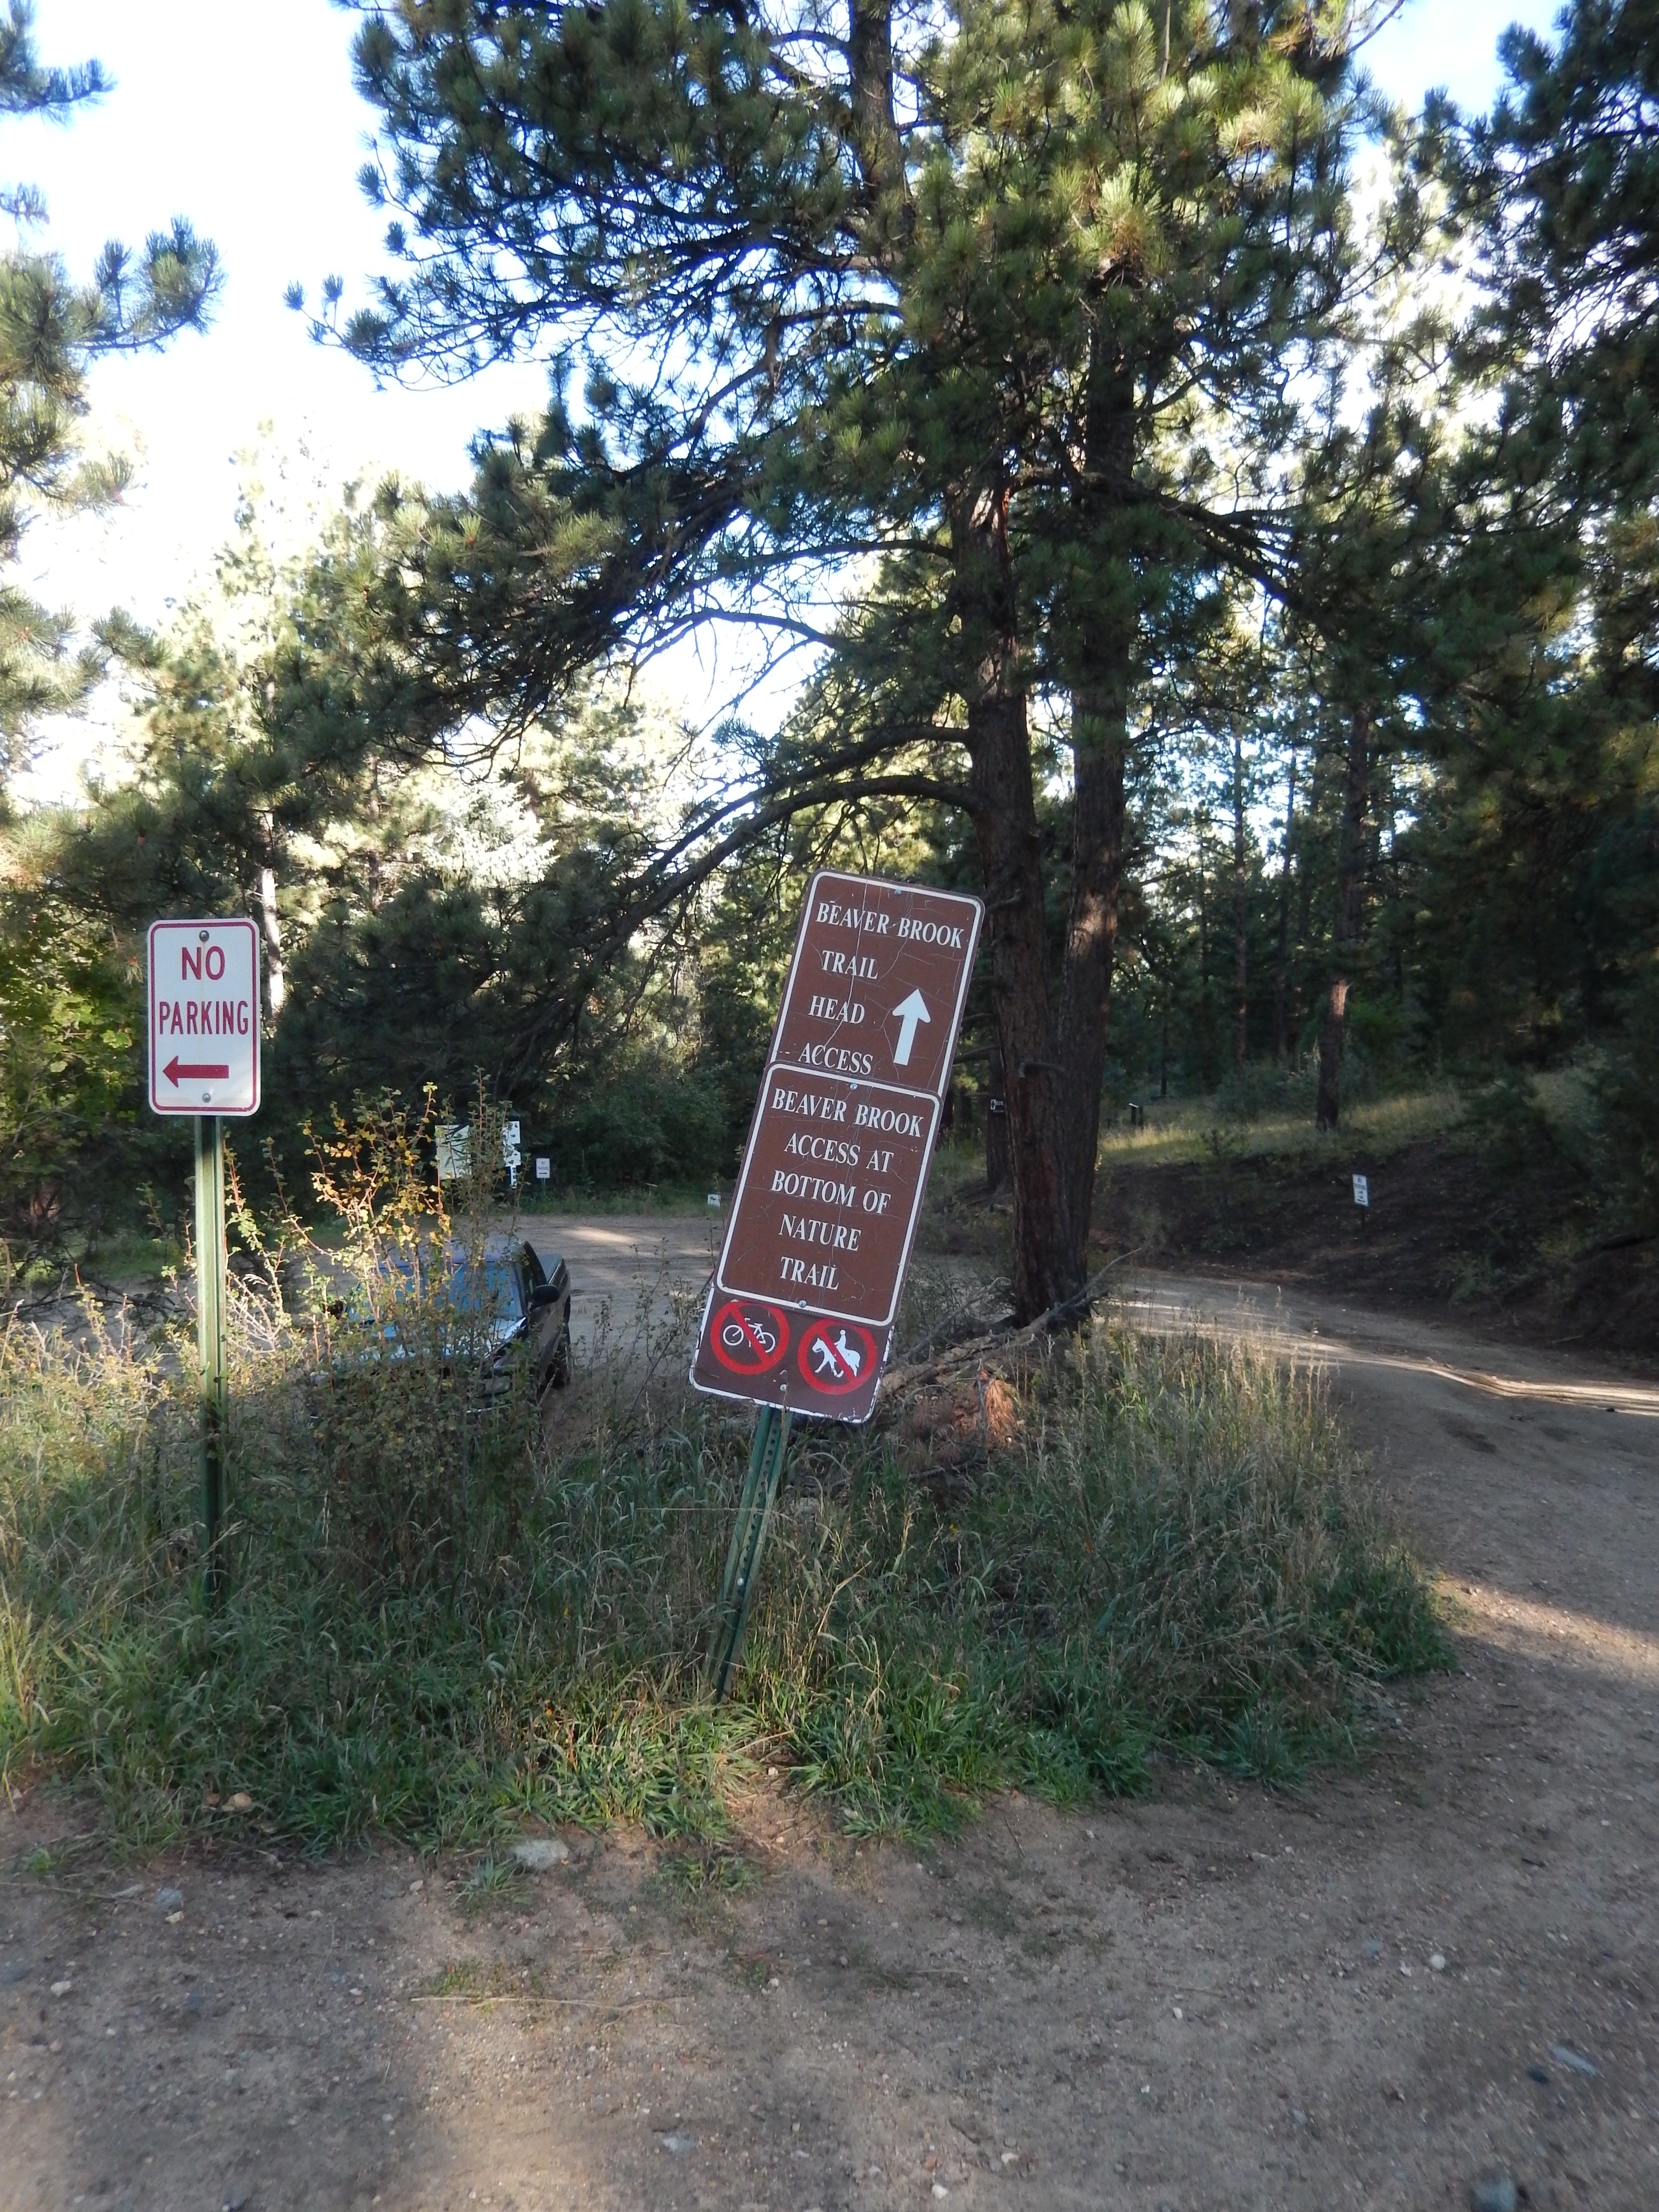
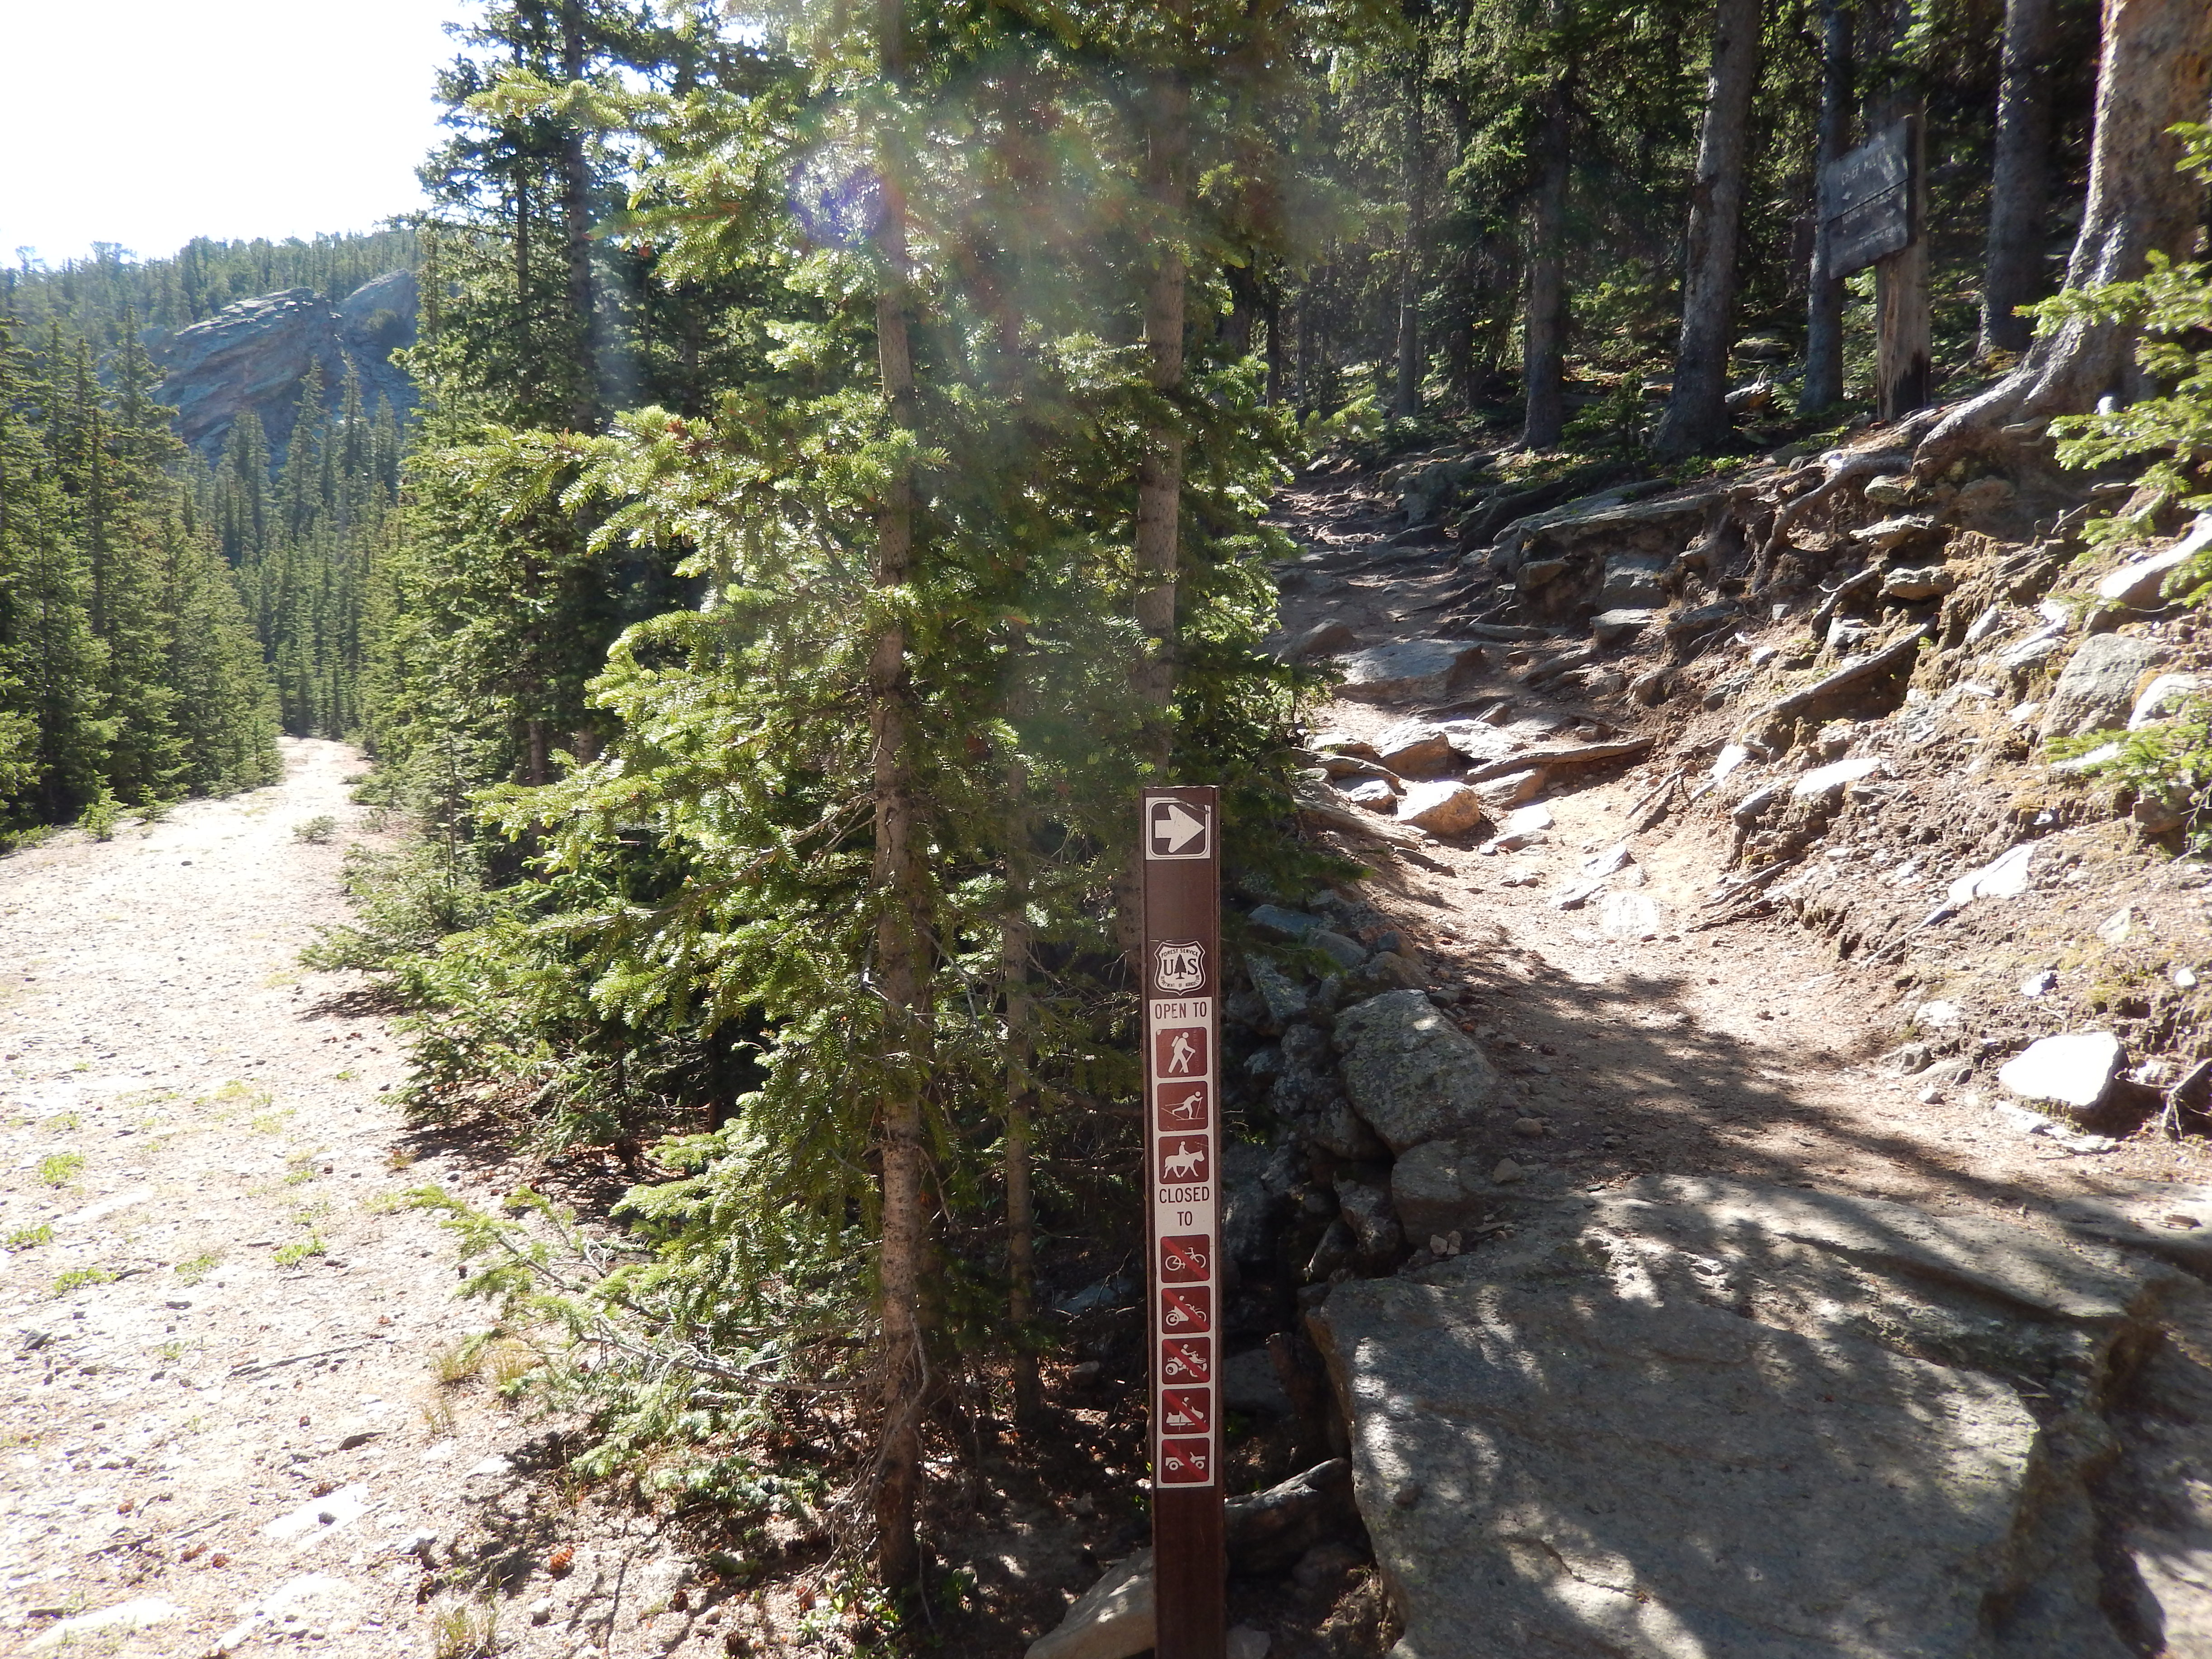
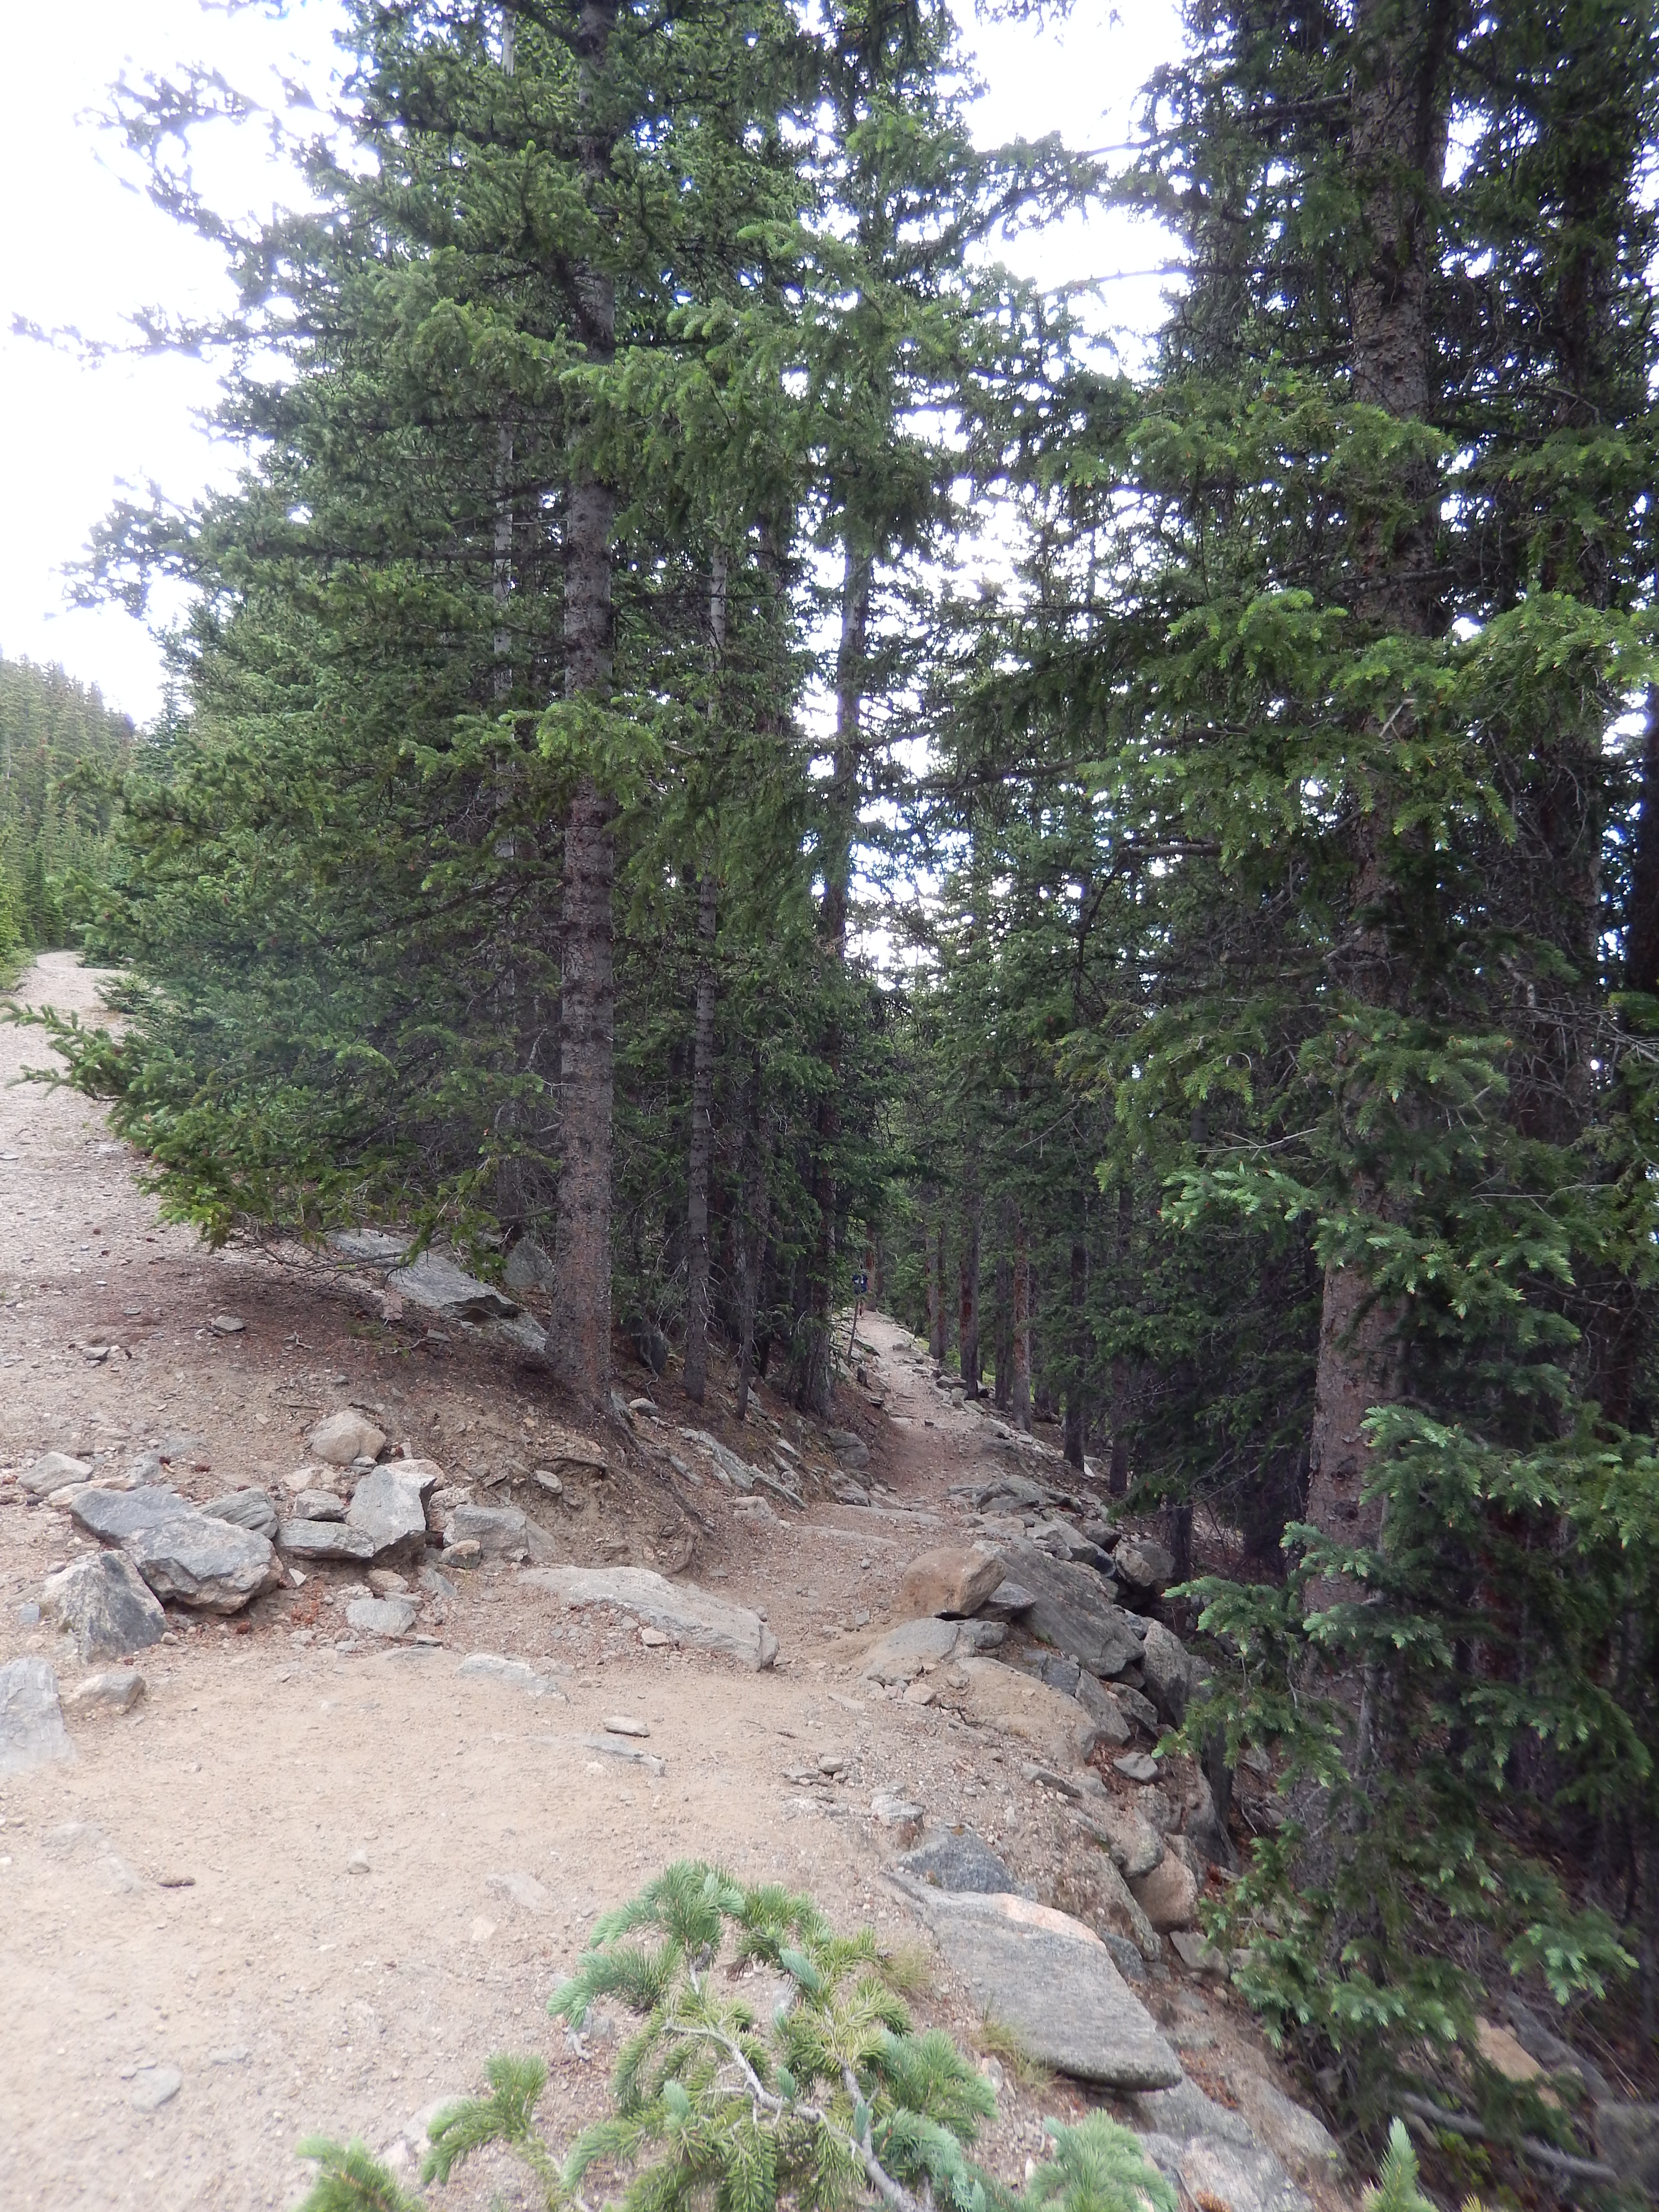
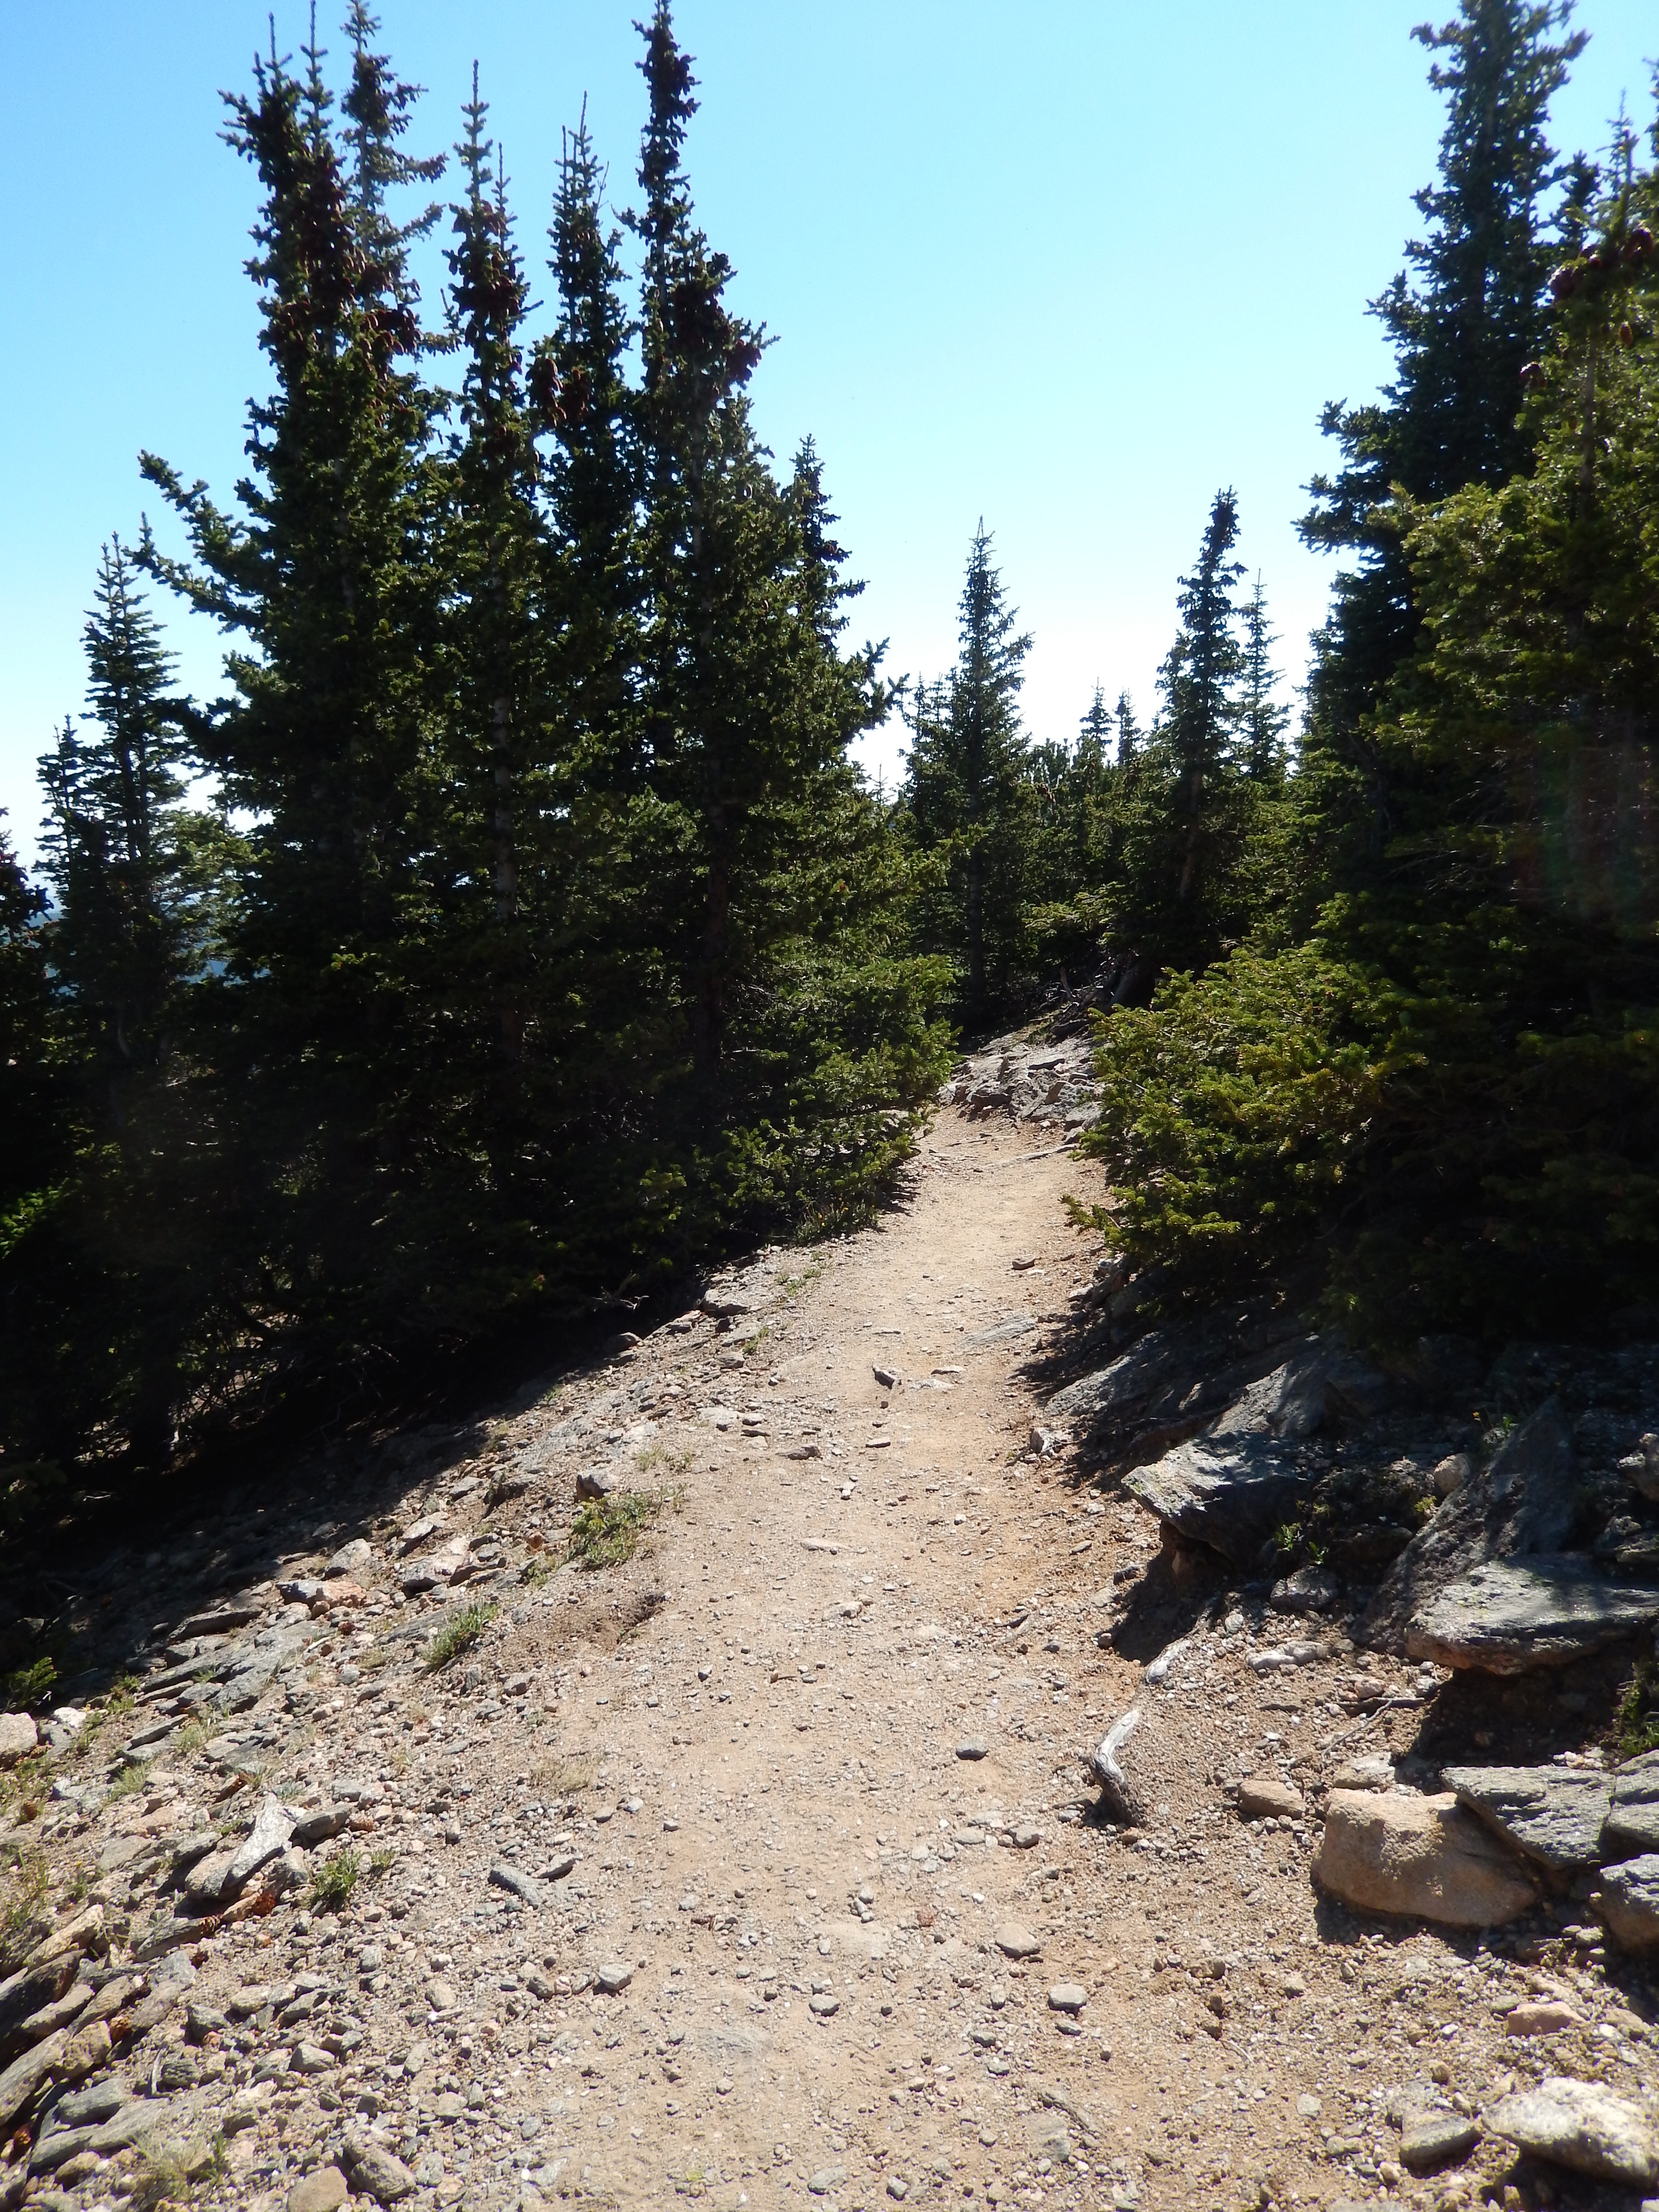
It was slow, and while I have been exercising a lot the last 5 months, it kicked my extra chubby butt. I was posting pictures on instagram and came here to look for trail details(which I often do) and was appalled that North Table Mountain was never dissected.

So here I am … again.

Over the years so many friends have asked me about why I stopped doing this one thing. I said a lot of things. It was what I never said that was the real reason. I wanted to slide back into a comfort of bad habits, it was strangely easy while the rest of my world imploded.

So back at the beginning or the most recent beginning and the I hope the last beginning.

I see I have a lot to relearn and update from a blogging perspective so I hope you will all bare with me while I rejoin this world with a 2021 perspective and a new motivation.

**Reconstruction in process** ( both literally and figuratively)

The Incline, Manitou Springs CO, Hiked on Easter – 4/5/2015

At the Top.jpg

Starting Elevation:  6530 Ft

Highest Elevation: 8550 Ft

Trail Length: We did the Standard loop so 3.7 miles

Trail Uses: Hiking only up the incline

Degree of Difficulty: Strenuous

Bathroom: Yes in the parking lot

Pets:  Supposed to be no dogs but there were lots and off leash too and 2 almost knocked me down no owner in sight.

Fees: Yes – $5 when we went last April but I suspect it may go up or already has.

It has been over a year since I posted last and I actually started writing this post way back when we did the hike. I had kinda forgot about the blog except to look up hikes or show friends hikes I thought they might like, but I got my renewal notice a few weeks ago and today I realized I need new motivation to get back on the healthy bandwagon.

A lot has happened over the last year but through it all we never stopped hiking.  Last Fall I had a bad hip injury that kept me on flat short hikes for about 4 months but I started taking photography classes to help keep up my spirits. I have been very slowly working on getting back to climbing since the beginning of the year and had one big set back that was very depressing.

The super bummer, while injured I gained back a lot of weight. So I am going to try this again.  I am going to Germany next week and then when I get back I am full on back to hiking to healthy I have at least a dozen new hikes to write up and I am back at 60 pounds I have to lose to get to my goal.  I am not sure how I will continue with the format, if I will do a weigh in separate from hikes or combine them.  I see wordpress has changed a lot since I was on last so I have lots of new learning to do.

I will also try to show off some of my new photography skills and I am super excited about that.  Another motivation to get back to writing.  Thanks to all of you who have kept checking out the blog while I have been gone, I hope to get reacquainted with the blogging world.

incline sunrise.jpg


Now on to this particular hike.

On Easter 2015, since I couldn’t be home with my family I was lucky enough to go on a hiking date with my hiking superheros, Wendy and Didier.

They patiently took us too the Manitou Incline which is known all over the place as straight up torture.  In the first mile you climb straight up 2000 vertical feet. It is used regularly by the Olympic athletes that train very close by and lots of fitness enthusiasts.

We started just before sunrise and thought that since it was Easter it might be less crowded, but in fact the it was lit up with lots of headlamps ahead of us.

getting a sunrise picture.jpg

It is essentially a giant staircase that we were climbing with a couple hundred other people and I know for a fact that it was a light crowd that day. There is a bail out about half way up, and it gets evermore steep after that.  Also the steps aren’t at even height so I often found myself using both my hands and feet to climb it like a ladder at its steepest point.
Once you get to the top, it is amazing views of Colorado Springs and beyond and Sunrise was gorgeous.

Past the bail out.jpg

Looking down.jpg

Once at the top and you have finished celebrating with lots of selfies, take the Barr trail down.  Do not go back down the incline it is so steep and people fall and get hurt all the time.  The Barr trail was updated as well and it an easy decent back to the parking lot. As I recall it is about 3 miles down.

Barr trail.jpg

Barr trail view.JPG

All in all, I feel like you have to do the Incline at least once in your life.  The number of people doing it is so crazy that I honestly never want to do it again.  It is great exercise for sure and a great way to get into climbing shape, maybe just go during the week when there are less people.  I would also go as early as possible and start that one hour before sunrise as it is exposed and can be very warm.

A few more pictures will follow the directions.

Directions( copied from the website http://www.manitouincline.net ::

The easiest way to reach the trailhead is to take highway 24 West to the last Exit for Manitou Springs on Serpentine Drive. This is also the stoplight for the Cave of the Winds. Turn left (away from Cave of the Winds)onto Serpintine Drive which will descend quickly and end at Manitou Avenue. Veer left onto Manitou Aveneue and follow it to a roundabout(rotary). Exit the roundabout on Ruxton Ave heading southwest towards the Cog Railway. The trailhead is located just west of the Iron Springs Theater. Parking is usually difficult to find. Trying to find a close spot usually just results in a lot of wasted time. Just think of your walk to the trailhead as your warm up.

The standard route no longer begins in the Barr Trail parking lot. This parking lot is to be used for the Barr trail alone, access to the trail is now to be from near the old Manitoul Incline Base Station and incline hikers should park on Ruxton Ave.

Do NOT park in the parking spots for the Cog Railway. They will tow you. If you really want a close spot you can pay to park in the Iron Springs Theater parking spots. Last I saw it was $5 to park there.

Prize at the top.JPG

Easter bunny.JPG

Fav1.JPG

Fav2.JPG


North Fork Trail- Reynolds Park Jefferson County open space, Pine CO Hiked 1/18/15, 3/21 & 3/28/15

Fav1

Starting Elevation: Approx. 7200 ft

Highest Elevation: Approx. 8000 ft. You can get as much descent and gain you want just go further.  Our last hike we climbed a total of 2300 ft, most of that heading back to the trailhead.

Trail Length: 9.3 miles one way – Each time we did different lengths but went as far as 6.5 miles one way the last time, for a total of 13 miles hiked.

Trail Uses: Hiker, biker, Equestrian and if the snow ever stayed maybe on a snowy day – snowshoe

Degree of Difficulty: Moderate

Bathroom: Yes in the parking lot

Pets:  Supposed to be on leash but I have noticed that many dog owners ignore this rule

Fees: None

2

Humming Bird > North Fork Trail

It is an exciting moment in Colorado when  new open space opens or expands…. North fork trail is one such revelation that opened/expanded on 10/14/14.  I am not sure, but I think the ultimate goal is have it connect to the Colorado trail.  It goes over 10 miles one way through lots of privately owned land and through a burn scar.  I had read about it and thought it would be cool to check out as much as I could.  To be honest, I was also sick of repeaters which I had been hitting A LOT lately.

Looking down the first incline

The hike we did actually starts across the street from the parking lot.  I think you can pick it up North Fork Trail other ways through the park but this is the way we went each time.  Hummingbird Trail is a steep climb and really the hardest part we experienced for the whole hike, other than that just the overall distance. Plus this initial part is totally exposed and so HOT in the spring, summer & fall so go early.

working our way around

After this initial climb, you come back behind the mountain and get some shade, which depending on the time of year could also mean snow/ice.mud.  But on the hikes in March it was a welcome relief from the sun. Hummingbird Trail is 1.3 miles and then you pick up North Fork Trail.

From this point there are lots of ups and downs, we went through a burn scar and just kept moving south and east.

fav 6 Fav 7

It was hard to turn around at 6.5 miles the last time because around each curve was more beauty I wanted to see but I could tell the harder part is the return trip, as we went down a lot more then we went up.  If you find yourself on this trail remember that, you climb more returning than you do on the way out.

Our First visit in January we essentially had it all to ourselves, the second and third visits in March were MUCH busier.  Mostly with bikers after the first 3 miles in.  Which I can totally understand why given the excellent distance and beauty it offers. I am categorizing this one as a mostly cool season hike, because of crowds and how exposed some of it is.

Fav 2 flat for a minute North fork trail

At the times We hiked this, I wasn’t sure I would keep blogging so I didn’t take that many trail identifying pictures. I can tell you it was beautifully planned and the path itself is very nice to walk, AKA not a ton of obstacles like roots and rocks. After the initial climb all the ups and downs are very manageable so don’t scared off from the Humming bird trail.

The parking lot for the open space is huge, which makes me think the park was pretty popular before this addition and only expect it to get more popular.  Also what is exposed… is really exposed so go early or late but remember that along with hours that the park is open which is an hour before sunrise to an hour after sunset.

The “new” trail is really super beautiful, I loved all the challenges it provided and the terrain was different enough to be extra memorable as it changes all through out.  Going from the beginning, through a burn scar and then all these beautiful rock formations it is worth you time.

After the directions are the few pictures that I thought were really great between the 3 hikes.

Directions:

13581 South Foxton Road, Aspen Park External Link Icon
From U.S. Highway 285, drive south 5 miles to the parking area on the south side of Foxton Road.

fav 4 Fav 3 fav 9 fav 8 fav 5 heading down Fav1

Fern Lake, Rocky Mountain National Park Hiked 12/6/14

1

Starting Elevation: 8155 Ft

Highest Elevation: 9503 Ft

Trail Length: Officially 7.6 miles round trip but we had to park the car at the parking lot a little more then a mile away because the rest of the road to the trail head was closed for the winter. In the end we got a total of almost 10 miles.

Trail Uses:  Hiker/Snowshoe

Degree of Difficulty:  Moderate

Bathroom:  Yes- when you park at the lot a little over a mile away.

Pets:  There are no pets allowed in Rocky Mountain National Park

Fees:  It is a $20 a day fee to enter the park OR $0 for a year long pass.  We always just buy the pass.

Back to where we parked

We went to Estes park the night before to be able to be at the trailhead earlish without having to get up 3-4 hours earlier than we did. This was one we did in early December, after there was enough snow to close the dirt road to the actual trail head but not enough snow to snowshoe on.  Well at least through most of the trail anyway.

After walking almost a mile to the trailhead, we got to the official signs and the parking lot but I have to say that where we parked probably is better because the official parking lot it super tiny like 3 cars tiny.

trail sign map

I had not planned on the extra 1.5 miles that we would have to walk to and from the car so initially I changed our endeavor so we only planned to go as far as the pool.  I had been working like a crazy person and my workouts had been limited so it seemed to me that 9+ miles round trip was not likely.

signage

trail going to the pool

We gladly made our way to the pool thinking that would be our turnaround point but the trail turned out to be pretty easy so while we spent a lot of time enjoying the Pool we decided to go on… just as far as we felt comfortable going.

The bridge
The bridge

The aforementioned Pool

Just over the bridge was where we either went to Fern Lake or other options, one of those being to Cub lake.  I know I want to go back and try that extension for sure!

to fern lake

This is where the real climbing started for the hike and it had a lot more snow then the first part of the hike.  It was scenically beautiful and had some great things to see like the falls.

an interesting stream crossing

the falls

Which is decidedly not exciting in the winter but what a picture can’t tell is the sound…. the falls were still running strong and it looked like the ice was breathing which was really cool.  I had secretly thought this is as far as I can go but I was itching for a view and we kept seeing hints of it through the trees so I said lets just go to the end of this switch back, get our view and head back….

just a little further

But there was no view… and the snow was decidedly much deeper. But I NEEDED a view. I convinced Aaron to go just a little further… then a little more…. like 50 yards more here a curve there. Needless to say an hour late i was ready to turn around and it was Aaron who convinced me we had to be close to the actual lake and how stupid would we feel if turned around a sneeze away from the lake.  About 20 minutes after that we reached the lake.

the lake 2

I have read that there is another lake not too far from this one but I was beat and we still had to get back to our car.  And frankly the blue bird skies I really waned kept alluding us.  I bet this hike is amazing on a lovely summer day and a really challenging snowshoe on a beautiful winter day.  We were there at meh time and sadly when we got back down to the beginning of the trial the sky bloomed in the most amazing blues. Regardless, I loved this hike and I think about revisiting it often but I want to be there in the summer then make my way up to the next lake or go straight to Cub lake.  I see lots of options here.

Another thing that happened on this trail was that I had decided to stop blogging… weird right? When I was in Germany the summer before my niece Anne had said something that had hit me more then I realized. She said you know banning the taking of pictures really makes you be in the moment and soak in the beauty so you remember it. With work and life getting in the way I have forgotten to be in the moment and soak in the memory of that beauty.  On this hike I took less photos then I ever had before and I am ok with it. I know it has more and different things to offer so I will be there again and again plus I have spent time there and have my memories….

I did get a few gems before I put my camera away and as usual they will follow the directions.  Since this hike, I have clearly changed my mind and want to keep chronically all the amazing hikes in Colorado but I may do it less frequently then I have before.

I hope you check this one out, I know it is worth it even if the perfect view isn’t around the next corner.

Driving Directions:

  • Enter into Rocky Mountain National Park via the Beaver Meadows Entrance Station.
  • From the entrance station, make a left onto Bear Lake Road.
  • Continue on Bear Lake Road for 2 miles, and hand a right onto Moraine Park Road.
  • Moraine Park Road will eventually dead-end at the Fern Lake Trailhead.
  • In sum, you will travel 4.1 miles from the Beaver Meadows Entrance Station.

Fave 1 Fav 2 fav3 4

Mt. Sniktau 13,243 Ft, Loveland Pass, Colorado – Hiked 9/21/14

1

Starting Elevation: 12,000 Ft

Highest Elevation:  13,234 FT at the Summit – total elevation gain was around 1600 ft.

Trail Length: Approximately 4 miles

Trail Uses:  Hiking only (I think I couldn’t find any guidelines)

Degree Of Difficulty:  Difficult mostly because of altitude

Bathroom:  None

Pets: I didn’t see any and I didn’t see any signs saying one way or another.

Fees:  None

2

The best part of Colorado is all the hiking opportunities.  Even with all the traffic along I70, you can still find a gem that you might get all to yourself, Mt. Sniktau is occasionally one of those.  On this particular day I went with my hiking superhero Wendy, who was my hiking host for the day.  She is amazing!  We left before sunrise and got on the trail just as the sun was coming up which made for a beautiful hike,

sunrise

The hike is steep at first as you climb up to Cupid.  At Cupid you can either go right to Grizzly Peak or left to Sniktau.

Heading up

You climb about 900 ft in the first mile.  It is a slow mile….

The view along this stretch as some clouds rolled in

Looking back towards the parking lot and Loveland pass

I understand if you are so inclined you can even get to Torrey’s from this route but that is a killer way to climb that particular 14er. The total elevation gain is something insane.  We went left.  It is a nice gentle climb to the first false summit of Sniktau.

between Cupid and Sniktau

From here you hit the false summit and then the summit climb, both of which are a little tricky but not terribly so, just follow them to the left.

summit climb

We saw 2 other hikers the whole morning on the trail, now the parking lot was full when we got down but it didn’t seem like they were hikers.  Really the view is pretty awesome just from the parking lot and a lot of people do just that.

This mountain is right on I 70 and you can see everything from it, the Eisenhower Tunnel, Grays & Torreys (twin 14ers that are very popular) and the continental divide is stretched out all around you.

A couple of things to know about Sniktau – It is insanely windy all the time no matter what weather is doing elsewhere.  Like all mountains, you want to start early to miss the daily noonish storm and this whole hike is above treeline.  The parking lot can get really busy and turn you off BUT most people didn’t climb very far up the path the day we were there.  I would say get there as early as you can. We did this last September but it is a year round hike/snowshoe apparently, but I would be nervous in winter.  I cannot wait to get back here, hopefully in the next few weeks!

After the directions will be some of my favorite pictures, I would note I didn’t do my usual descriptive set of pictures mostly because I wasn’t sure I would make my way back to blogging.  Hopefully there is still enough for you to get an idea if this is one you want to try.

Directions:  From I-70 take the Loveland Pass exit, passing the Loveland Ski Area on Highway 6 and go to the top of Loveland Pass. You can also take Highway 6 from Dillon through Keystone resort to the top of Loveland Pass.

torreys fav 1 fav 2 fav 3 fav4 fav5 fav 6 fav 7

Beaver Brook Trail, Denver Mountain Park Evergreen CO Hiked 9/13/14

Best view of the hike

The Braille Trail > Beaver Brook Trail > Windy Saddle and Look out Mountain

Starting Elevation: 7400 ft

Highest Elevation: 7800 Ft ( we did approximately 2000 ft total elevation gain)

Trail Length:  8.8 miles one way 17.6 round trip. on this trip we did 9 miles round trip.

Trail uses: Hiker only

Degree of Difficulty:  Difficult due to length and Elevation gains and losses

Bathrooms:  There was supposed to be one somewhere after the Braille Trail but we couldn’t find it so maybe

Pets: Dogs on Leash only

Fees:  None

2

I know I know ….. I am a terrible blogger I have been away forever.  Things have been super crazy in my life but the one thing I haven’t stopped doing is hiking every weekend.  I haven’t done a ton of new hikes but I want to make sure I get them out here, because the new hikes I did hit were all amazing and I want to keep track of them.

I will try and get back on track with the healthy part.  I haven’t lost new weight, but I haven’t gained any either so I still need to lose about 50 pounds.

Let’s focus on this particular new hike – I found this hike in a book, but dismissed it because round trip it is LONG and then a friend told me about it.  Well the first couple miles of it any way and her description way out did the book.  It was easy to get to and had potential great pay out so away we went.

The road to the trailhead does turn to dirt but is drivable with a low clearance vehicle (aka a civic like low clearance type of vehicle).

There are 2 parking lots, one on the left a little higher and one on the right > right on the trailhead.  Both are small and this trail gets good use = cars eventually park all the way up the road on the side.

Parking lotsMap

Trailhead
Trailhead

The first quarter mile of this trail is a braille trail for the blind.  There is a guide rope and knowledge boards in both written and braille.  I mean how incredibly cool is that!?!?!

One of the boards

It was not long until we came to the sign for the trail  and then trail is marked with a B B trail marker periodically. trail marker

this way

The trail descends about 840 feet to the Beaver Brook over the course of a mile and a half and it really is quite lovely the whole way down.

starting down in fashion going down

We got to the brook pretty quickly and just enjoyed the view

BeaverbrookTowards windy saddle and Look out mtn

From here it got kinda tricky finding and keeping the trail.  It winds through and over a drainage stream with a lot of scrambling and trying to get over big rocks.  Look for the trails markers, either the BB or a yellow diamond to keep track of the trail. I had planned on taking pictures on the way back but life happens.

Then it is a steep climb up about 1200 feet  and over some big boulders in places for about 1.7 miles.  It was pretty steep through this sections with some nice sized boulders to get past while climbing up over the gulch the brook is in.

Climbing out Climbin up

We got to the highest part and it was so pretty looking around and down at the Clear Creek below!

Looking down at the best part of the hike Me at the best part of the hike Me at the best part of teh hike 2

Our goal this day was to get to the Gudy Gaskill Loop and then head back to the car looking for 9-10 miles total.  But where we expected the trail break to be it never showed up. We hunted around  for 30 minutes and finally gave up, heading back.

I remember thinking on the way up as we crossed a certain set of boulders how tricky it may be on the way back and man I was right! On the way down, my leg slid and got trapped between those boulders while I fell hard on my butt right on a cactus, I popped up but my leg was still stuck so I had to fall back on the cactus, get my leg out and then I called to Aaron for help.

The cactus was young and the prickles were abundant > fortunate or not, they weren’t very long or hard.  Aaron was trying to get out as many as could so I could walk again but then he pushed a bunch through both my pants and then underwear…. you can probably guess where this is going.  Eventually this random cat call hit us.  It was then that I realized that I was standing on cliff  of the canyon with my butt facing out while Aaron diligently tried to get out enough prickles so I could walk out the last 2.5 miles.

So that happened….. Did I mention that the hike to Beaver Brook and back, insanely popular?

Anyway, no surprise here, all those pictures I planned on taking on the way back to show the trail never happened. Oh and all the prickles were not out. So in case you are wondering walking up a mountain with cactus prickles in your bottom… not fun. Seeing like a million people hanging out at the Beaver Brook on the way down wondering how many saw your butt…. well eye averting.

Needless to say it was an interesting hike with few pictures but huge memories…. interesting memories.

Overall the hike was pretty amazing for a million reasons except the one that may make me avoid it for a while. It is an incredible workout with great views.

There are no favorite picture to share after the directions but I do hope you check it out and have better luck then I did!

Directions:  Take I 70 west from Denver to the Chief Hosa exit and turn right immediately and follow the road down to the trailhead.

Deer Mountain, RMNP Estes Park CO, Hiked 7/19/14

1

Starting Elevation:  8930 Ft

Highest Elevation:  10,013 Ft ( A total Elevation gain of almost 1100 Ft)

Trail Length: 6 miles – it took us 3ish hours but we did spend a lot of time on the summit.

Trail Uses:  Hiker & Horses ( but no horses allowed on the Summit spur)

Degree of Difficulty:  Moderate

Bathrooms:  There are bathrooms at the visitors centers there was nothing near the trail head

Pets:  No this is Rocky Mountain National Park and no Dogs allowed

Deer Mountain trail sign

I am so sorry at how long I have been away.  I will have to catch you all up soon, I can tell you that I have had just a few breaks in hiking but have been mostly hiking every weekend.  I want to get out those new trials I did while away and then one big summary of some amazing days out on the trails between then and now.  First Deer Mountain!

Wow it has been a long time since I hiked this one, I almost forgot what it was like!  I did it the weekend after I had company in town so I wanted something that challenged me but was not too much, because when my company was here we had done 3 tough hikes in just 5 days.  I was wiped when we hit this trail.

This hike was exactly what I needed as it has great views all the way up of the mountains that make up Rocky Mountain National Park. But there was this weird haze in the air we hoped would burn off but only ended up getting worse.  We speculated that it was from that horrible fire in California this summer.

The trail head is right off Trail Ridge Road and there is literally a little bit of a wide shoulder for maybe 6 cars to park.  You can park along the road in some places near here, but get there early if you want a parking spot at any of them.  There are also shuttle parking lots at the various gates and you can take a shuttle to so many places in the park so you don’t have to worry about finding parking.

We got there around 7:30 and just barley nabbed a spot.
We got there around 7:30 and just barely nabbed a spot.

The trail starts out super wide and very well maintained, the whole trial was very well maintained and we even talked to a couple of Park rangers we passed while hiking.

Start of the trail
Start of the trail

First trail marker

After a decent climb, while the stellar views just started opening up all around us we got the Switchback part.  Sadly the haze in the air made it hard to get any really great pictures.  I actually gave up taking them because there was no depth but we stopped a lot just to ohhhhh and ahhhh.  It doesn’t take too long to start the switchbacks up the to flat before the summit.

The views were everywhere

Starting up the switchbacks

Then towards the end of the switch backs

There were a lot of switch backs on this one and it was a strange struggle that day.  I am not sure if it was the altitude or exhaustion from the few days before with my guests in town, but it took me time to get up this part.  I would not say it is particularly hard but that day for me it was.

Once we turned the corner of the last switchbacks we reached a nice flat that felt like it went on forever but was probably more like a quarter of mile maybe half a mile before the final summit climb.  The summit climb sign made us want to come back and do the rest of the trail back to Estes just to see what is was like.

The summit climb Summit climb conditions

It was just a short steep climb to the summit, and then WOW!  Such an amazing payoff so quickly!

The Summit
The Summit

I will tell you we hung up there as long as we could before more people started showing up.  I think we got a solid 25 minutes up there just to take it all in.  It was lovely.  The hike back down was crowded…. and it was just around 10AM.  I cannot imagine what kind of traffic this trail gets throughout every summer day, but I can tell you I was glad we got there early and had it mostly to ourselves.

If you ever find yourself in Rocky Mountain National Park and you want a great view payout without a ton of effort this is the hike for you.  Of course there are so many great trails in the park but I really liked how this one was both a nice work out with great payout.  There were views in every direction and of the almost the whole park. After the directions will the be the few goodish pictures I took while at the top.

Directions:    The Deer Ridge Junction Trailhead is located 3.05 miles west of the Beaver Meadows Entrance Station along Trail Ridge Road (Highway 36). The trailhead is located on the north side of the road at the Trail Ridge Road – Highway 34 split. There is no designated lot, but roadside parking is permitted. Parking is limited.

View of Estes Park from the Summit.

View looking south towards Long's Peak
View looking south towards Long’s Peak

The view West-ish
The view West-ish

Looking North was a little obstructed

Fav 1 Fav 2

Beginning again – Weigh in Day +9LBS ( 50lbs down 40 Lbs left to go)

So this is the first time I have really weighed in – in months. I have to say I was surprised it wasn’t more, which makes it about a pound a month.

Fat and in pain
Fat and in pain

I can tell though that I have lost a lot of the climbing muscles in my legs which makes me think it may just be 9LBs on the scale but the damage is worse because of the muscle loss.

I would like to say this was a better week for me health wise but it was actually worse.  I had a crazy stressful week at work, worked long hours and squeezed in a workout at least once a day, sometimes twice but no weights.  I didn’t track my food like I wanted to and I am sure I went over my allotted calories every day.

Plus I drank alcohol almost every night, just one drink a night but still I normally don’t drink during the week. But post hike it is always a celebration.

Oh well, I have to start somewhere….

My new goal will be to lose 40 lbs by next July 4th.

The hike I did today was a repeater but it is way out my ability right now.  I am thrilled I made it all the way… and I have summit fever again….I love Colorado.

On Twins sisters
On Twins sisters

There is so much to see just here and I haven’t even started to think about all those other states and countries I have hiking envy over…I am looking at you Rob P My favorite Uk Backpacker!  SO that means I need to get over myself and move forward…..slowly this is me getting over myself….

Get out there and hike, life is way too short!


Chief Mountain (11,700) & Squaw Mountain ( 11,398) Evergreen CO Hiked 7/6/14

1

Starting Elevation: 11,000Ft

Highest Elevation: 11,700 Ft ( total elevation gain was around 1800 ft.)

Trail Length: Officially I thought 4.8 miles…8.7 miles later I am pretty sure the book was wrong

Trial uses:  Hiker, biker & Horses some portions are a 4×4 road

Degree of difficulty:  Moderate

Bathrooms:  None

Pets: Yes – Although on the path to Squaw Mtn there is a gun range of sorts so keep them on leash.

view 2

I won’t lie, I originally picked this as an easy hike to do on a 2 hike weekend.   My Colorado Mountain Club book says it is just 4.8 miles round trip, with a total of 1800 feet of elevation gain.  But not only was the round trip distance wrong, so was where the trail was supposed to be.  When I got back to the car I had to look at the book to make sure it said round trip.   It didn’t help that we picked up the trail at the wrong place too.  We saw a trail like entrance across from the wrong pull off and just went with it after driving back and forth a couple of times on 103.   It turned out this is the fire access road to both mountains any way but it did add 2 miles to our trip, which means had we found the original entrance it still would have been almost 7 miles around trip.  I am not sure what has changed in the last 4-5 years but I am pretty sure Squaw mountain didn’t move in that amount of time.

Fire Access Road we started out on

The day itself couldn’t have been more perfect and honestly we didn’t mind the extra mileage as it kinda took us away from the crowds.  FYI the Chief Mountain portion is high volume and for very good reason.  It is a bit of climb in just a mile and half( if you hit the correct starting point) since we started a bit higher and further away, our climb was spaced out a bit.  But for a 3 mile hike( 4.5 miles if you start where we did), you cannot beat the views.

The views from the fire road

Once you get to the actual Chief Mtn trail, the trail itself is steep but not too steep and you have some coverage in the trees but that is mostly in the first half of mile.  Then it starts to open up. For us, the first mile was on an old fire road so while we were lucky with shade on the way up because of how early we started, then the impending storm on our way back we didn’t have to deal with too much sun that first mile either.

Ahh Here is Chief mountain Trail.

After that though it was all in the sun to the summit.   And oh my the views!

The right way to hike up Easy to follow Above the tree line

Getting to the summit was a little but of a scramble but nothing terrible, it was 360 degree views and as I was looking over at Squaw I was really starting to doubt it what just 1.5 miles to that summit.

The view of Squaw from Chief

Me climbing down the Scraamble
Me climbing down the Scramble

One view from Chief looking towards Evans

We got down Chief fast even with all the people coming up and us giving way.  Once we got back to the fire road, we went to our right to get to Squaw.

Back on the fire road to Squaw

Squaw Mt. Access Road

The fire road dead ends right into the Squaw mountain access road which is 4×4 in some places.  It was kinda not exciting AND there was some type of gun range not too far up where 5 or 6 people were having lots of target practice.  For this reason alone I probably couldn’t recommend you ever bring dogs up this path unless they are trained to be ok around gun fire.

Make shift gun range empty on our way down

Just up and around the corner from it, there is a gate closing off the road from motor vehicles.  There is also a small parking area if you have rented out the old fire watch tower for the night.  I have to tell you as a storm was starting to role in, I was thinking how cool it would be to rent out that Fire tower for a night or 2 and enjoy some rocky mountain weather.

Some details on renting the old Fire tower

The road closes to motorized vehicles from here

Eventually we got to the top of Squaw and were decidedly underwhelmed… not by the views but by all the industrial towers we went up and around them to see the views but saw the weather coming in and so headed back down. It took us 3.5 miles from the top of Chief to get to the top of Squaw.

Fire Watch tower We should have turned around here

Mostly what is on the top of Squaw

Here comes the weather

I will tell you that I will only ever do Chief again and have done it once since we did this back in July.  I will now always take visitors here because seriously the views are amazing.  I never need to see Squaw again unless I decide to rent out the old fire tower.  We didn’t bring our good camera with us because we didn’t have high expectations but once we got up to the top of Chief I was so sad that we didn’t!  After the directions will be a few of the good pictures we managed to capture before weather moved in.

Directions:  From Denver Take I70 west to Evergreen Parkway (Exit 252), go about 3 miles to Squaw Pass Road ( 103). Take it up approximately 12 miles.  When you pass Echo Mountain Ski area look for the next pull off the real trailhead is right there.

View from Squaw

View Chief Mtn from Squaw Mtn
View Chief Mtn from Squaw Mtn It the one on the right

View form Squaw3 View from Squaw 2 Me on Squaw 2 View from Squaw


Still Hiking, just not so healthy……

It has been 8 months since I have been on track for the healthy part of this blog…. the hiking has finally started to suffer as a result. I am not sure how it happened other than me consciously deciding to not be healthy.  For about half that time, I have managed to ignore how far off the rails I have gone.

Nugget

Not only have I been struggling with being healthy I have been less than forthcoming about my struggles as if they will just disappear.  And not just with you but with everyone in my life.

So this is my confession, I have fallen far off the healthy bandwagon.  I have been way outside my daily calorie intake.  I have had a considerable cut back on my exercising.  I have been eating my emotions.

I have been trying hard to find inspiration, the last few hikes we have done I was sweaty, overheated and strangely struggling with my breath.  I know I have gained back weight but I am not sure how much at this point as I have been avoiding scales for months.

I have to find balance again in my life in terms of how to control my bad eating habits. I have been trying to figure out where is the best place to start ….again.

I am confessing here because I can’t pretend it is not happening anymore I need to be up front about it all.  I am going to get back to my Lose It! app and tracking my daily calories in and out.  I am also going to venture to get rid of my cheat day which sadly turned into my cheat 3 days….I apparently can no longer be at home without a guardian or having my hands tied behind my back to avoid shoveling food in my face.

I have been going to some of my favorite blogs for motivation, but I have to tell you Nancy over at My year of Sweat always makes me think through my issues a little more in-depth then I am normally willing to do  because she is so good at identifying all of her issues, stumbling points and triumphs.  Over the last year she has become my “live a better life” superhero.  If you don’t know Nancy, please check out her blog it is awesome -> just like her!!!

I am still hiking every weekend and I have been getting in as many days as I can, I have 2 new hikes I need to write-up that I did weeks ago and of course I have done a bunch of repeaters.

The rest of my summer I am going to focus on getting get back into the shape I was last fall.  I really want to do Grays and Torreys (14ers) before the summer ends.  I still want to try to backpack, but to be honest I may not get to it until next summer.

I will start listing my weigh-ins  again weekly.

Thanks for being patient with me and thanks for helping me get back on the healthy track.

Now get out there and hike, I know I will be hiking this weekend!